Donations towards server fund so far this month.

 
£0.00 / £100.00 per month
Page:
Home > Show Us Yours! > My Yellow, Turbo to be.... Track based mini

JacobCartledge

17 Posts
Member #: 10023
Member

Hi all.

Joined recently to get a project log on the go, but have been using site for a while to gather info..
Anyways The Story...

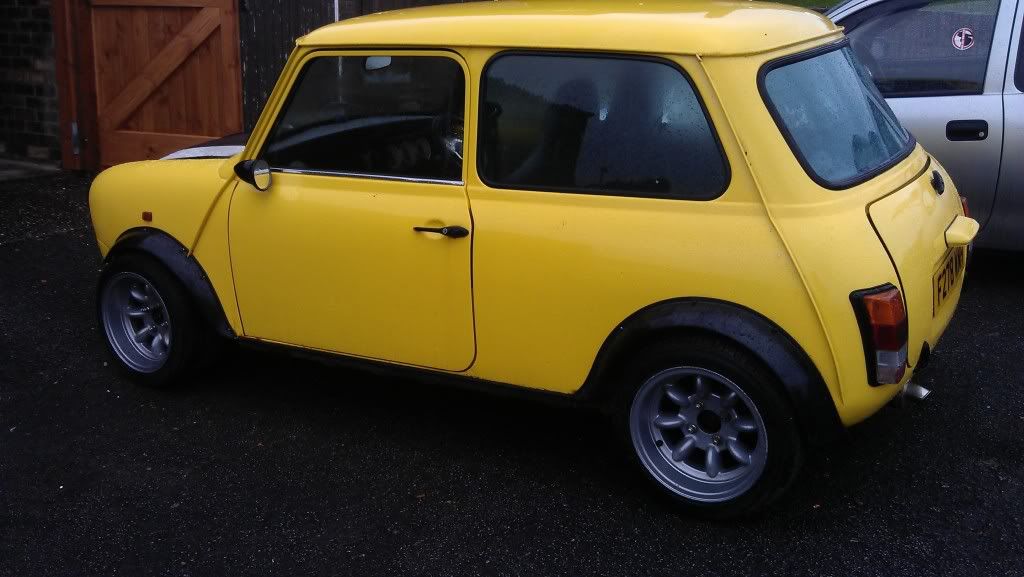
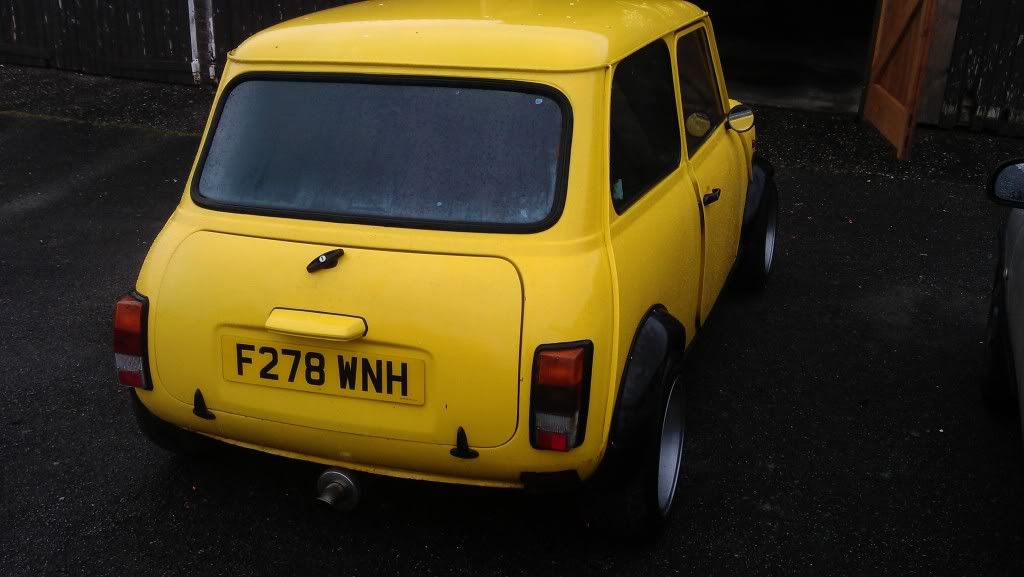
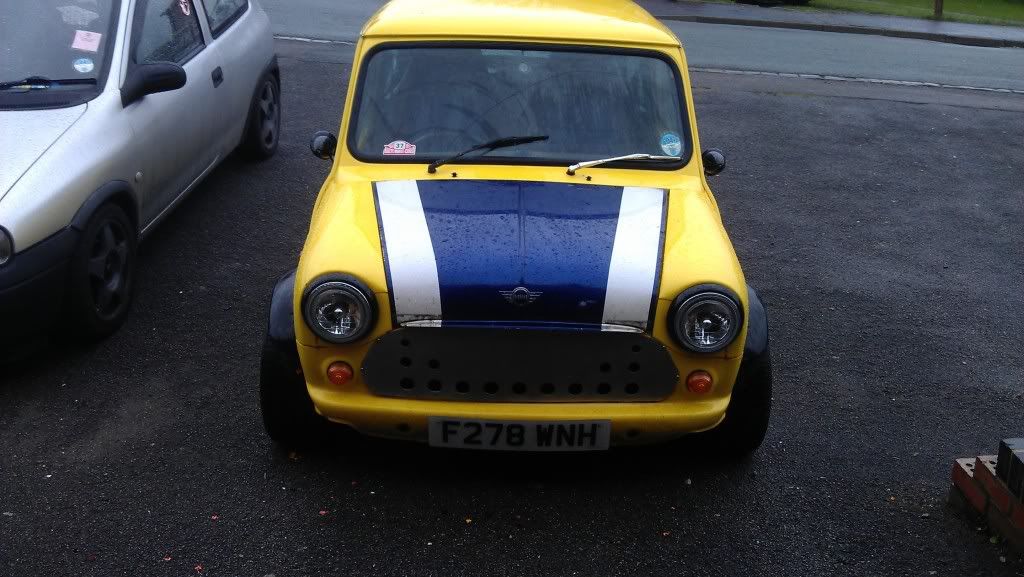
i Brought this mini for £1300..


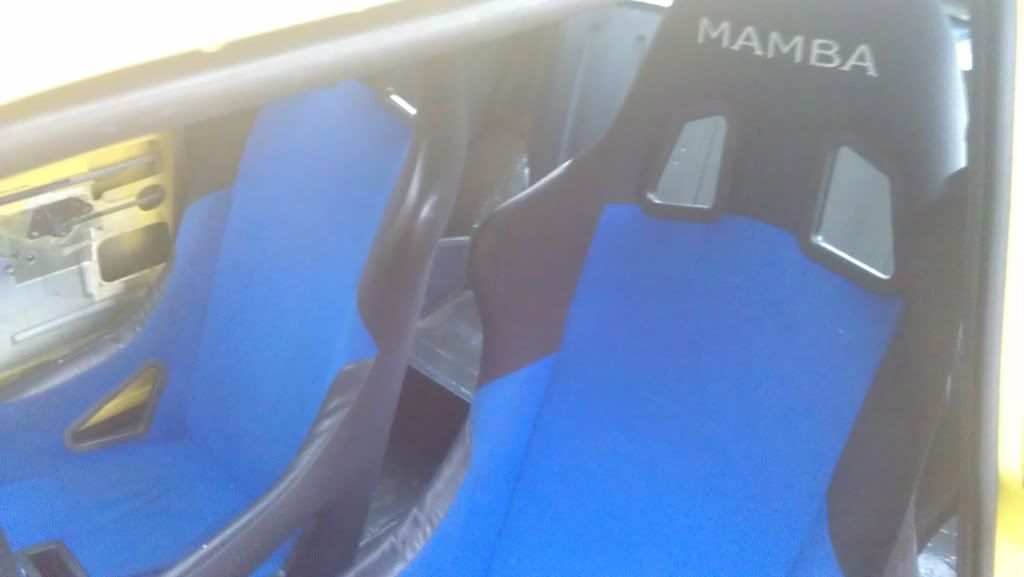
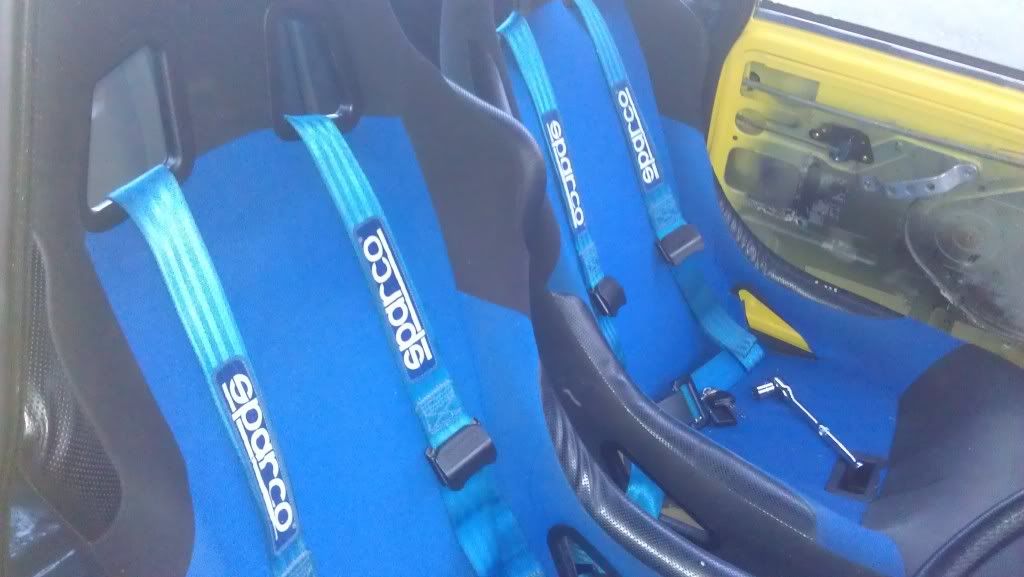
Fitted a set of of sparco harness's as a tempory measure to get it through its mot.. Passed with it only needing a very small patch on the inner arch..


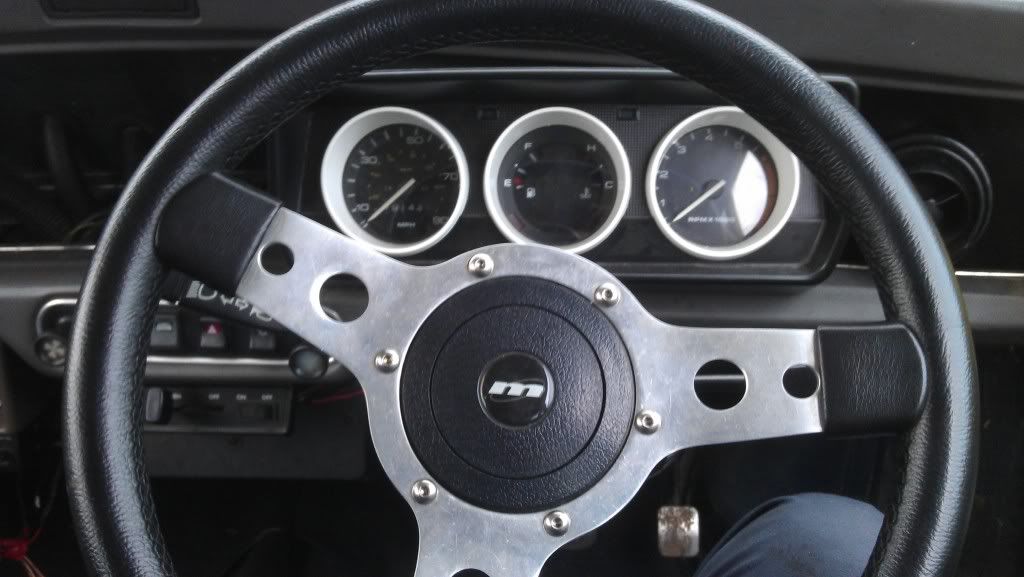
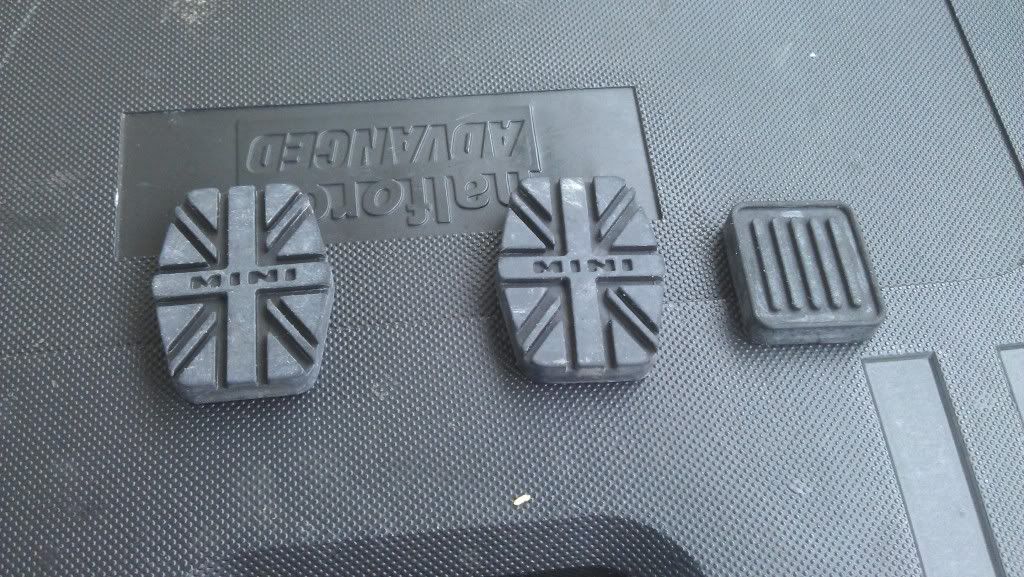
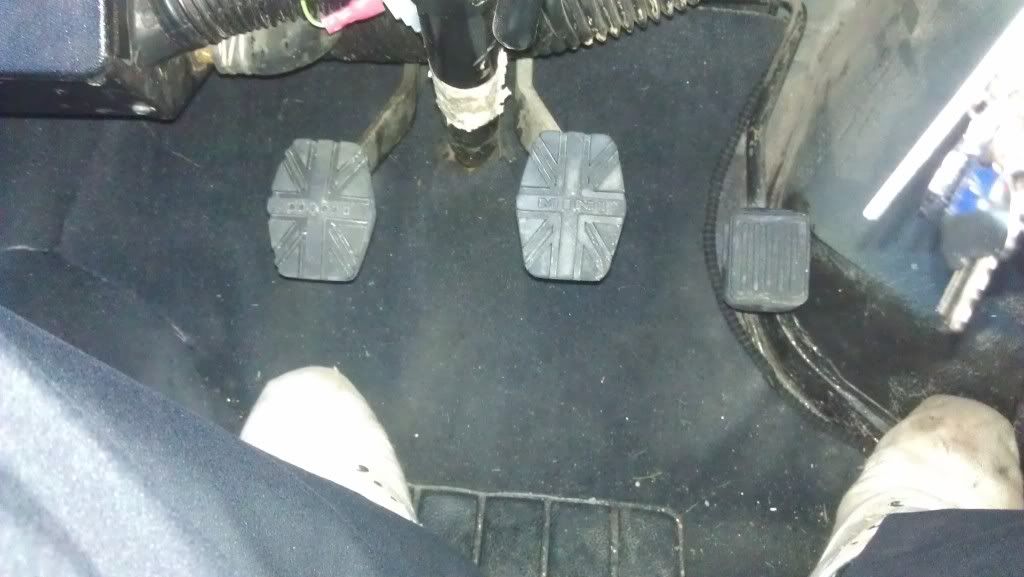
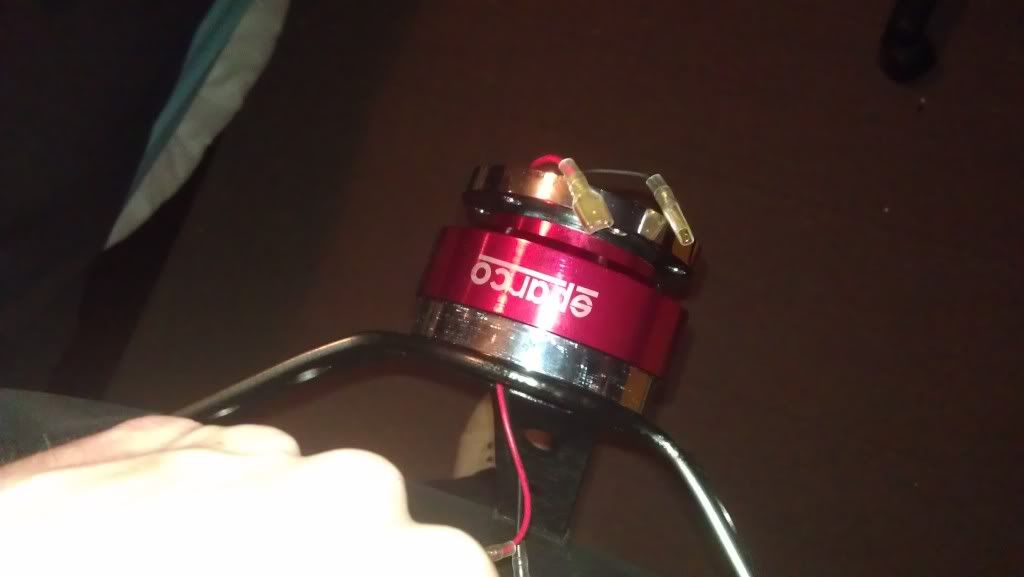
Then a few weeks later fitted a new set of pedal rubbers as they were missing and a OMP Steering wheel with snap off boss to help prevent it being nicked..


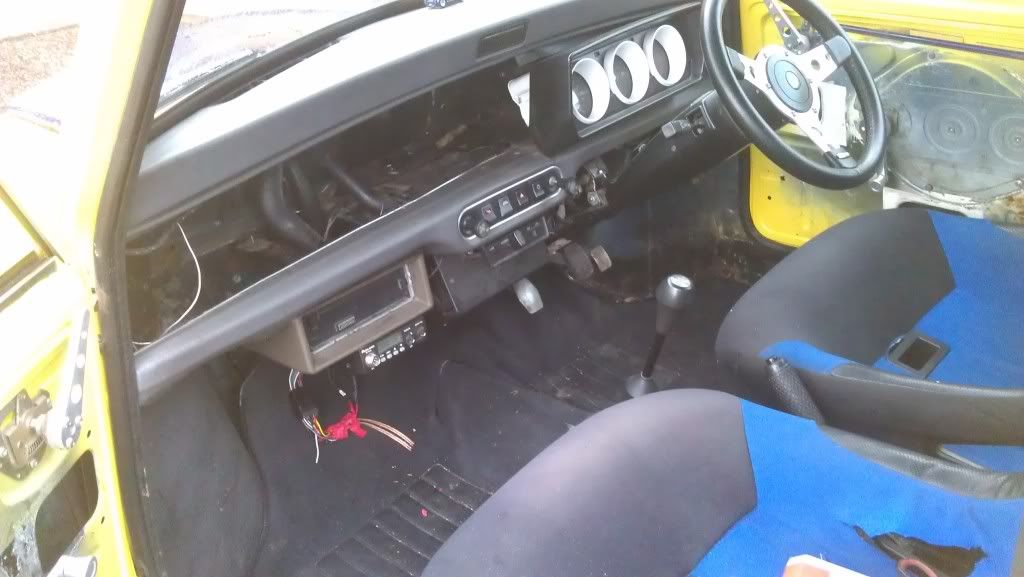
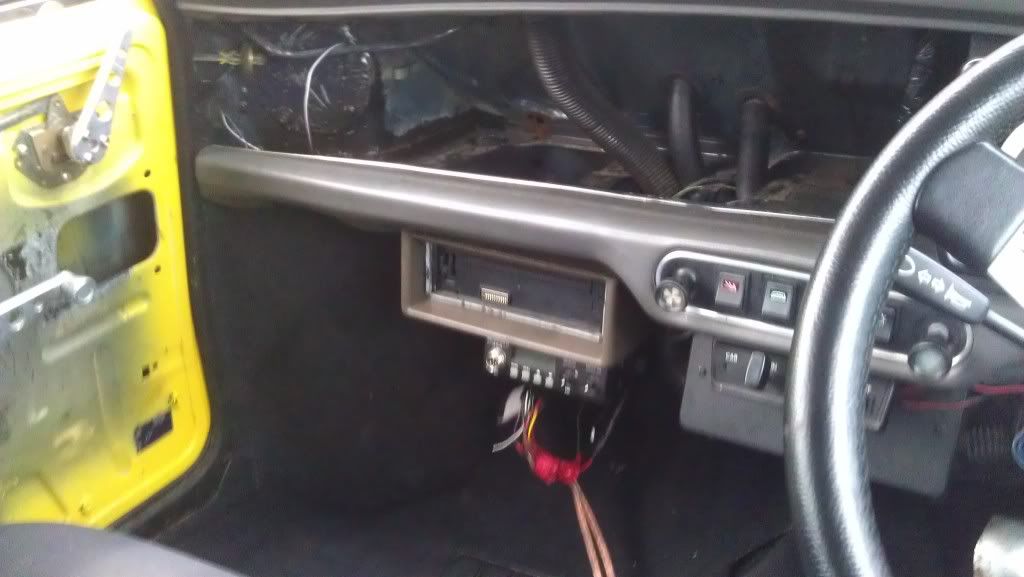
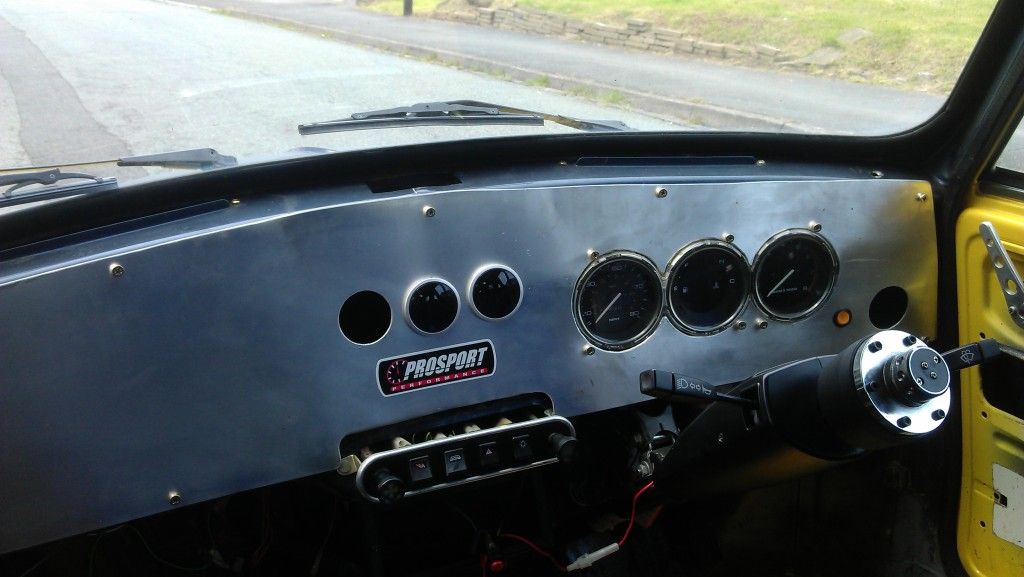
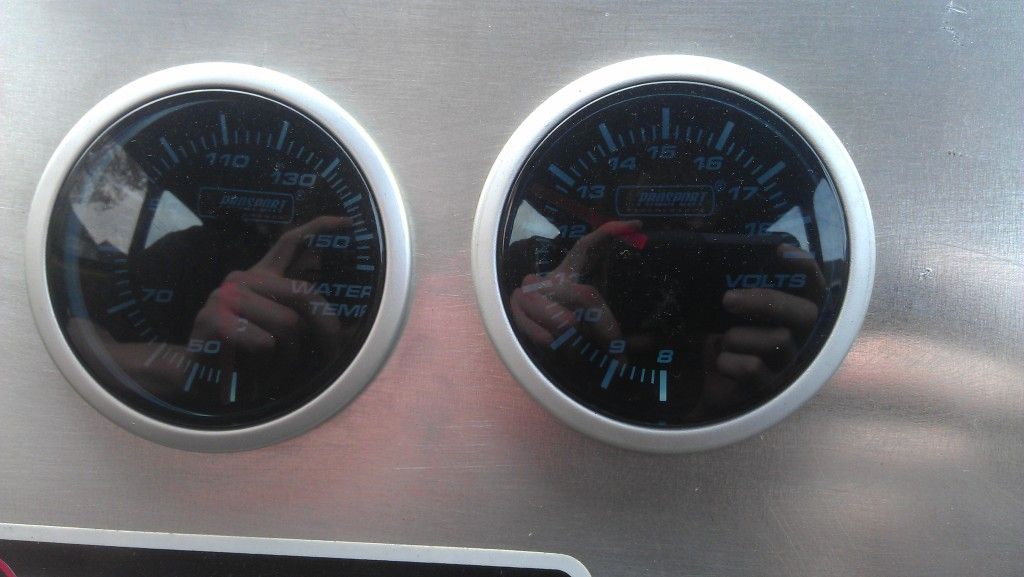
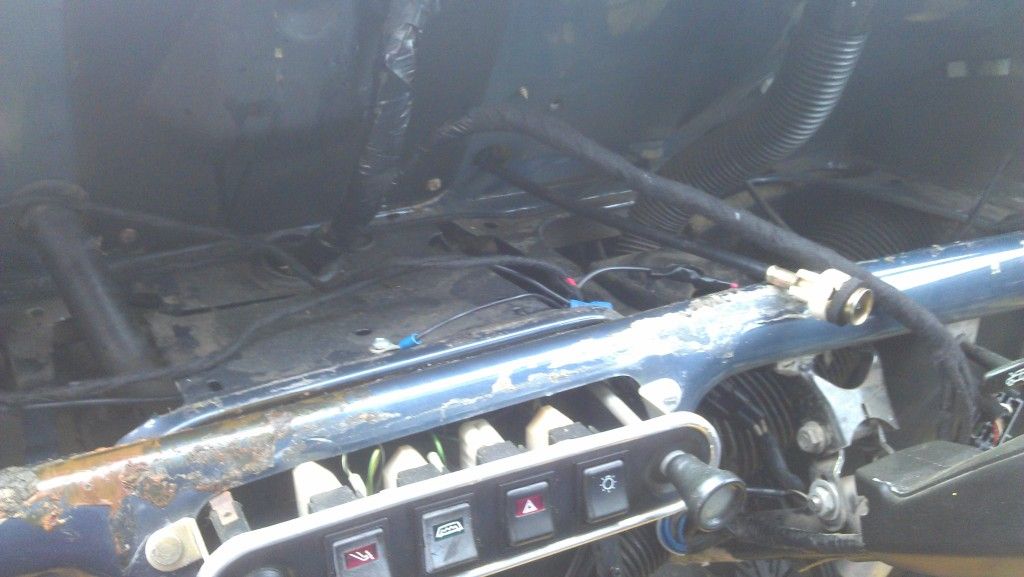
The lack of a dash then began to annoy me so made a tempory one out of some spare alluminum and fitted 2 Prosport gauges..


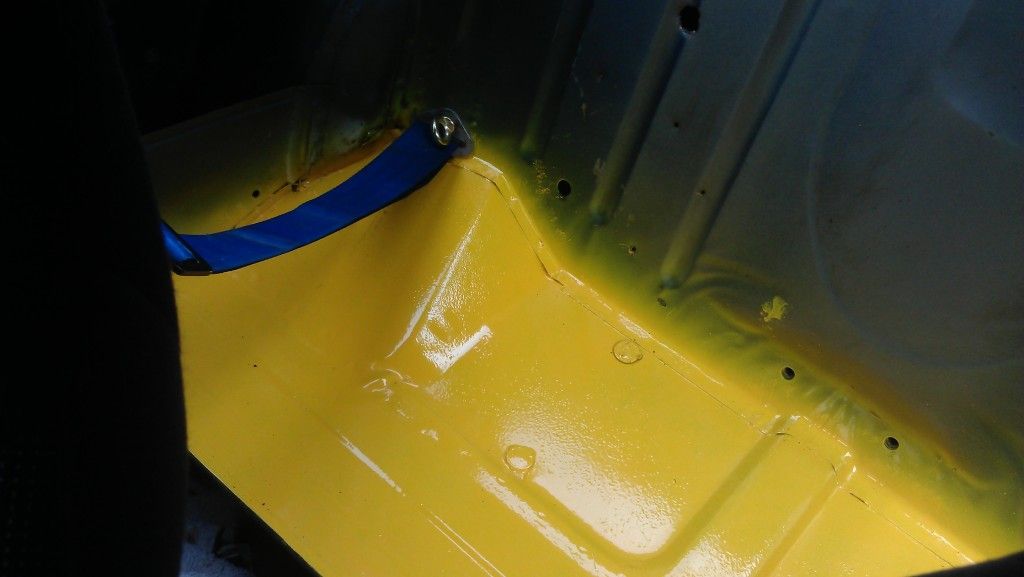
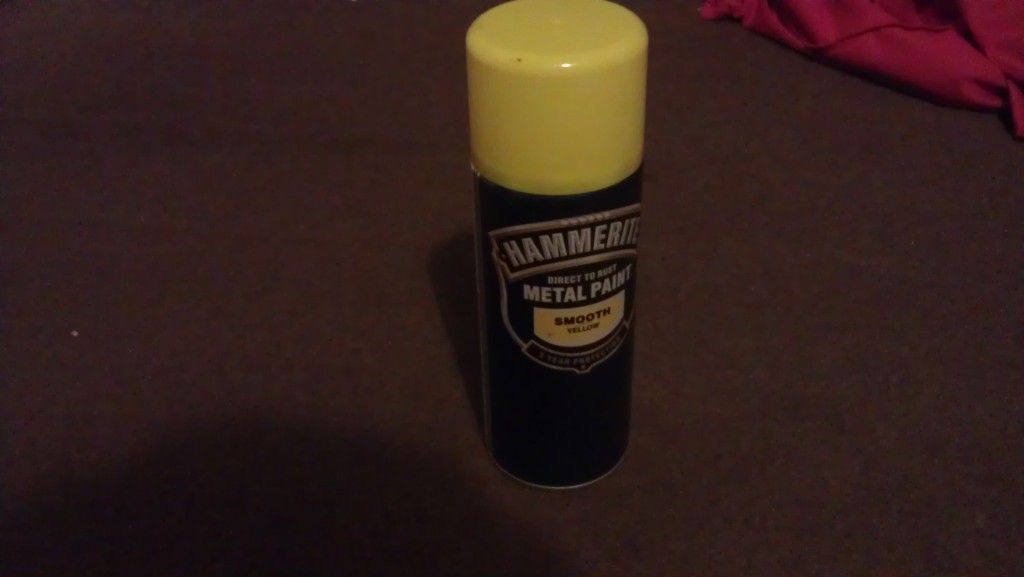
A quick test of some hammerite, Brushed on by the way to test the colour which is quite close so will be using hammerite spray on the whole of the inside, as i wanted a hard easy to touch up paint on the inside


Then the disasters started to happen..
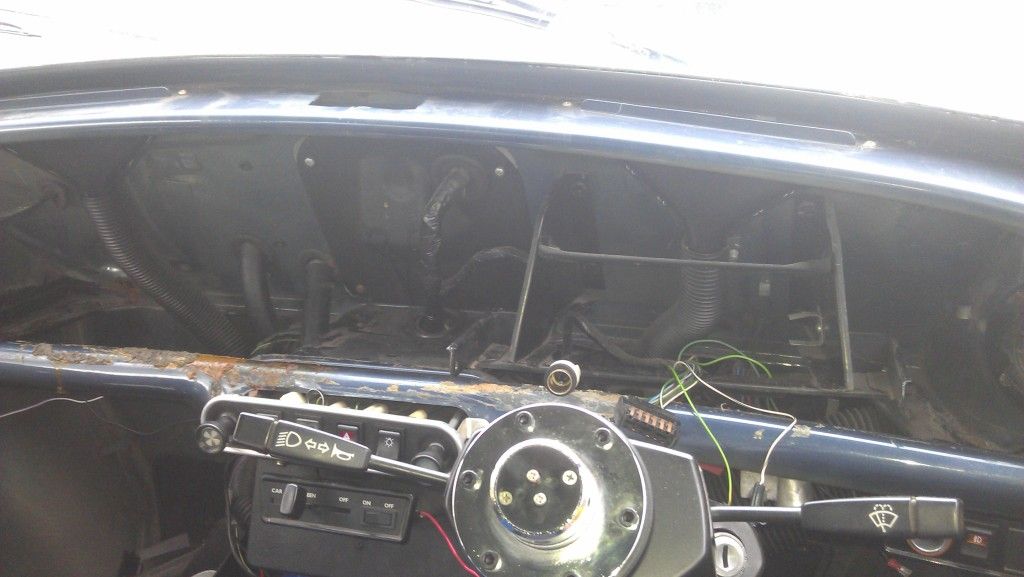
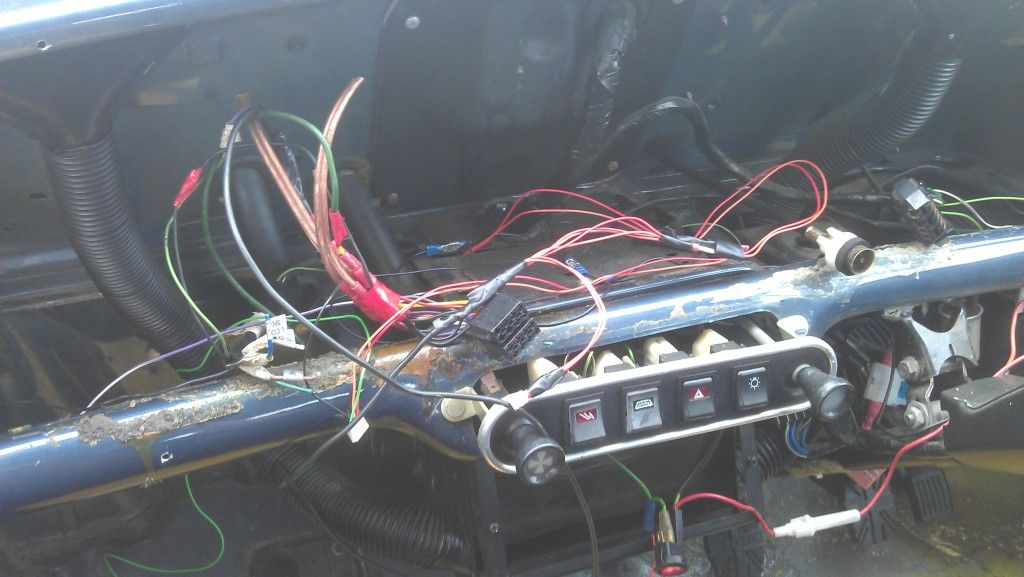
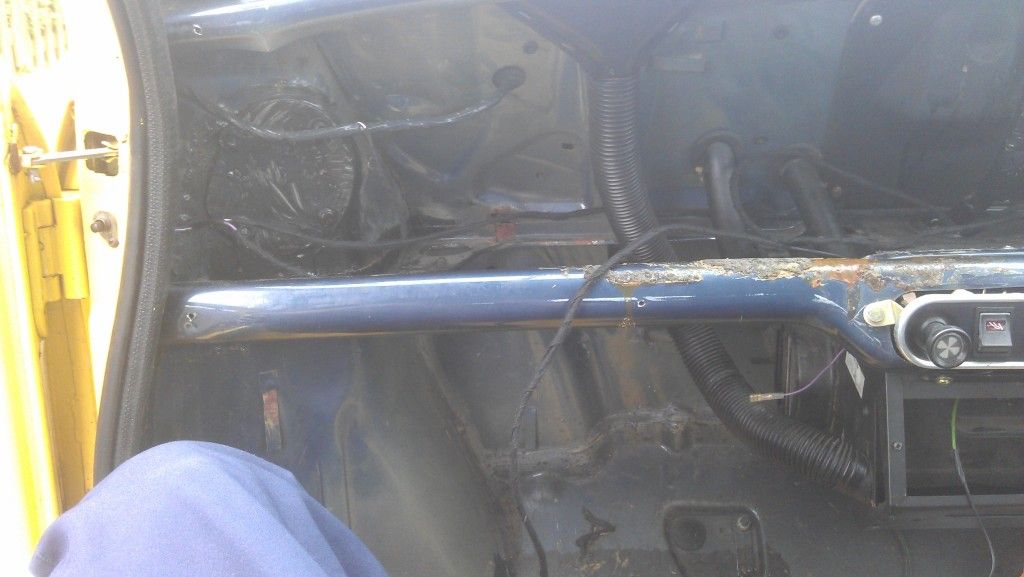
This was the mess of wires behind the dash..


which a few hours later looked like this..


But i had no window wipers! Got the multimeter out, sorted that problem only to find now the headlights wouldnt work... at this point i gave up..

The morning after whilst still pretty livid about not being able sort the problem.. i gave the car some abuse.. and whilst doign so, the car gave up.. a loud bang some metal flying round and could no longer get 2nd or 4th. Got it home, straight on the drive where it sat for a few weeks.

Then i decided to do a full re build and turbo it..

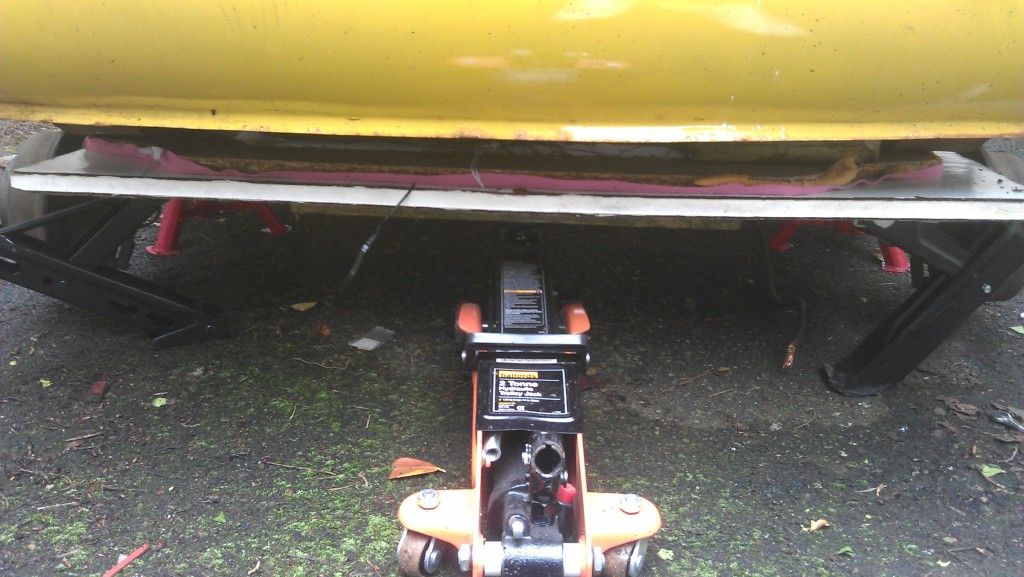
First job was to get the rear subby off..

Home made subframe support thing..


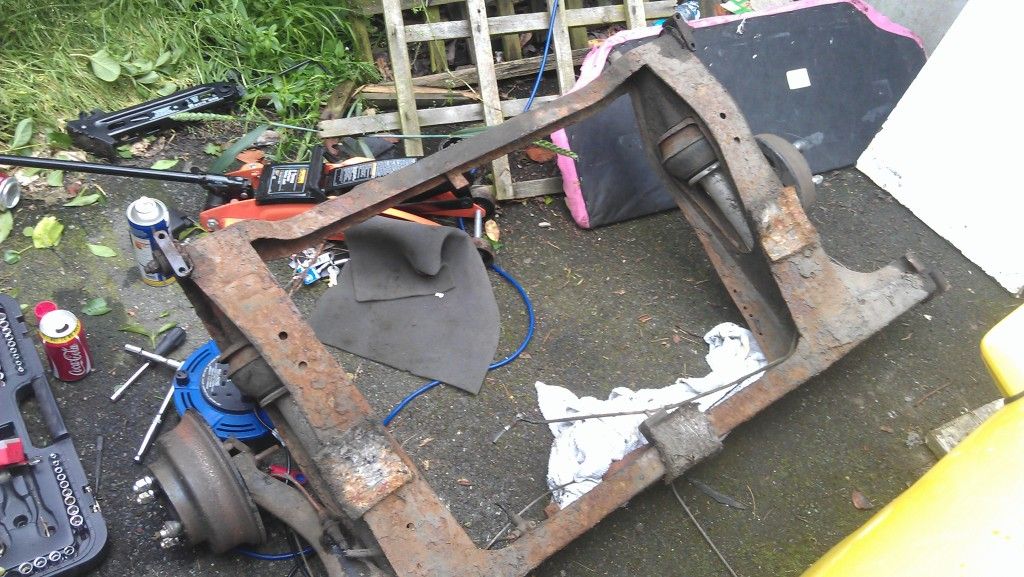
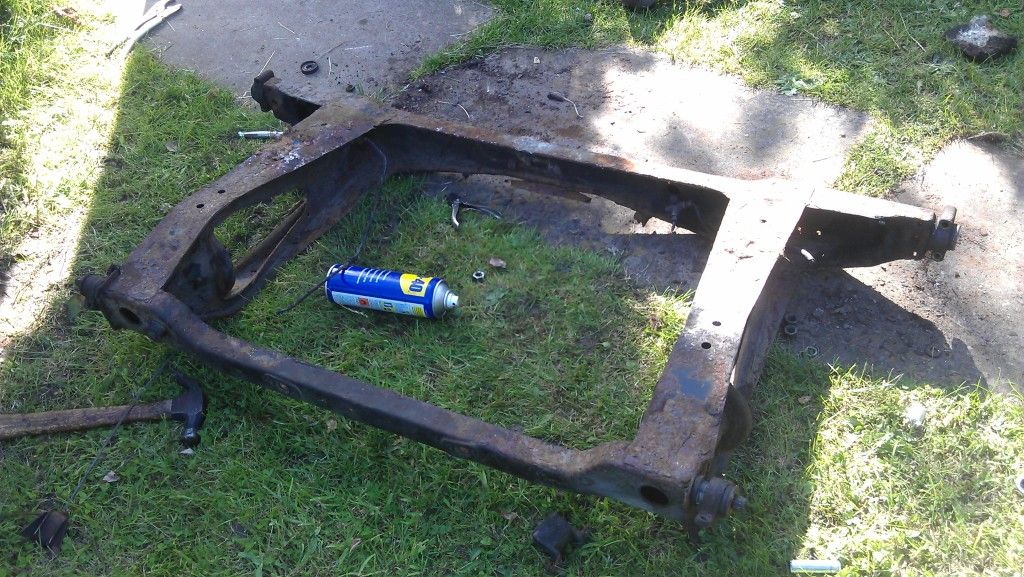
And one subframe..


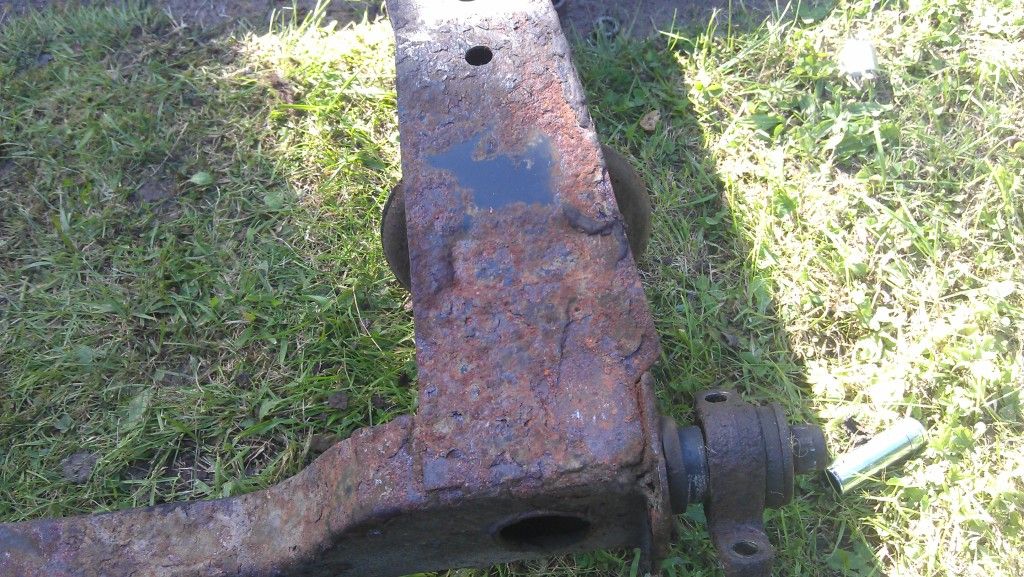
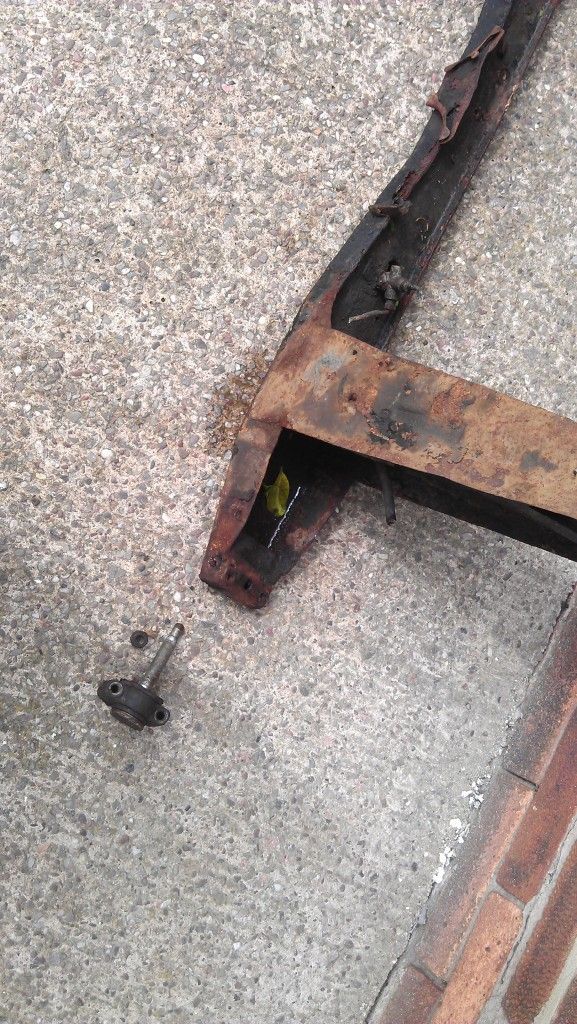
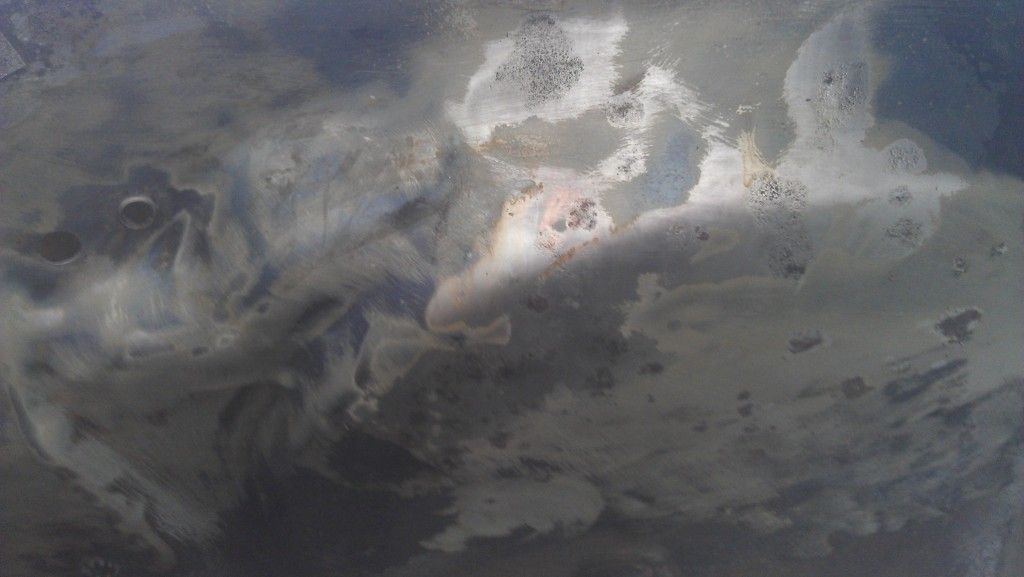
Cleaned a section of it up to made sure there was still metal under it, and it seemed fine so its currently off to be blasted and powder coated..

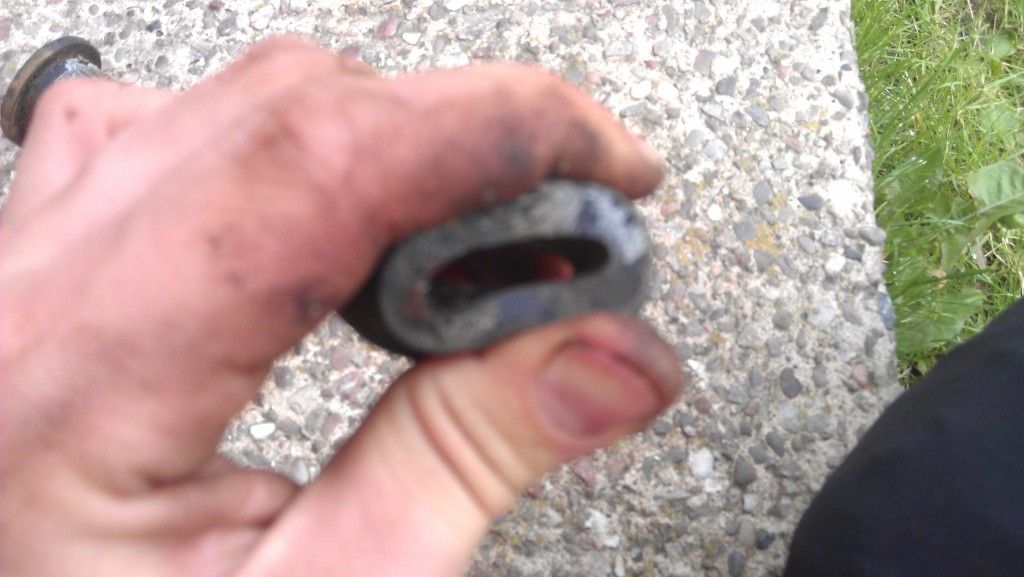
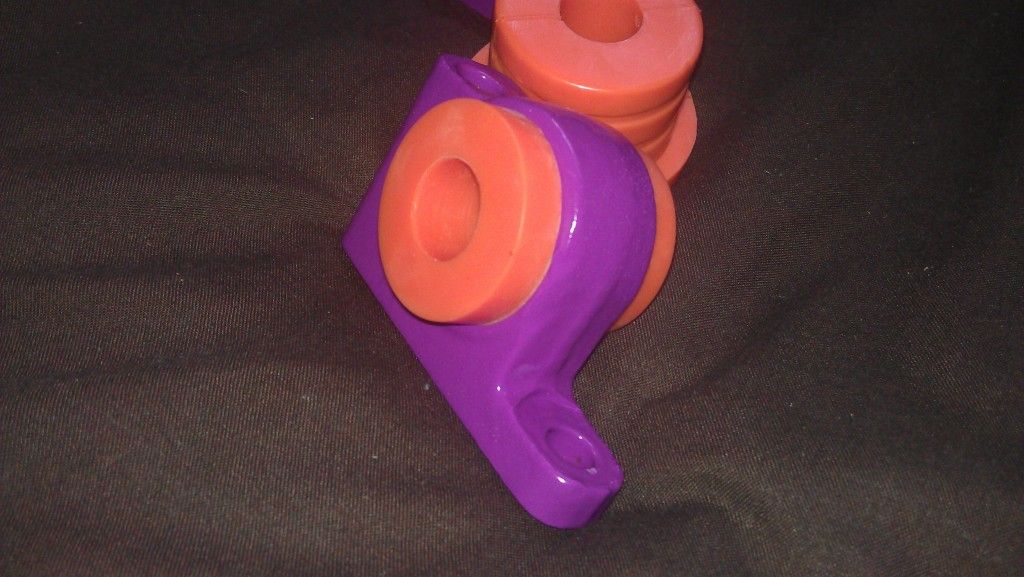
Bushes seemed pretty naffed..


So nice new orange Polyflex ones to replace them..


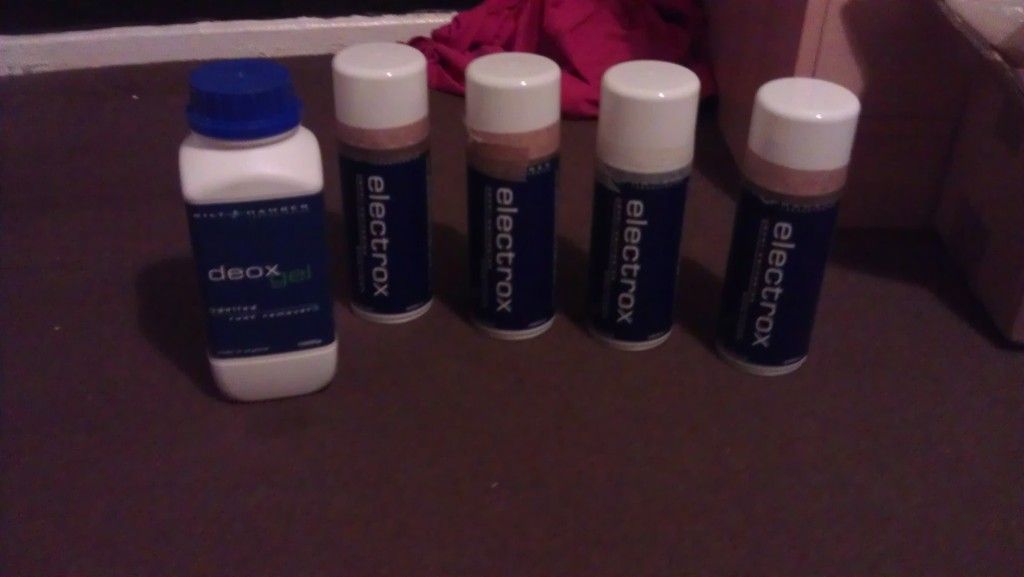
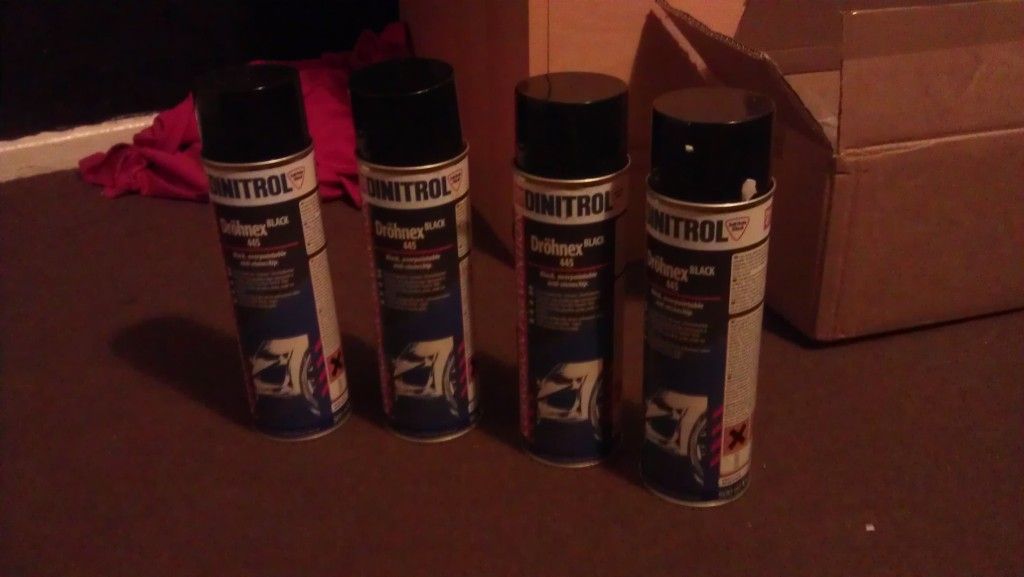
And ordered some rust prevention stuff to help prolong the life of this mini..


Sorry for the long first post but that pretty much brings me upto date, but no doubt ive missed alot of details off..

Jake


dev 11

User Avatar

538 Posts
Member #: 9393
Use the search function before buying stuff from me...

stoke on trent

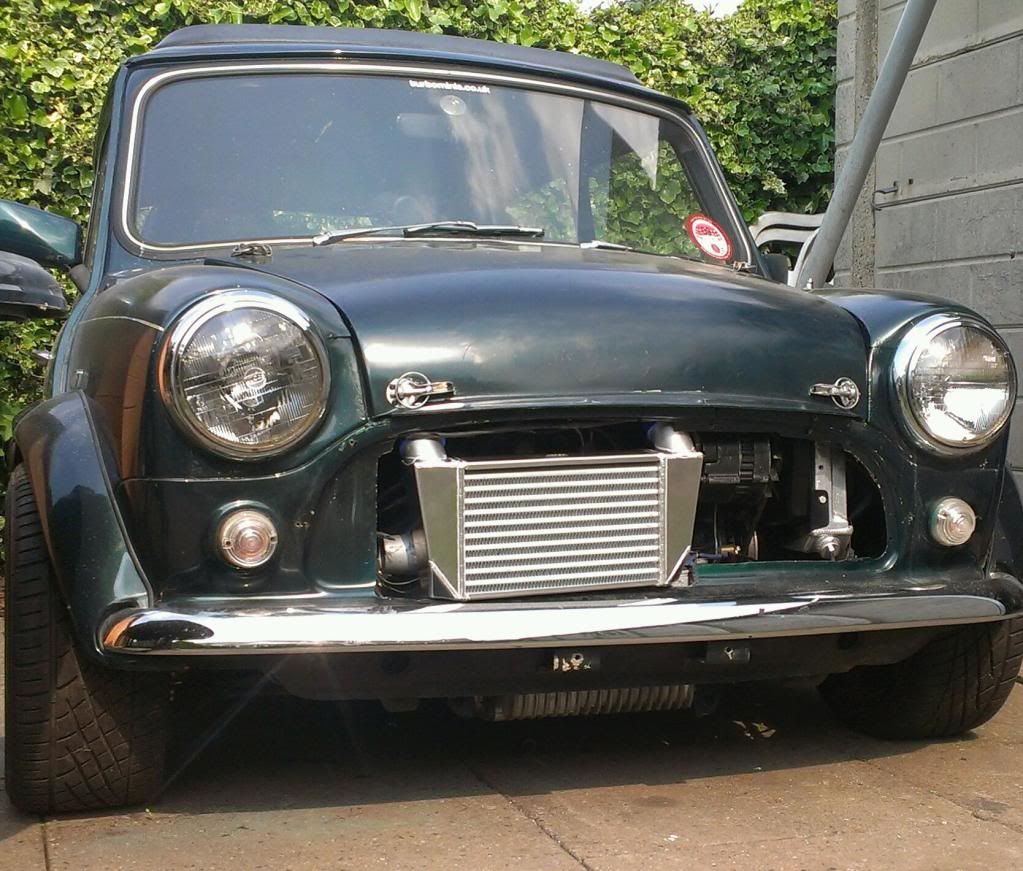
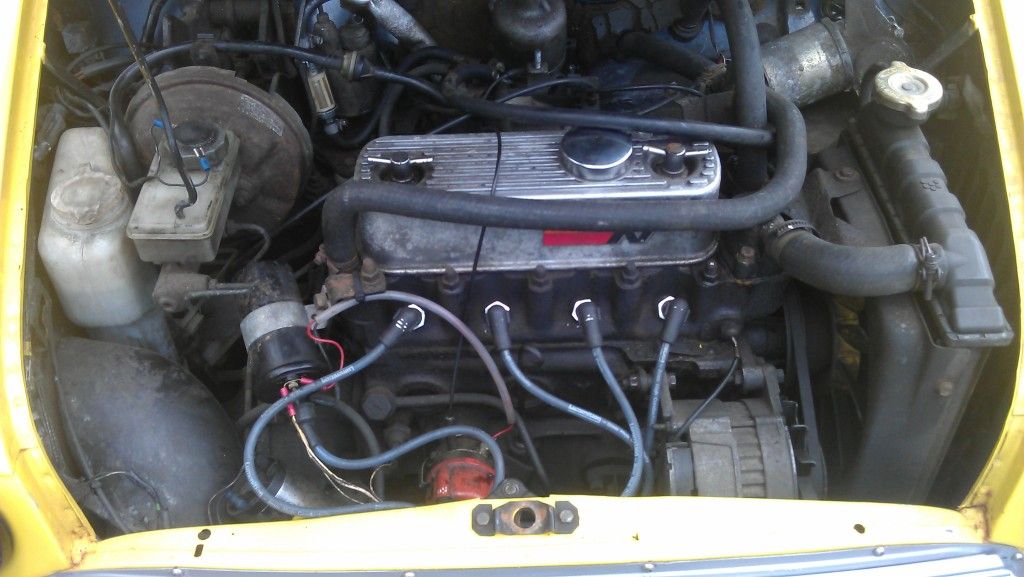
That filler caps quite cool, some nice touches been done to that mini..


Rob Gavin

User Avatar

6729 Posts
Member #: 618
Post Whore

Glasgow

So what is the plan?


1293 sprite

User Avatar

536 Posts
Member #: 5449
Post Whore

Melton Mowbray

Looks like a good base for a project! Seem to remember seeing it on pistonheads a while back?

On 25th Sep, 2009 mini13 said:
cool, i'll pop over with my tool and some lube, lol

1293 88.8hp 82.2ftlb

17.3 1/4 @ 78 mph

Naturally Aspirated (for now)


JacobCartledge

17 Posts
Member #: 10023
Member

Plans are:

-A Series Engine
-T3 Turbo
-Omega Pistons
-Metty turbo rods
-Gas flowed head
-Maybe some sort of cam
-Straight cut drop gears
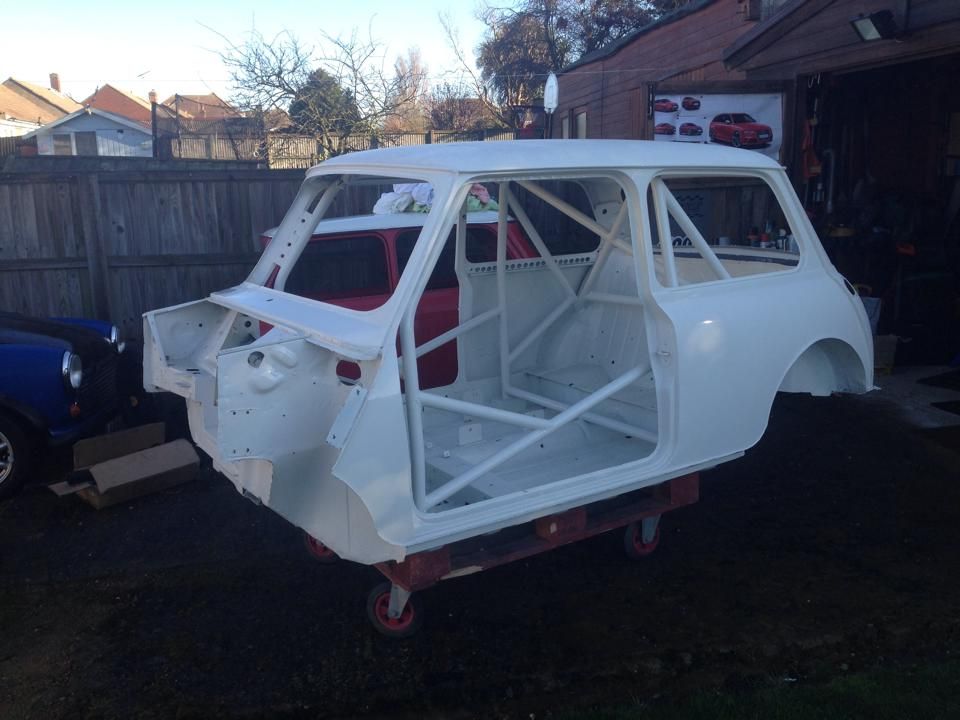
-Stripped painted inside with buckets and a cage
-Fully internal brake and fuel lines
-And alot of fibreglass and poly carbonate


Now for the update, all be it a small one..


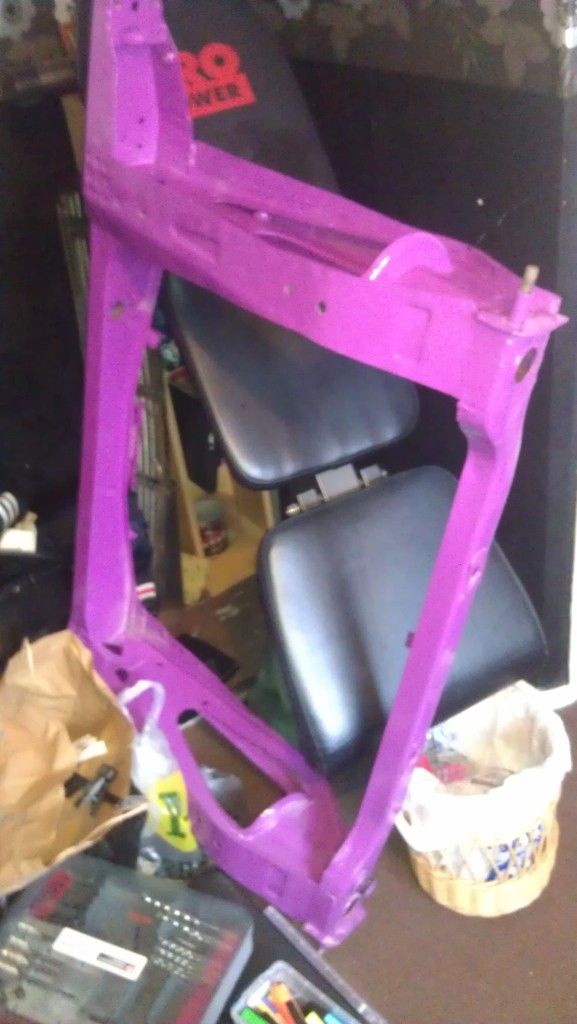
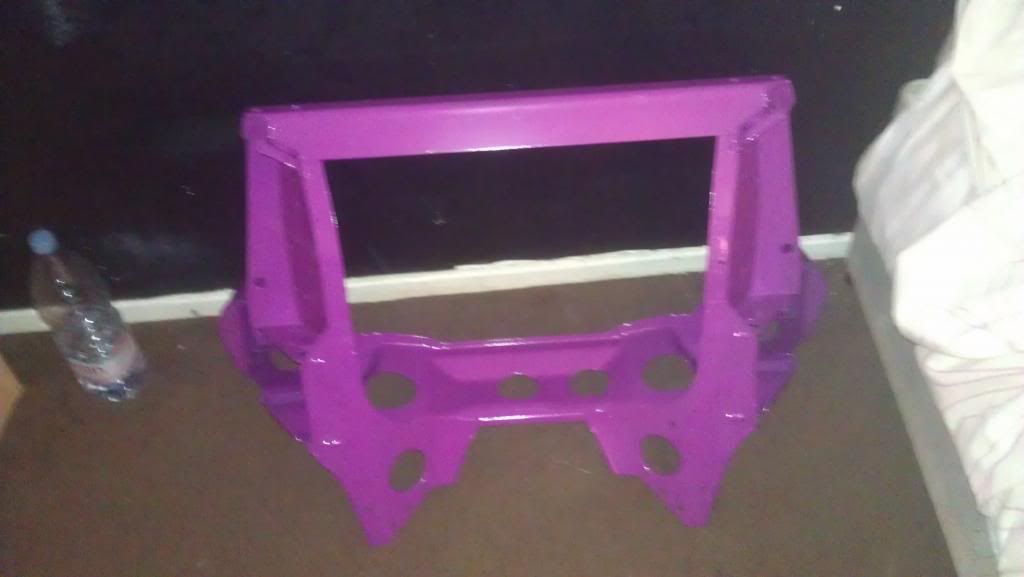
Subframe come back from the powdercoaters


What a lovely colour


And mounts with new polybushes


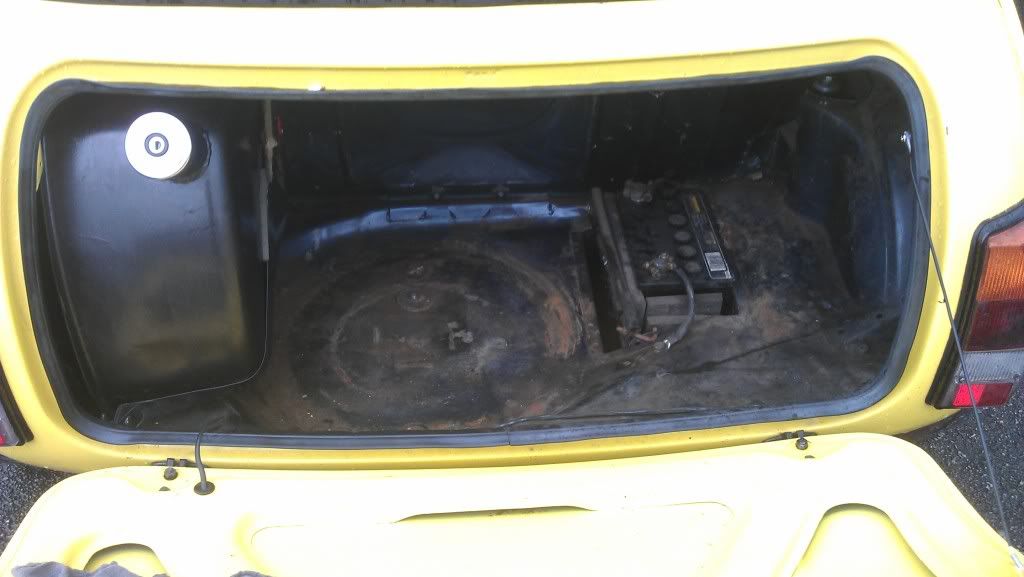
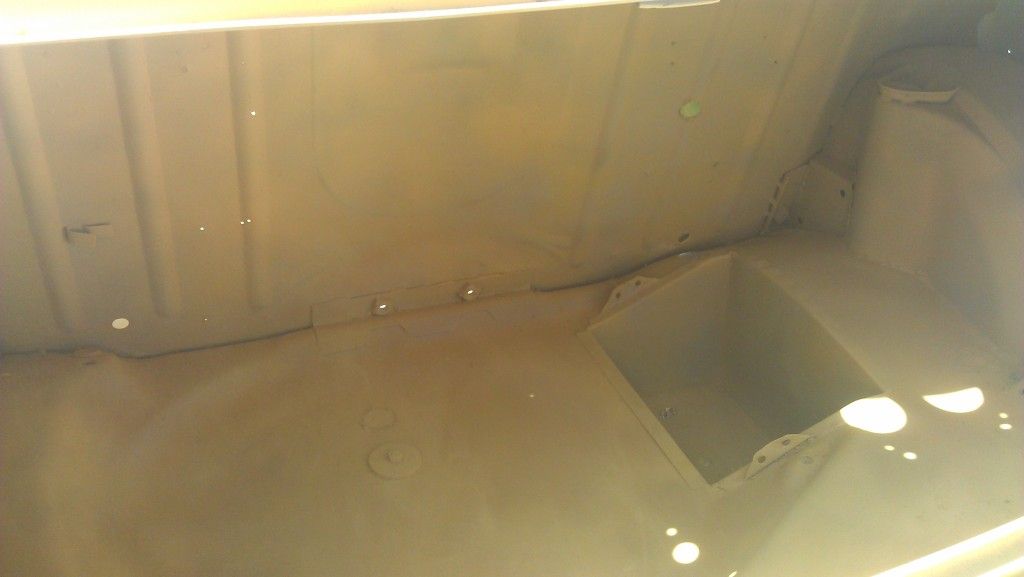
Stripped boot down to bare metal, the gave it a coat of zinc primer and a small bit of yellow primer to help with paint coverage.


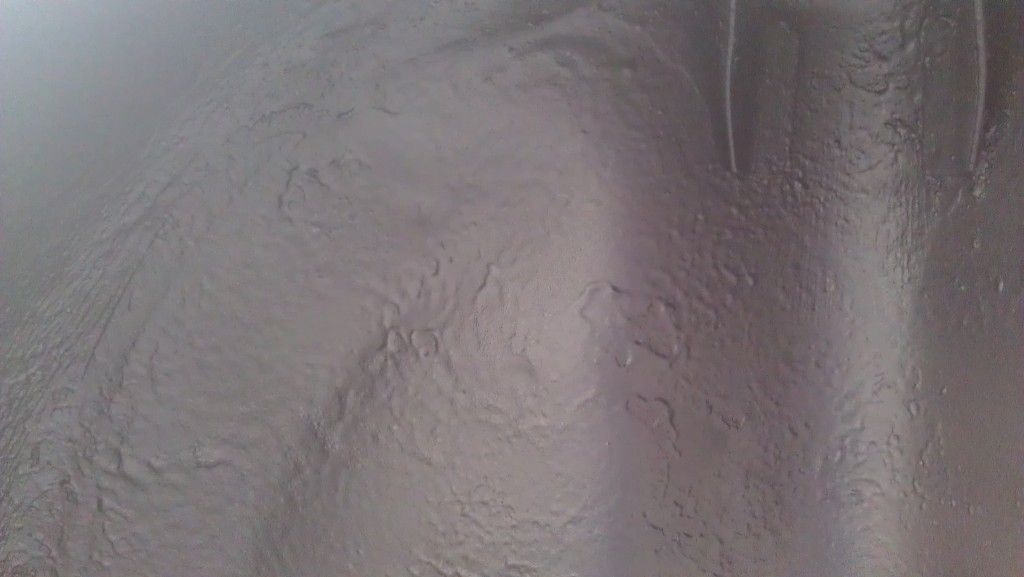
Then proceeded to strip the rear and coat with zinc primer and stone chip..


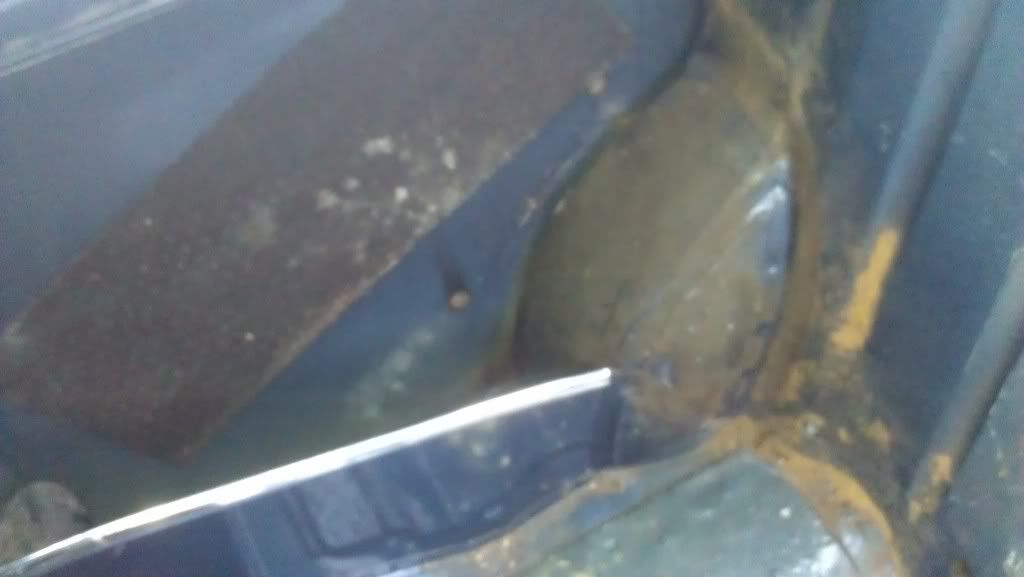
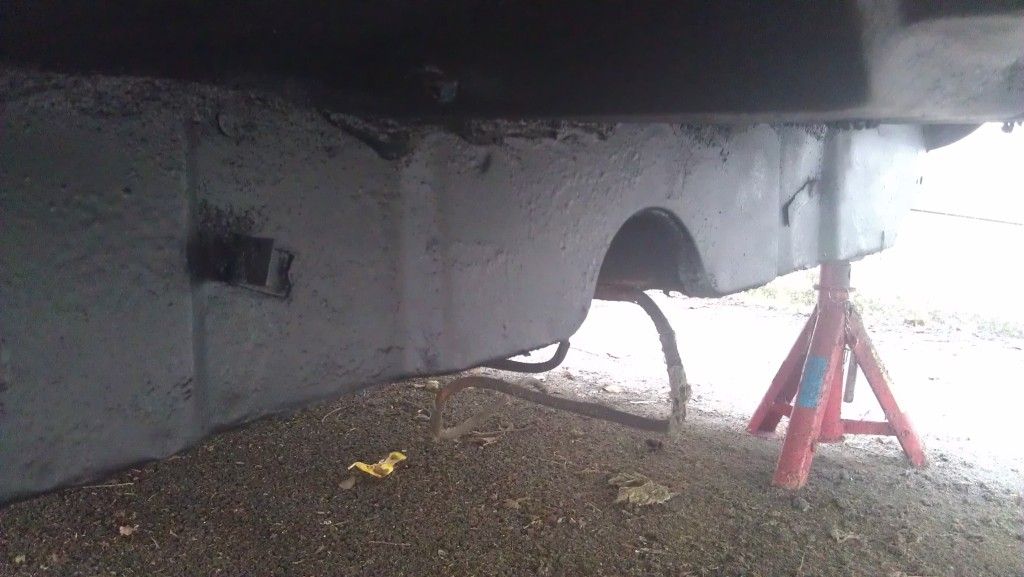
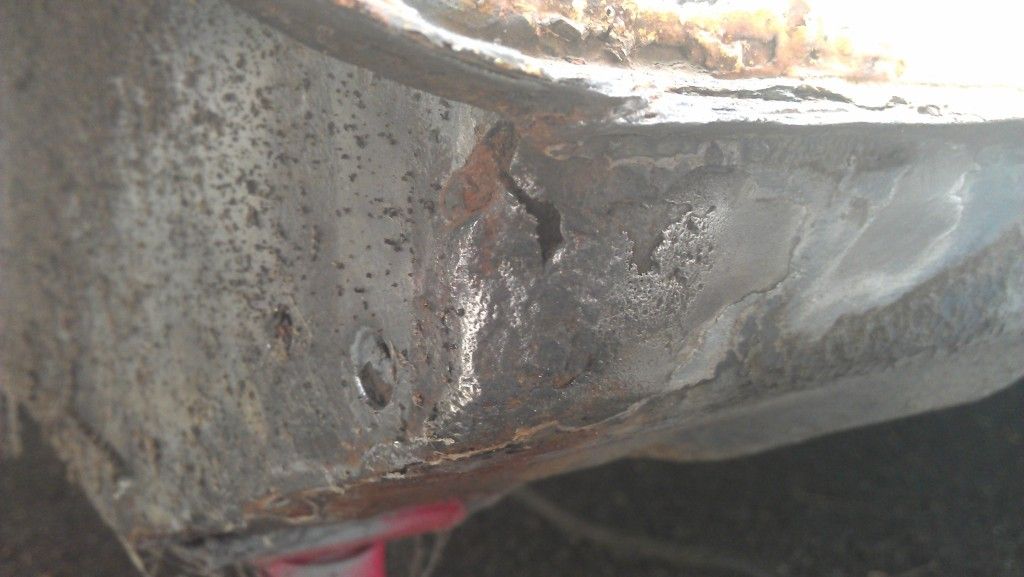
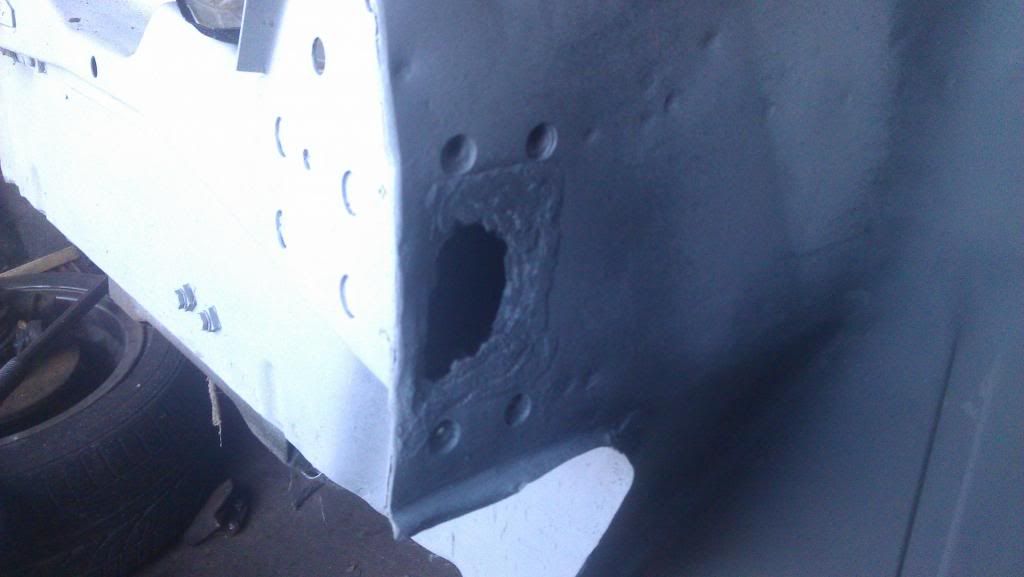
Although i did find this small crack/hole..


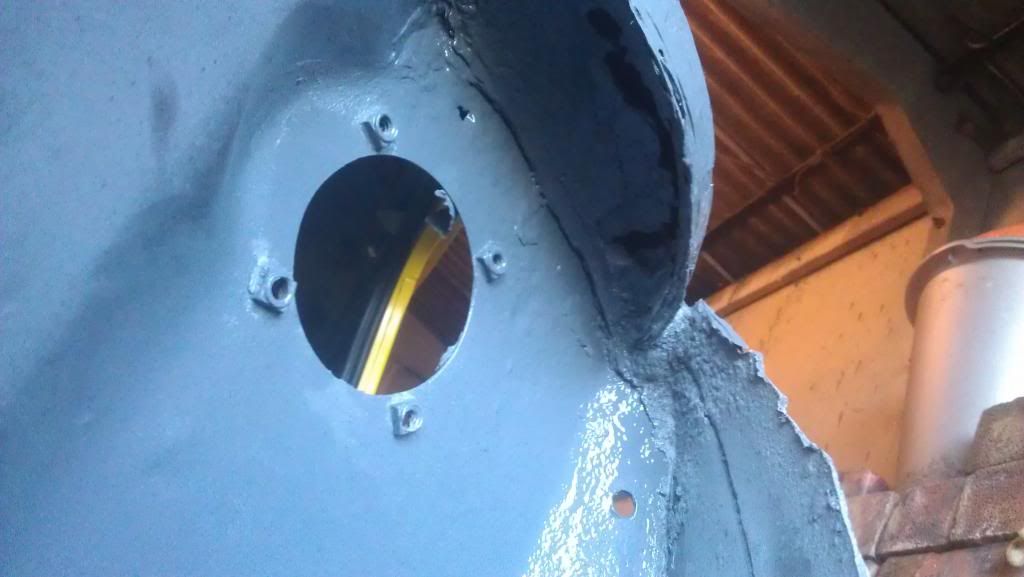
But the whole of that area is pretty rotten by the looks of things, and whilst refitting the rear subby a sheared the two nuts which the subframe bolts into on the inner arch/sill.
So my plan is to cut away the metal which is rotten and whilst its off weld the nuts back on, then weld new pannels in and paint which should hopefully work. If anyone has any better ideas then let me know please. :)


As mentioned earlier..
Rear sub back on


Knocked the stone chip about a bit getting it on so will touch it up soon..

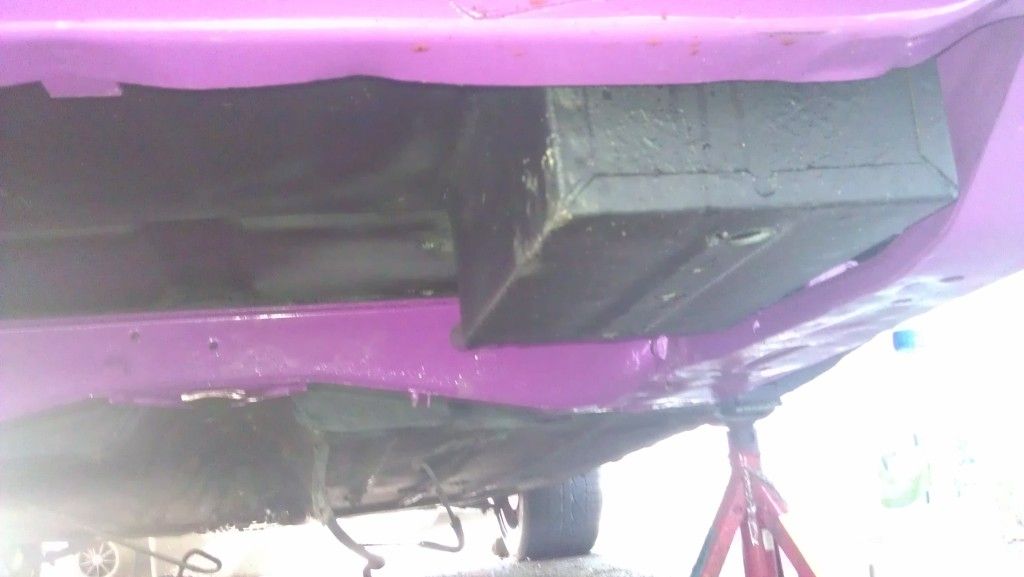
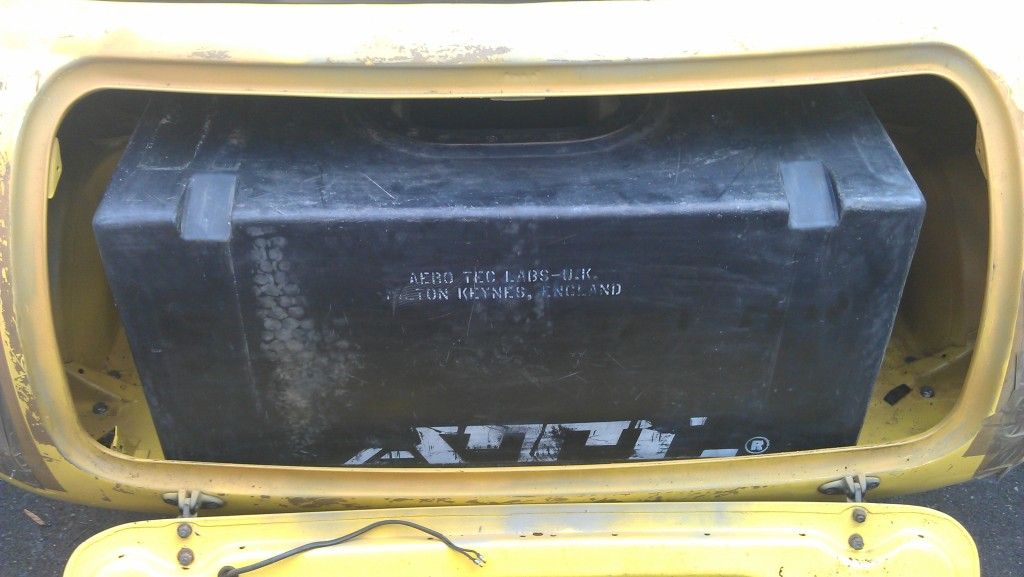
Trial fitted the new tank..


It fitted but only just, and after some thought i dont think i will be using it as it just doesnt feel safe :(

And a final pic of it in its home for the next year (probably 10)

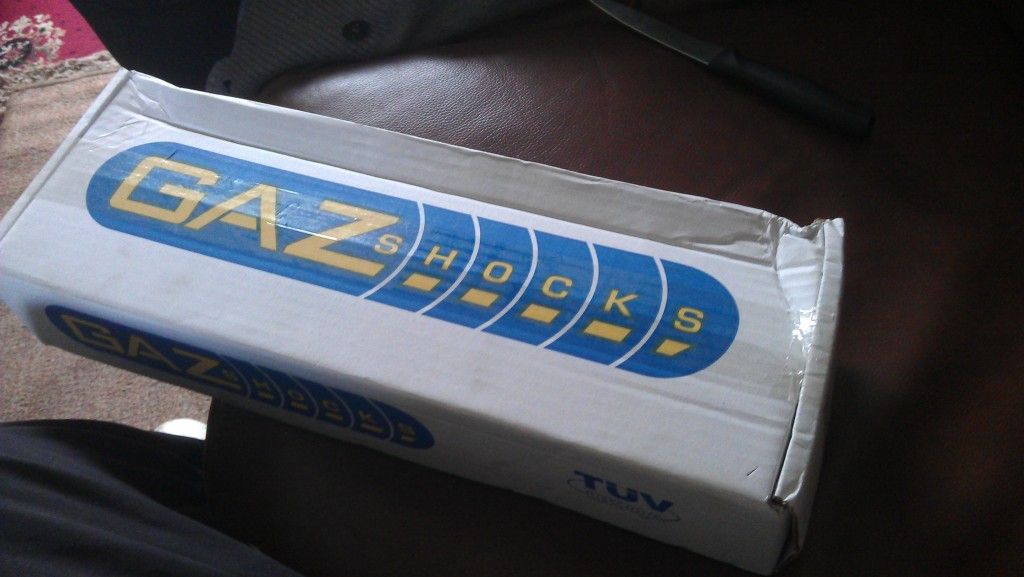
Will be ordering a set of GAZ coilovers for the rear next week along with sending the rear radius arms off to be powder coated the same colour as the subframe.


Chalkie

1909 Posts
Member #: 9764
Post Whore

Northamptonshire.

With that tank I wouldn't wanna go round a corner fast it props make you spin out


Carl S
Forum Mod

User Avatar

1927 Posts
Member #: 1761
Stalker

Bristol

That tank is comical! Is it from a battleship? :)


Turbo Tim

User Avatar

725 Posts
Member #: 177
Avon Park 2006 Class D Winner

Woburn Sands

got a tank like that in my loft

16V project underway


Vegard

User Avatar

7765 Posts
Member #: 74
I pick holes in everything..

Chief ancient post excavator

Norway


On 29th Jun, 2012 JacobCartledge said:

i Brought this mini for £1300..


Where to?

On 13th Jul, 2012 Ben H said:
Mine gets in the way a bit, but only when it is up. If it is down it does not cause a problem.


Craigie-B

User Avatar

1492 Posts
Member #: 9468
Post Whore

Wootton Bassett


This!

Its BOUGHT with no R

Sorry to be a knob but its one of my pet hates

On 17th Aug, 2012 Vegard said:


On 29th Jun, 2012 JacobCartledge said:

i Brought this mini for £1300..


Where to?

On 10th Mar, 2012 theoneeyedlizard said:

Hypothetically speaking, where would you stick your nozzle?


On 22nd Jun, 2012 apbellamy said:
my wife doesn't know what.head is never mind compression ratio.


MarkGTT

User Avatar

3249 Posts
Member #: 1194
Post Whore

Shropshire.

where the feck are you intending driving it? to the moon and back, that tank is massive!

where's the filler neck too?

You can buy a repair panel for that sections that gone.


mercenary62

User Avatar

641 Posts
Member #: 9937
Post Whore

somewhereintheuniverse near selkirk scotland

keep going mate youl get there,nice looking motor

give em hell


JacobCartledge

17 Posts
Member #: 10023
Member

Yea tank is going lol, forgot how small minis actually are..

and as for brought/bought i cant spell or use grammer for love nor money so please forgive the mistakes il make, their will be quite a few.

and good to hear that you can get a replacement pannel


bennyy

User Avatar

2233 Posts
Member #: 9037
Post Whore

Doncaster, yorkshire

Don't worry about the spelling, its the people that constantly correct peoples grammar that really press my buttons.

Good mini, but get a nice alloy tank in there.

Audi s4 b5 - 470bhp & 486ft lbs

On 15th Mar, 2012 wil_h said:

Yes, Carl says he gets requests for rimming all the time

On 30th Apr, 2012 Brett said:
yeah stick the bit in and give it a wobble *wink*


JacobCartledge

17 Posts
Member #: 10023
Member

Been while since I updated but not been doing a lot to it…
Mainly due to holidays and the weather.

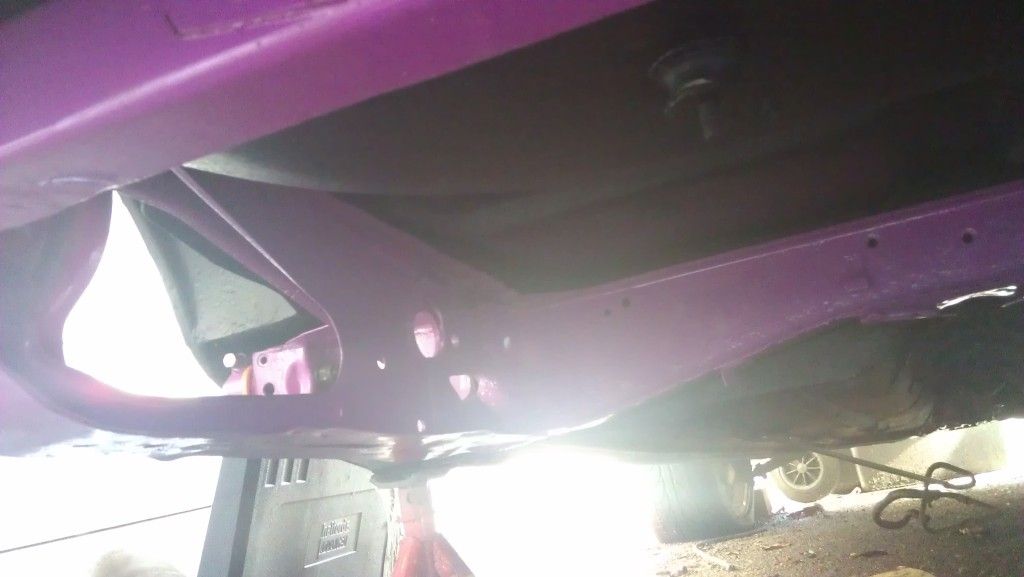
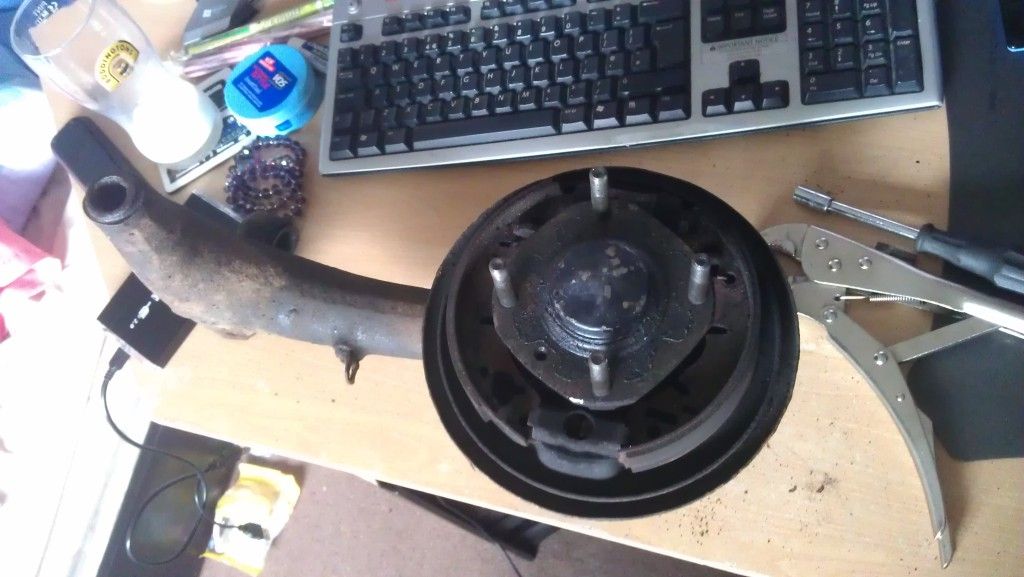
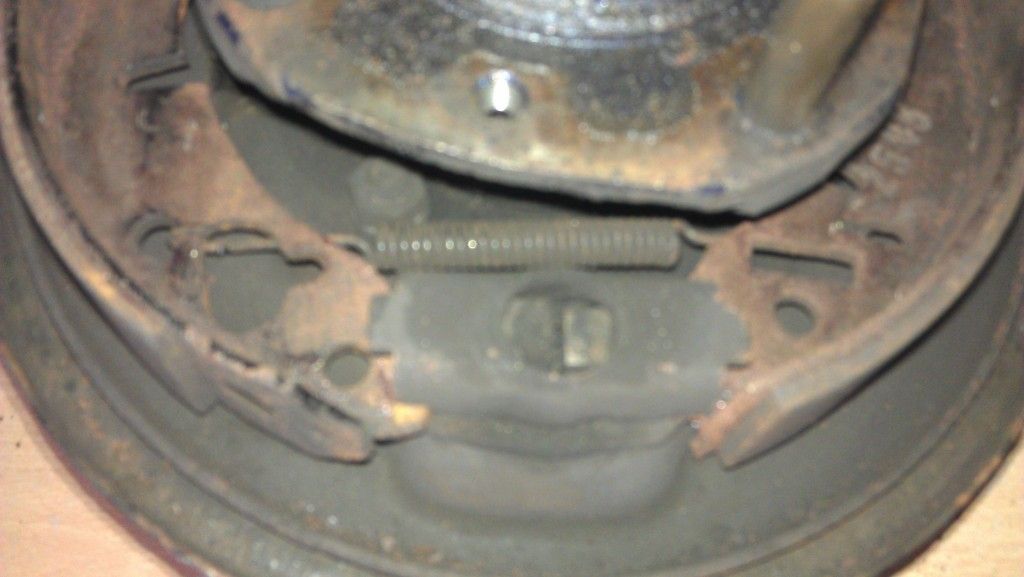
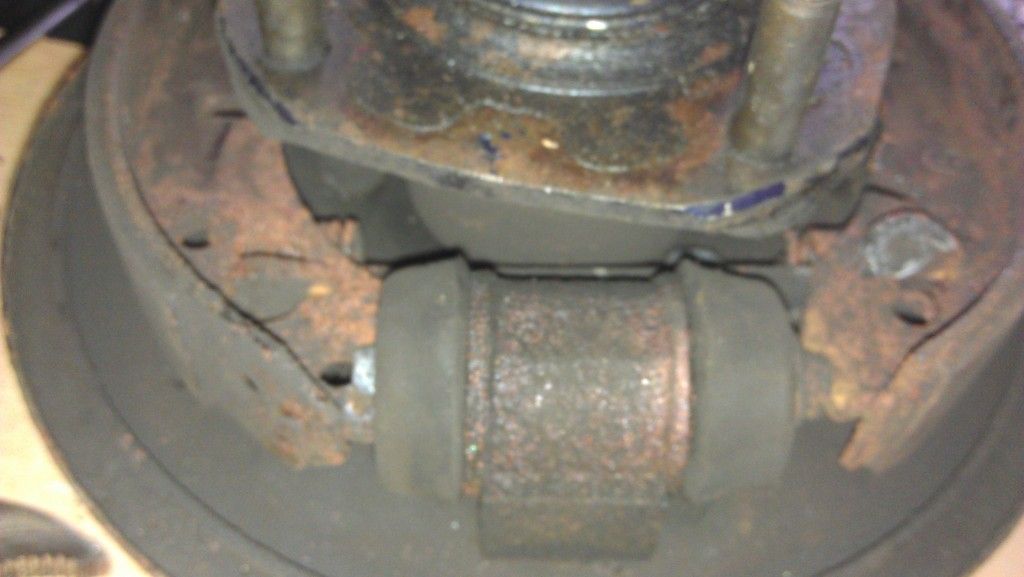
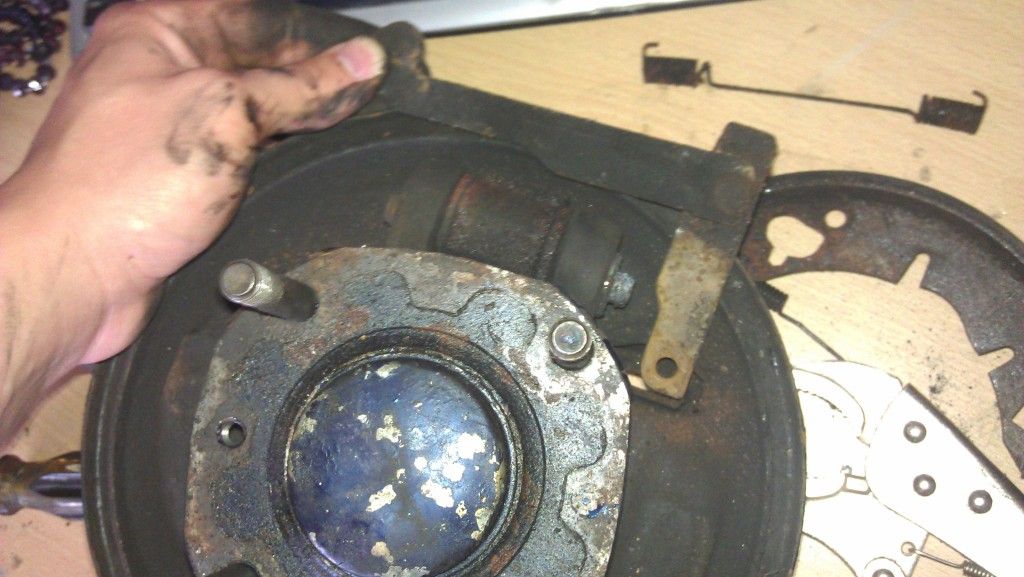
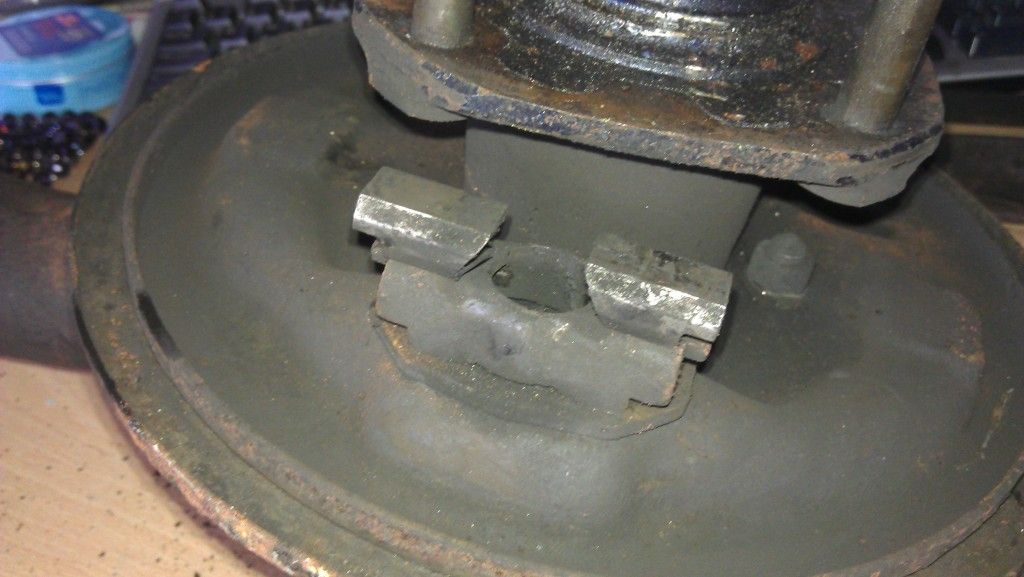
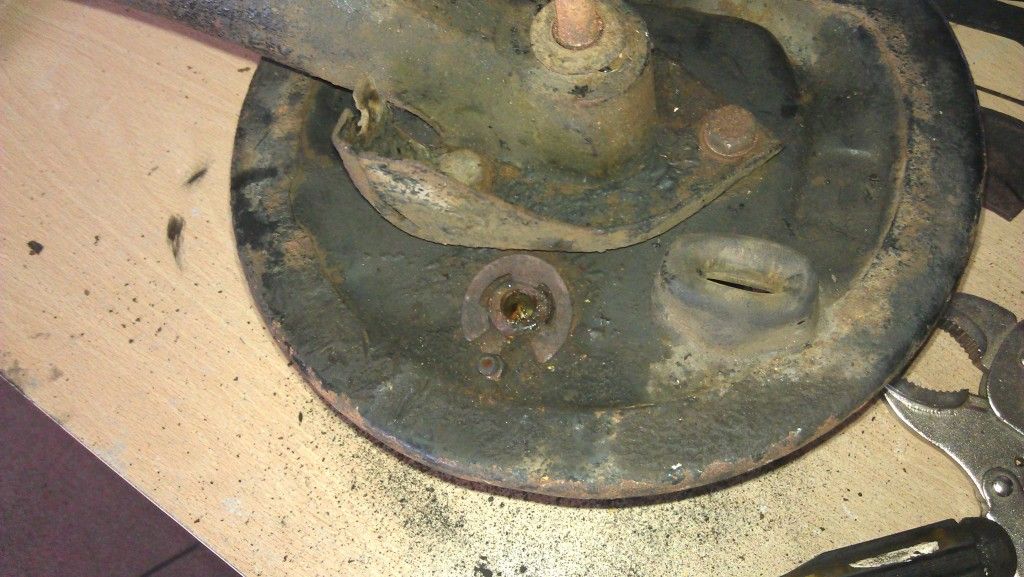
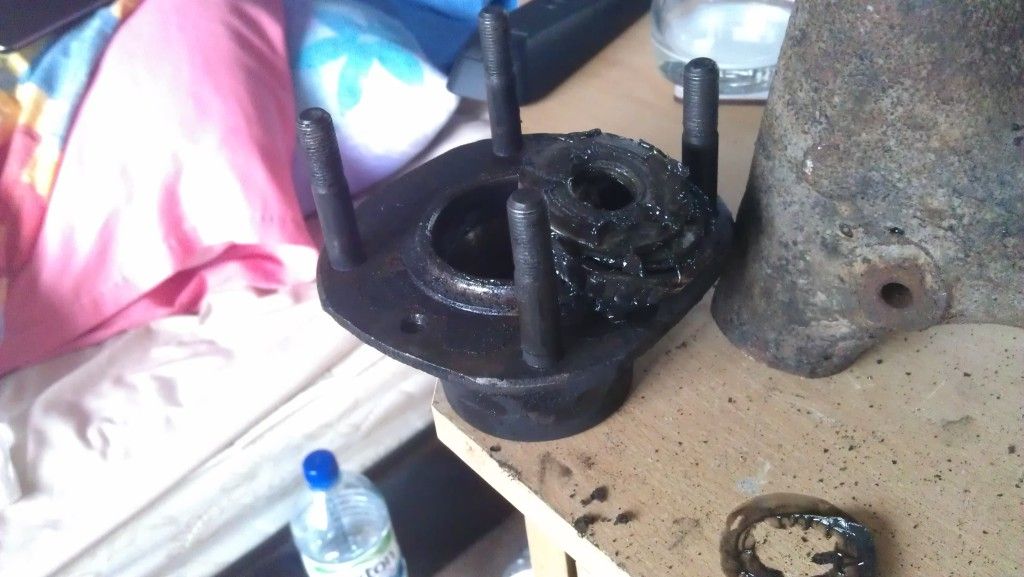
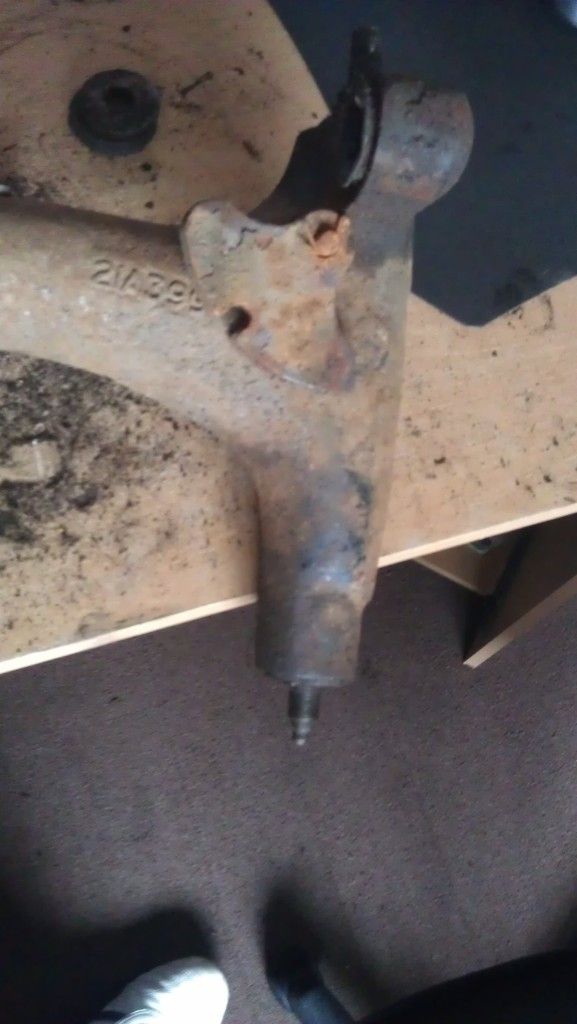
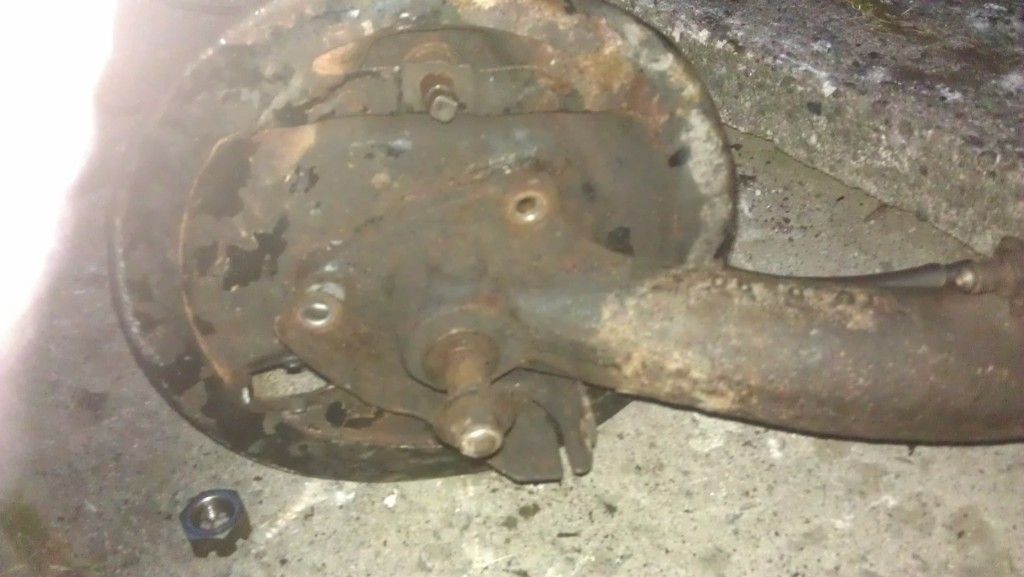
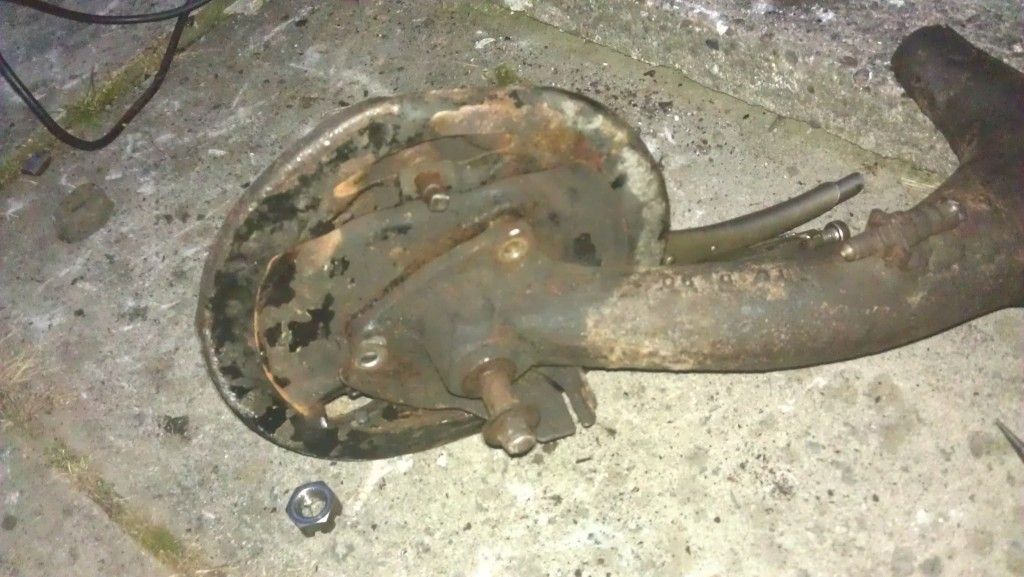
Here’s a load of photos of the rear radius arm, mainly for my own reference but some one else may find them helpful.


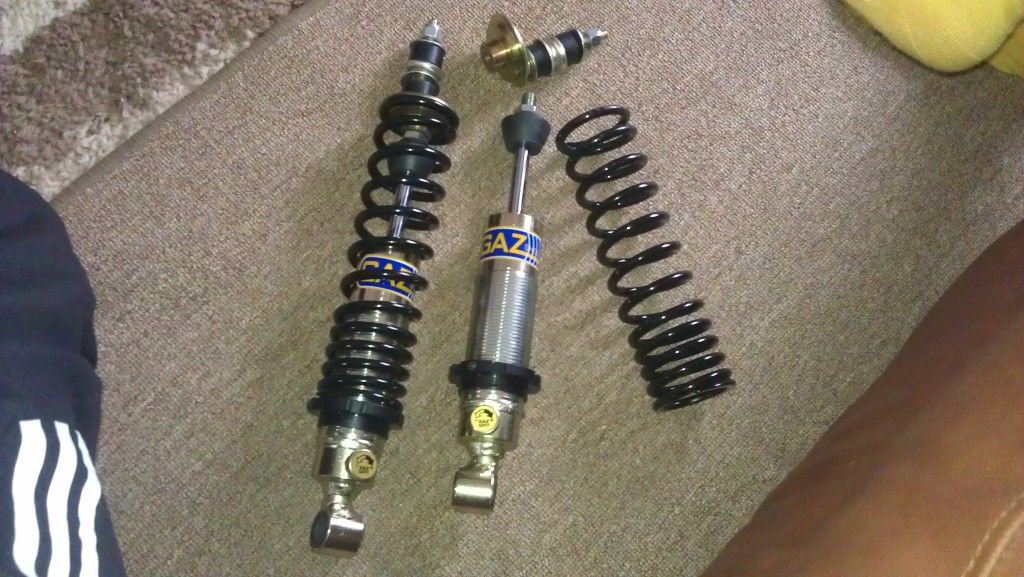
Then theses arrived *happy*


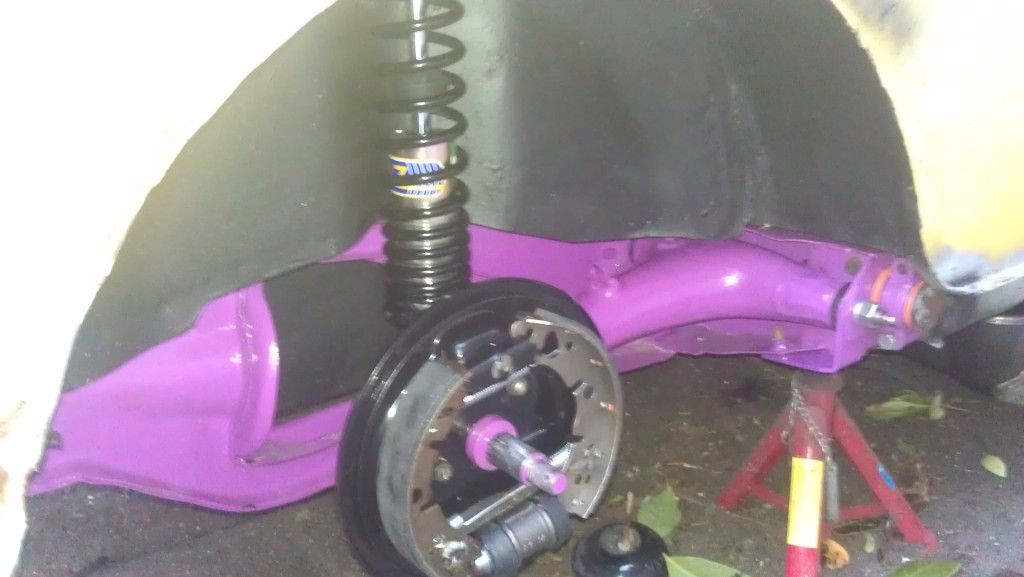
Rear lowered and offset GAZ coilovers

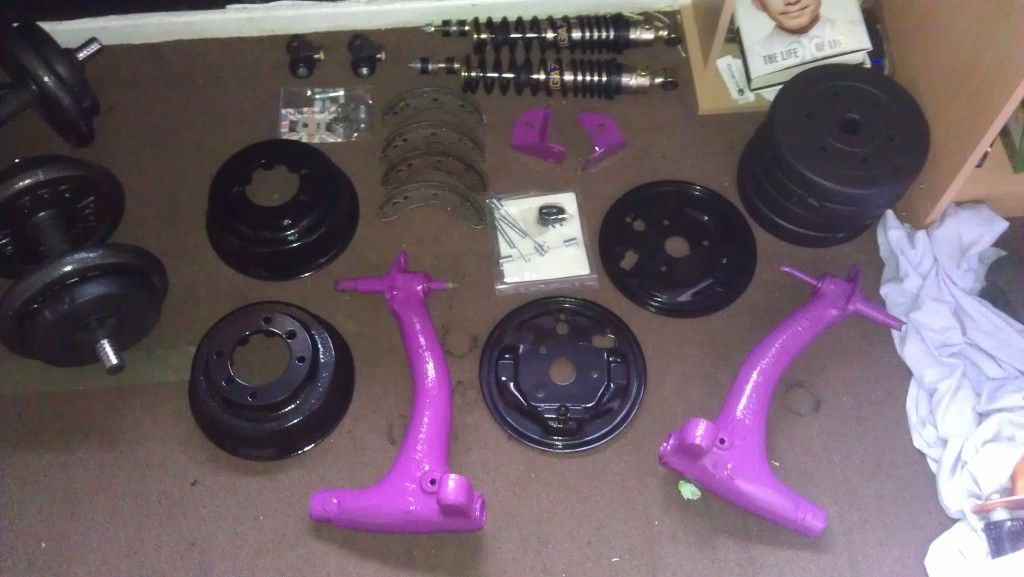
And then loads of stuff came back from powder coaters, meaning that everything at the rear end is now fully powder coated…


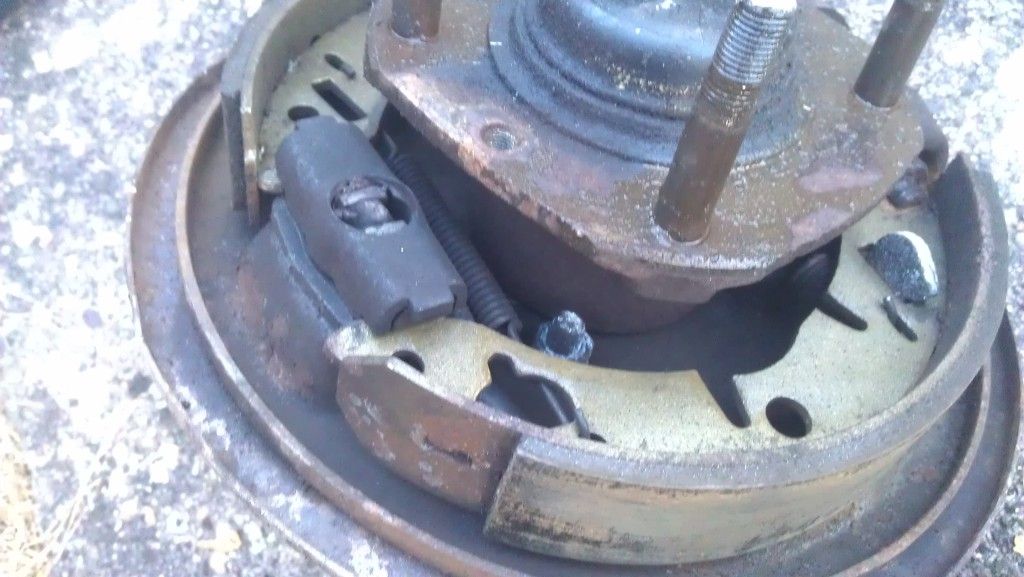
Nice shiney new bearings

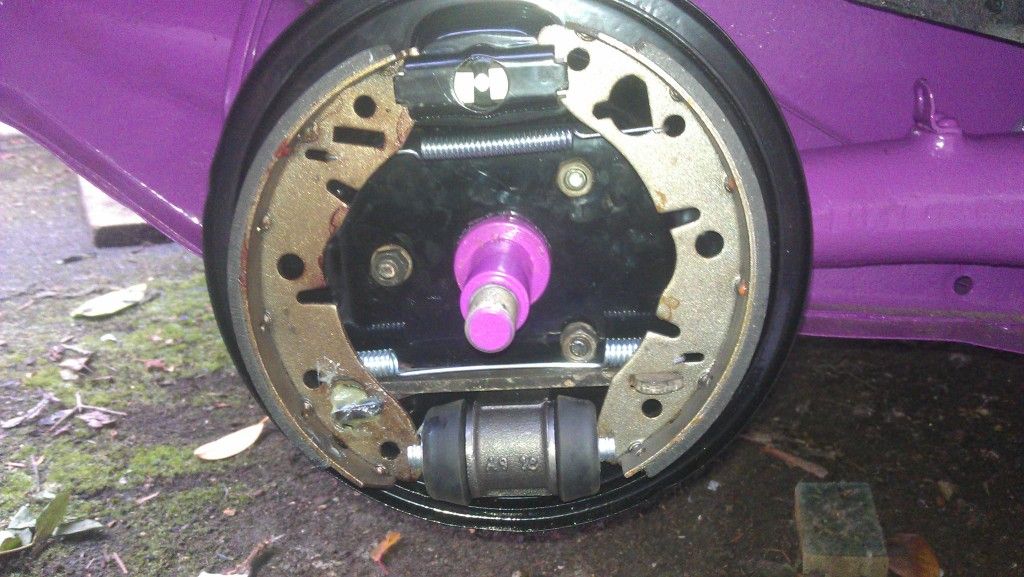
Then just recently built one side up. Ready and waiting for a wheel.


But is this on right? I think it is from my reference pictures but want to double check as it’s the first time I’ve ever built any up. Cheers


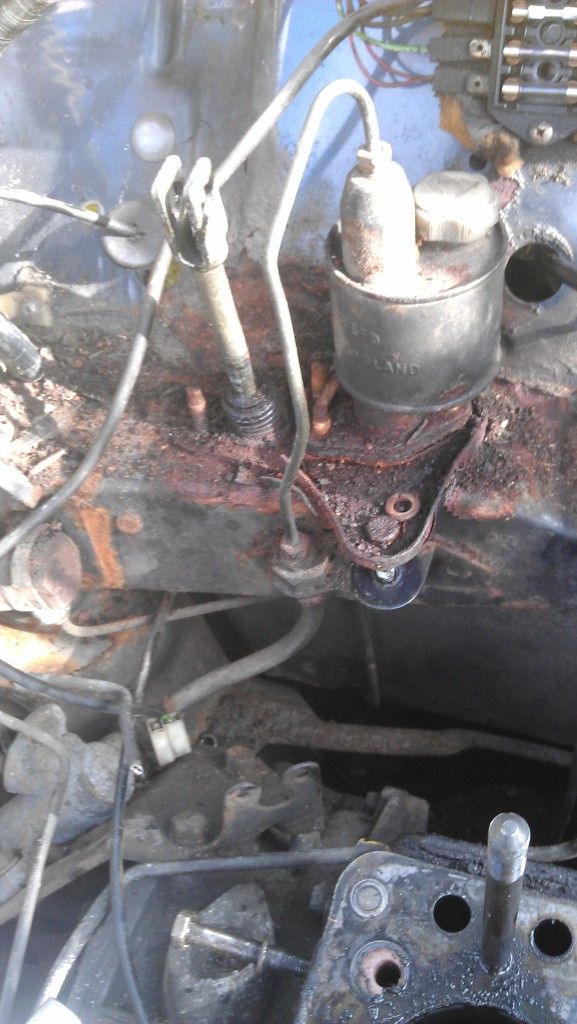
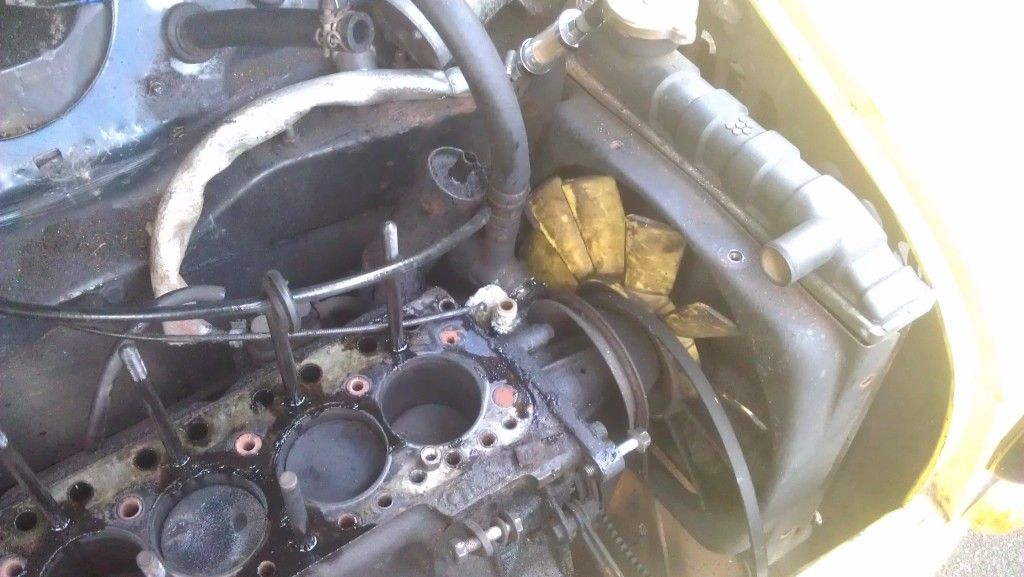
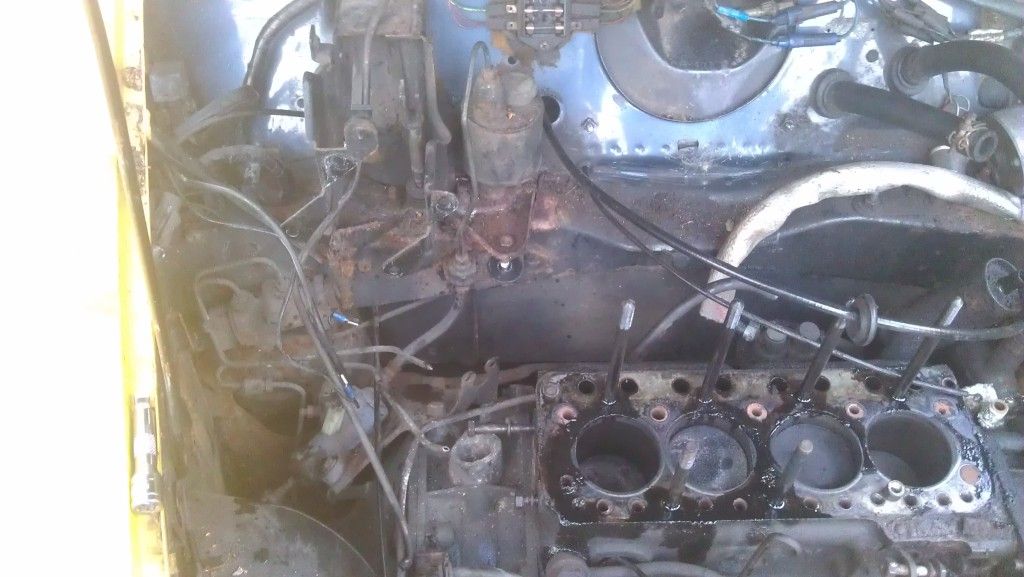
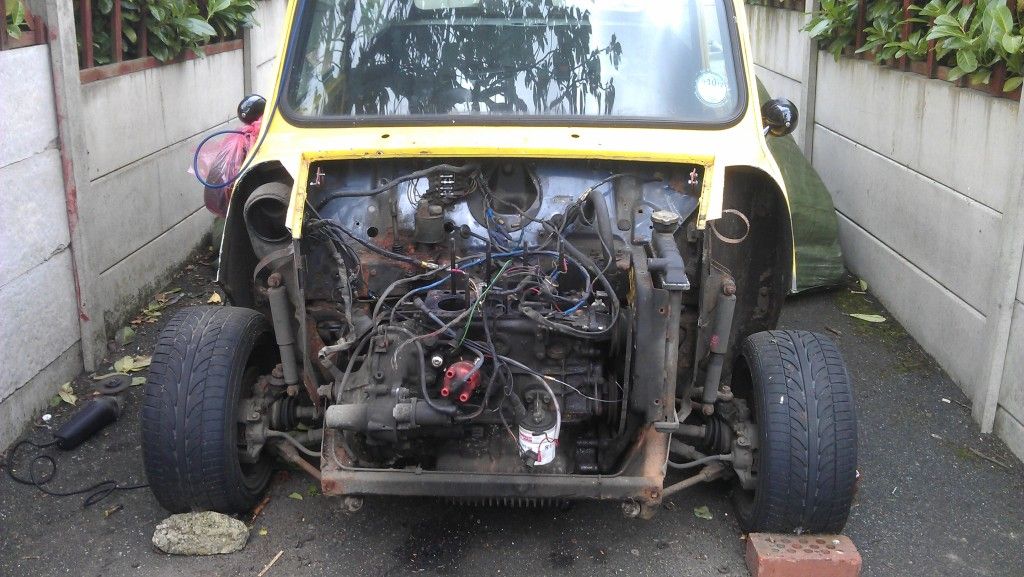
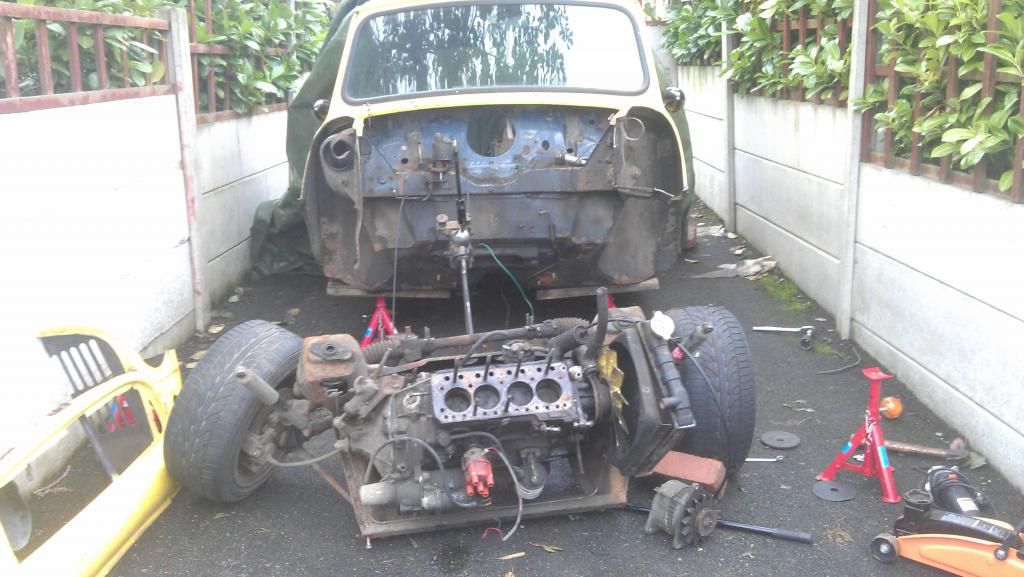
Then I started taking engine out ready for the prep for the turbo lump


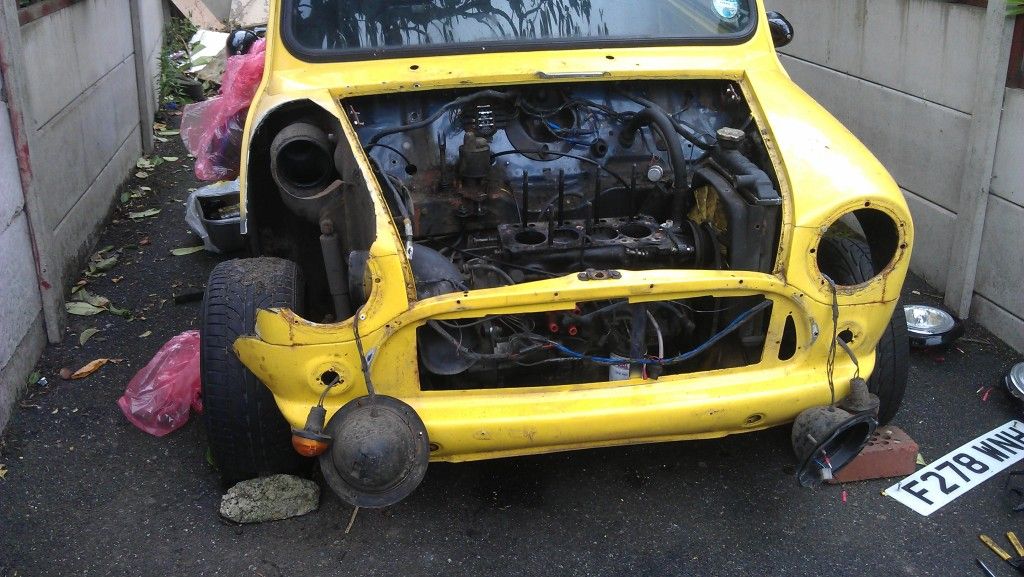
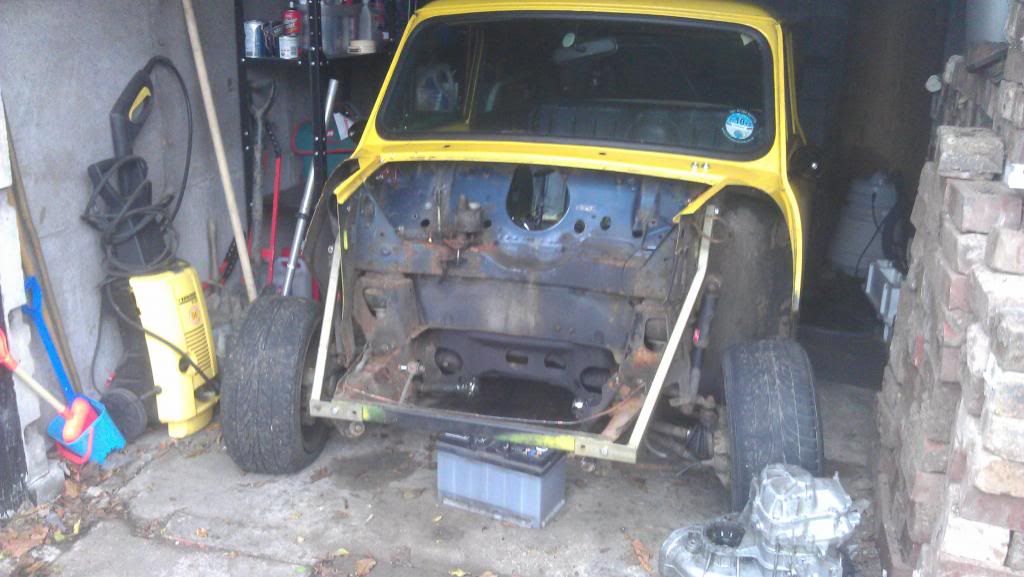
And finally I took the plunge and cut off the front :(


Cheers All


Turbo This..

User Avatar

1767 Posts
Member #: 9165
Previously josh4444

Australia, brisbane

looks good mate a bit bright for my likes tho..


mercenary62

User Avatar

641 Posts
Member #: 9937
Post Whore

somewhereintheuniverse near selkirk scotland

good work looks like mine at the moment

give em hell


JacobCartledge

17 Posts
Member #: 10023
Member

well since the last update ive bought a welder ready to have ago when it comes to it..

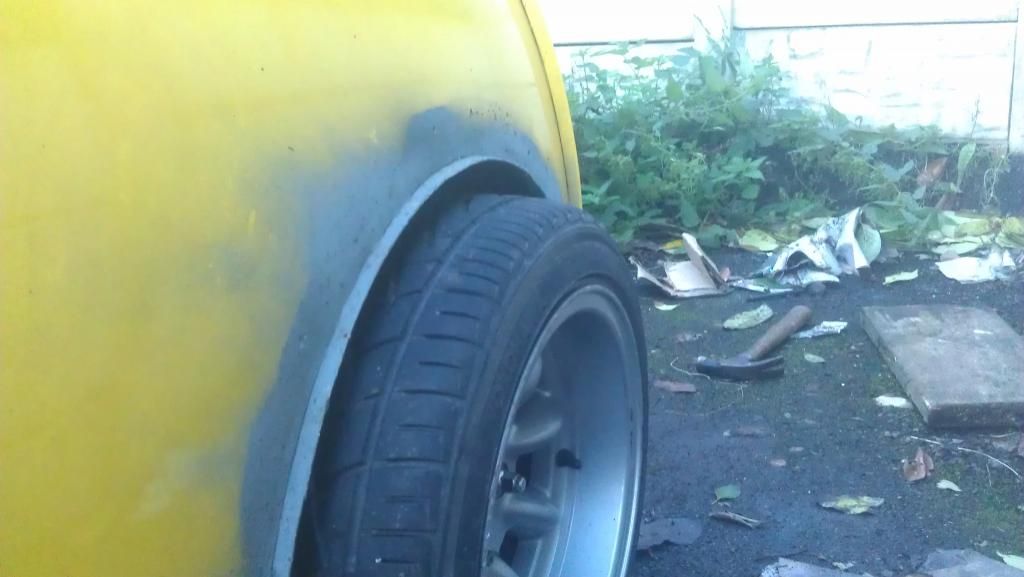
Then got it back on its rear wheels, sitting rather low though, thinking of tubing the arches if i can put my hand to welding?


Then decided to get the subframe off to be powder coated along with my brace bars, so off it came along with everything else in the bay.


then had to bolt the subframe back up as its going to be stored into a garage over winter so atm its on all fours with just a sub frame brace bars and hubs lol.

and a quick question, how much strength does the subframe loose when you start attacking it with a hole saw?


oh and ive recently purchased some fibreglass doors and poly carbed windows to bring down the weight, is it possible to get sub 500kg?


Cheers


Paul R

User Avatar

4018 Posts
Member #: 1757
Back to Fucking Tool status

Swindon

Paul w is nearly or already is sub 400kg... Have a look for rich1380, chris dillow he is at 4xx kg, the don iirc is 430. If fitting fg doors i would recomend a rollcage personally

Drives
-Ford S-max Mk2 Ecoboost
-Rover 100 VVC #2 - track project

Searching is all you need on TurboMinis


JacobCartledge

17 Posts
Member #: 10023
Member

Yeha i 6 point with door bars is being welded in, and thats good to hear, will aim for around 480 then


mercenary62

User Avatar

641 Posts
Member #: 9937
Post Whore

somewhereintheuniverse near selkirk scotland

all looks good any updates

give em hell


JacobCartledge

17 Posts
Member #: 10023
Member

Not been any updates for a while as i basically lost alot of motivation.
Anyways got it moved into a new home for the winter, should stay nice and dry now.


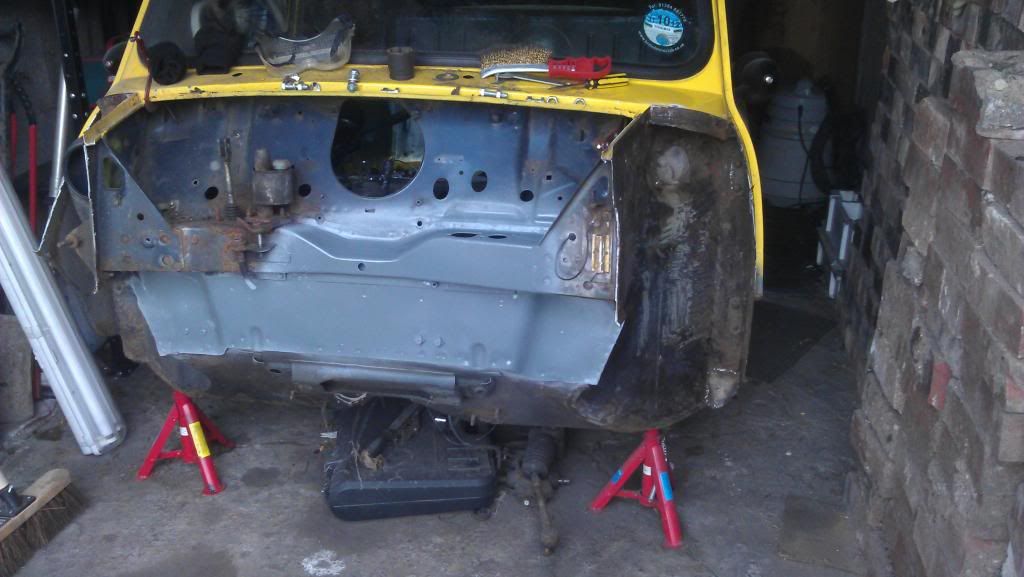
started taking it back to bare metal, and then some zinc primer to keep rust at bay. The rest of the front has been done since taking these pictures


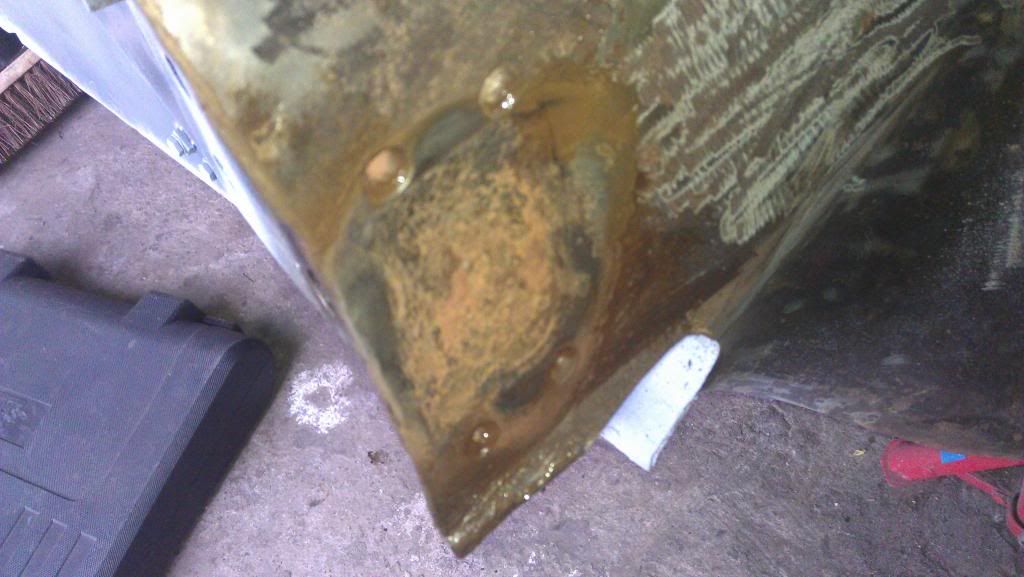
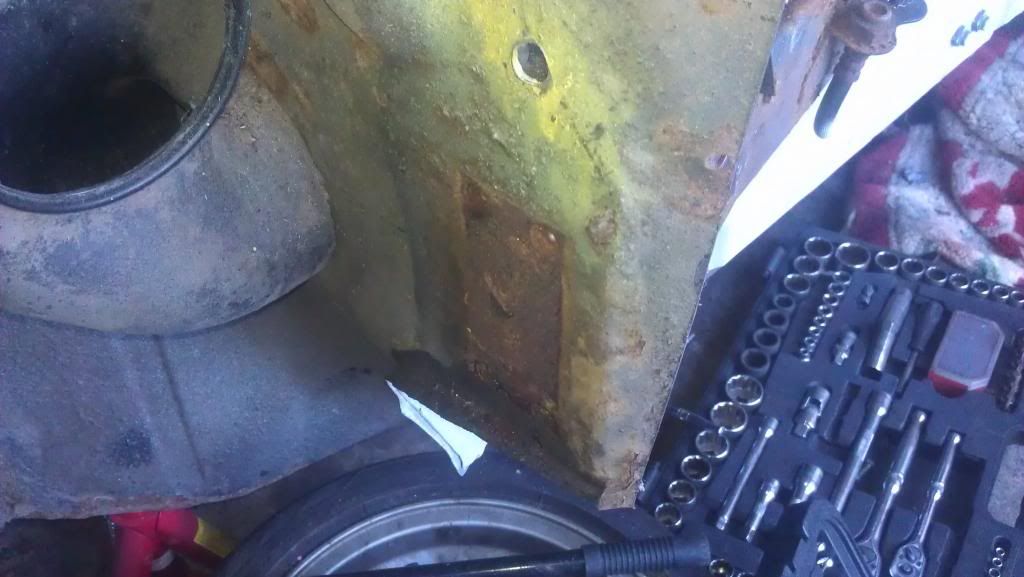
got the shock mount, looked a bit iffy.


thought i would give it ago, see how much metal was left. The Anserw.. None :(


So another place that needs welding, along witht he underside of the scuttle..


and the other shock mount looks the same..


Overall pretty happy with how solid the shell is though.

Now for some shiney bits :)
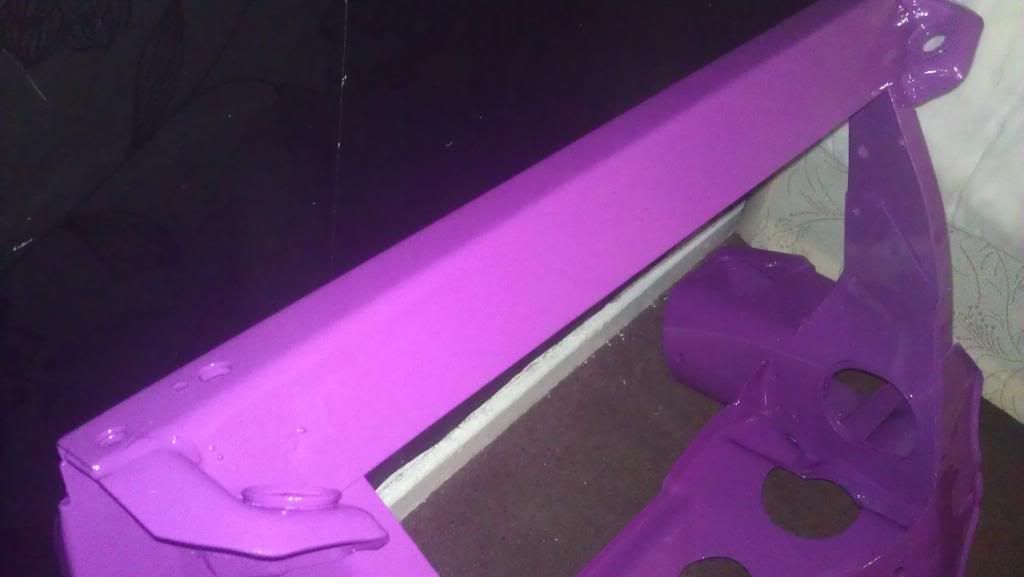
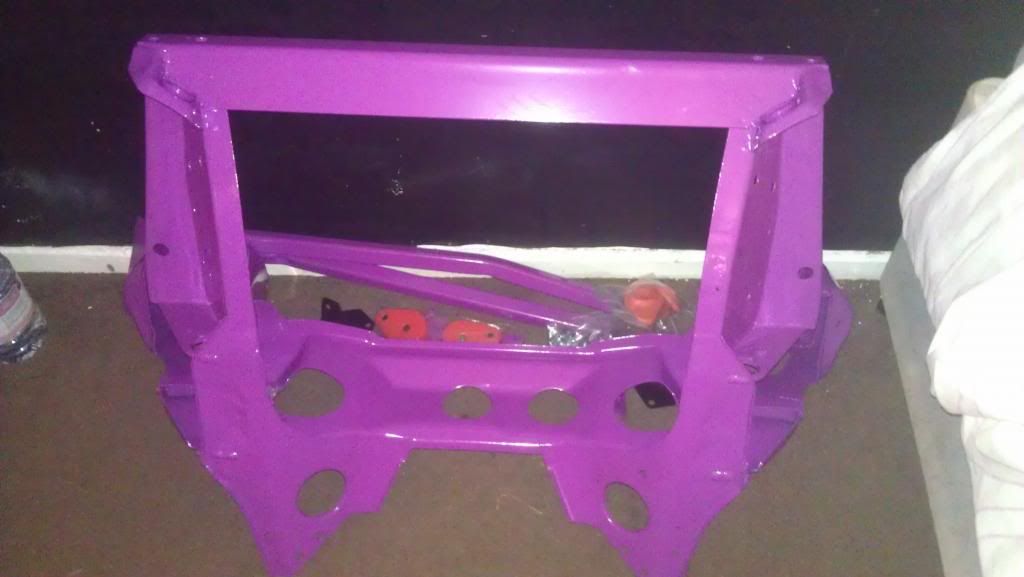
Got the front subby back from powder coaters ready togo on after the front hyas been stone chiped and painted.


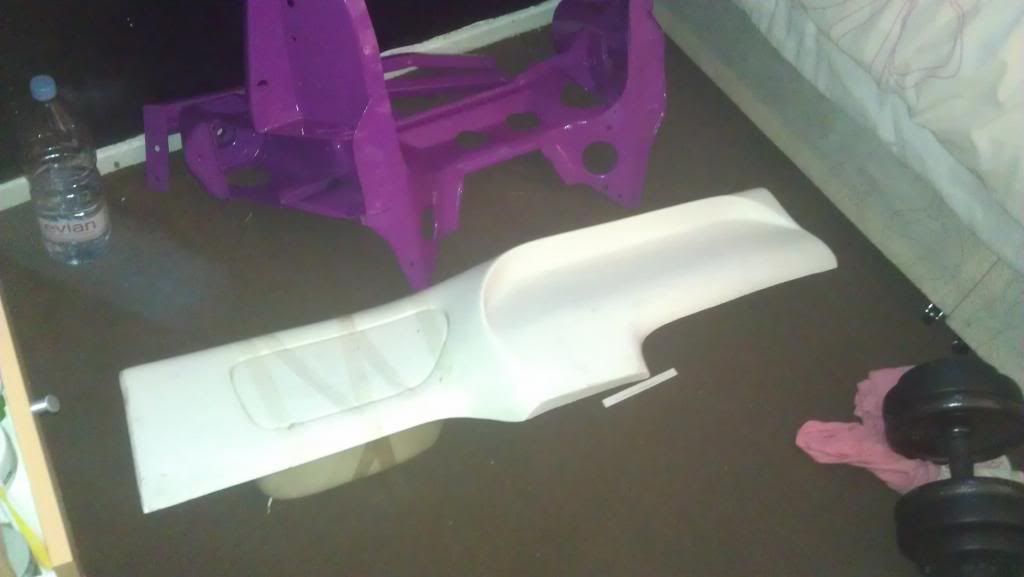
Also got a fibreglass dash board, am thinking of cutting some 52 mm holes for gauges then using a digital speedo in the center along with some other things such as kill switchs.


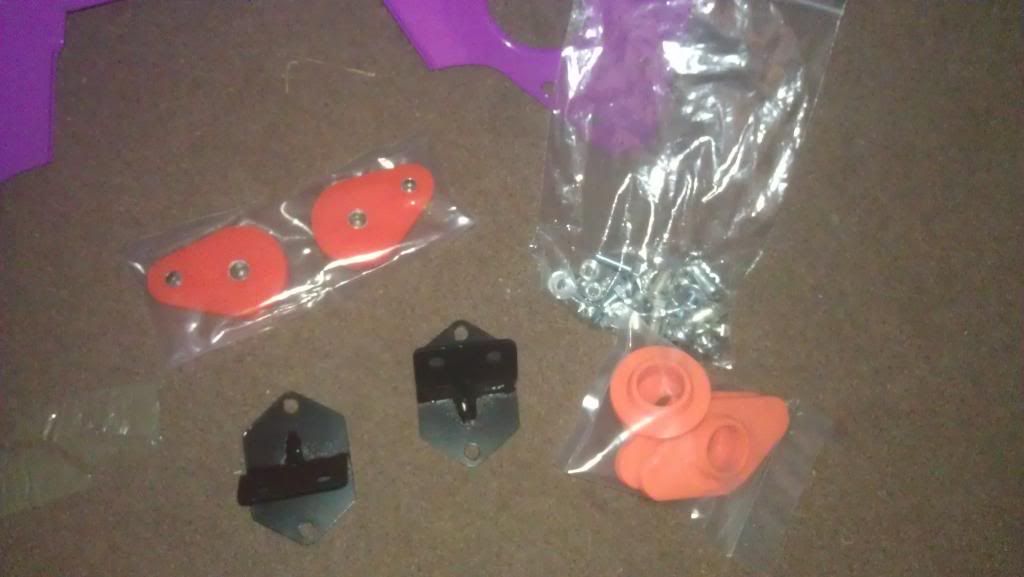
Nice new bushs and mounts.


Quick photo of all of the new parts, including brace bars.


Rob Gavin

User Avatar

6729 Posts
Member #: 618
Post Whore

Glasgow

better start practicing with that welder!

Home > Show Us Yours! > My Yellow, Turbo to be.... Track based mini
Users viewing this thread: none. (+ 1 Guests)  
To post messages you must be logged in!
Username: Password:
Page: