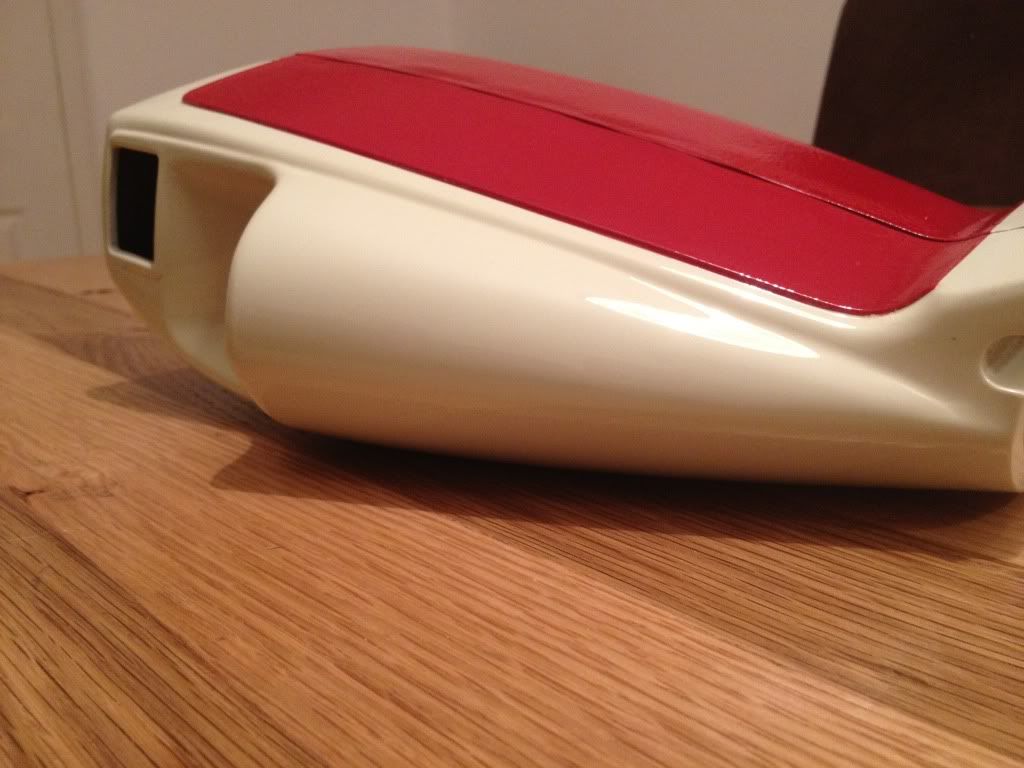
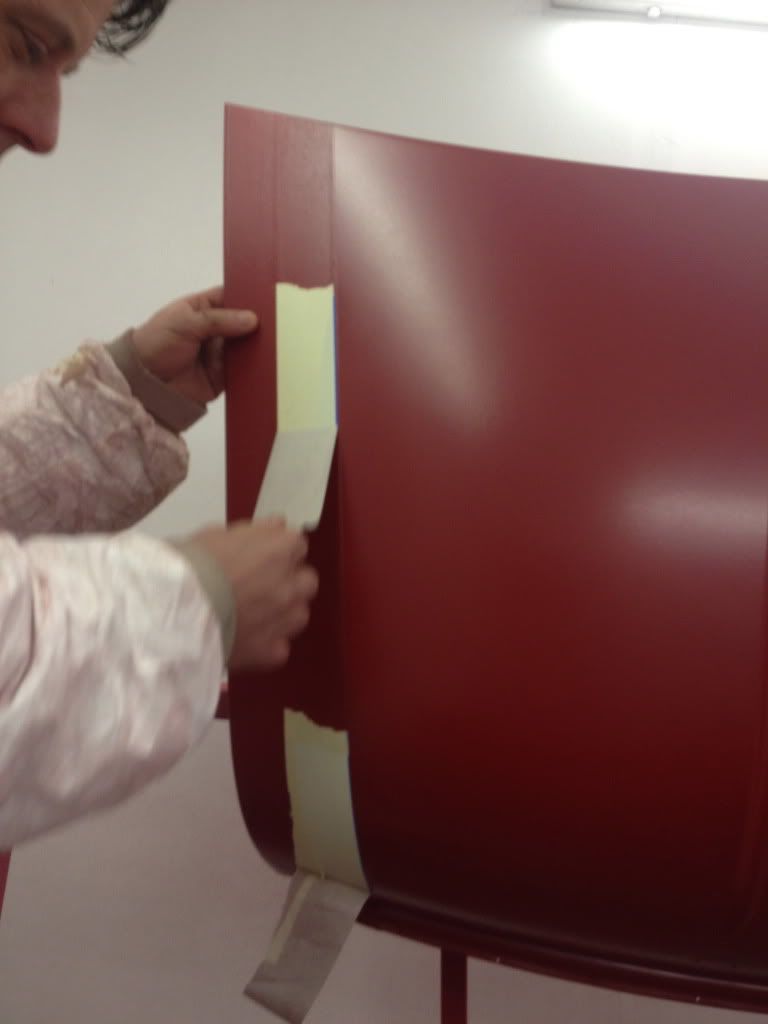
| Page: |
| Home > Show Us Yours! > My turbo rebuild | |||||||
|
35 Posts Member #: 9658 Member Near Leighton Buzzard (Beds) |
2nd Feb, 2012 at 10:44:06pm
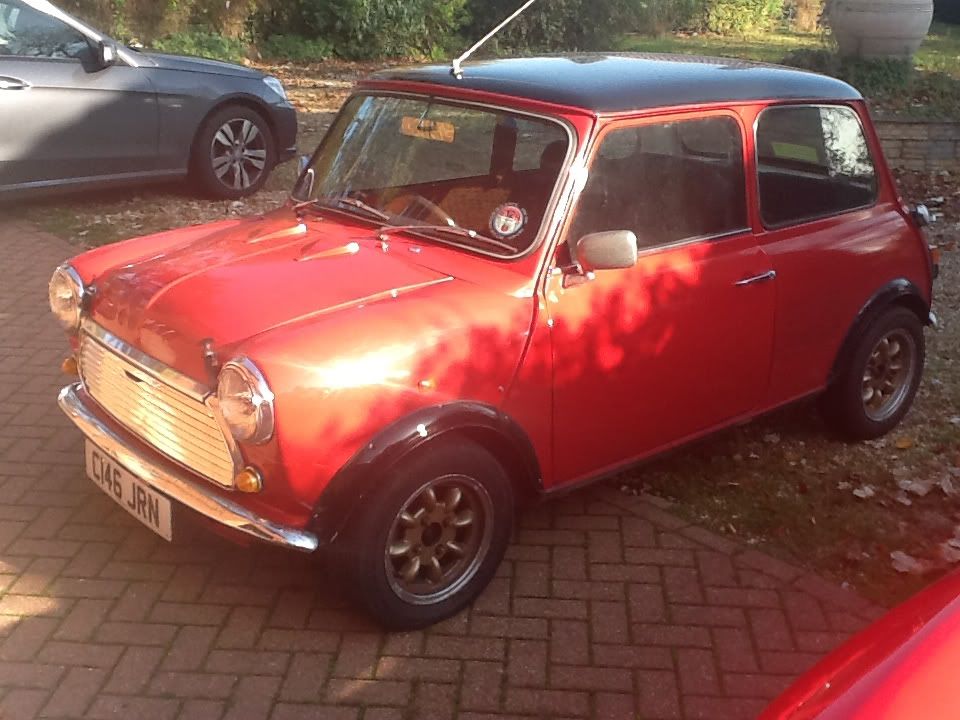
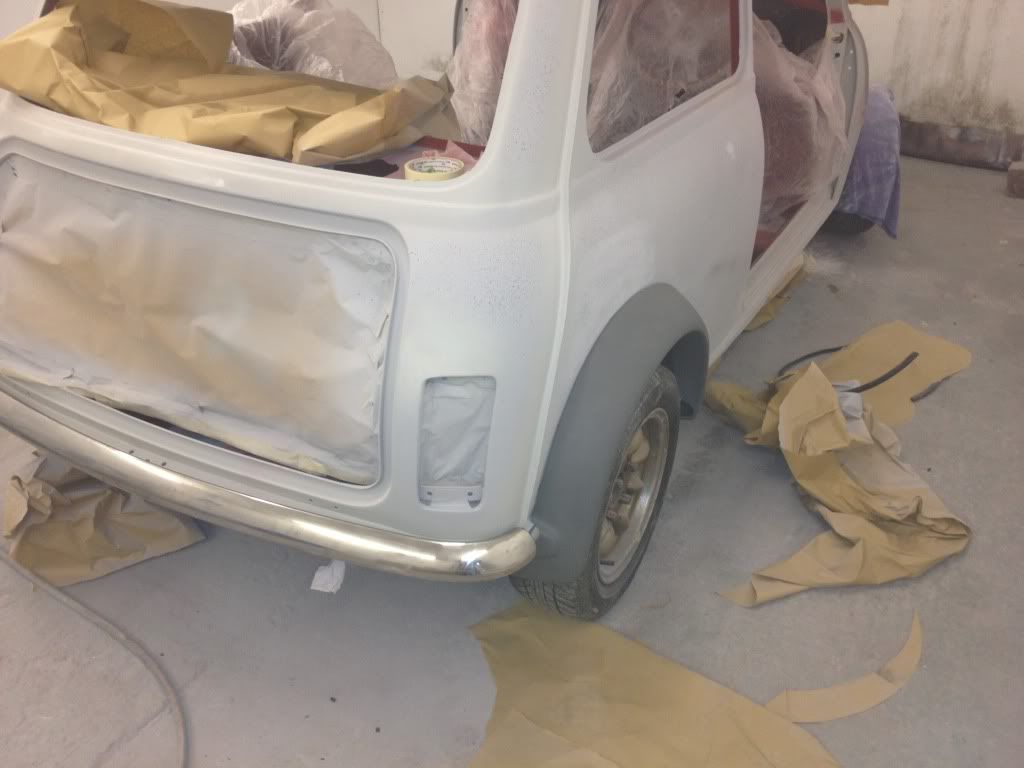
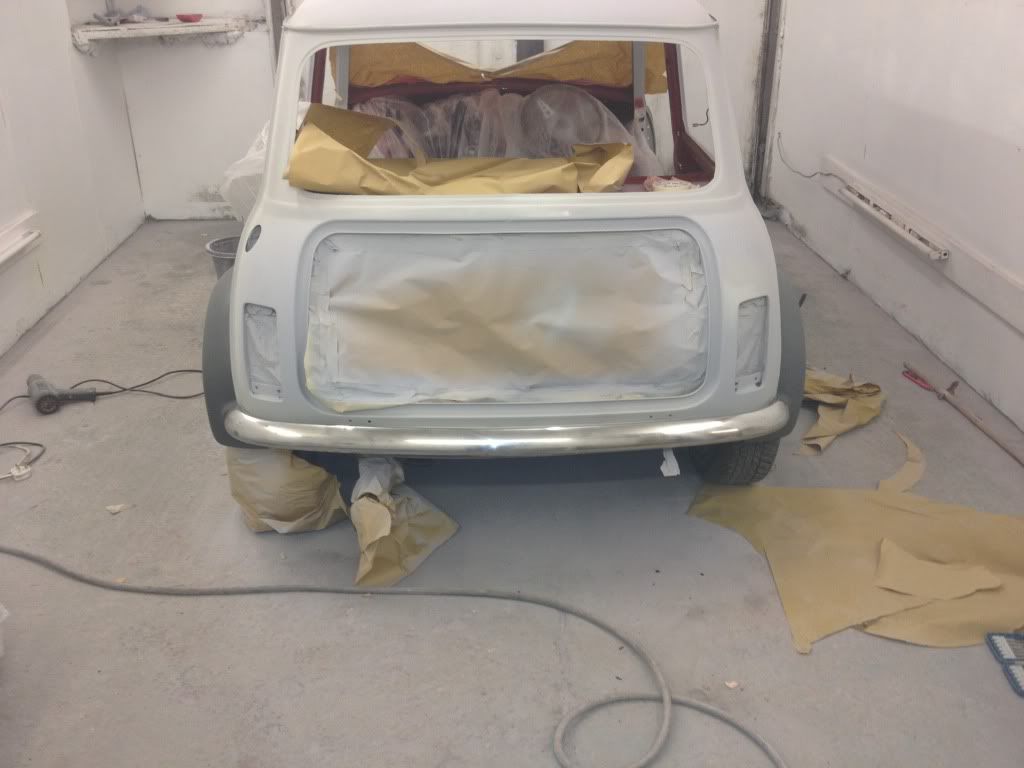
Hi all,
|
||||||
|
35 Posts Member #: 9658 Member Near Leighton Buzzard (Beds) |
2nd Feb, 2012 at 11:10:45pm
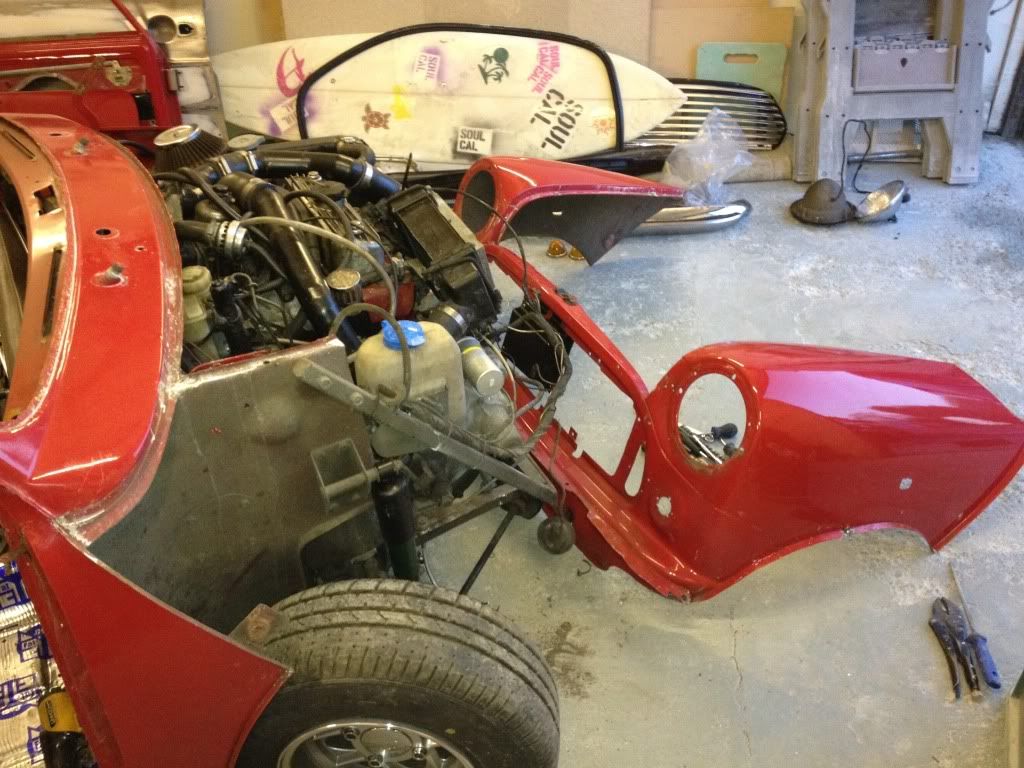
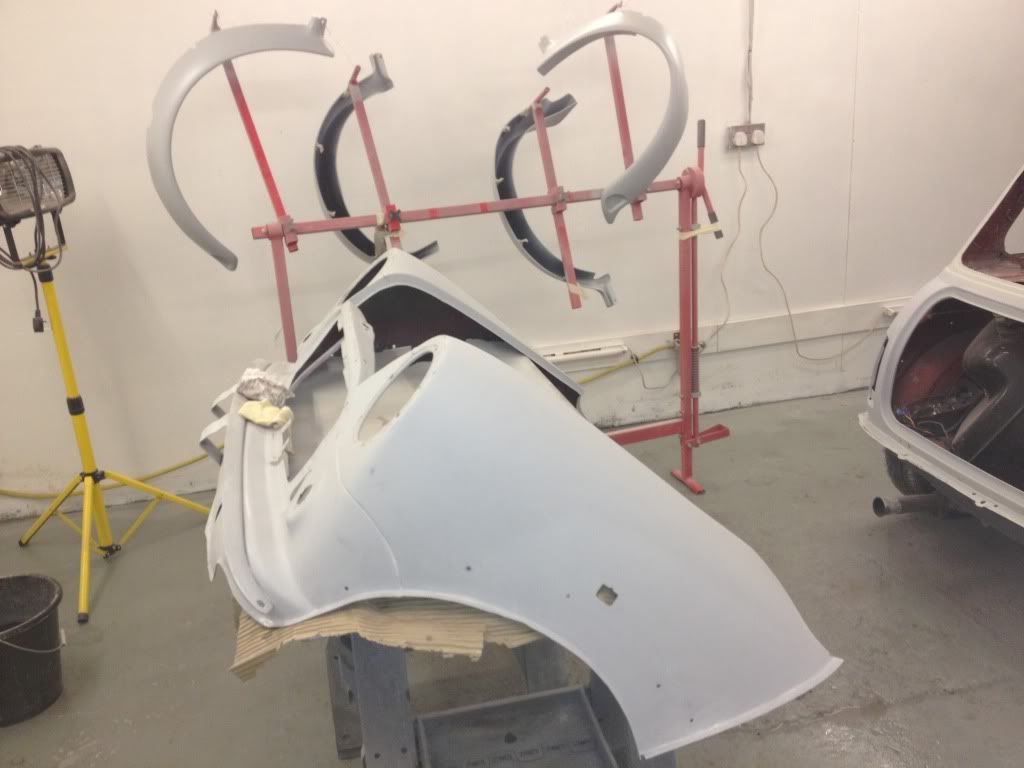
so...
|
||||||
|
1083 Posts Member #: 8932 Post Whore |
2nd Feb, 2012 at 11:15:52pm
Looks good so far, is it going to be red again? and whats the engine spec? |
||||||
|
35 Posts Member #: 9658 Member Near Leighton Buzzard (Beds) |
2nd Feb, 2012 at 11:26:15pm
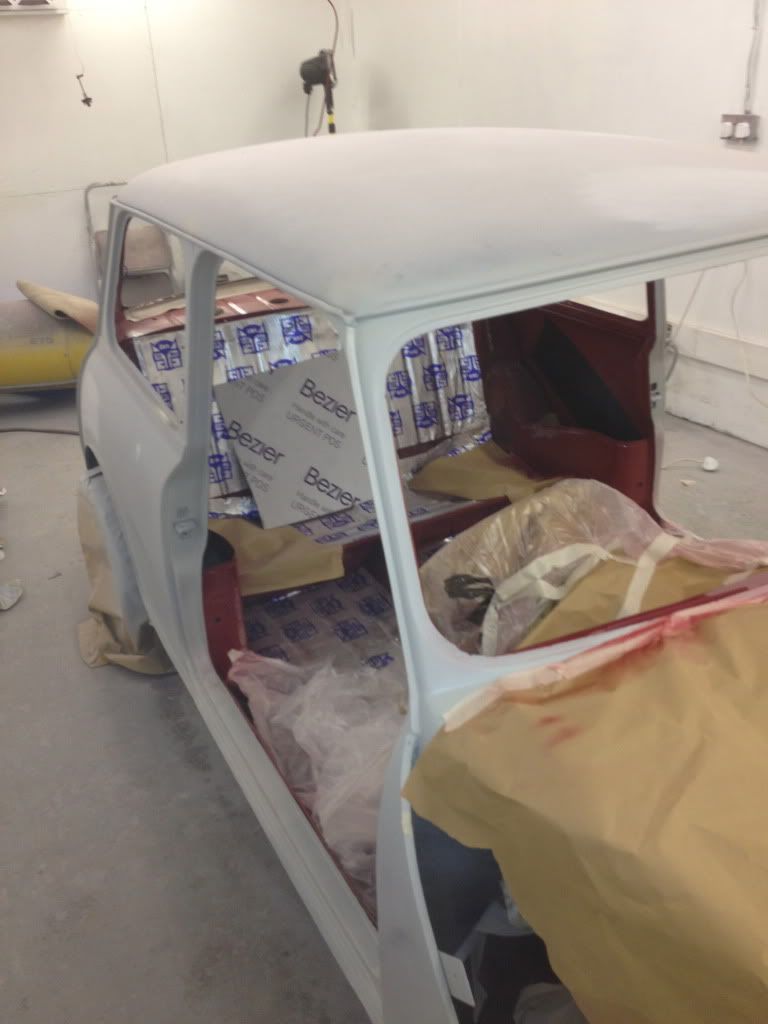
soo... an idea hatches.
|
||||||
|
35 Posts Member #: 9658 Member Near Leighton Buzzard (Beds) |
2nd Feb, 2012 at 11:31:06pm
On 2nd Feb, 2012 george91 said:
Looks good so far, is it going to be red again? and whats the engine spec? Engine is a metro turbo, with the 'good' crank... beefed up a little - added an intercooler, ditched the computer - bleed valve, boost currently running 7psi - but more to come soon! and - yeah... red :) oh - and cream |
||||||
|
35 Posts Member #: 9658 Member Near Leighton Buzzard (Beds) |
2nd Feb, 2012 at 11:35:39pm
soo
|
||||||
|
35 Posts Member #: 9658 Member Near Leighton Buzzard (Beds) |
2nd Feb, 2012 at 11:43:07pm
so - there's plenty here who'll understand just how exciting this moment is!
|
||||||
 384 Posts Member #: 4215 Senior Member |
3rd Feb, 2012 at 12:23:39am
looks sweet mate... |
||||||
|
35 Posts Member #: 9658 Member Near Leighton Buzzard (Beds) |
3rd Feb, 2012 at 01:27:53am
On 3rd Feb, 2012 c2_mad said:
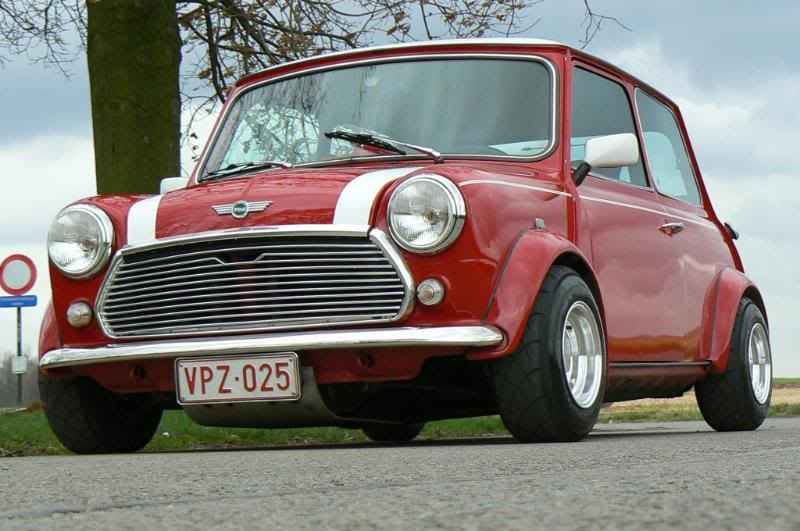
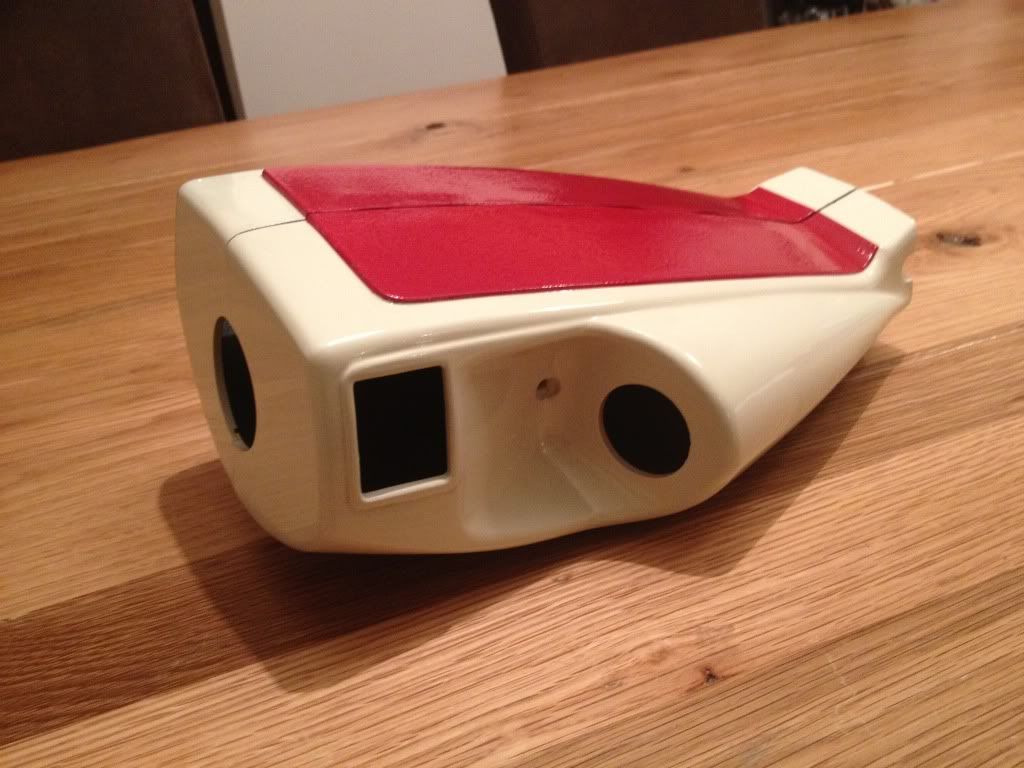
looks sweet mate... Cheers! so... painted stripes... really are awesome - so much nicer than vinyl I think? 
Very hard to get a photo that shows just how nice and clean the edges are on these! 
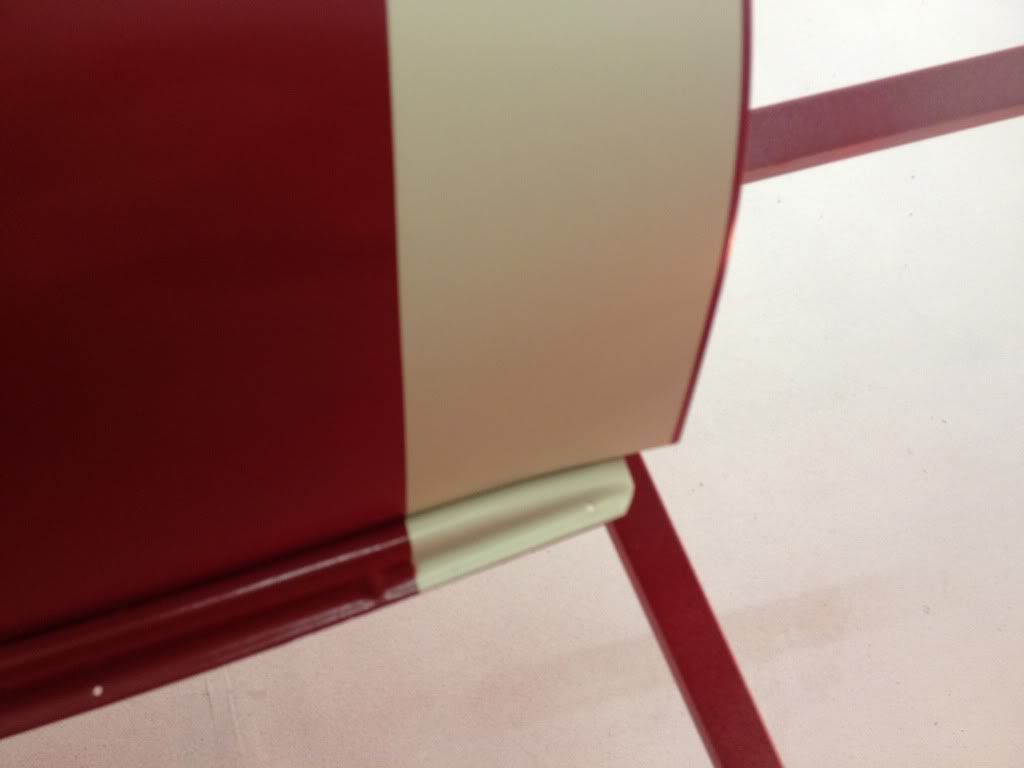

So ... the really fun bit... Off with the masking on the car. 
so - pretty cool color combo I think! but its all a little 'flat' at this stage, as the paint is prepped for 2 pac clear to bring the bling up a little... again - hard to capture - but it's starting to look pretty cool. The following photos are just straight off the gun - flatting and polishing still to come. 

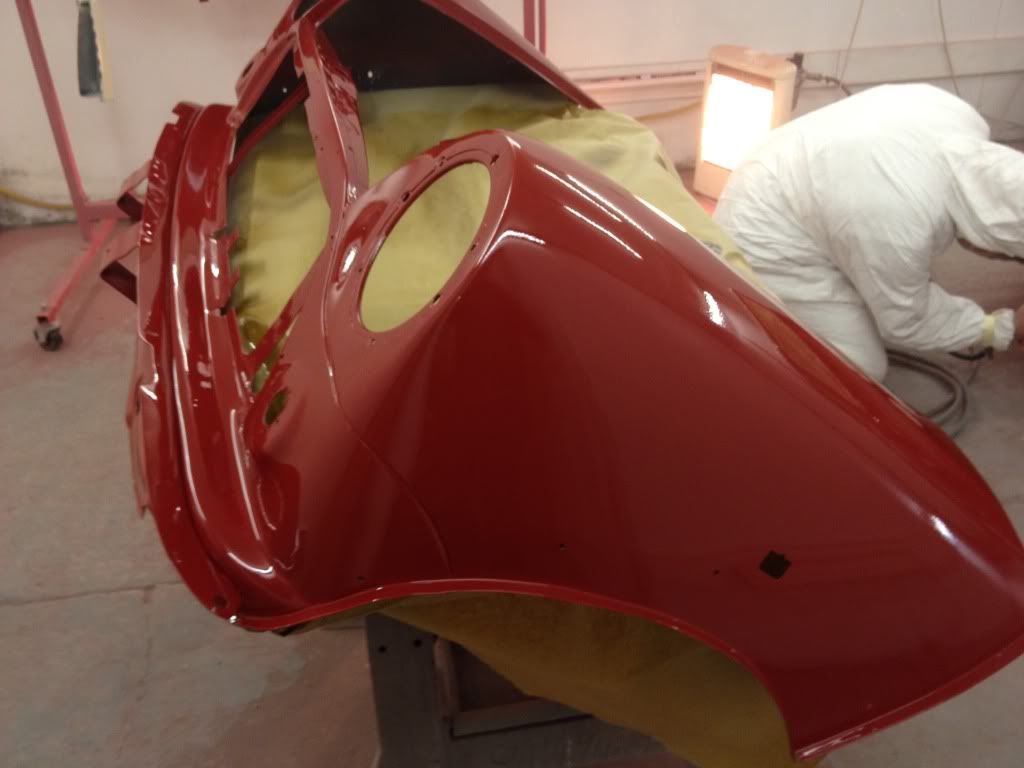
Edited by Madmx on 3rd Feb, 2012. |
||||||
|
35 Posts Member #: 9658 Member Near Leighton Buzzard (Beds) |
3rd Feb, 2012 at 01:35:53am
|
||||||
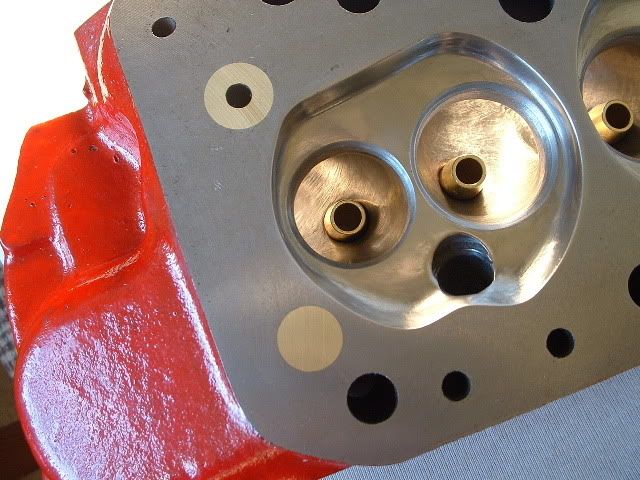 4626 Posts Member #: 20 My sister is so fit I won't show anyone her picture Lake District |
3rd Feb, 2012 at 07:43:28am
Nice job mate ! :) |
||||||
|
971 Posts Member #: 3228 Post Whore North of the Netherlands |
3rd Feb, 2012 at 08:04:02am
I like that!!
Dazed and Confused.... |
||||||
 16540 Posts Member #: 4241 King Gaycharger, butt plug dealer, Sheldon Cooper and a BAC but generally a niceish fella if you dont mind a northerner Rotherham, South Yorkshire |
3rd Feb, 2012 at 08:19:44am
Looks great. makes me want to get mine painted even more now. On 11th Feb, 2015 robert said:
i tried putting soap on it , and heating it to brown , then slathered my new lube on it 
|
||||||
 2054 Posts Member #: 452 Post Whore Chester, UK |
3rd Feb, 2012 at 08:50:33am
very nice, cant beat a freshly painted mini :) |
||||||
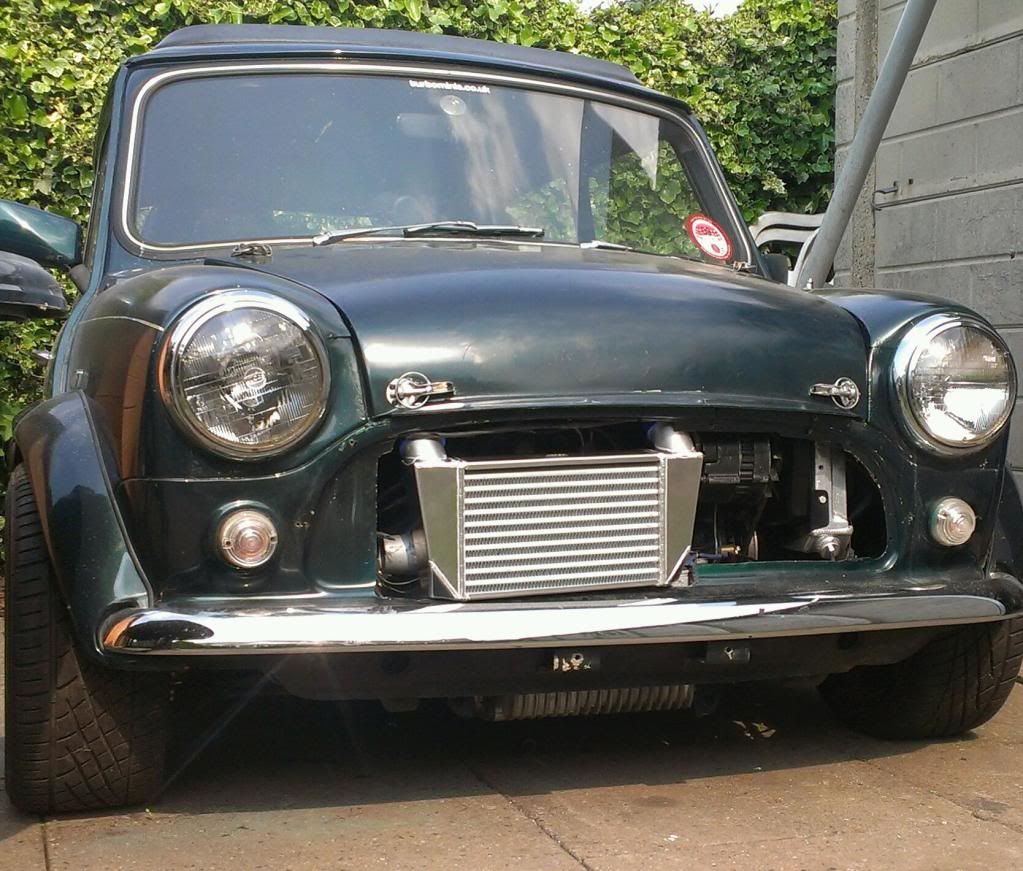 2233 Posts Member #: 9037 Post Whore Doncaster, yorkshire |
3rd Feb, 2012 at 09:10:54am
That looks real nice, a mate of mine painted his 106 cream, looked sweet, better than anybody expected. Audi s4 b5 - 470bhp & 486ft lbs
On 15th Mar, 2012 wil_h said:
Yes, Carl says he gets requests for rimming all the time On 30th Apr, 2012 Brett said:
yeah stick the bit in and give it a wobble  |
||||||
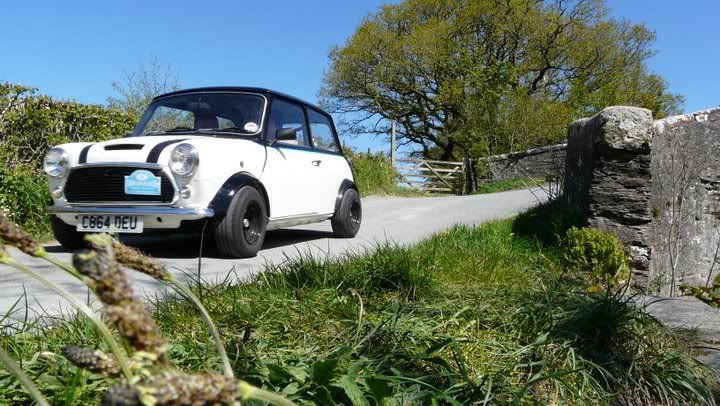 1648 Posts Member #: 9038 Post Whore Carlisle, Cumbria |
3rd Feb, 2012 at 09:29:39am
looks really good, think the cream sets it off nicely |
||||||
 6729 Posts Member #: 618 Post Whore Glasgow |
3rd Feb, 2012 at 09:34:38am
looks like you had a good car to base all the hard work on as well |
||||||
|
35 Posts Member #: 9658 Member Near Leighton Buzzard (Beds) |
3rd Feb, 2012 at 09:54:49am
Thanks for all the positive comments guys!
On 3rd Feb, 2012 Yo-Han said:
I like that!! Might use ur cowl idea if you dont mind..  Cool - I copied ideas from other minis on mine - so yeah I dont mind - maybe I started a trend here - I've NEVER seen one done like this before? 8-) On 3rd Feb, 2012 Rob Gavin said:
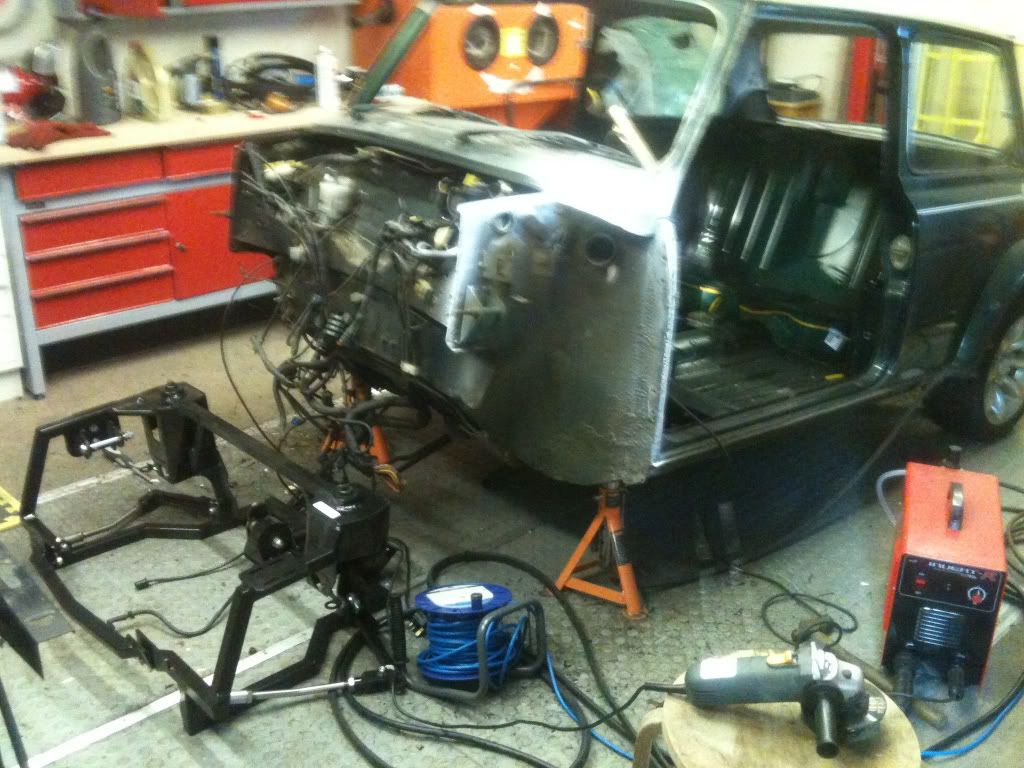
looks like you had a good car to base all the hard work on as well Putting it all up in one hit like that does kinda disguise the weeks of work, but yeah - I'm very lucky with this one. It's a 1986 car - and I don't know what they did different then, but it is one of those cars that just hasn't rusted! i mean, it's on original sills - original floors, etc. very clean. That said, a bunch of things were sorted when the turbo conversion was done in the first place. Unlike my other mini project which I'll focus on once this is finished...... It's a late sportspack - and i'm stuggling to find anywhere that there ISNT rust. Worst made car ever? did they nail these together with rusty panels???? 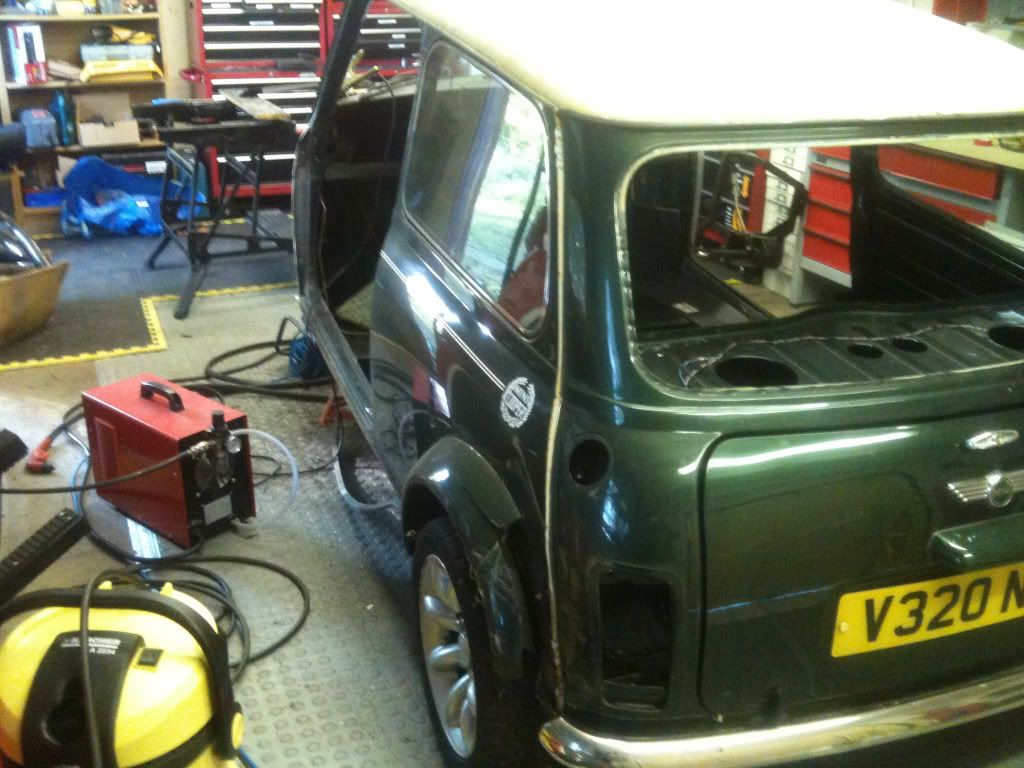
|
||||||
|
1492 Posts Member #: 9468 Post Whore Wootton Bassett |
3rd Feb, 2012 at 10:00:00am
lovley!!! How did you primer the arches? I've always wondered how people paint them because they are rubber?? On 10th Mar, 2012 theoneeyedlizard said:
Hypothetically speaking, where would you stick your nozzle? On 22nd Jun, 2012 apbellamy said:
my wife doesn't know what.head is never mind compression ratio. |
||||||
|
35 Posts Member #: 9658 Member Near Leighton Buzzard (Beds) |
3rd Feb, 2012 at 10:32:52am
On 3rd Feb, 2012 Craigie-B said:
lovley!!! How did you primer the arches? I've always wondered how people paint them because they are rubber?? I'm using New old stock - original arches. They are made of some kind of hardish plastic. But still flexible. But it's easy - same paint / primer / clear - but including some stuff called 'plasticiser' (spelling?) which you mix into the paint, and it makes it all flexible... job done. |
||||||
 16540 Posts Member #: 4241 King Gaycharger, butt plug dealer, Sheldon Cooper and a BAC but generally a niceish fella if you dont mind a northerner Rotherham, South Yorkshire |
3rd Feb, 2012 at 10:42:02am
later shells where made from poorer metal and left outside with no paint.... On 11th Feb, 2015 robert said:
i tried putting soap on it , and heating it to brown , then slathered my new lube on it 
|
||||||
|
35 Posts Member #: 9658 Member Near Leighton Buzzard (Beds) |
3rd Feb, 2012 at 10:51:22am
On 3rd Feb, 2012 apbellamy said:
later shells where made from poorer metal and left outside with no paint.... I tell you - it's unbelievable the difference! green mini - 2000 - RUST EVERYWHERE. and I mean rust to the core, panels turned to dust rust. Anyone know how heritage panels compare these days? Are they rubbish like the late minis? I mean, they fit nice - but the new bonnet i bought for the red car being painted, just feels lighter than the original one? are they made of cheese like the late minis? hope not! why do they do this? I mean, when you've chosen heritage panels, you are already making the choice to pay a little more for the fit to be right, I cant be the only one who'd be willing to pay a little more if they were made of decent steel?? (or am I) |
||||||
 2057 Posts Member #: 9252 Post Whore Cleethorpes |
3rd Feb, 2012 at 02:42:12pm
i recently purchased a few heritage apnels and the fit wasnt evan that good. great looking car by the way Done now needs redoing lol |
||||||
|
1083 Posts Member #: 8932 Post Whore |
3rd Feb, 2012 at 05:01:46pm
Looks really nice, I must have posted while you were typing, as it wasn't painted in the pics i was looking at when i first replied. |
||||||
 825 Posts Member #: 9661 Post Whore Sheffield South Yorkshire GB. |
3rd Feb, 2012 at 08:02:01pm
Its hard not to sound repetitive, but yes nice car mate.. Alan Main Build
|
||||||
| Home > Show Us Yours! > My turbo rebuild | |||||||
|
|||||||
| Page: |

