| Page: |
| Home > Show Us Yours! > Mitch gets a restoration! Now with bonus MOT! | |||||||
 2500 Posts Member #: 648 Post Whore Northern Ireland (ex AUS) |
21st May, 2011 at 06:02:12pm
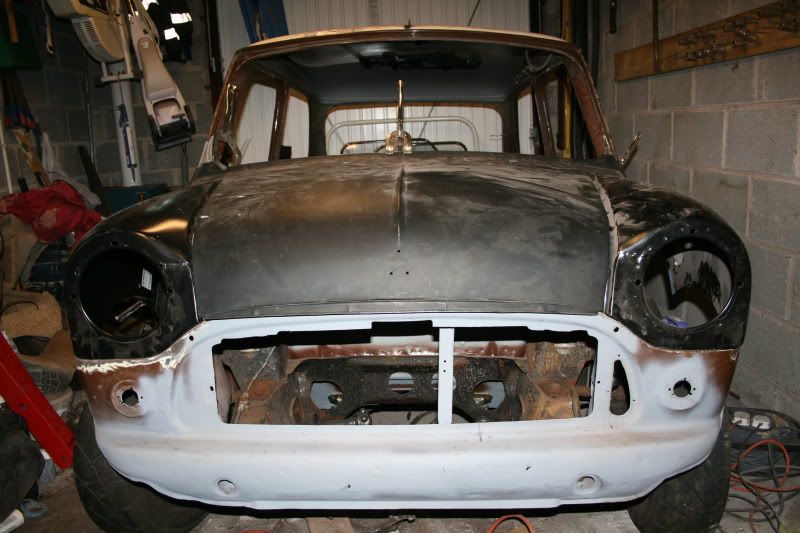
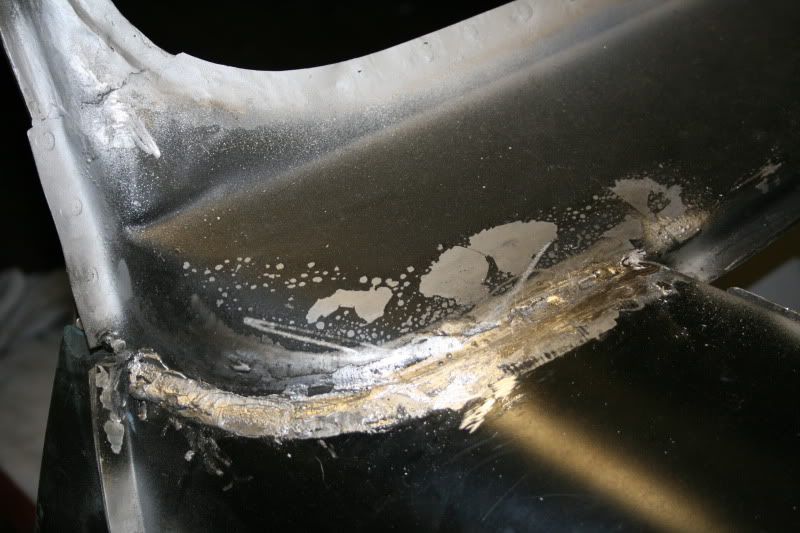
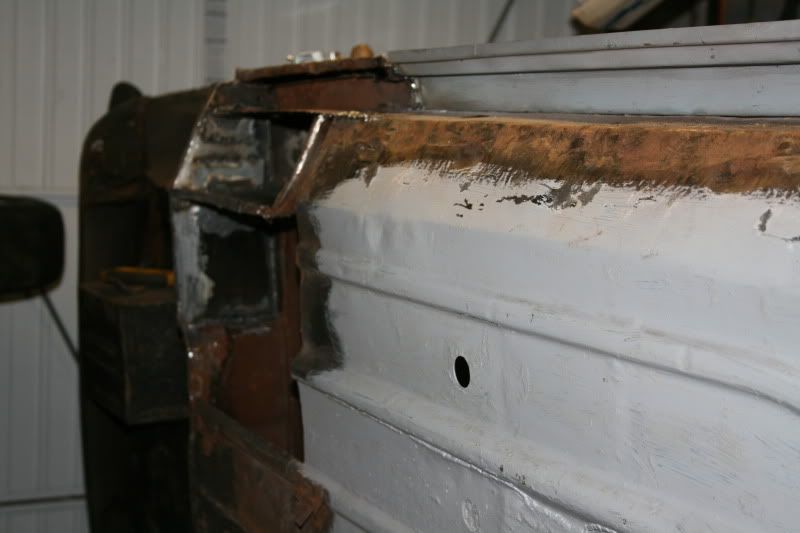
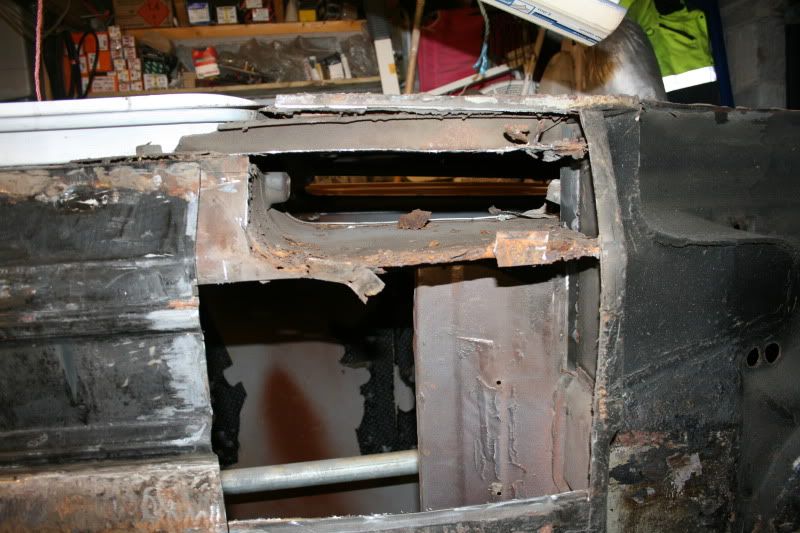
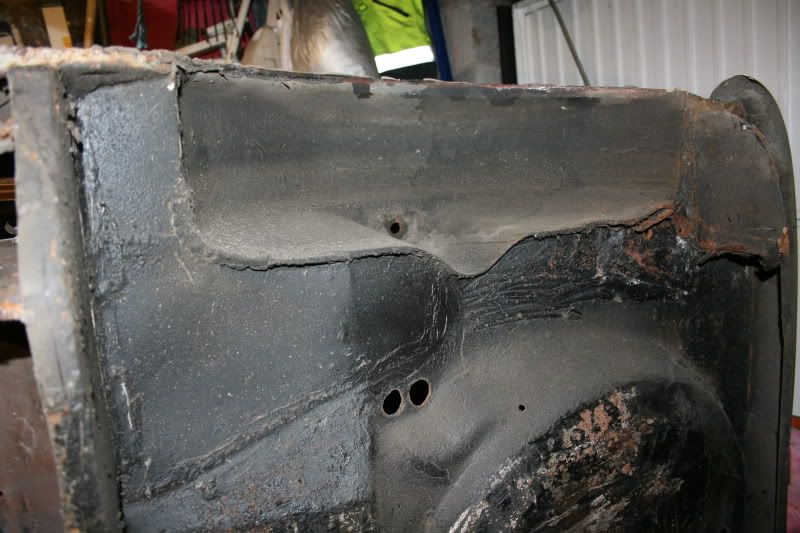
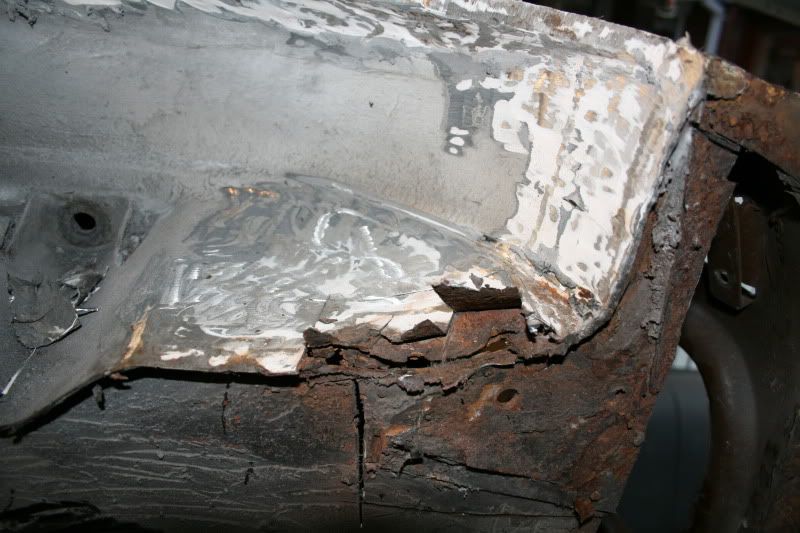
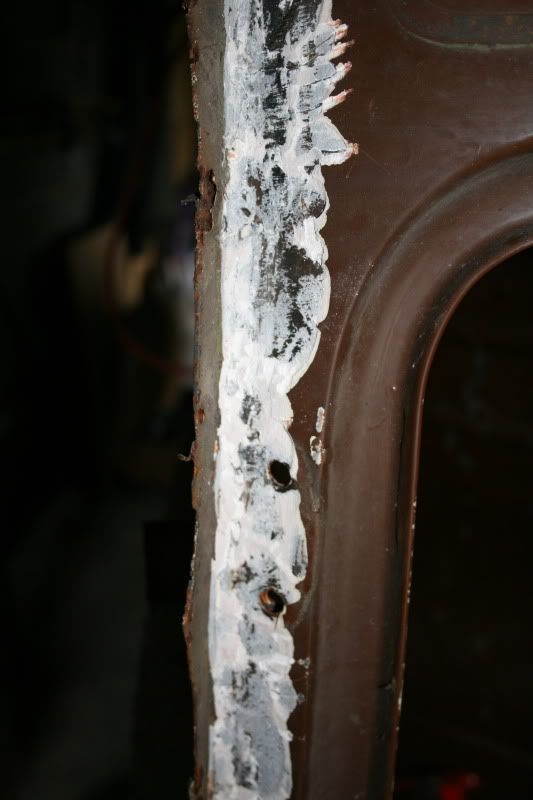
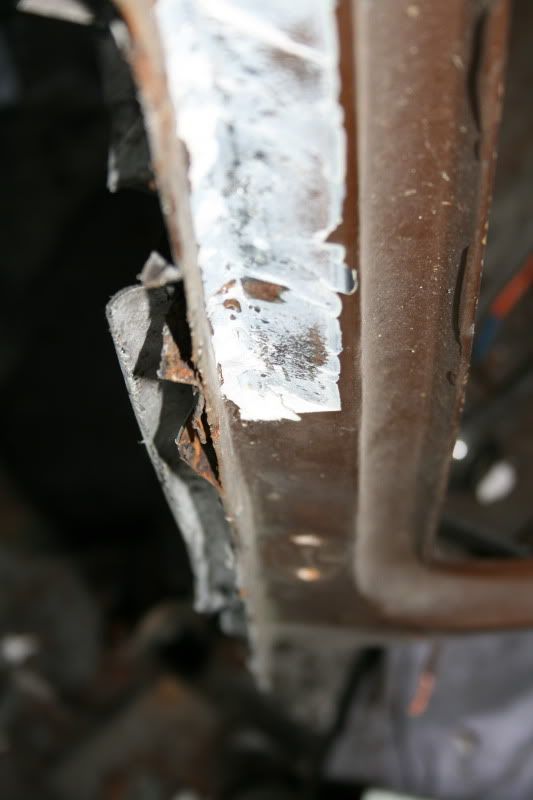
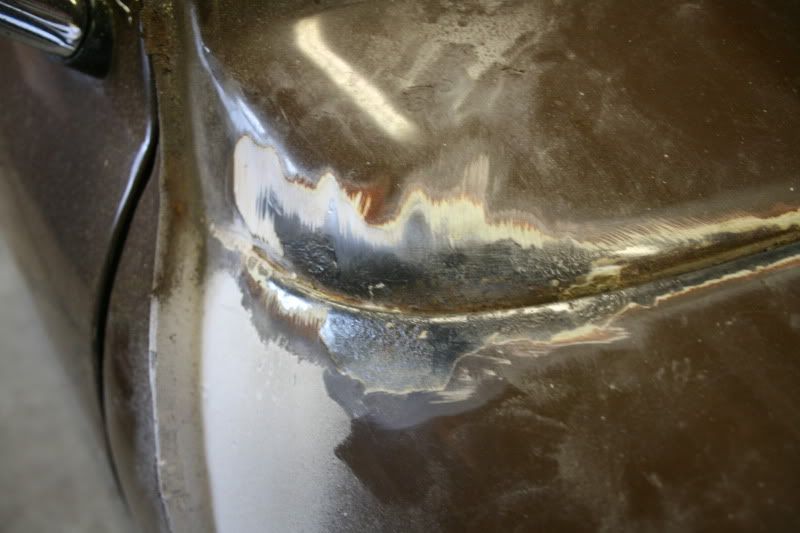
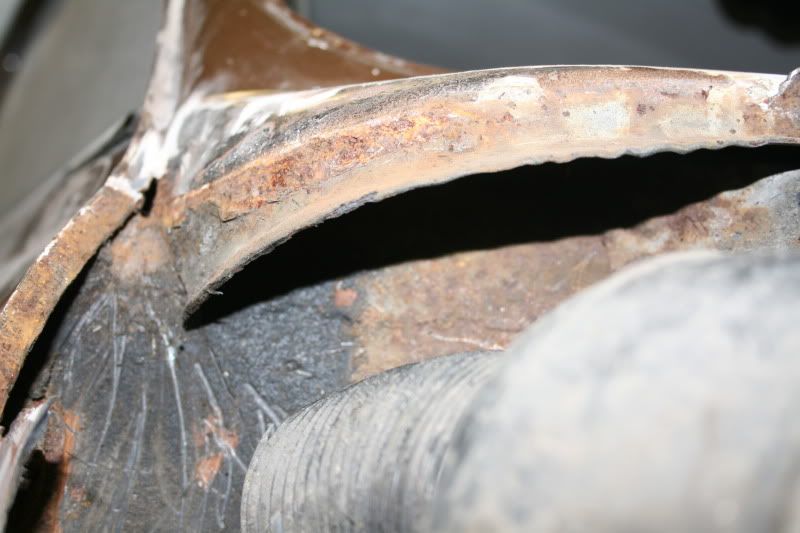
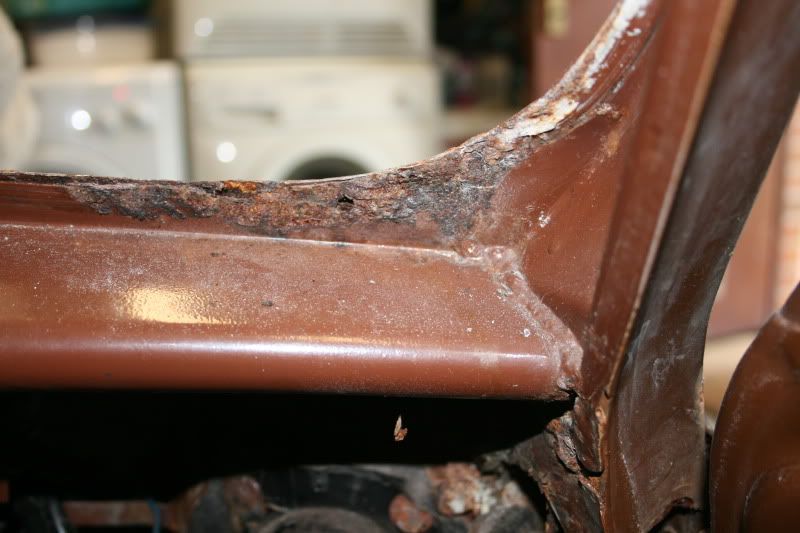
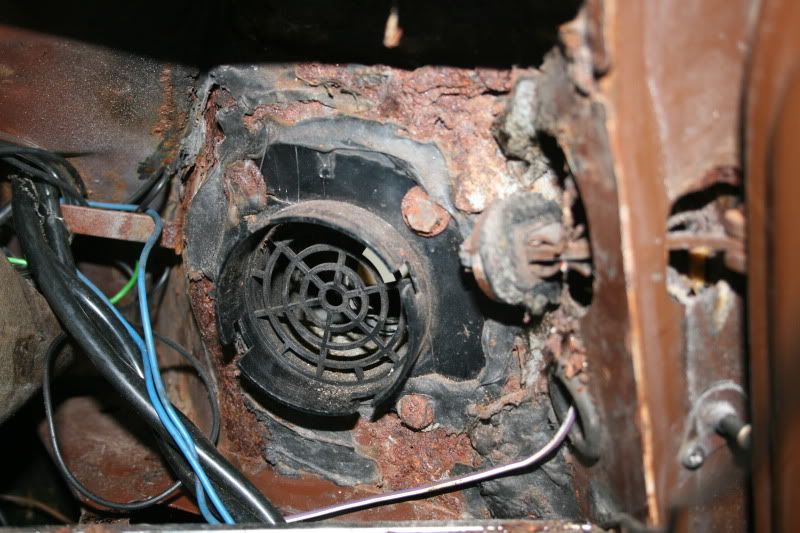
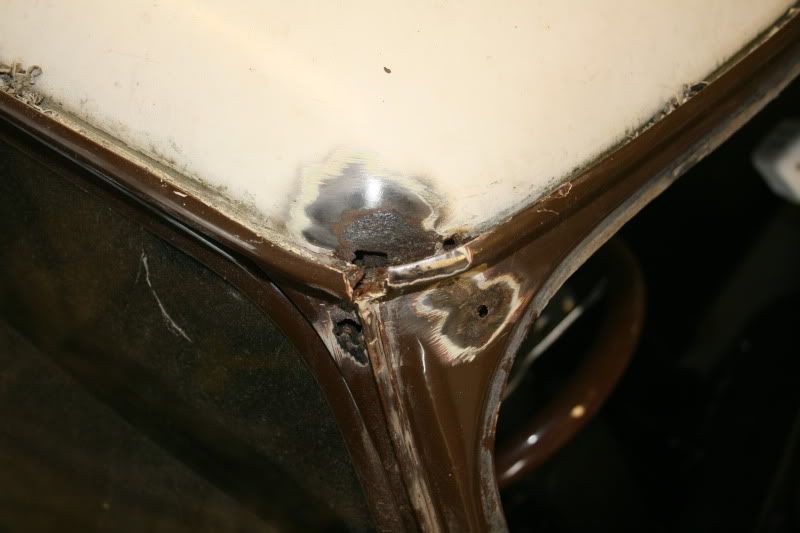
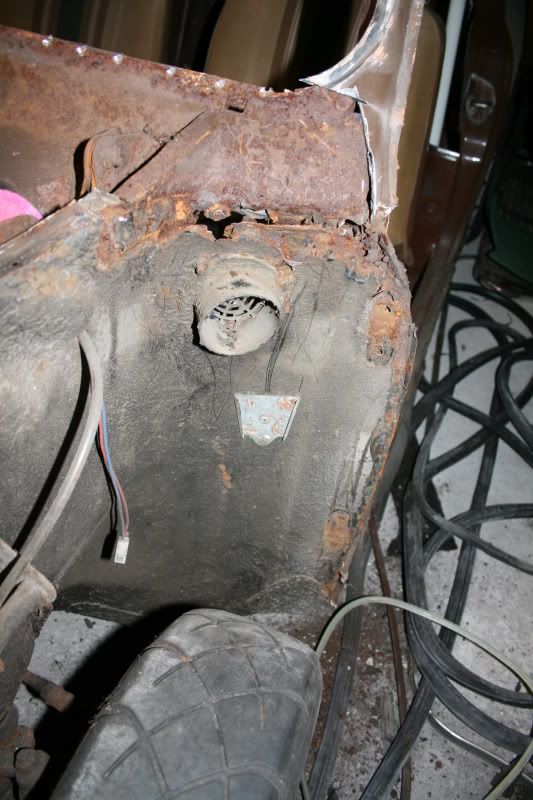
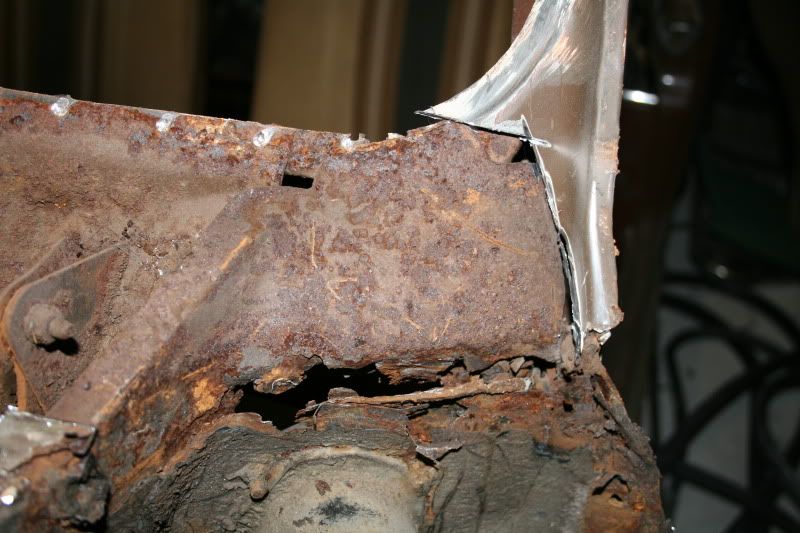
After dropping in the turbo engine and having a bit of fun last year I sadly had to take the car off the road as the bodywork was letting it down.
Edited by Jay#2 on 23rd May, 2014. On 7th Nov, 2008 Nic said:
naeJ m !!!!!!sdrawkcab si gnihtyreve ?droabyekym ot deneppah sah tahw ayhwdd |
||||||
 6729 Posts Member #: 618 Post Whore Glasgow |
22nd May, 2011 at 09:18:35am
doesn't look toooooooooooooooo bad buddy.
|
||||||
 140 Posts Member #: 1367 Advanced Member Cape Town, South Africa |
22nd May, 2011 at 10:16:43am
I'd fix up that roof corner, spray cure rust from the inside around in there, and then waxoil. I think the water ingress from no closing plate allowed for damp to rise when drying out. causing it to rust from the inside on the drivers side roof corner. Im sure you'll come right |
||||||
 6549 Posts Member #: 1149 #1 Basshunter Fan Force Racing ICT Dept Manager Miglia Turbo Am frum Yokshyer tha noes! |
22nd May, 2011 at 11:11:37am
Cut the roof off and fit a carbon one! 1/4 Mile 14.3secs 96Mph Terminal 10psi of boost.
|
||||||
 12307 Posts Member #: 565 Carlos Fandango Burnham-on-Crouch, Essex |
22nd May, 2011 at 11:17:38am
Lead the seams!
On 28th Aug, 2011 Kean said:
At the risk of being sigged... Joe, do you have a photo of your tool? http://www.turbominis.co.uk/forums/index.p...9064&lastpost=1 https://joe1977.imgbb.com/ |
||||||
 2500 Posts Member #: 648 Post Whore Northern Ireland (ex AUS) |
22nd May, 2011 at 01:00:56pm
Thanks for the advice guys, CR I think your right about the moisture getting up the A pillar, there is some sponge stuffed up there which doesn't help with moisture retention. Joe I like the idea of lead loading, I will look into it. The plan is if I do it right I won't have to do it again for a long time, ha, is that even possible? On 7th Nov, 2008 Nic said:
naeJ m !!!!!!sdrawkcab si gnihtyreve ?droabyekym ot deneppah sah tahw ayhwdd |
||||||
 12307 Posts Member #: 565 Carlos Fandango Burnham-on-Crouch, Essex |
22nd May, 2011 at 01:14:16pm
Frost do the stuff for leading,
On 28th Aug, 2011 Kean said:
At the risk of being sigged... Joe, do you have a photo of your tool? http://www.turbominis.co.uk/forums/index.p...9064&lastpost=1 https://joe1977.imgbb.com/ |
||||||
|
603 Posts Member #: 1938 Post Whore near Dundee |
22nd May, 2011 at 11:35:54pm
the roof corner panel isn't as bad as mines
|
||||||
 16540 Posts Member #: 4241 King Gaycharger, butt plug dealer, Sheldon Cooper and a BAC but generally a niceish fella if you dont mind a northerner Rotherham, South Yorkshire |
25th May, 2011 at 12:58:01pm
That's just like my car was. Get the roof/pillar sections from a scrap car, cut yours out and weld new in. You'll need bits from a few cars as you won't easily separate the new panels.
On 11th Feb, 2015 robert said:
i tried putting soap on it , and heating it to brown , then slathered my new lube on it 
|
||||||
 2500 Posts Member #: 648 Post Whore Northern Ireland (ex AUS) |
28th May, 2011 at 06:49:36pm
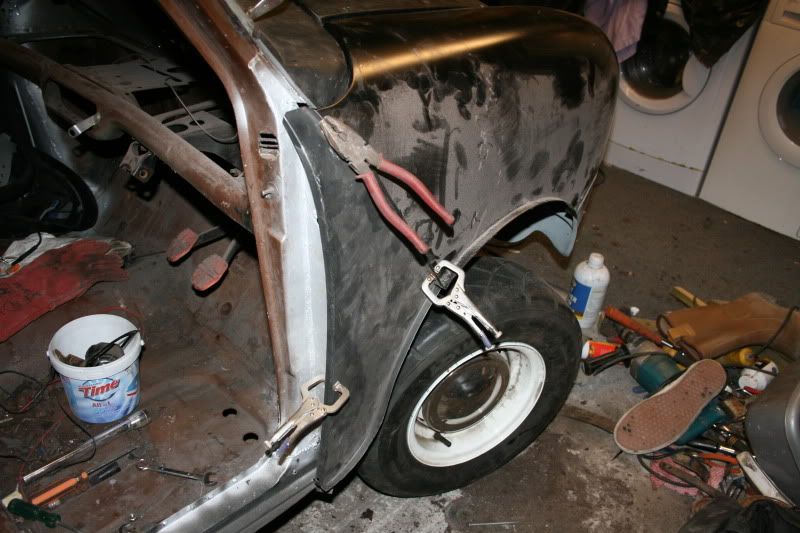
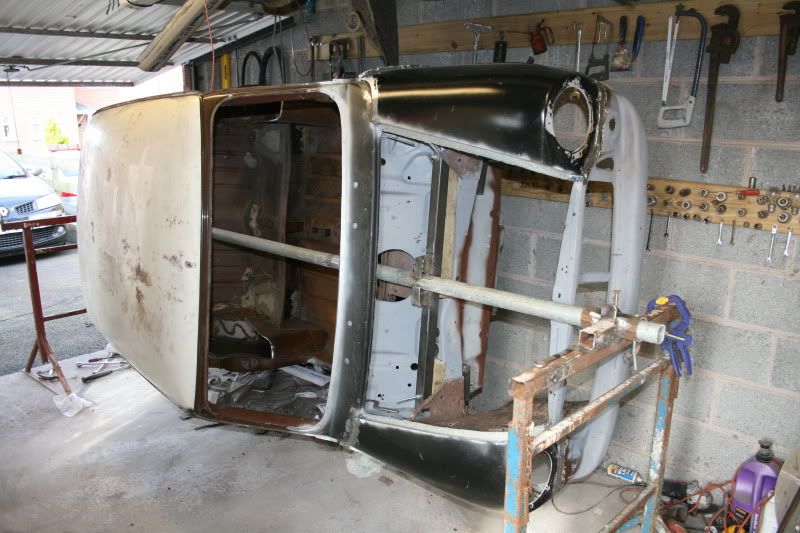
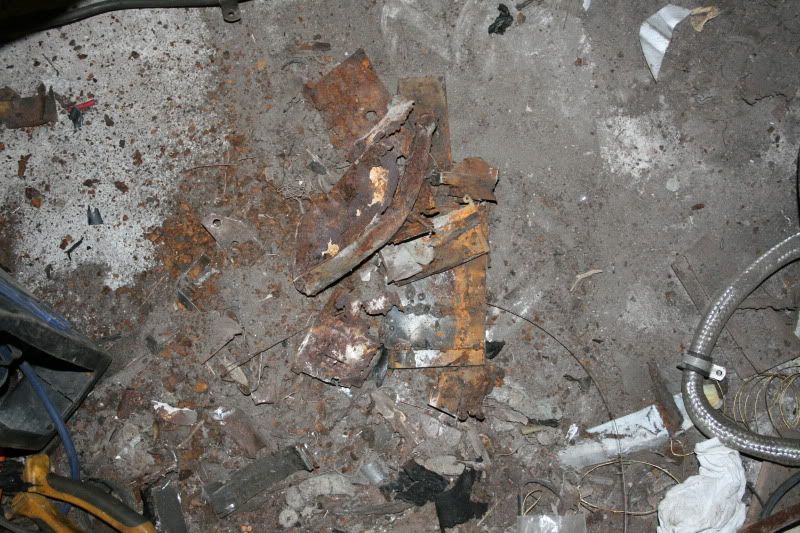
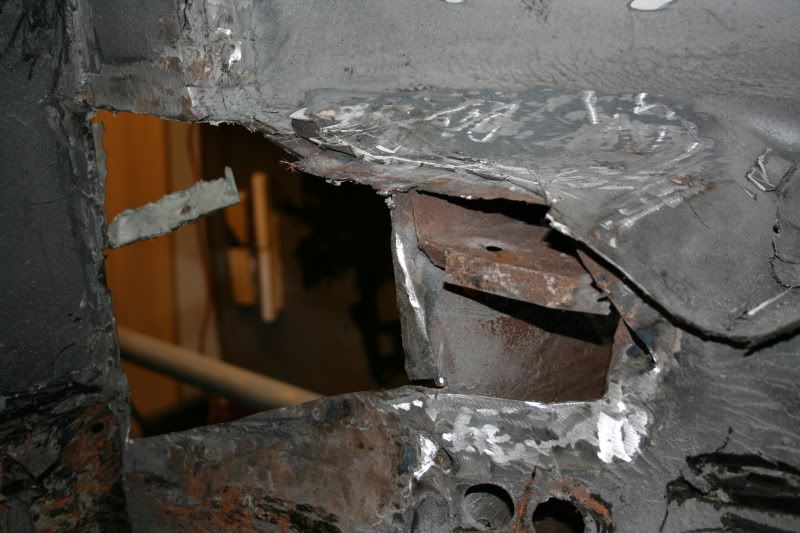
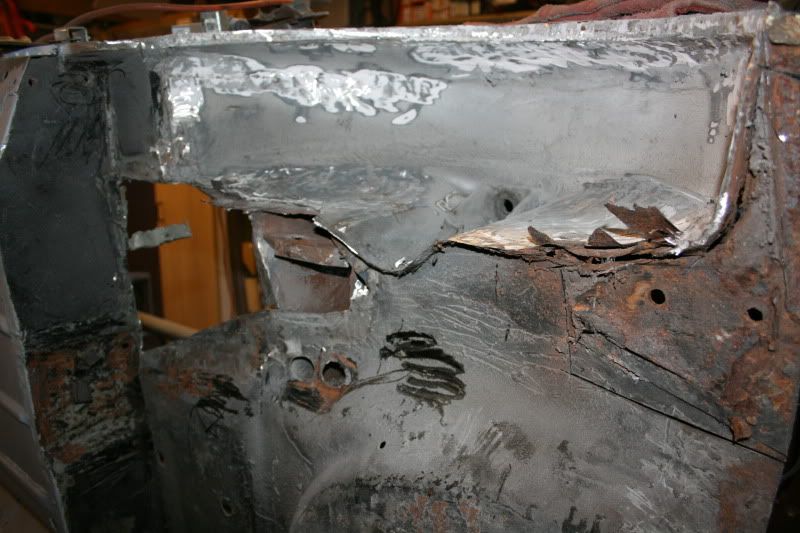
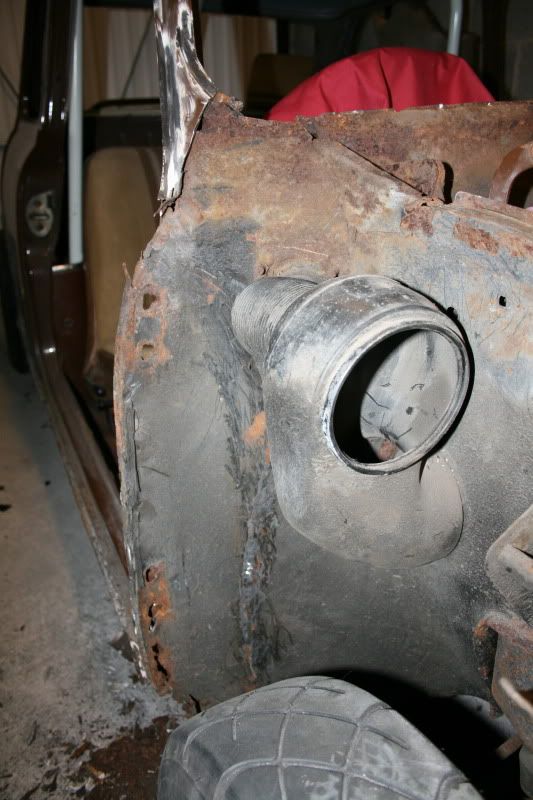
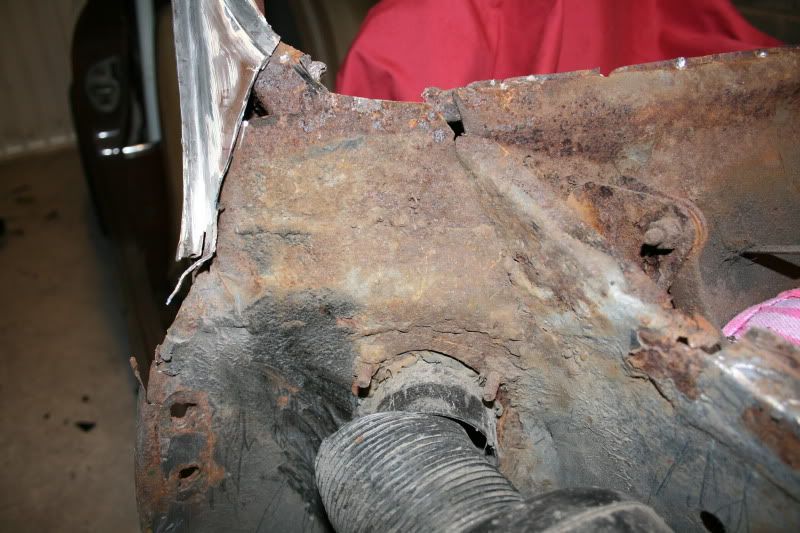
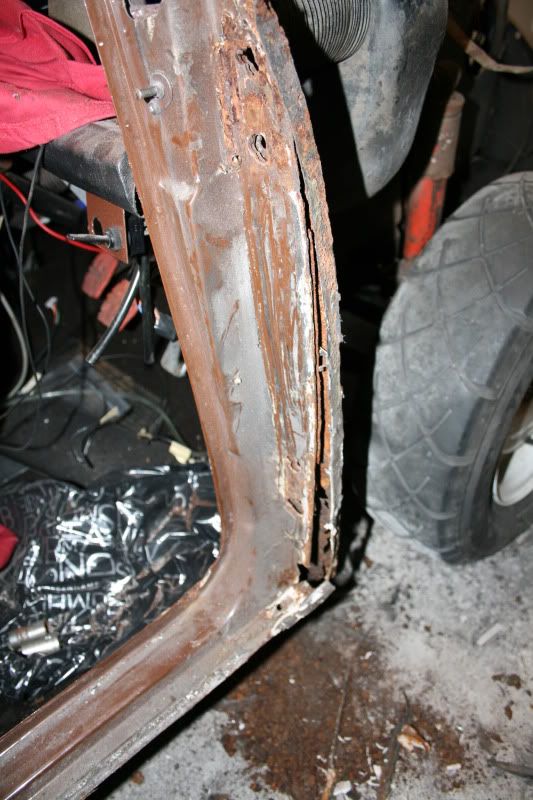
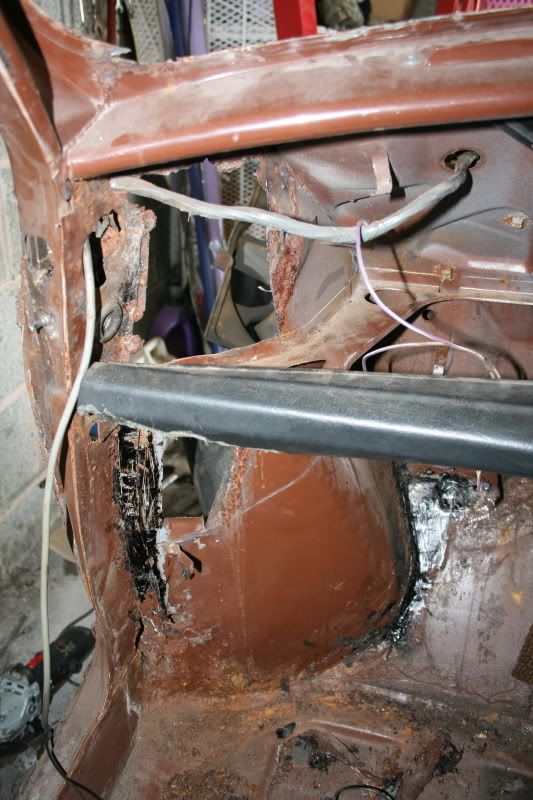
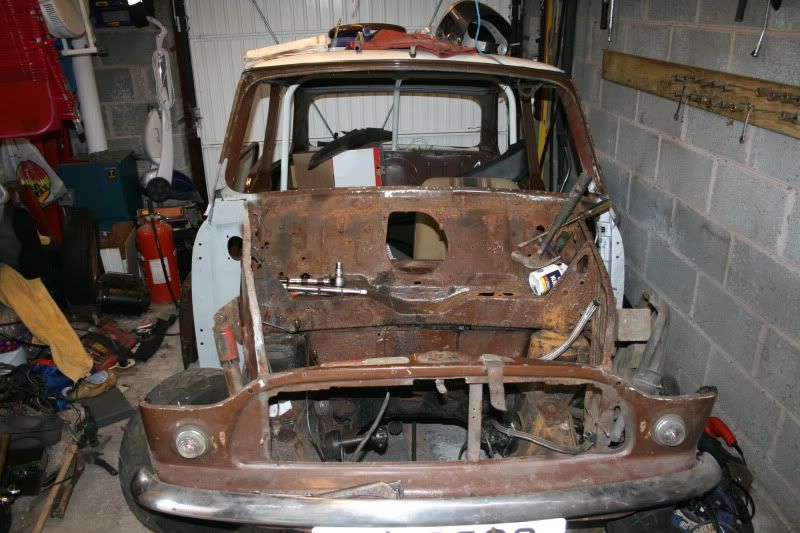
Got a bit more done today, I got the A panels off and the scuttle too.
On 7th Nov, 2008 Nic said:
naeJ m !!!!!!sdrawkcab si gnihtyreve ?droabyekym ot deneppah sah tahw ayhwdd |
||||||
|
288 Posts Member #: 6267 Senior Member Bristol |
28th May, 2011 at 07:55:36pm
That looks like a similar amount of rust to mine, just with less bodges! Are you planning to replace the inner wings or repair them? |
||||||
 2500 Posts Member #: 648 Post Whore Northern Ireland (ex AUS) |
28th May, 2011 at 09:18:20pm
I'll try and repair them, they look sound where they joint the bulkhead forward. I am trying to retain the front end too, it looks OK but we'll see. On 7th Nov, 2008 Nic said:
naeJ m !!!!!!sdrawkcab si gnihtyreve ?droabyekym ot deneppah sah tahw ayhwdd |
||||||
|
3588 Posts Member #: 655 Post Whore Northern Ireland |
28th May, 2011 at 09:36:24pm
I hate rust lol 9.85 @ 145mph
|
||||||
 2500 Posts Member #: 648 Post Whore Northern Ireland (ex AUS) |
13th Jul, 2011 at 10:17:30pm
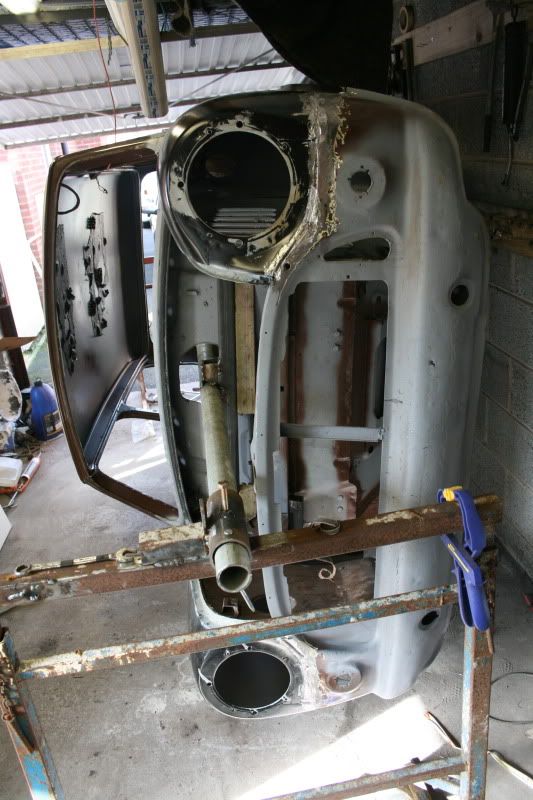
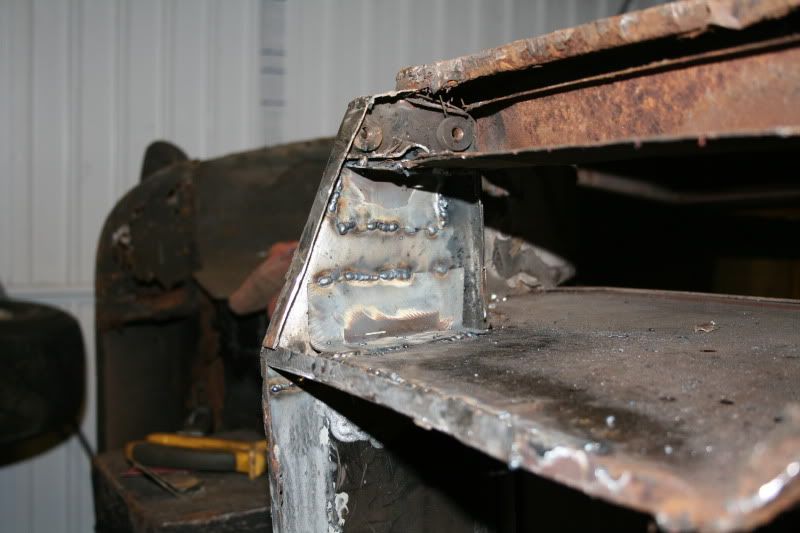
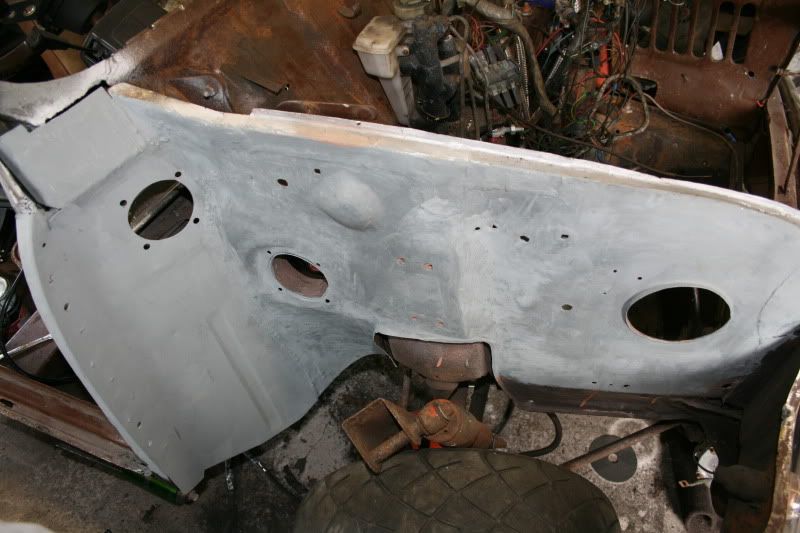
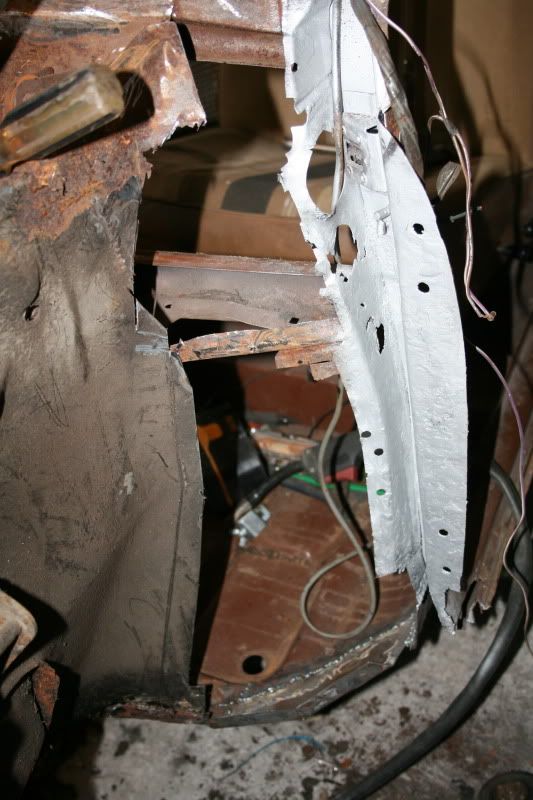
I have the drivers side inner wing repaired, TBH is would have been way easier to just put on a whole new inner wing.
On 7th Nov, 2008 Nic said:
naeJ m !!!!!!sdrawkcab si gnihtyreve ?droabyekym ot deneppah sah tahw ayhwdd |
||||||
 3692 Posts Member #: 1833 Formally mini_majic Auckland, New Zealand |
13th Jul, 2011 at 10:55:43pm
Lead loading? As in the stuff you melt down and fill gaps with like filler?
|
||||||
|
3004 Posts Member #: 2500 Post Whore Buckinghamshire |
14th Jul, 2011 at 06:48:29am
As Joe explained earlier its not so difficult, but a tad expensive, especially the solder paint that is used to tin the metal first.
|
||||||
 3692 Posts Member #: 1833 Formally mini_majic Auckland, New Zealand |
14th Jul, 2011 at 09:40:09am
Ahhh so i see. I'll stop skim reading threads soon. Honest. |
||||||
 428 Posts Member #: 39 Senior Member Bristol |
14th Jul, 2011 at 01:21:56pm
Crumbs... a fire extinguisher and lead loading, will be watching your thread |
||||||
 2500 Posts Member #: 648 Post Whore Northern Ireland (ex AUS) |
14th Jul, 2011 at 08:31:05pm
I actually have a total of 3 extinguishers in the garage! We will see how I get on with the leading, I am just sick of cracking seam joints so it's worth a try. I was out tonight to clean up the weekends welds, overall I am happy with them but sometimes there isn't a lot of penetration. Of course I am still using the disposable gas (I hope Rod S isn't reading this!) but will open an account in BOC on the weekend. On 7th Nov, 2008 Nic said:
naeJ m !!!!!!sdrawkcab si gnihtyreve ?droabyekym ot deneppah sah tahw ayhwdd |
||||||
 12307 Posts Member #: 565 Carlos Fandango Burnham-on-Crouch, Essex |
14th Jul, 2011 at 08:45:32pm
Jay, there's a lot of places now that will sell & refill proper gas bottles so you dont have to go to BOC,
On 28th Aug, 2011 Kean said:
At the risk of being sigged... Joe, do you have a photo of your tool? http://www.turbominis.co.uk/forums/index.p...9064&lastpost=1 https://joe1977.imgbb.com/ |
||||||
 2500 Posts Member #: 648 Post Whore Northern Ireland (ex AUS) |
30th Aug, 2011 at 09:21:19pm
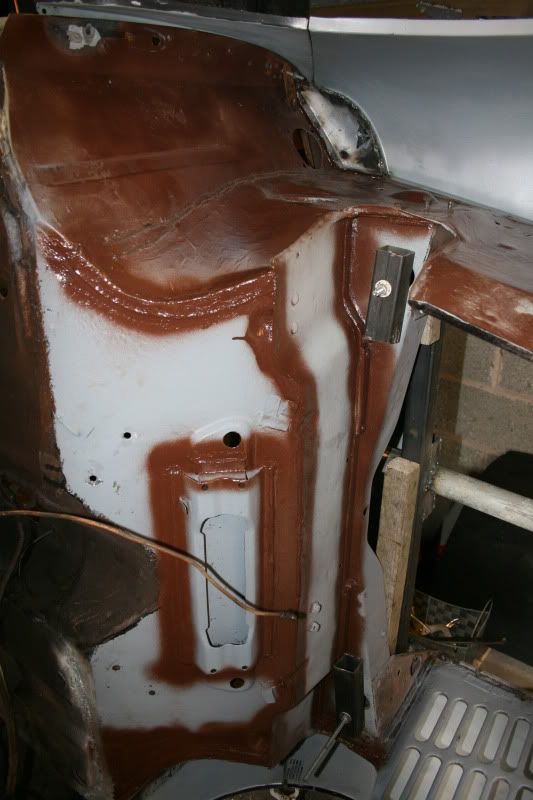
After cracking on with it during a week off work I have got a bit more done. I had to do quite a lot of repairs to the inner wings plus bear metal the bulkhead and front panel. They were sound except for some surface rust. It was hard to get rid of all the rust completely due to some pitting, I really should have considered sand/media blasting Edited by Jay#2 on 30th Aug, 2011. On 7th Nov, 2008 Nic said:
naeJ m !!!!!!sdrawkcab si gnihtyreve ?droabyekym ot deneppah sah tahw ayhwdd |
||||||
|
115 Posts Member #: 2830 Advanced Member Costa del Northern Ireland :) |
6th Sep, 2011 at 02:38:00pm
Good progress buddy my own car will be getting the same treatment this year also.
That mini is determined to Kill me!!!! |
||||||
 2500 Posts Member #: 648 Post Whore Northern Ireland (ex AUS) |
24th Sep, 2011 at 04:15:42pm
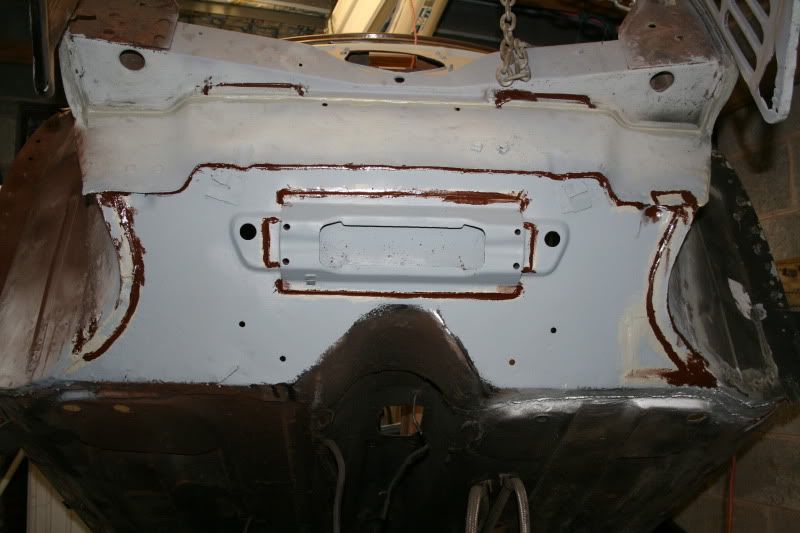
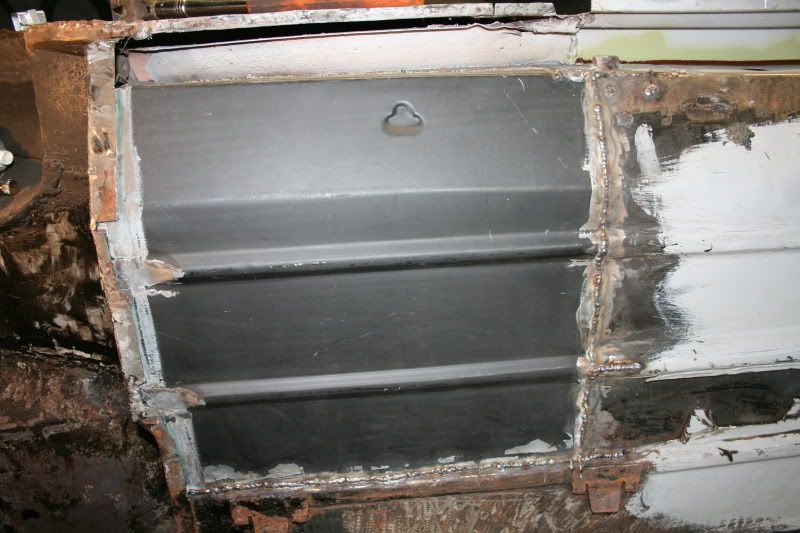
Not a huge lot of progress but getting there slowly. I got the tread plates on, the new scuttle on and repaired the windscreen bottom corners. I got the bulkhead bear metaled and primered/sealed.
On 7th Nov, 2008 Nic said:
naeJ m !!!!!!sdrawkcab si gnihtyreve ?droabyekym ot deneppah sah tahw ayhwdd |
||||||
 6729 Posts Member #: 618 Post Whore Glasgow |
24th Sep, 2011 at 06:37:27pm
getting there bud. The rotisserie makes it far easier to get to the under wing areas and the floor. |
||||||
 2500 Posts Member #: 648 Post Whore Northern Ireland (ex AUS) |
19th Nov, 2011 at 06:18:29pm
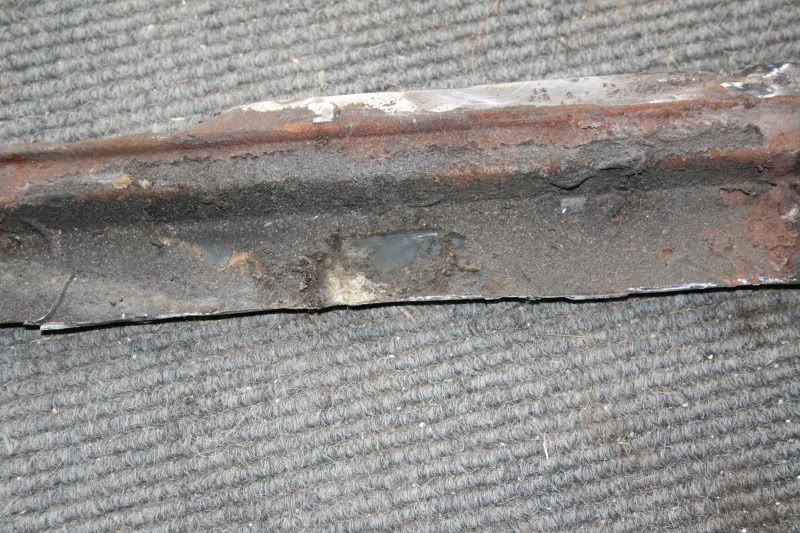
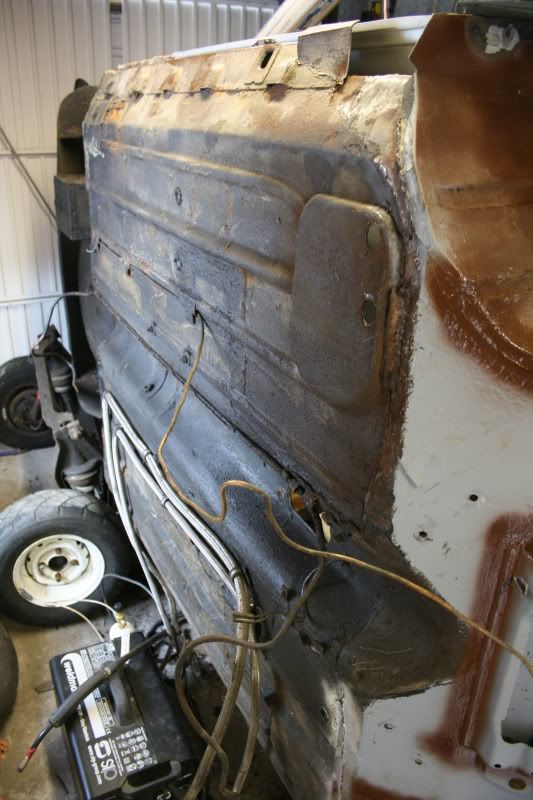
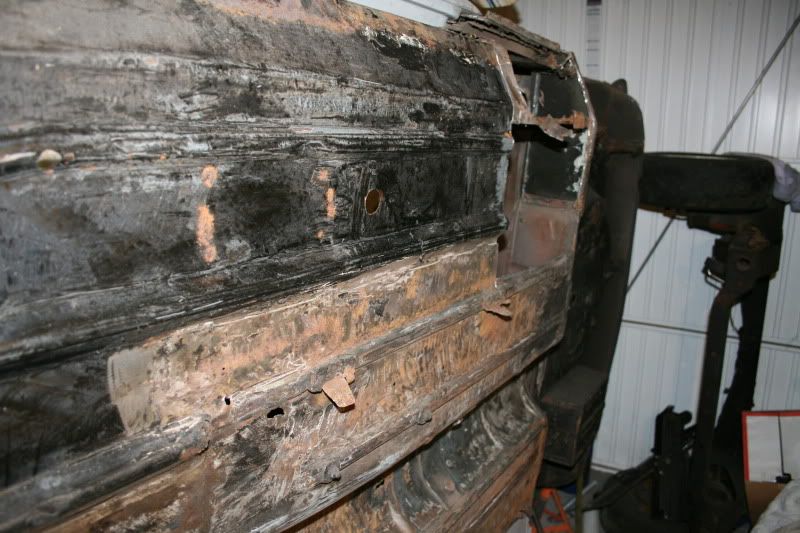
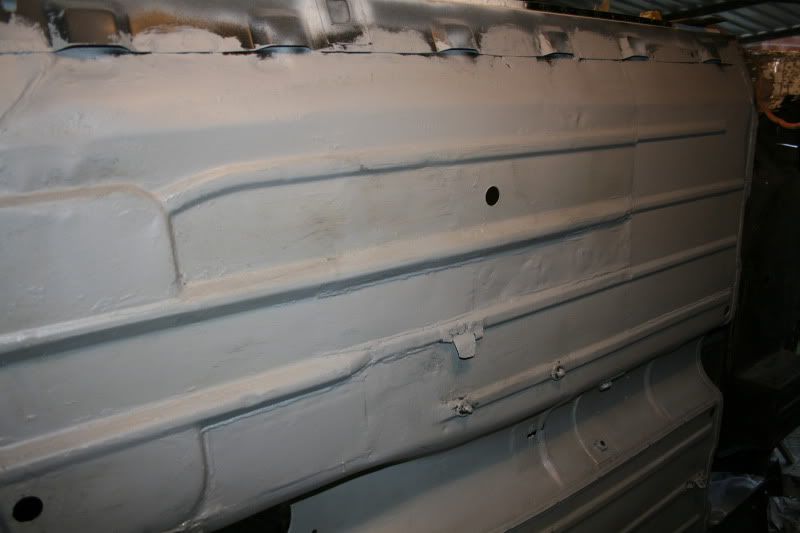
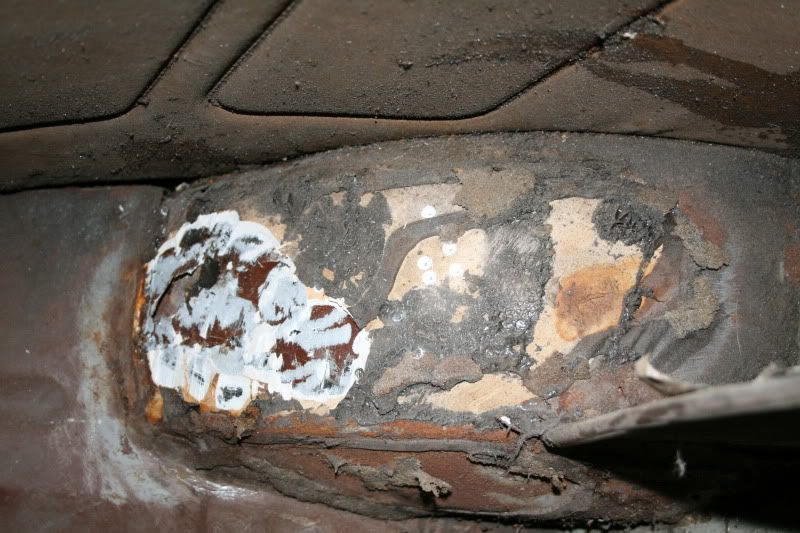
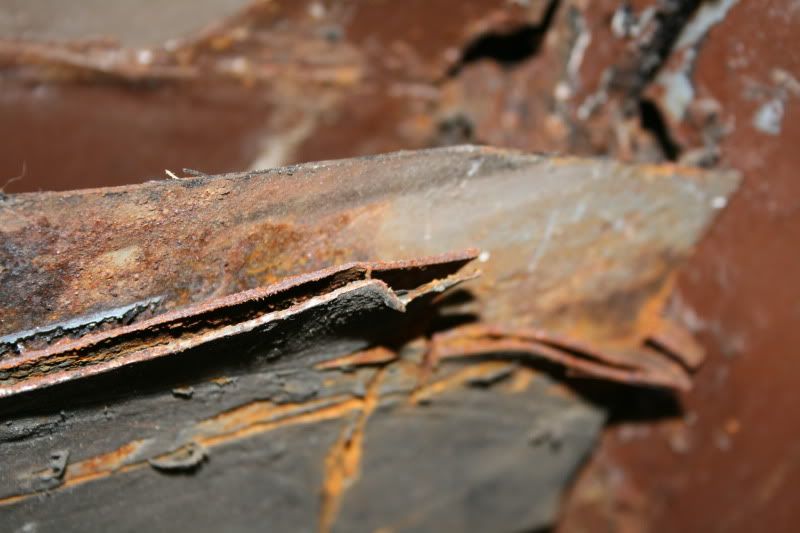
So I had a poke around the floor and it seems sound down to the rear foot wells where it basically turns to brown dust. Got that cut out and had to make a few repairs to the parcel bin then replaced the footwell then slapped the sill on. Wan't too bad really, getting a bit happier about my welding too.
On 7th Nov, 2008 Nic said:
naeJ m !!!!!!sdrawkcab si gnihtyreve ?droabyekym ot deneppah sah tahw ayhwdd |
||||||
| Home > Show Us Yours! > Mitch gets a restoration! Now with bonus MOT! | |||||||
|
|||||||
| Page: |




 ) doing everything right
  . I have everything that's repaired in primer and have started seam sealing a few bits,
