| Page: |
| Home > Show Us Yours! > The ClubVan... Back in business!! | |||||||
 6729 Posts Member #: 618 Post Whore Glasgow |
24th May, 2013 at 03:30:27pm
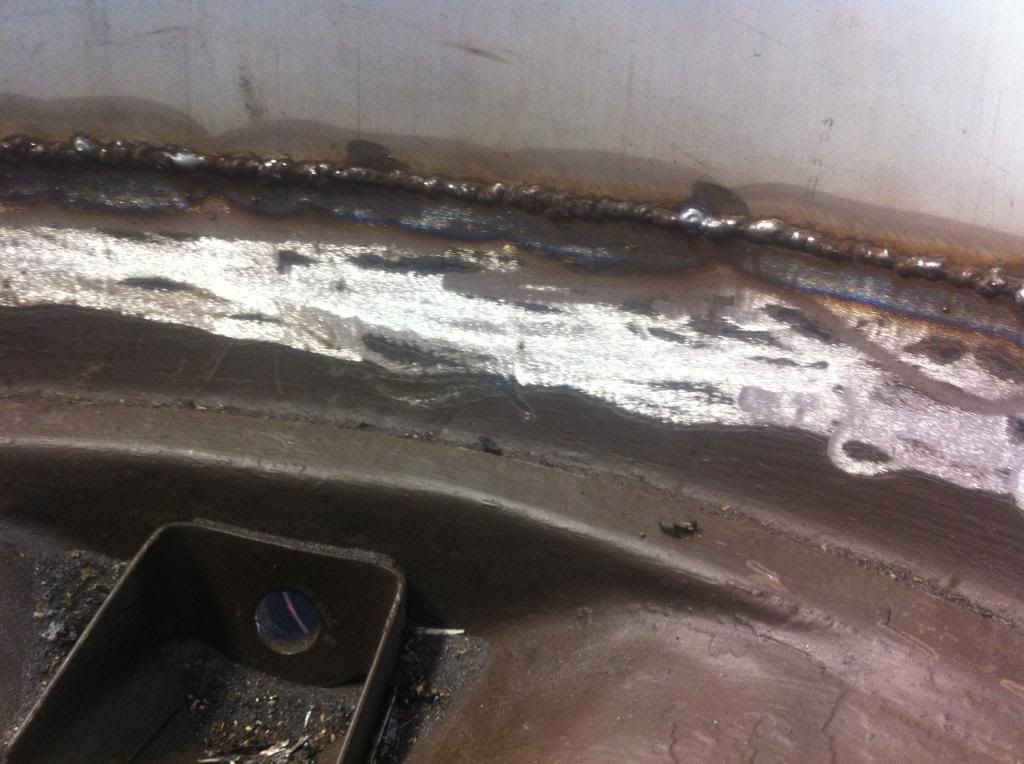
I generally use flap disks if i'm buffing welds back. |
||||||
|
1142 Posts Member #: 10165 Post Whore Stansted, Essex |
24th May, 2013 at 03:50:16pm
On 24th May, 2013 Rob Gavin said:
I generally use flap disks if i'm buffing welds back. Ah yeah.. Forgot about those, I actually went out and brought a load of them and stupidly forgot to check the bore size before hand... I might treat myself to a new grinder anyway as changing the discs is a pain cos I've lost the key!! Are they quite effective on the welds Rob? Something like 60/80 grit I'd imagine? |
||||||
|
1142 Posts Member #: 10165 Post Whore Stansted, Essex |
24th May, 2013 at 03:56:39pm
On 24th May, 2013 Joe C said:
angle grinder with flap discs. I couldnt belive how good they are! http://www.ebay.co.uk/itm/10-ASSORTED-GRIT...=item5656959a43 Ah yeah cheers Joe... As I said, totally forgot about these!! Must give em a bash!! |
||||||
|
1142 Posts Member #: 10165 Post Whore Stansted, Essex |
24th May, 2013 at 04:09:44pm
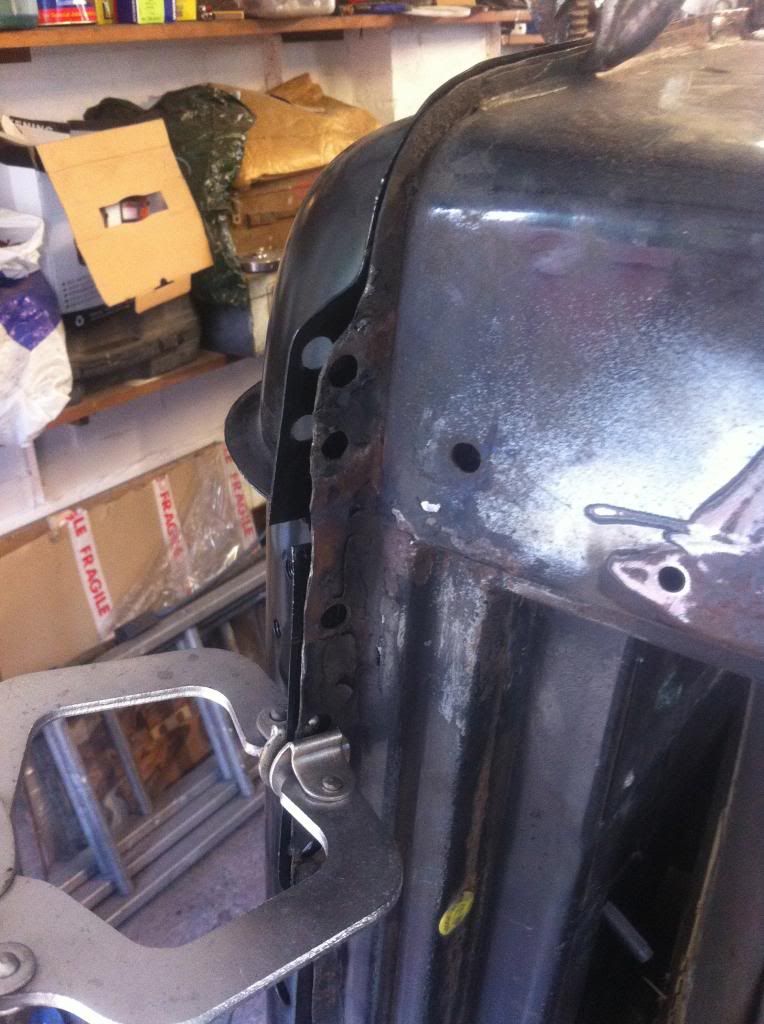
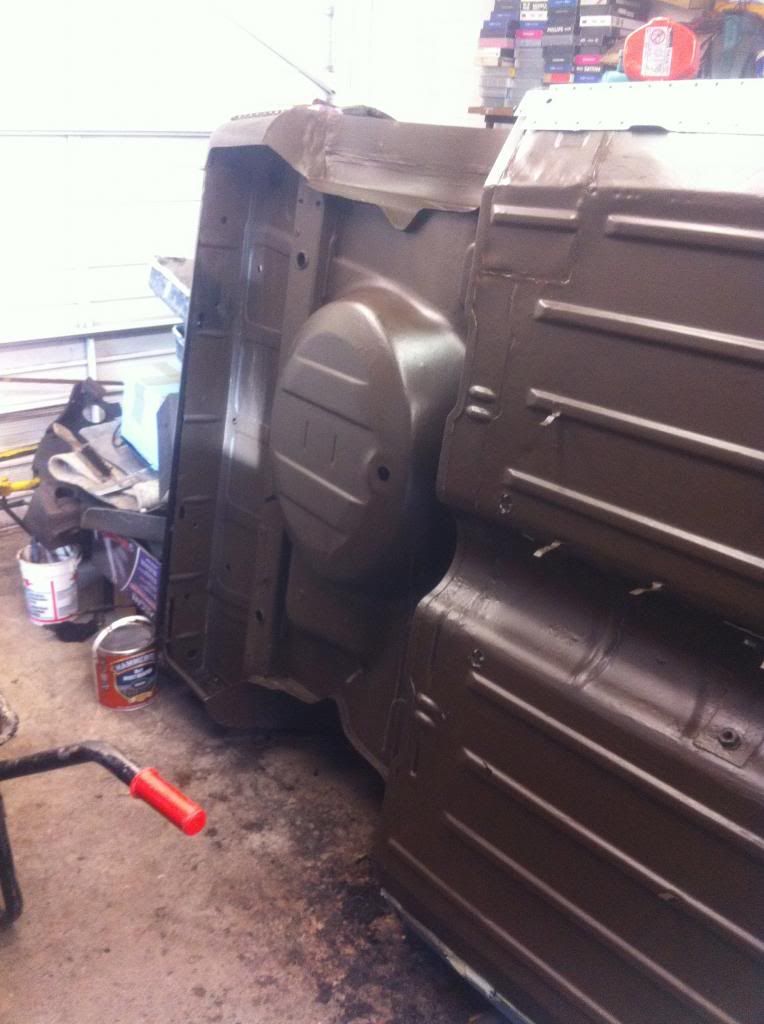
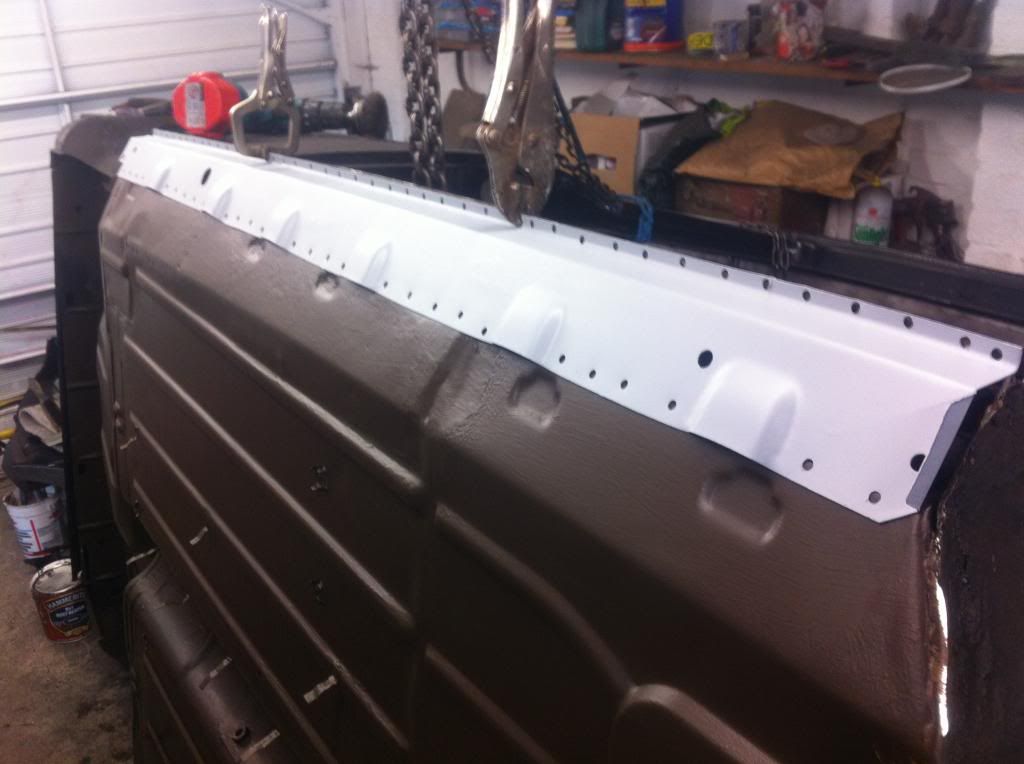
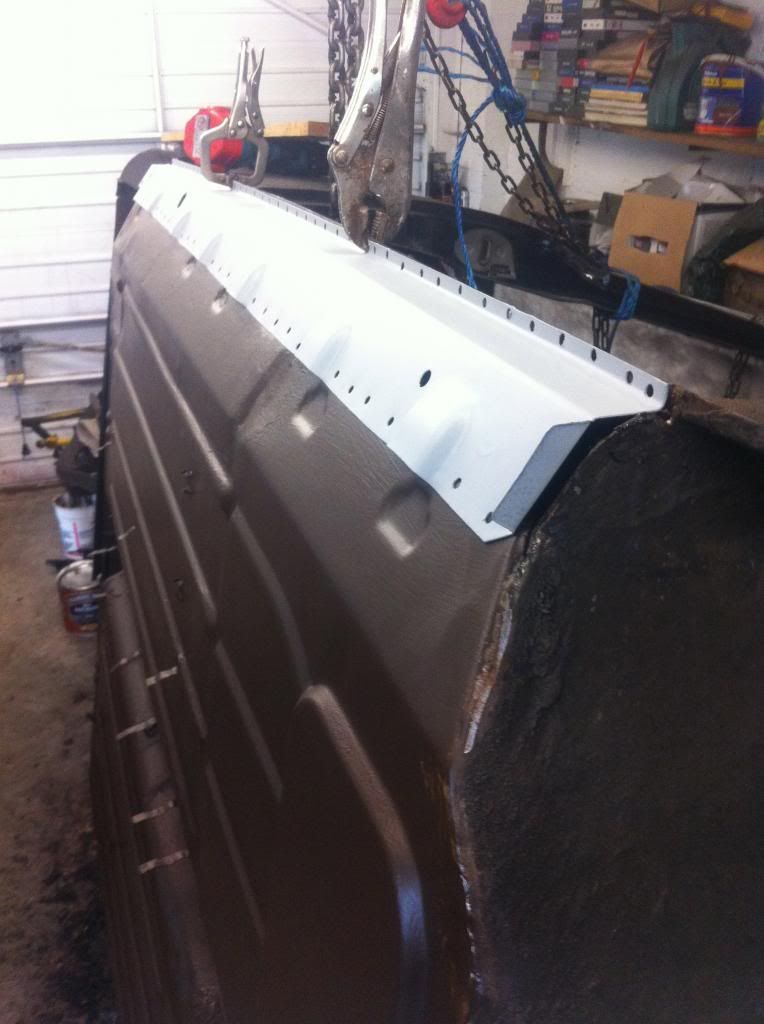
One other question chaps... I'm almost ready to paint one half of the underside...
|
||||||
 16540 Posts Member #: 4241 King Gaycharger, butt plug dealer, Sheldon Cooper and a BAC but generally a niceish fella if you dont mind a northerner Rotherham, South Yorkshire |
24th May, 2013 at 05:22:44pm
That's coming on well. Looks to be a nice tidy repair.
On 11th Feb, 2015 robert said:
i tried putting soap on it , and heating it to brown , then slathered my new lube on it 
|
||||||
|
1142 Posts Member #: 10165 Post Whore Stansted, Essex |
24th May, 2013 at 06:42:09pm
On 24th May, 2013 apbellamy said:
That's coming on well. Looks to be a nice tidy repair. As others have said, I use flap disks to knock the weld right back and then use roloc disks (in the battery drill) of varying grits to smooth it right back. Had some very nice results from doing that. My welding improved a lot when I replaced my old welder with a 160TM. Ah cheers fella.. Yup was quite chuffed with it... Roloc discs in the drill!!! Why didn't I think of that!!! Doh!!! Yeah my welding is improving, very happy with the machine! |
||||||
|
1142 Posts Member #: 10165 Post Whore Stansted, Essex |
29th Jun, 2013 at 06:28:27pm
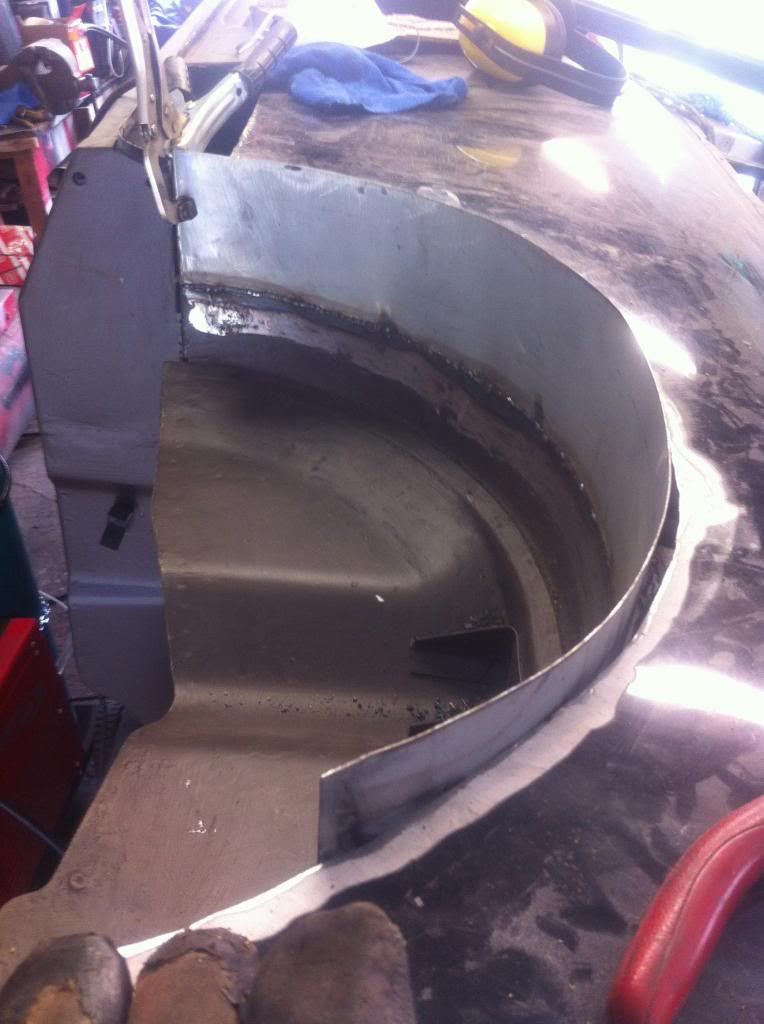
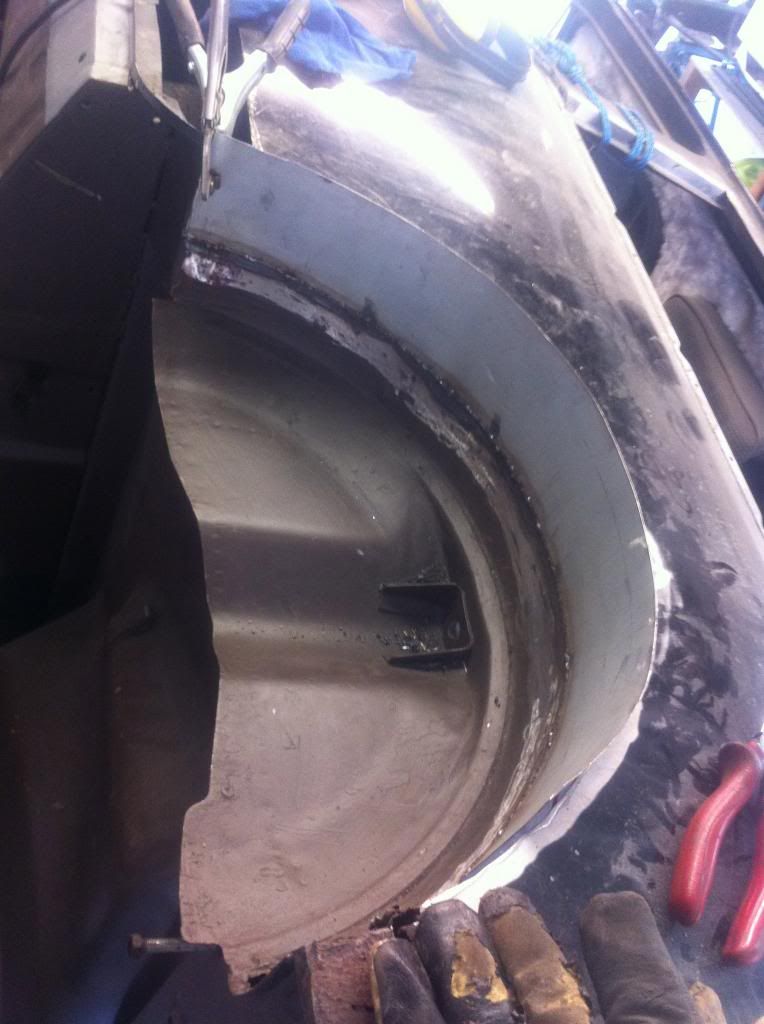
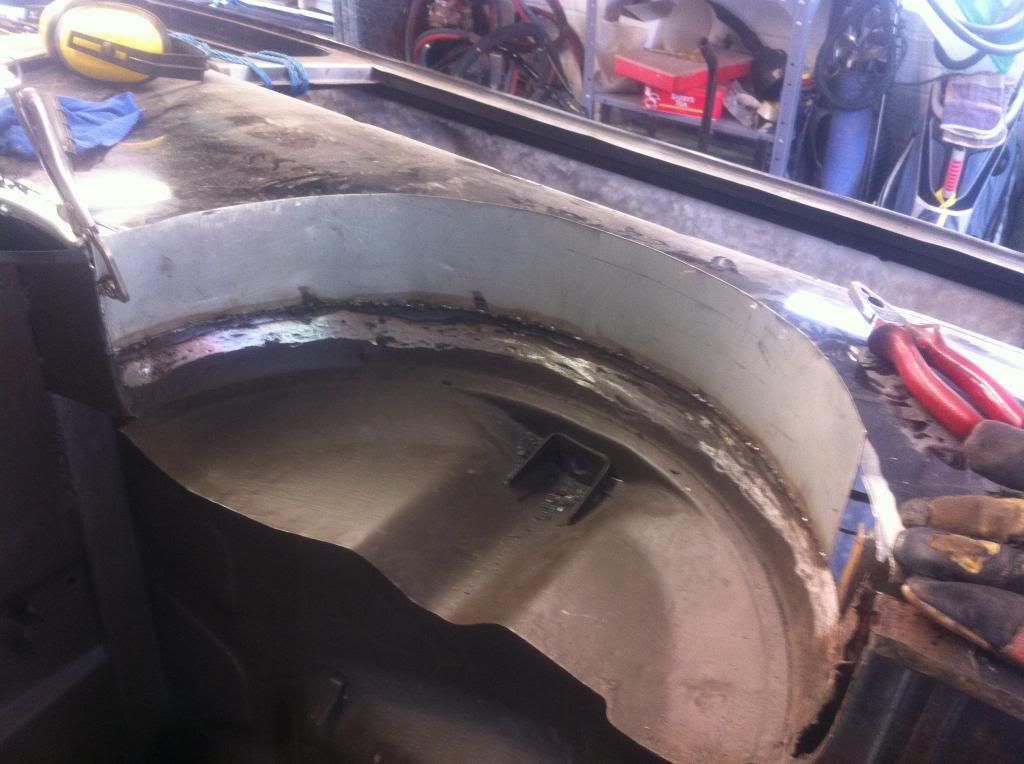
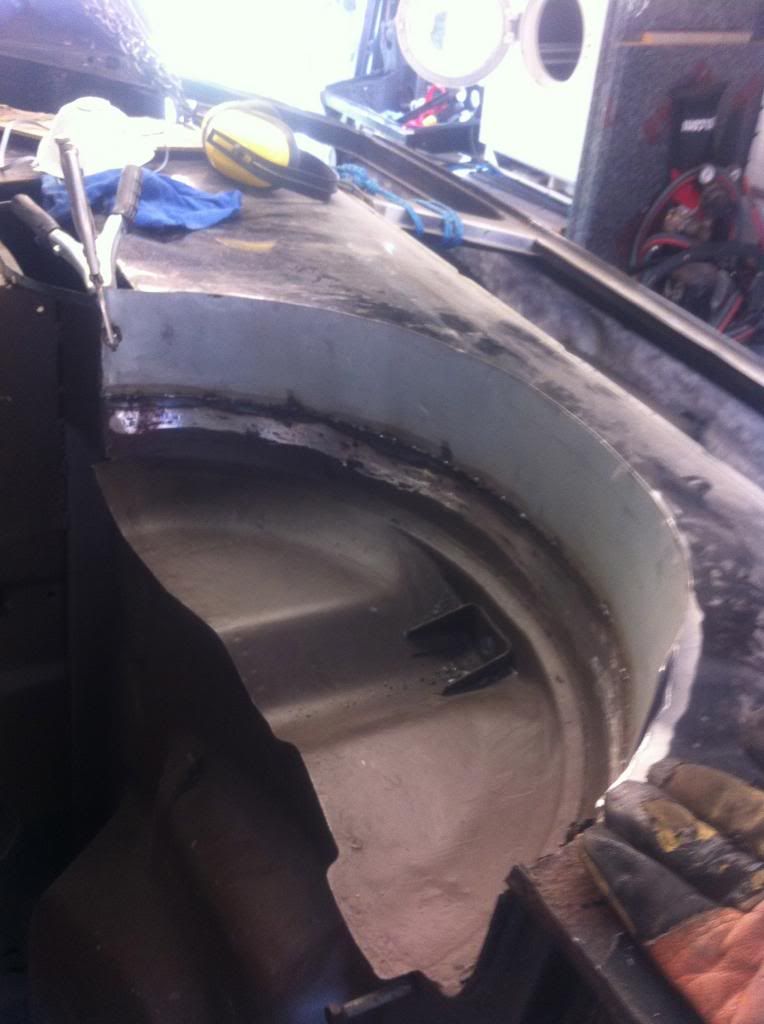
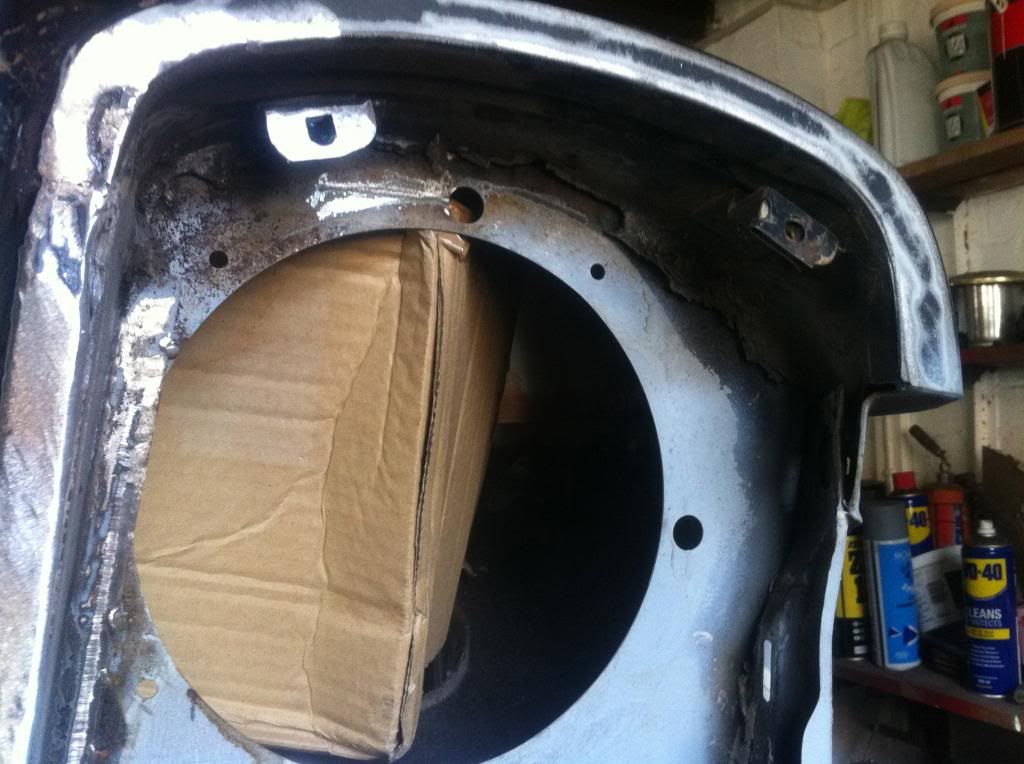
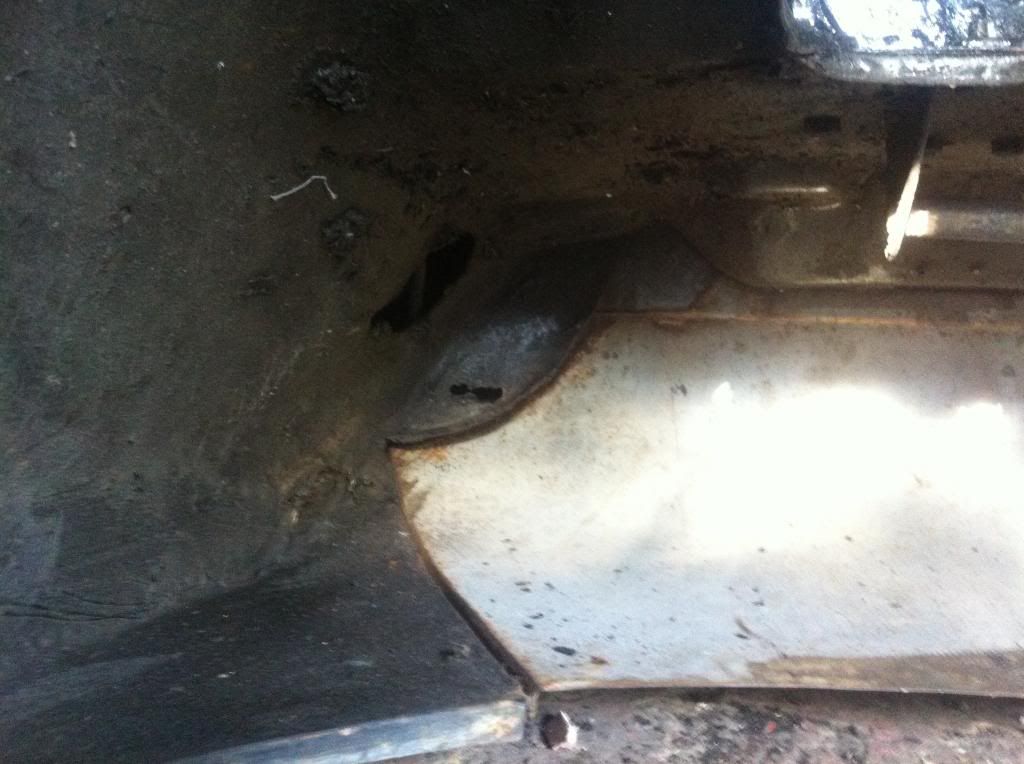
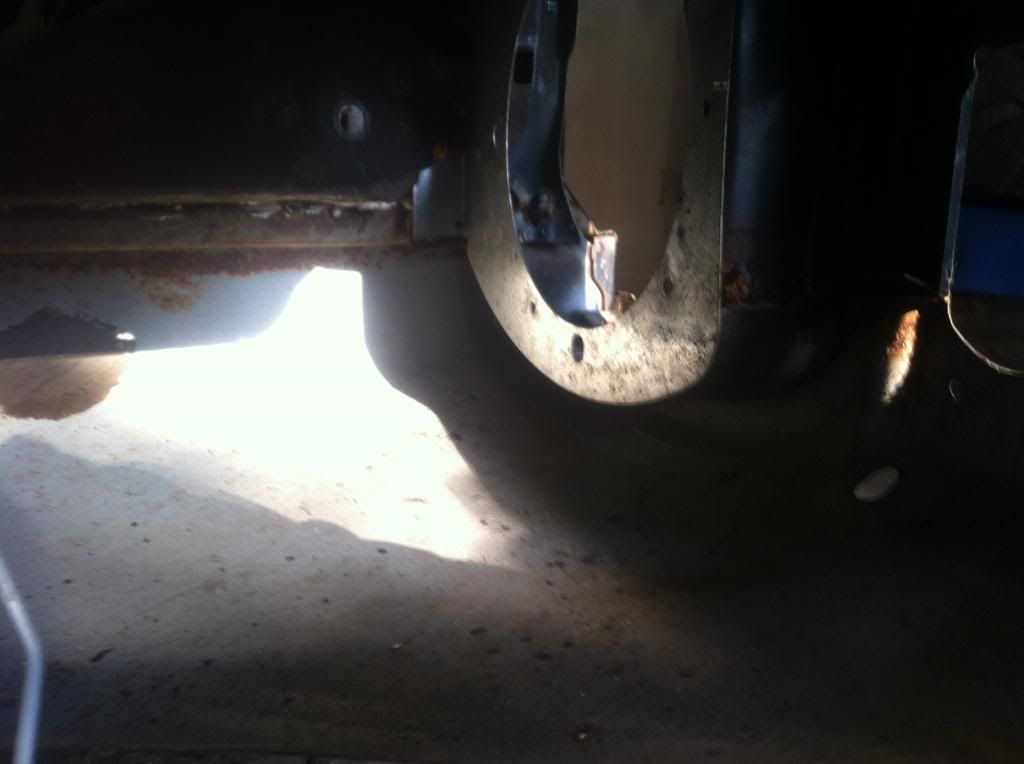
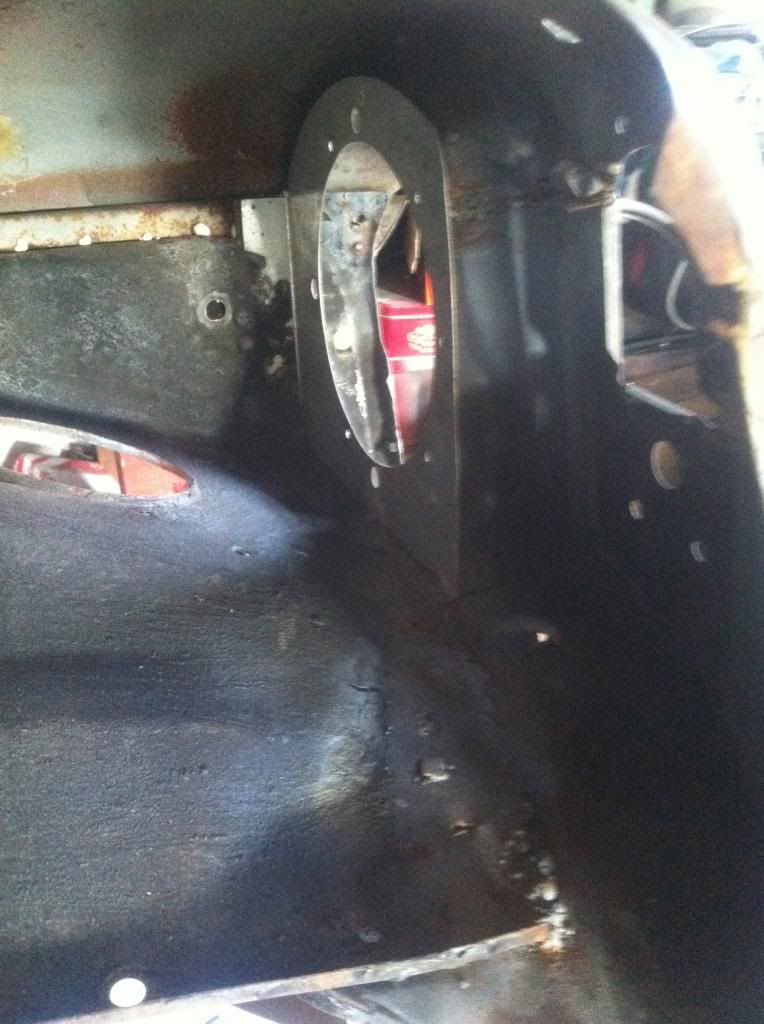
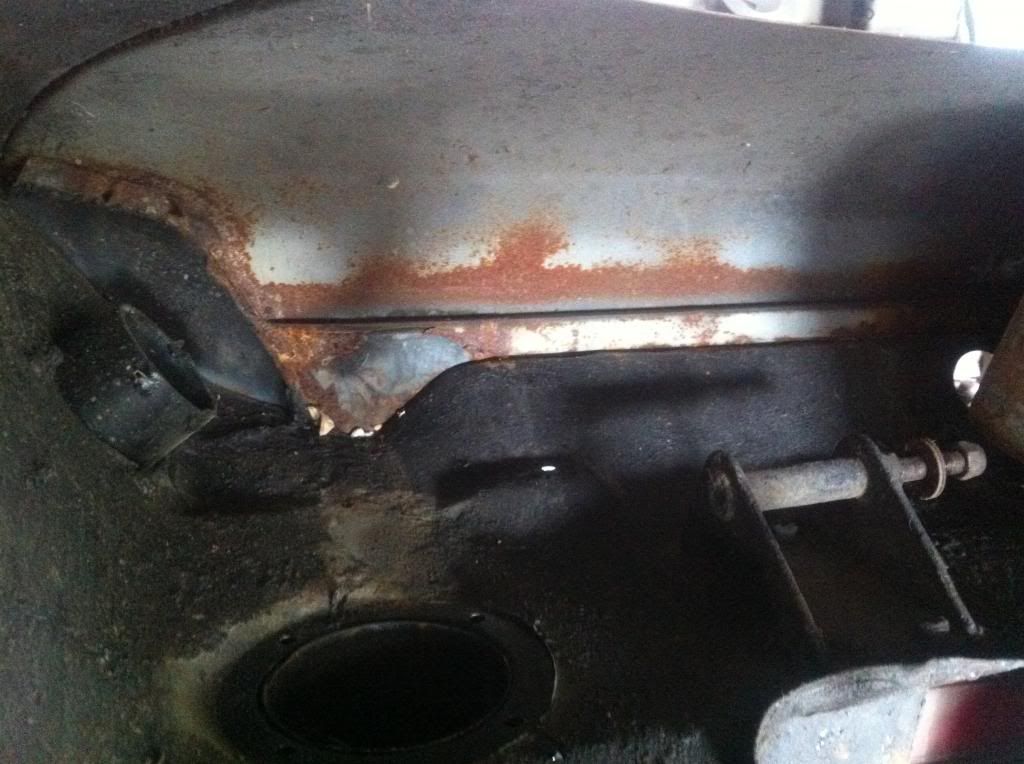
So been doing a little more over the last few weeks with an hour spare here and there... trying to keep on top of it can be hard, not getting nearly enough time I'd like to be spending on it...
|
||||||
|
1142 Posts Member #: 10165 Post Whore Stansted, Essex |
29th Jun, 2013 at 06:48:33pm
Also started pulling off the rear valance as its quite shot in places, rust holes and the general usual rot creeping in!
|
||||||
|
1142 Posts Member #: 10165 Post Whore Stansted, Essex |
18th Jul, 2013 at 05:55:25pm
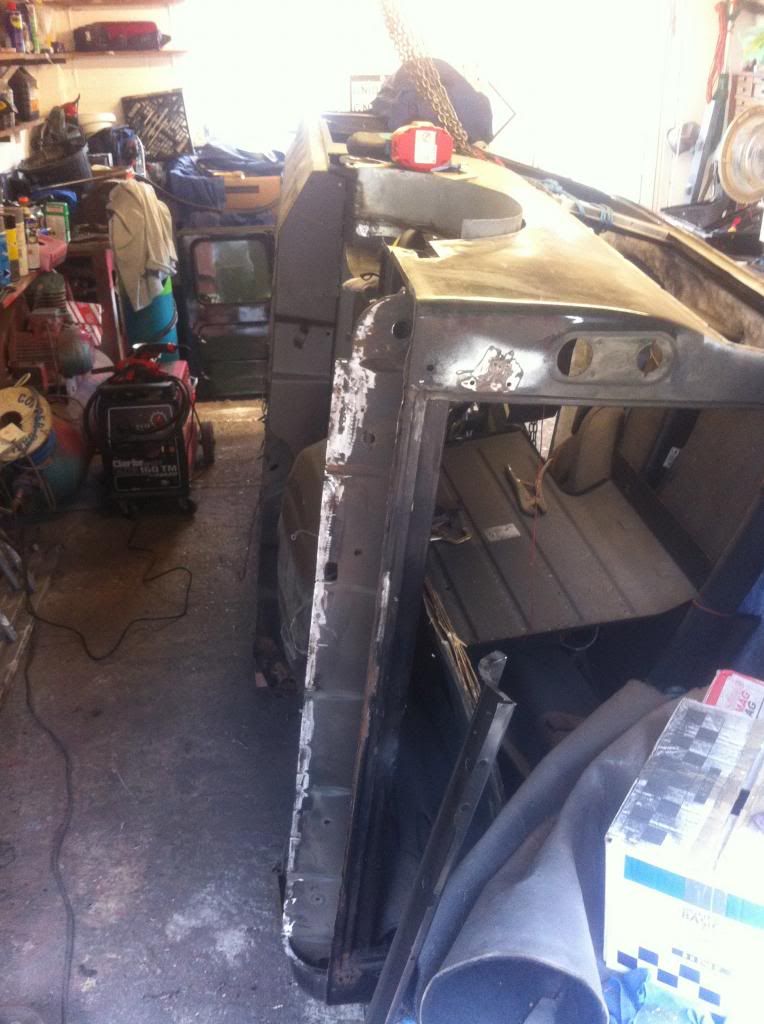
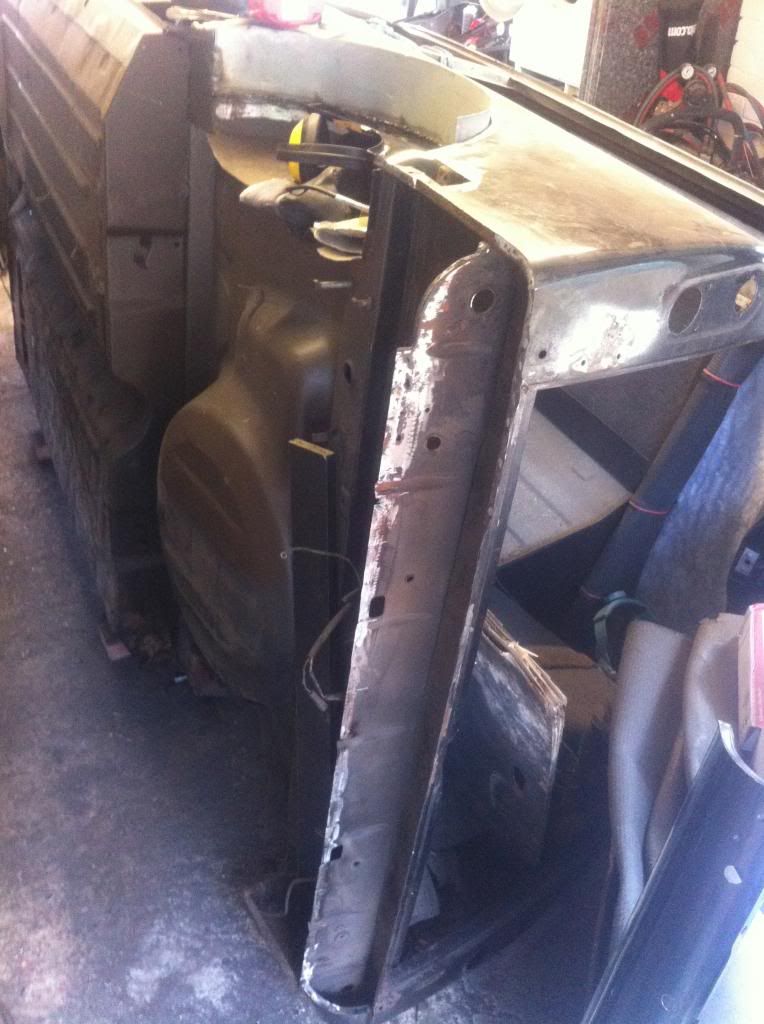
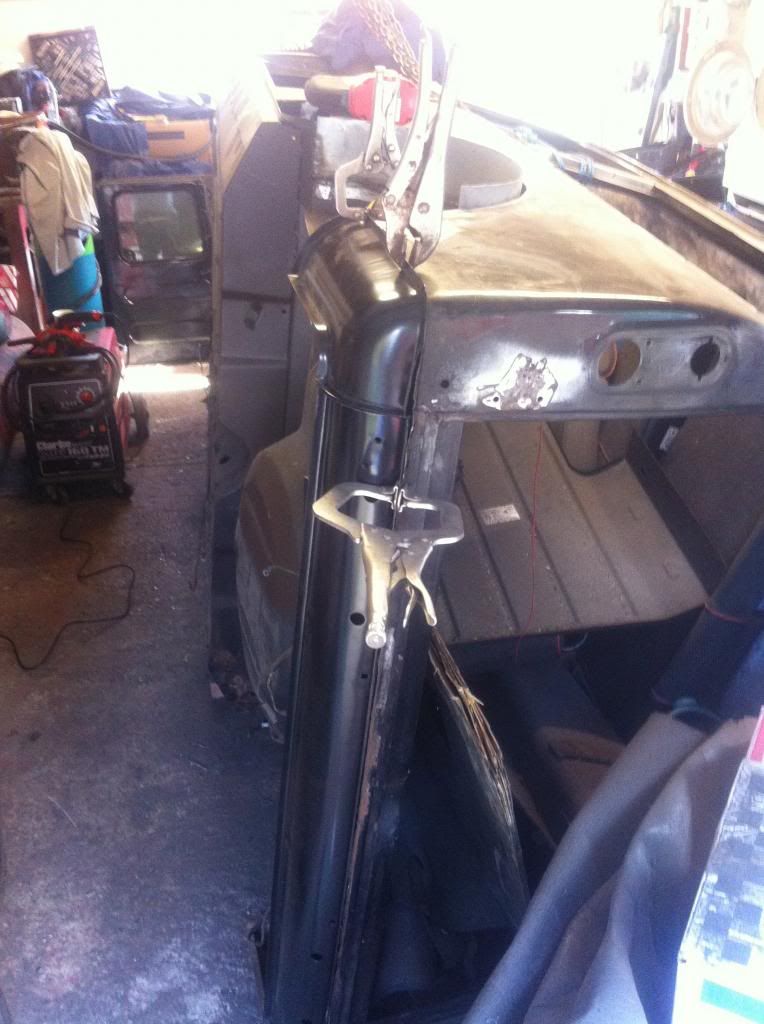
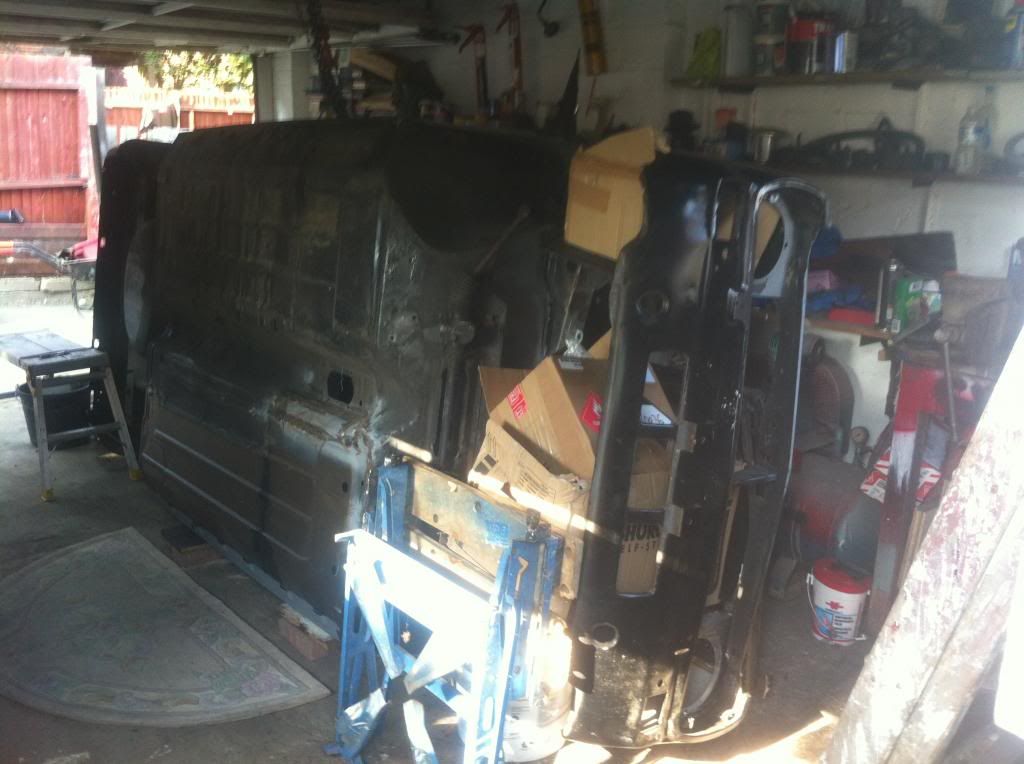
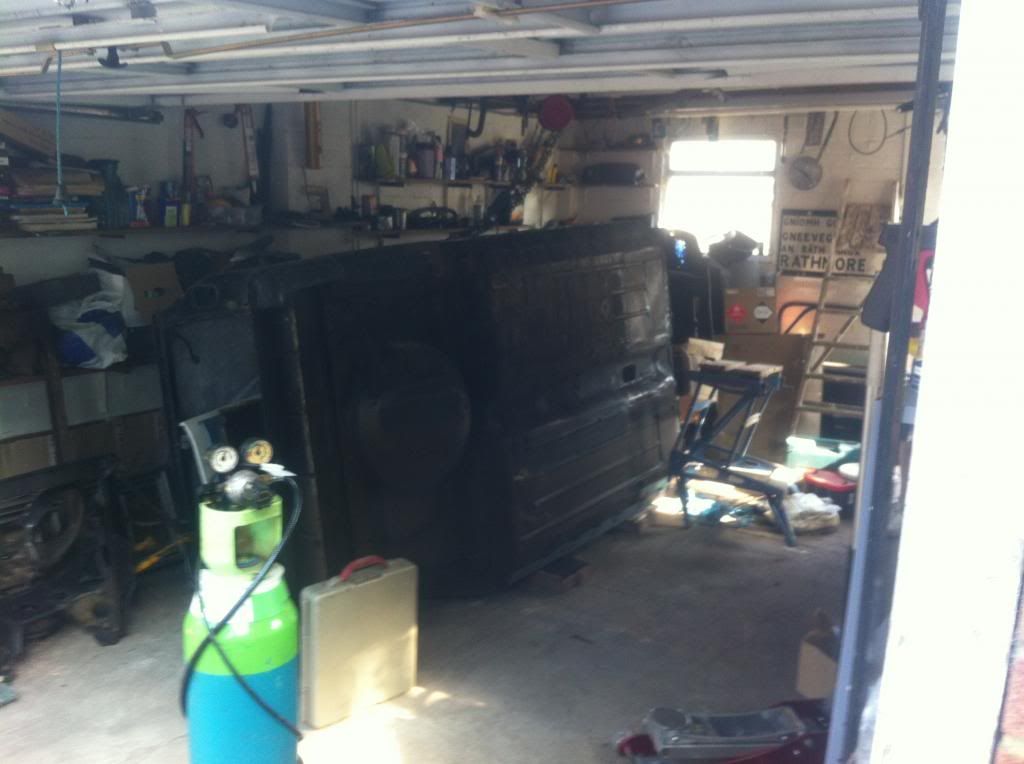
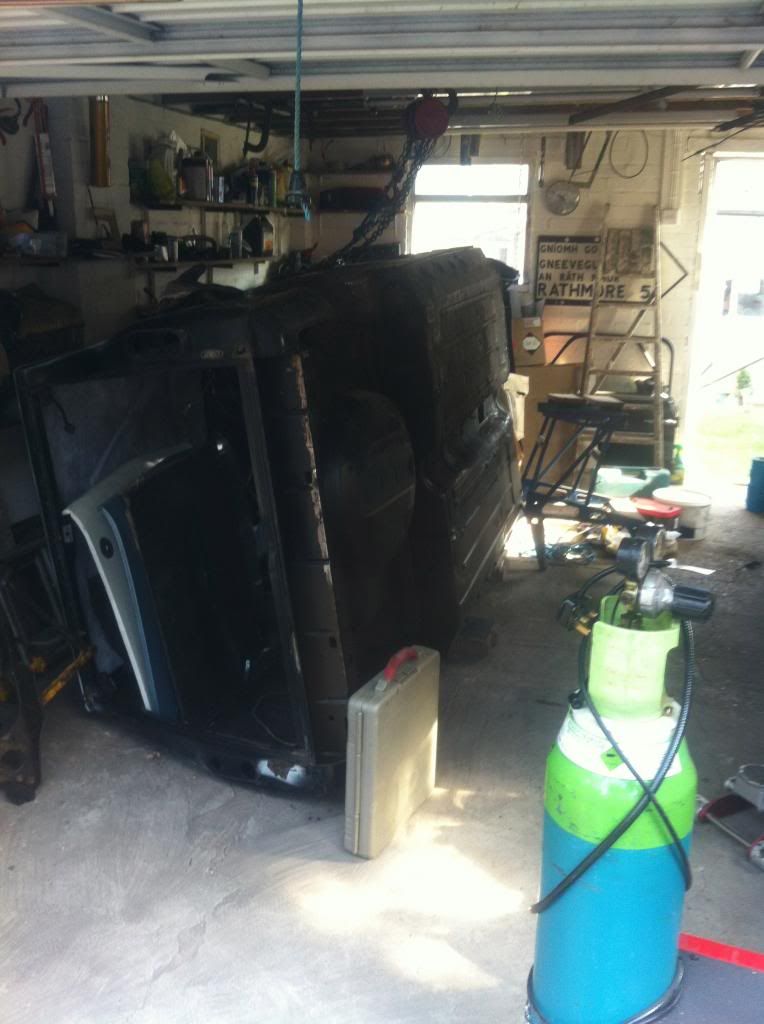
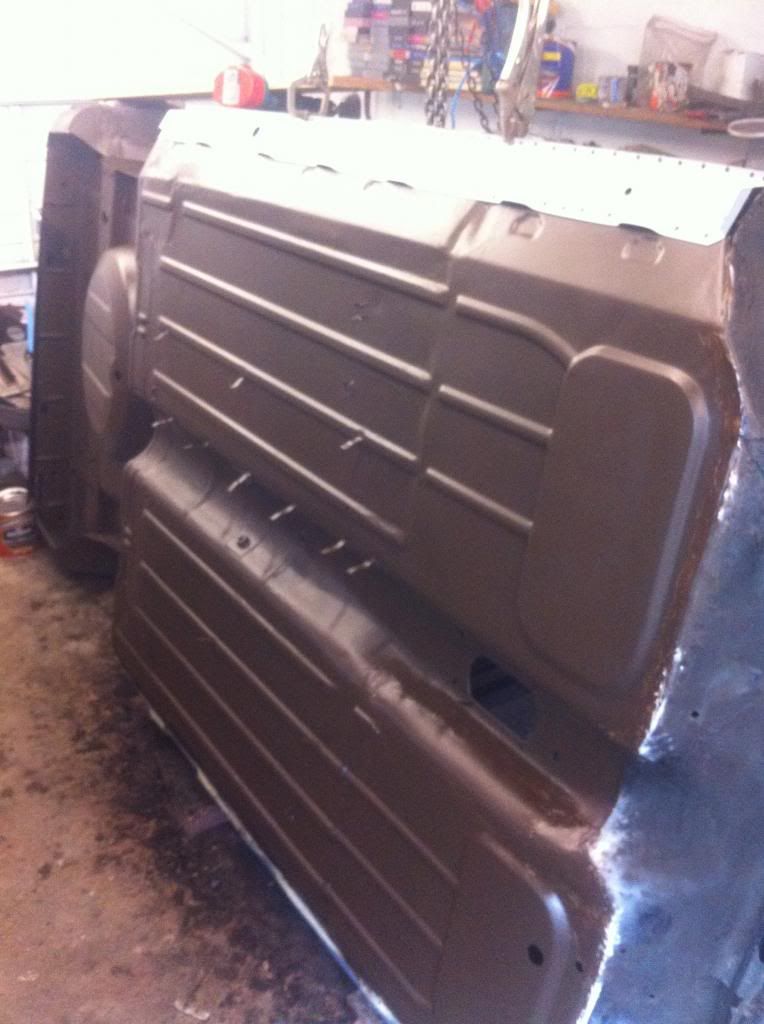
Well not much of an update but certainly a move in the right direction. Spent most of this afternoon putting the mini up on its other side as most of the left has been done... and in this heat I must have sweated a few buckets at least!
|
||||||
|
32 Posts Member #: 9976 Member |
18th Jul, 2013 at 06:53:16pm
Just never seen a fiberglass front that fits well. Steel front has a lot more room to make it fit and the finish is much better. |
||||||
|
1142 Posts Member #: 10165 Post Whore Stansted, Essex |
18th Jul, 2013 at 07:08:08pm
On 18th Jul, 2013 dave_39 said:
Just never seen a fiberglass front that fits well. Steel front has a lot more room to make it fit and the finish is much better. Yeah I know it makes sense.... Just not looking forward to getting the front off in a reasonably good condition to replace. No other way to fix the closing panels... |
||||||
|
1142 Posts Member #: 10165 Post Whore Stansted, Essex |
9th Sep, 2013 at 07:29:31pm
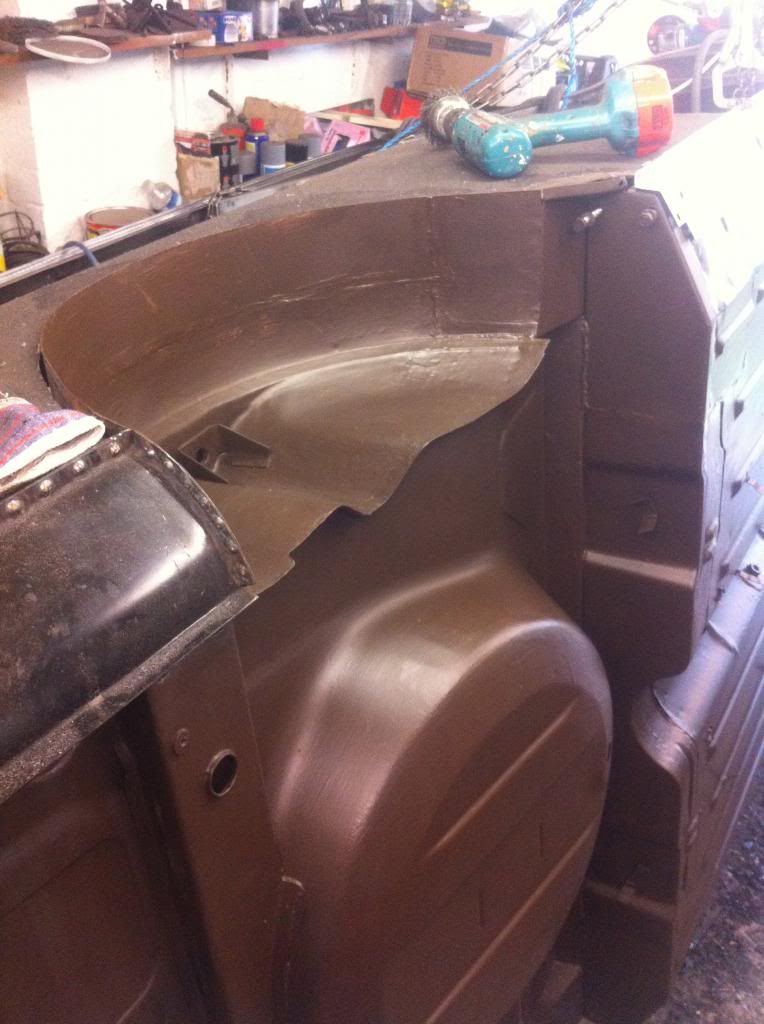
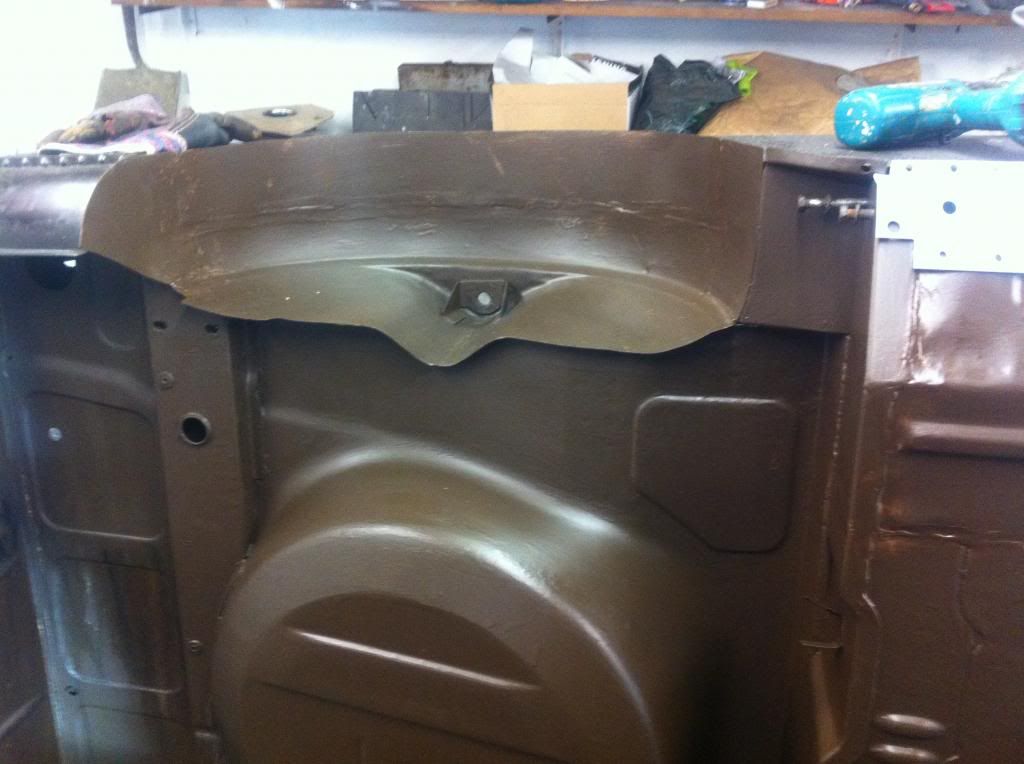
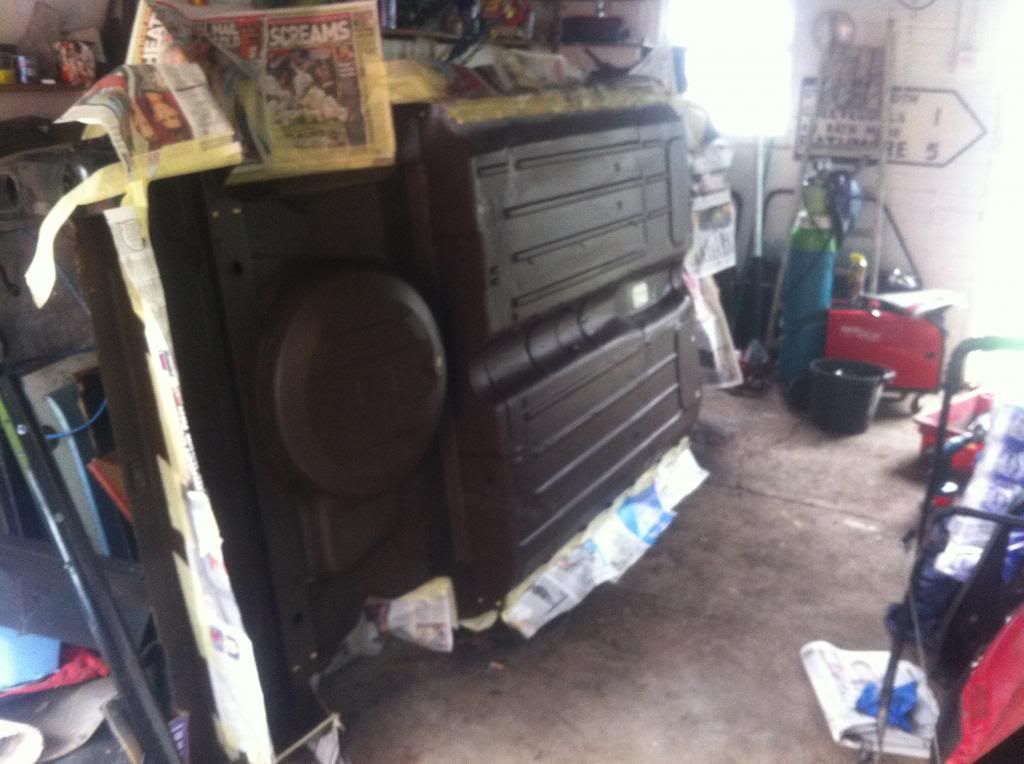
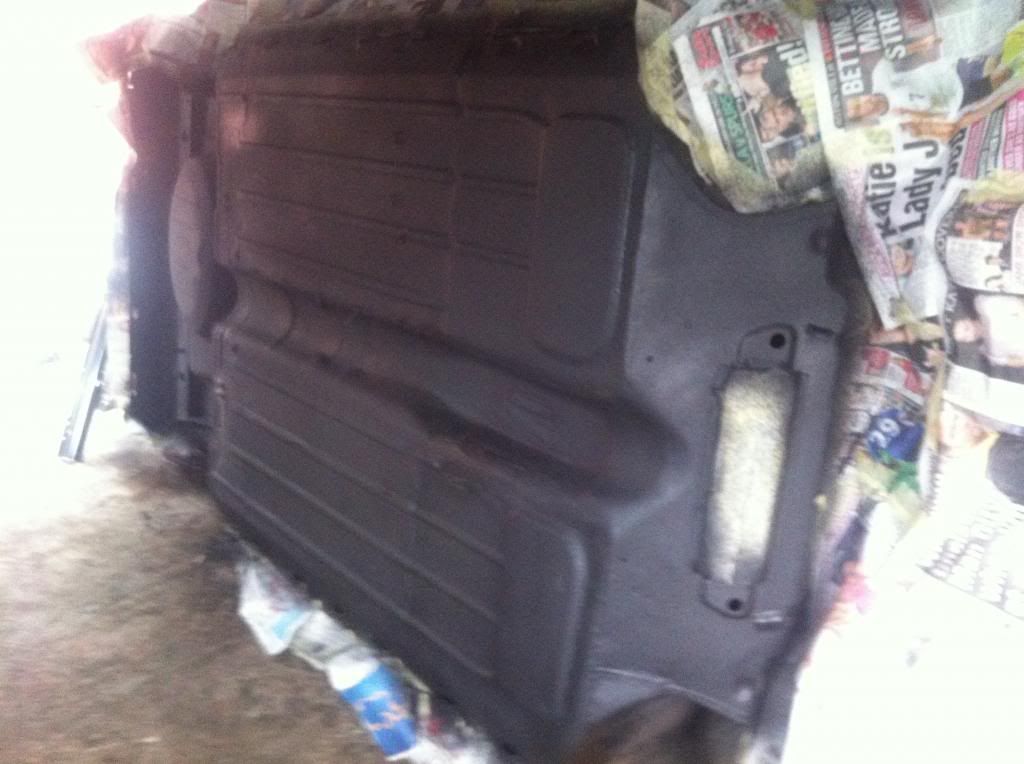
So finally feels like some progress now, been able to get a few half days in the garage recently and made full use of the time I had.
|
||||||
 6729 Posts Member #: 618 Post Whore Glasgow |
9th Sep, 2013 at 07:35:57pm
Looking good! Always makes a huge differance when its all in one colour |
||||||
|
1142 Posts Member #: 10165 Post Whore Stansted, Essex |
9th Sep, 2013 at 08:11:36pm
Cheers Rob, yup... before I painted it it didn't look as good, indeed the brown paint made it look much better. Like I said it's not perfect, but when you compare it to how it was before you can see a massive difference... and most importantly its grot free!! |
||||||
|
Site Admin 6277 Posts Member #: 1 The boring bloke who runs this place. Berkshire |
9th Sep, 2013 at 10:07:28pm
Great stuff - really good to see the improvements from the welding at the start, too. :) |
||||||
|
1142 Posts Member #: 10165 Post Whore Stansted, Essex |
9th Sep, 2013 at 10:21:33pm
Thanks Alex, getting rid of the gasless welder made a massive difference tbh.. |
||||||
 9812 Posts Member #: 332 Resident Cylinder Head Modifier Mitsi Evo 7, 911, Cossie. & all the chavs ...... won no problem |
9th Sep, 2013 at 10:32:13pm
very good, the stone chip with the Shultz gun will make a real job of it, I personal would apply 2 coats leaving 24hrs between coats then if you wish spray the underside over with the colour of the van its going to be ..... I did mine like that 20 odd years ago and its still perfect!
|
||||||
|
1142 Posts Member #: 10165 Post Whore Stansted, Essex |
9th Sep, 2013 at 11:22:26pm
Ok thanks Steve I shall bear that in mind.. Just need to decide on a colour now!! |
||||||
|
1142 Posts Member #: 10165 Post Whore Stansted, Essex |
22nd Oct, 2013 at 06:54:59pm
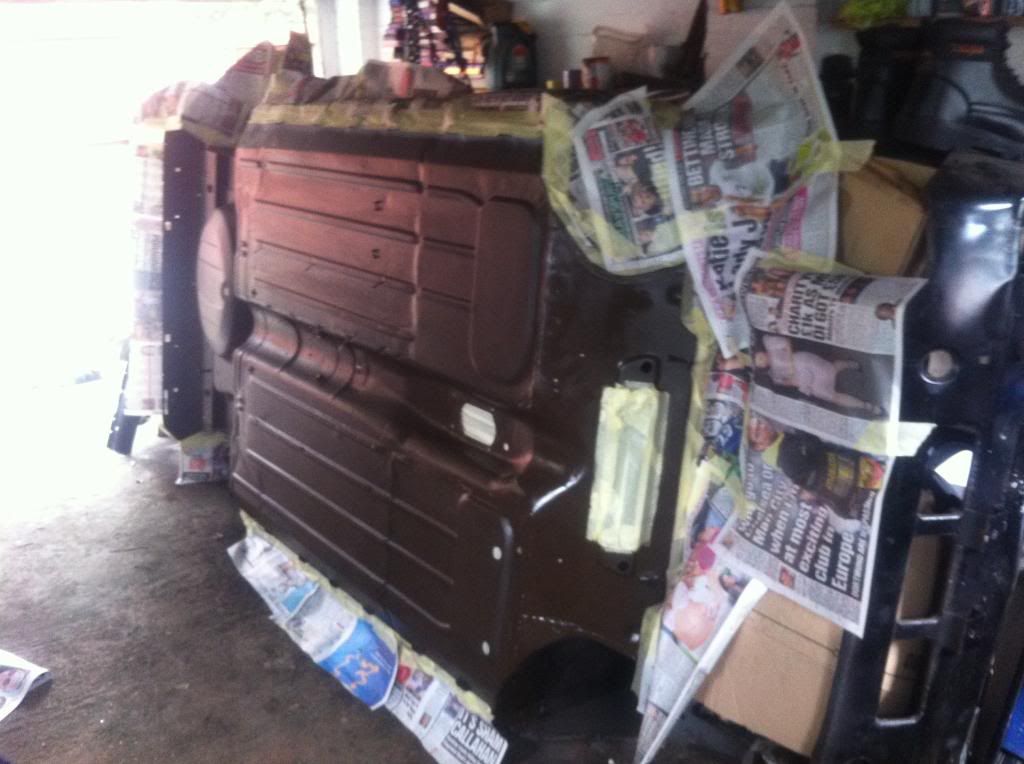
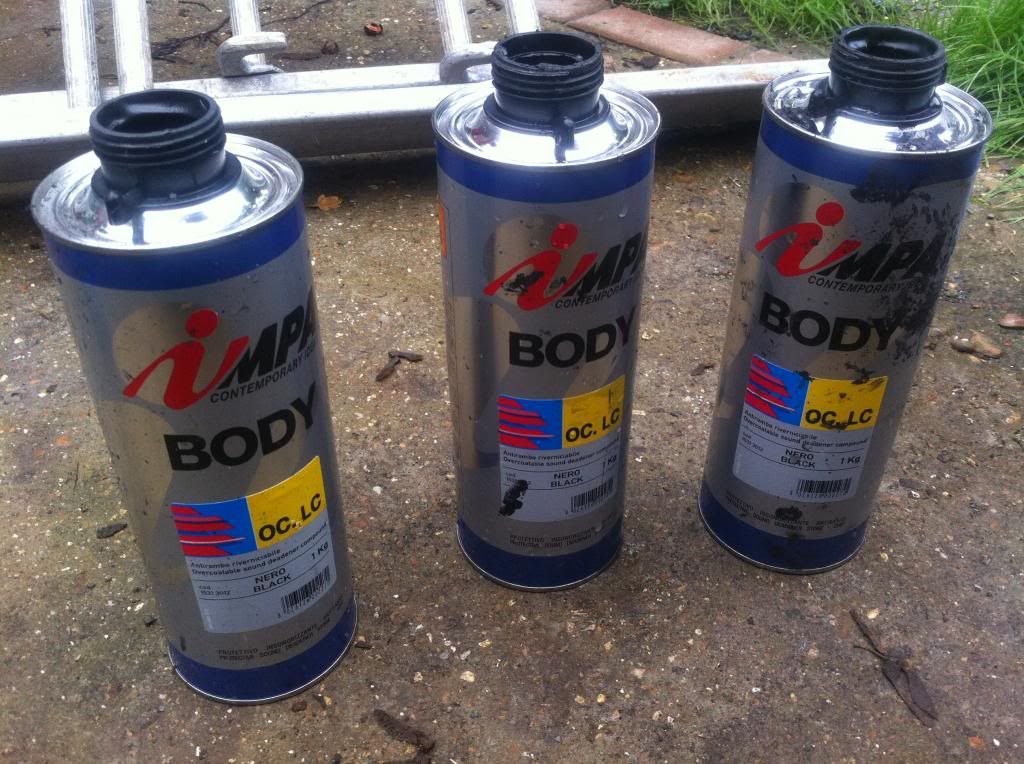
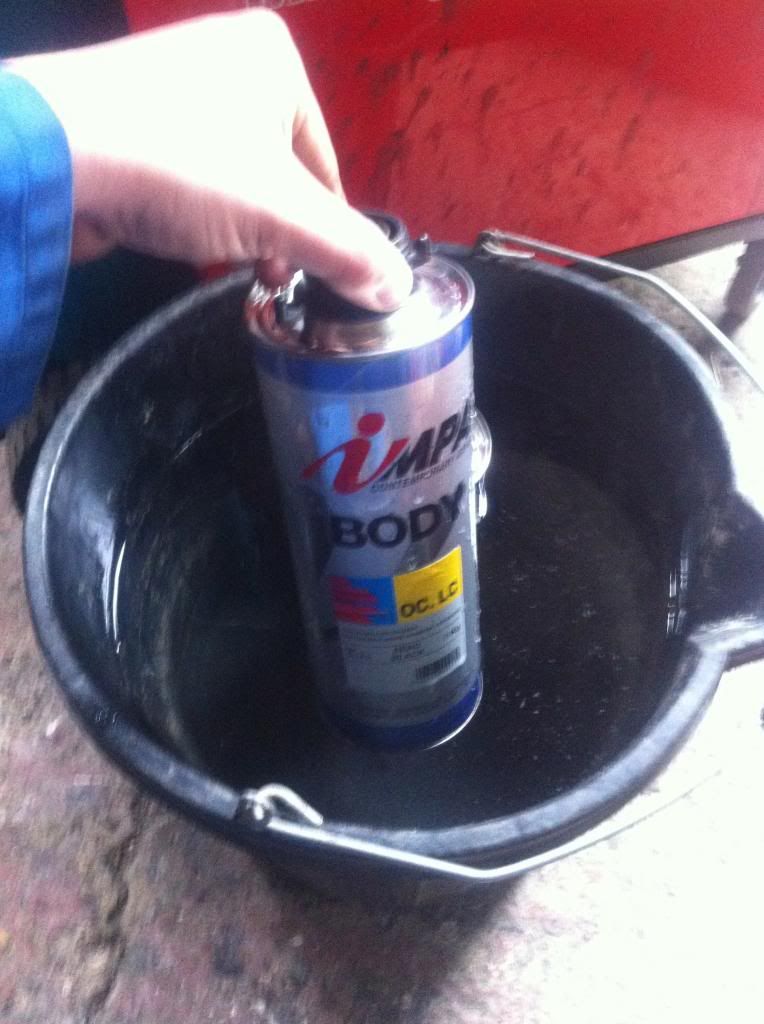
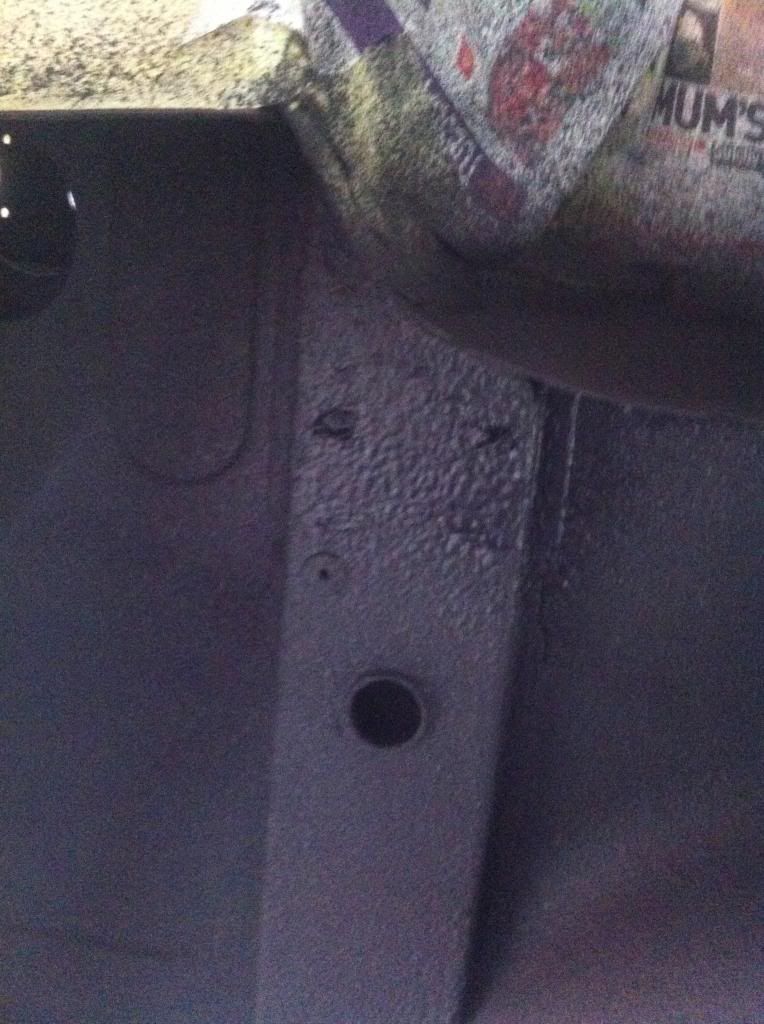
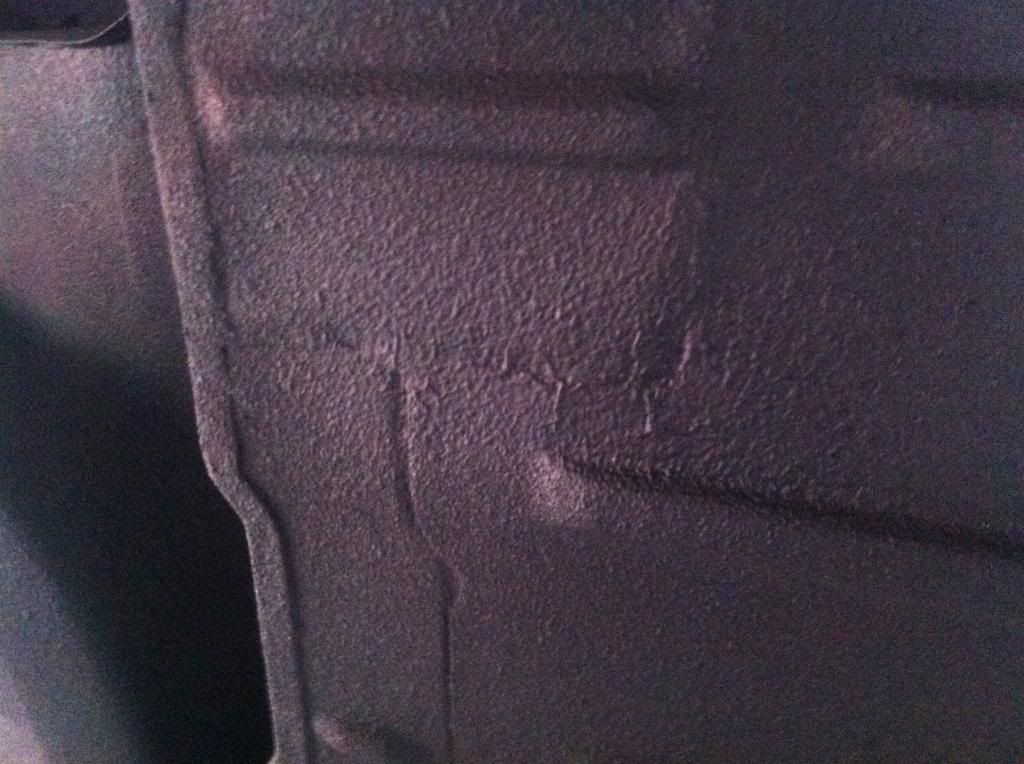
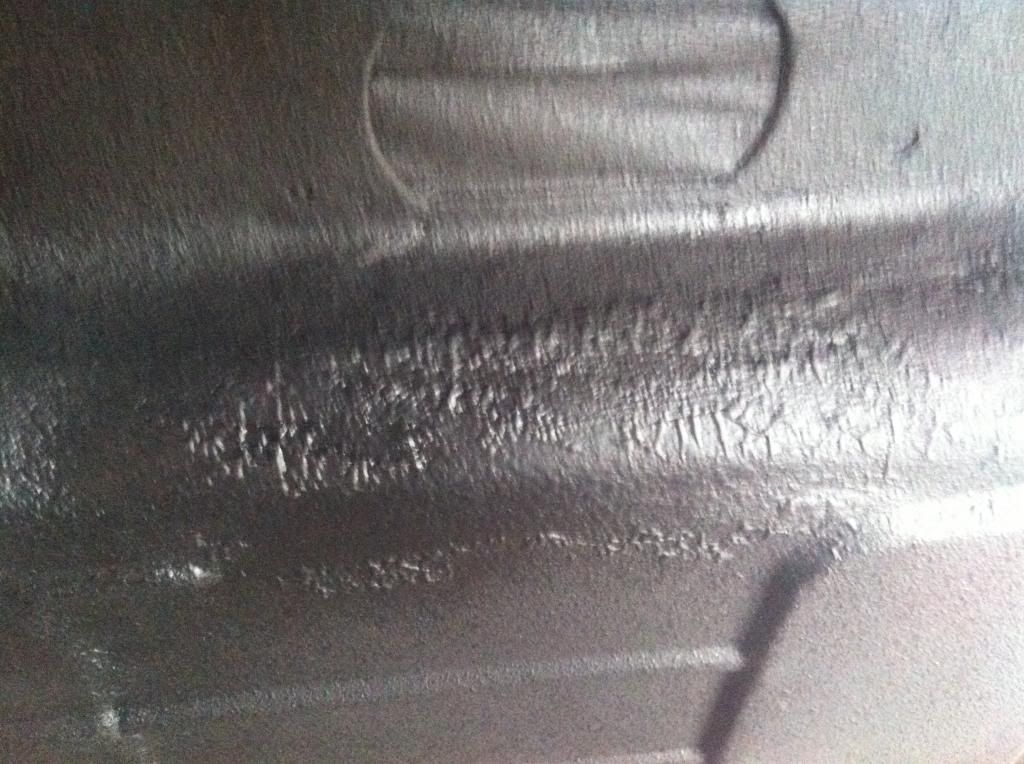
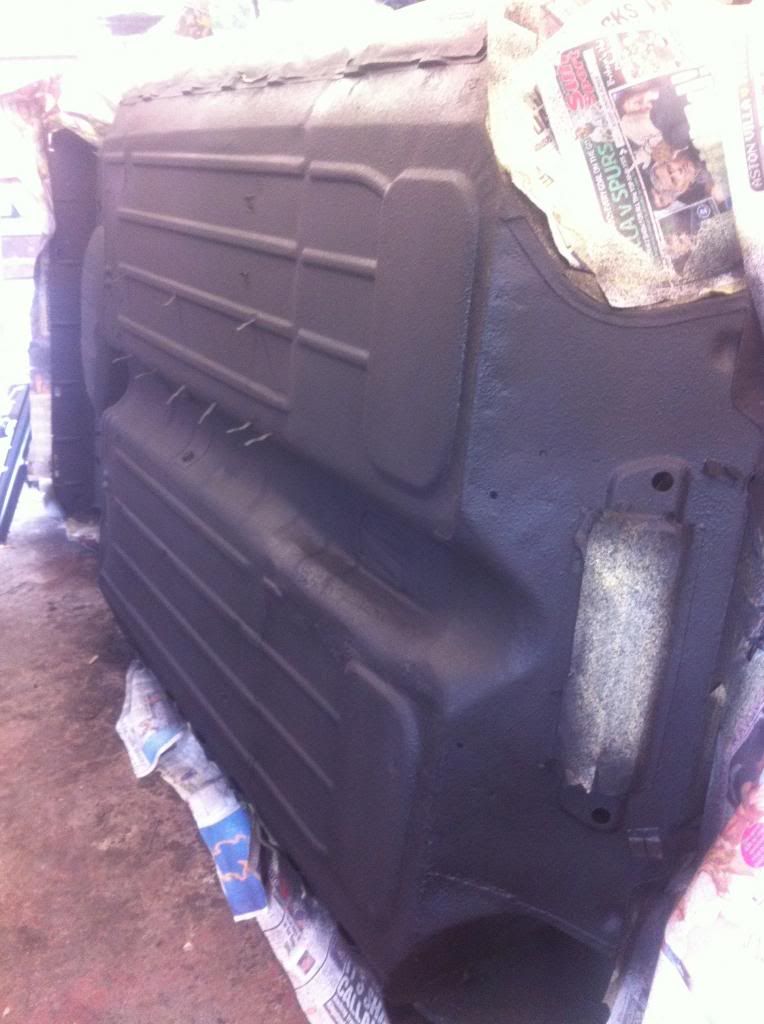
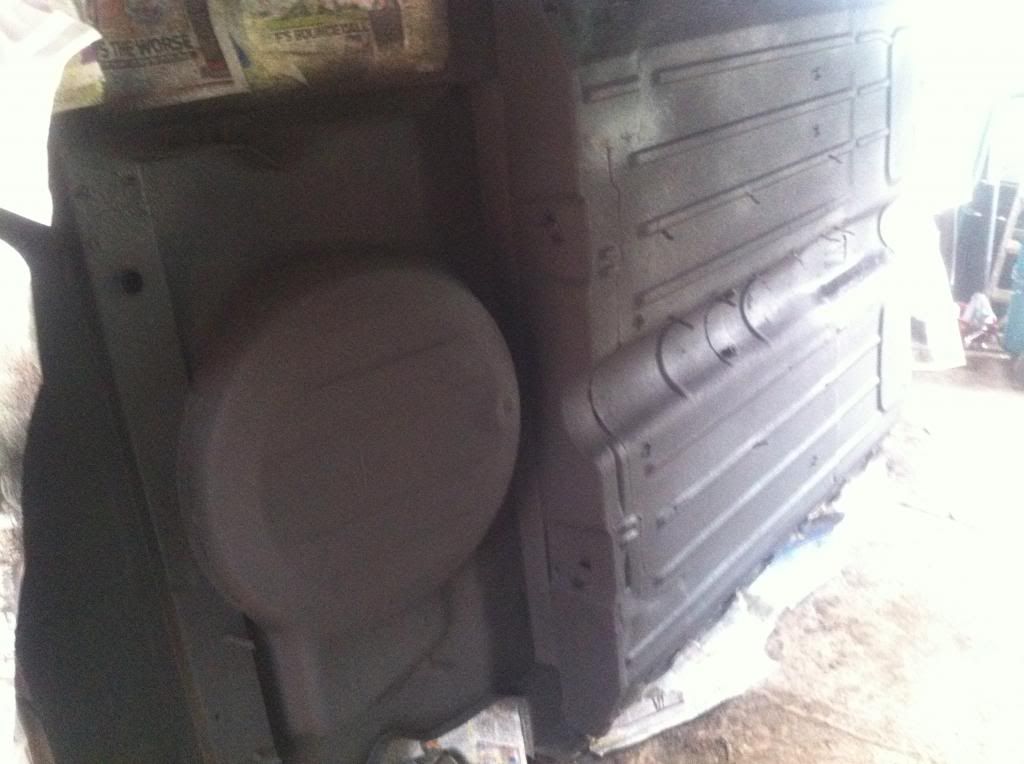
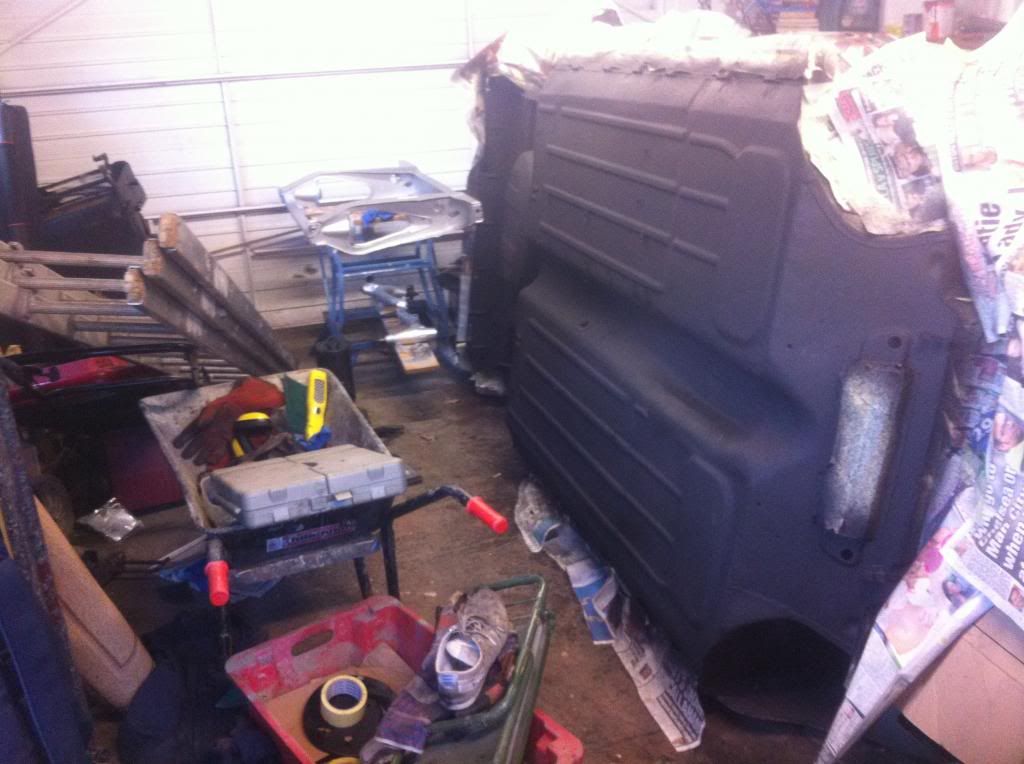
Another update, it's been a while again since any work but managed to do a wee bit more. Finally finished all the metal work on the underneath and after prepping it got it ready for stone chipping... got some stuff off ebay and got busy with schultz gun..
|
||||||
|
1142 Posts Member #: 10165 Post Whore Stansted, Essex |
22nd Oct, 2013 at 08:27:44pm
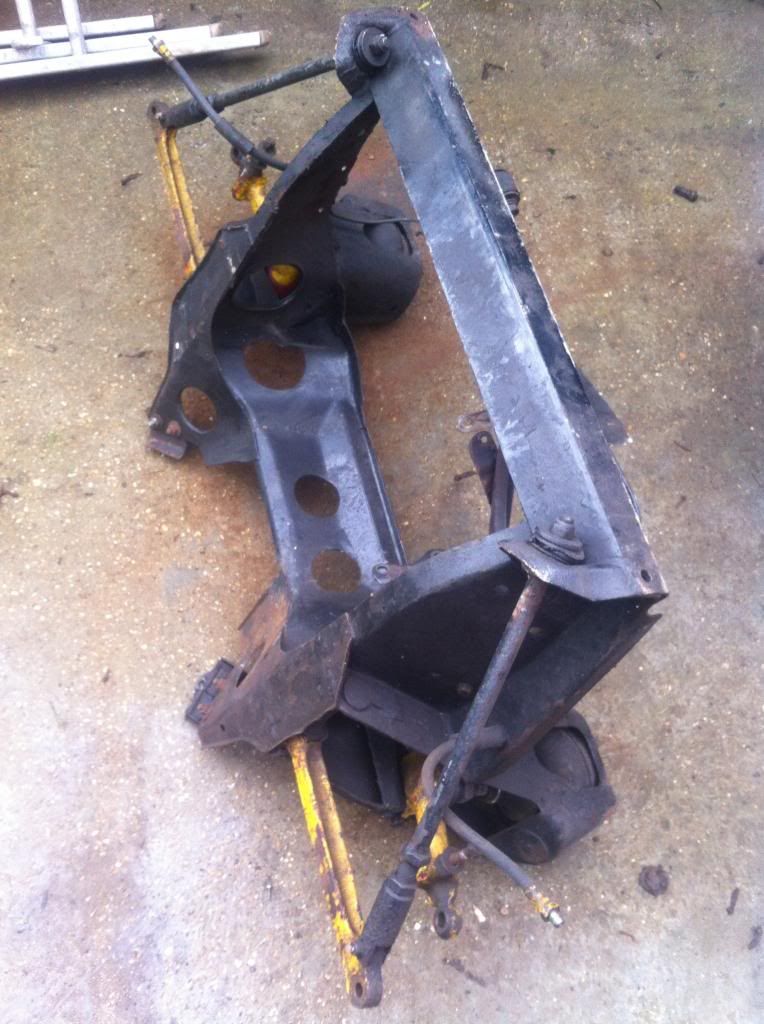
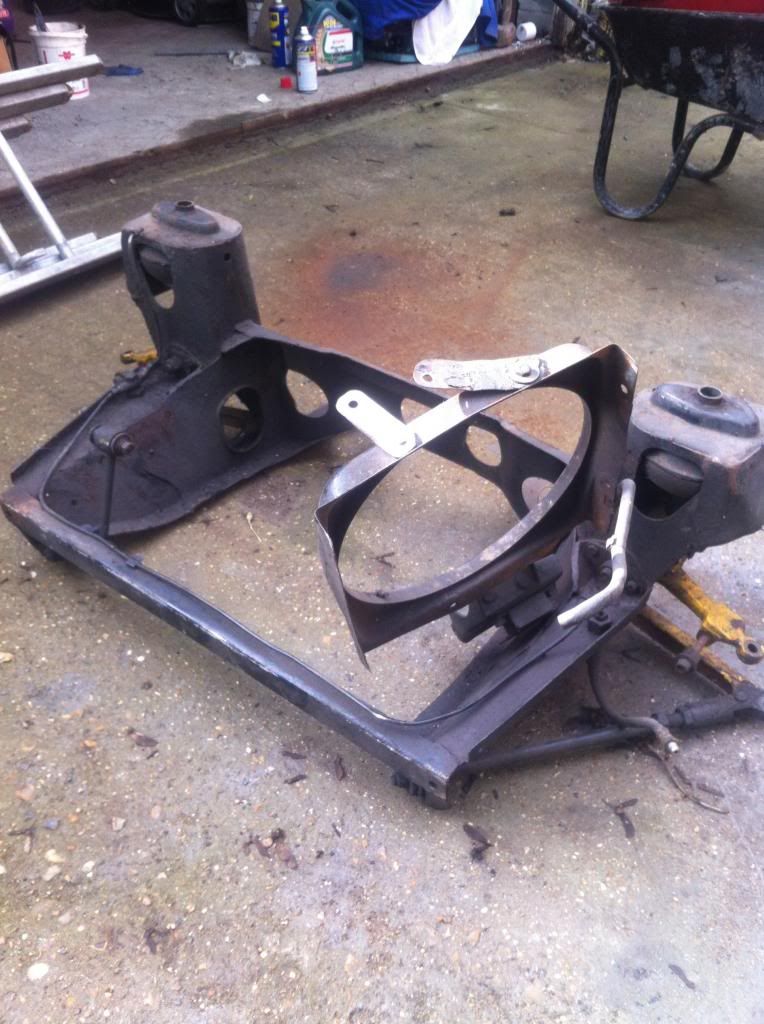
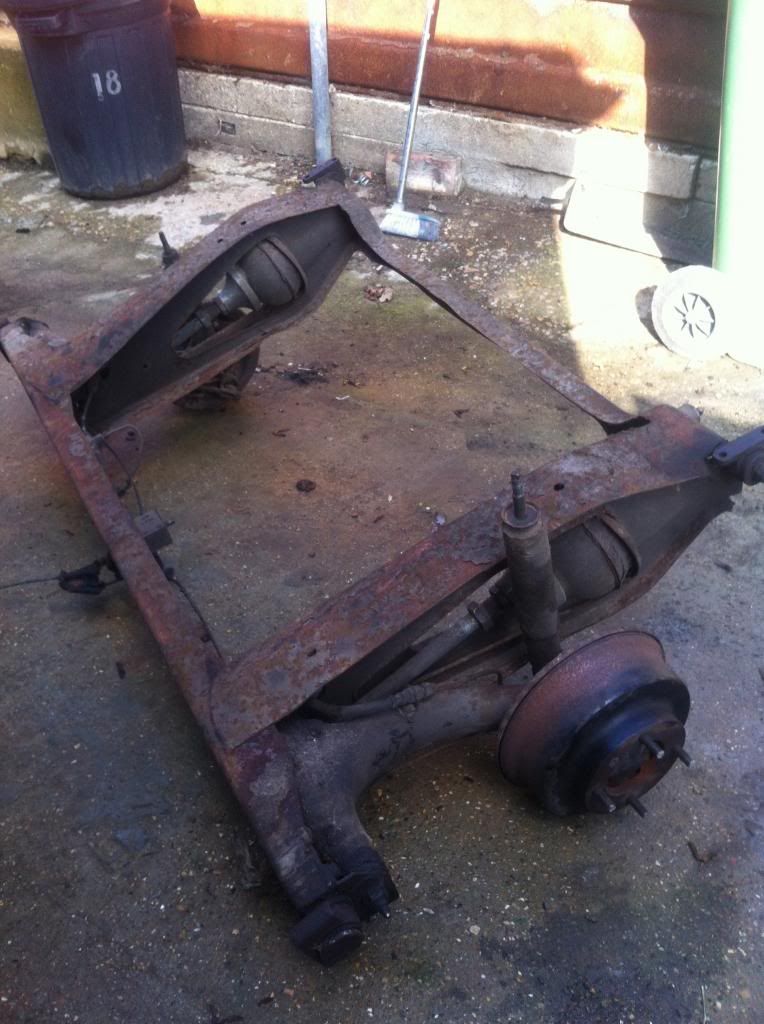
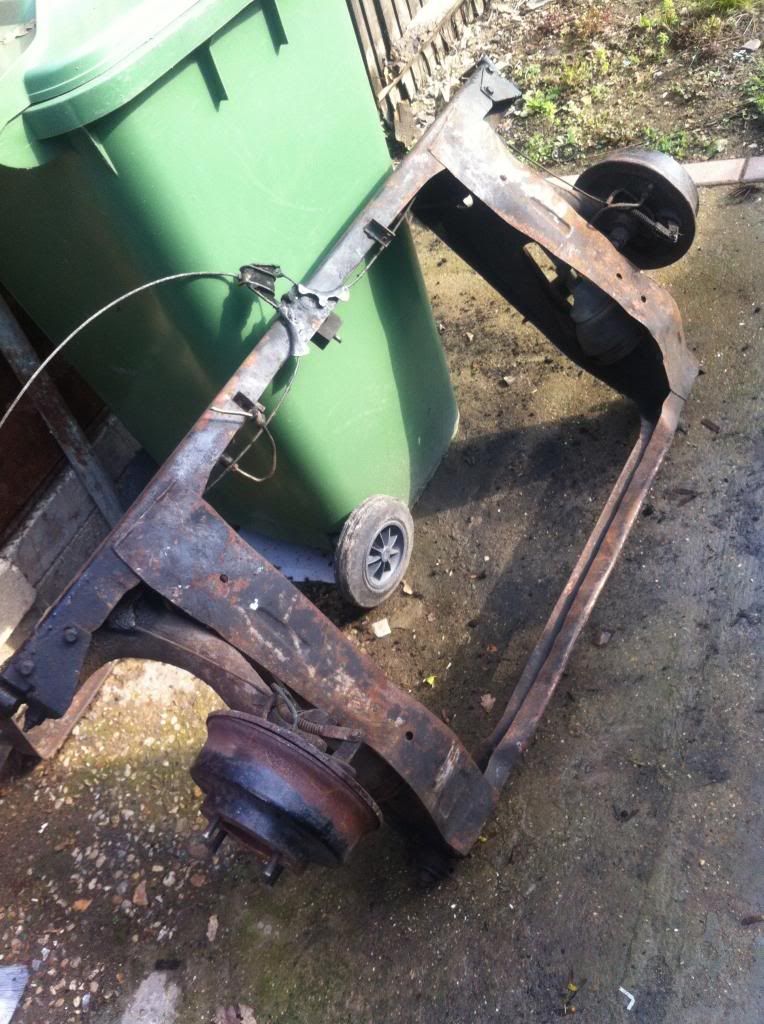
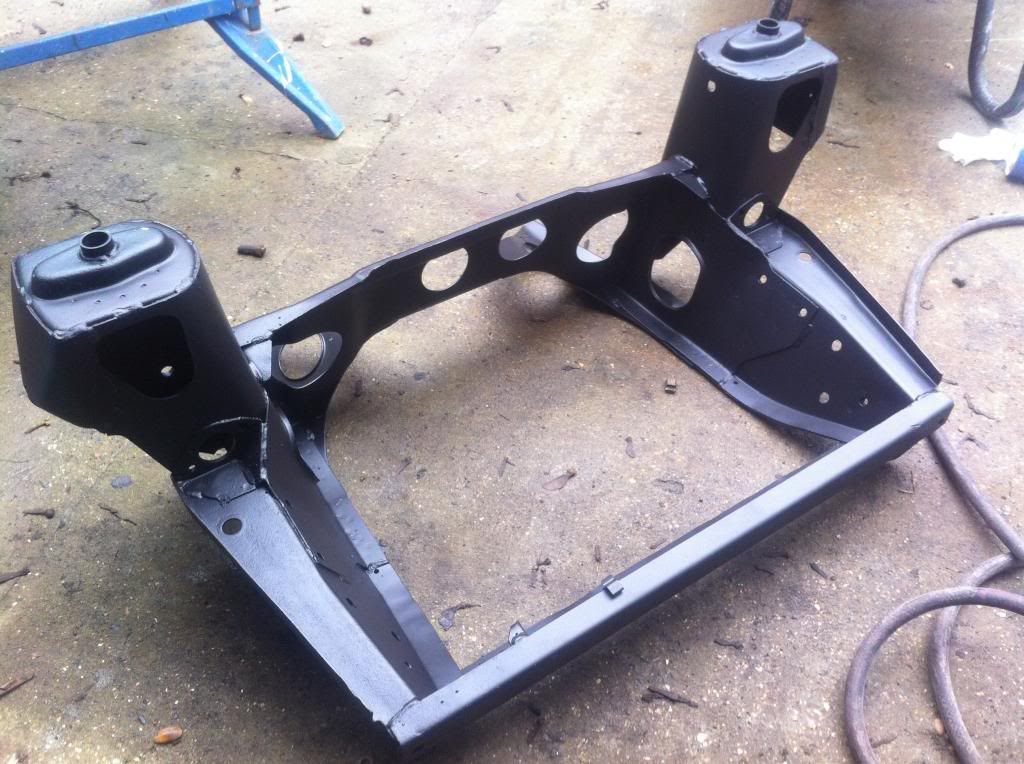
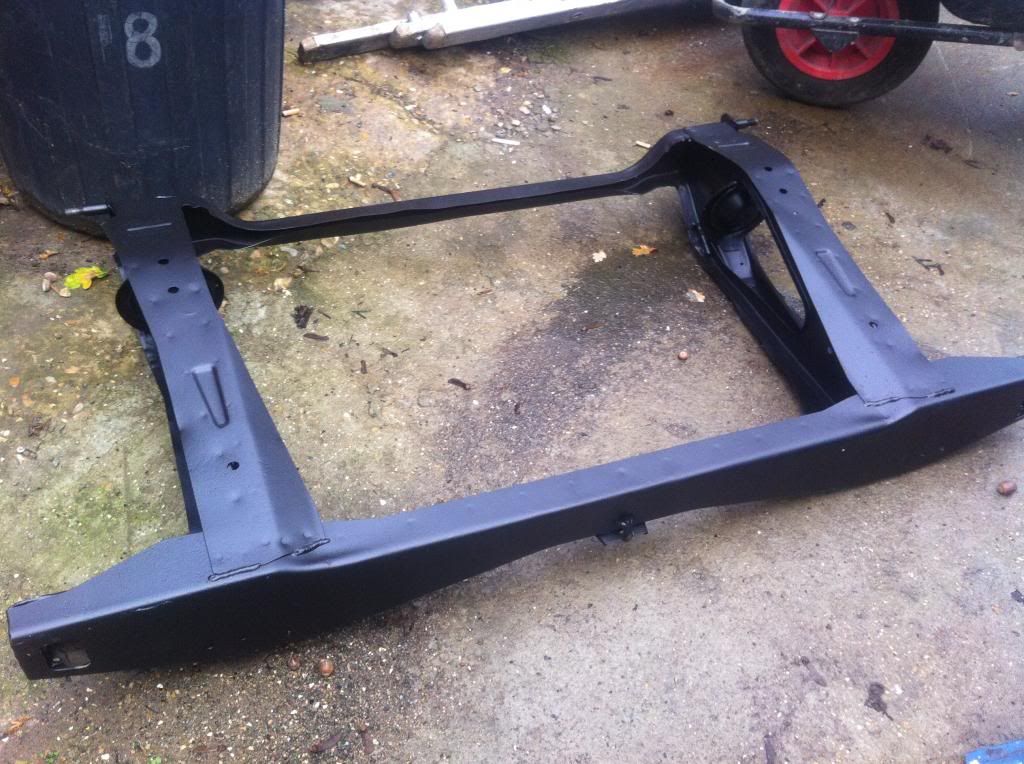
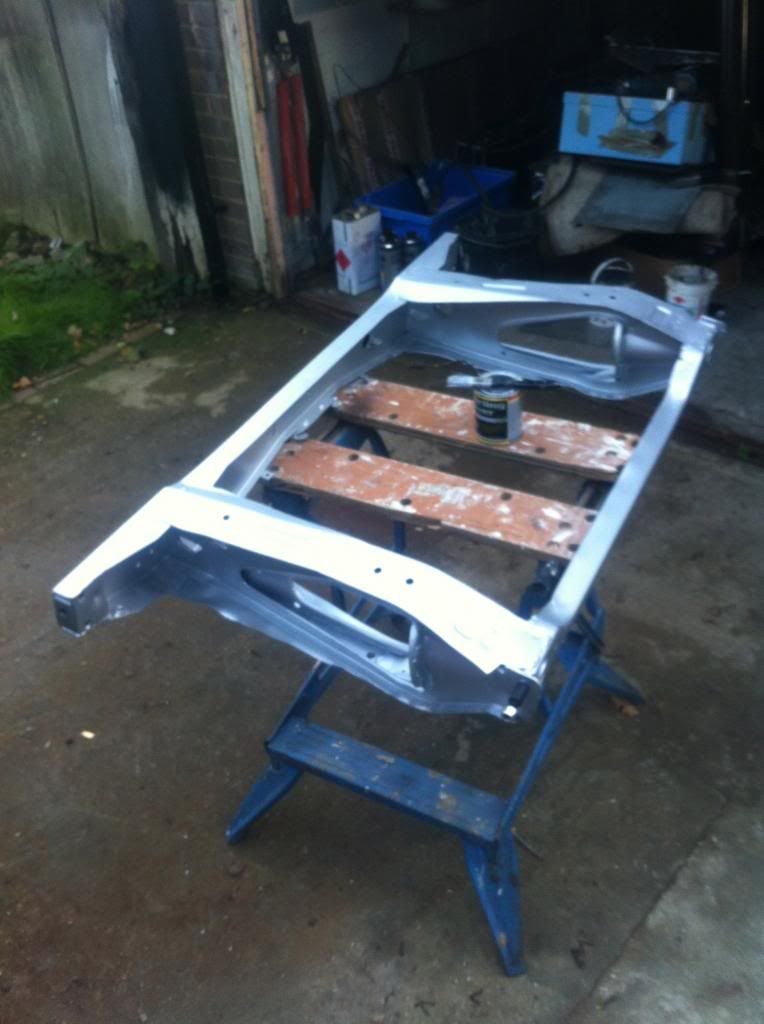
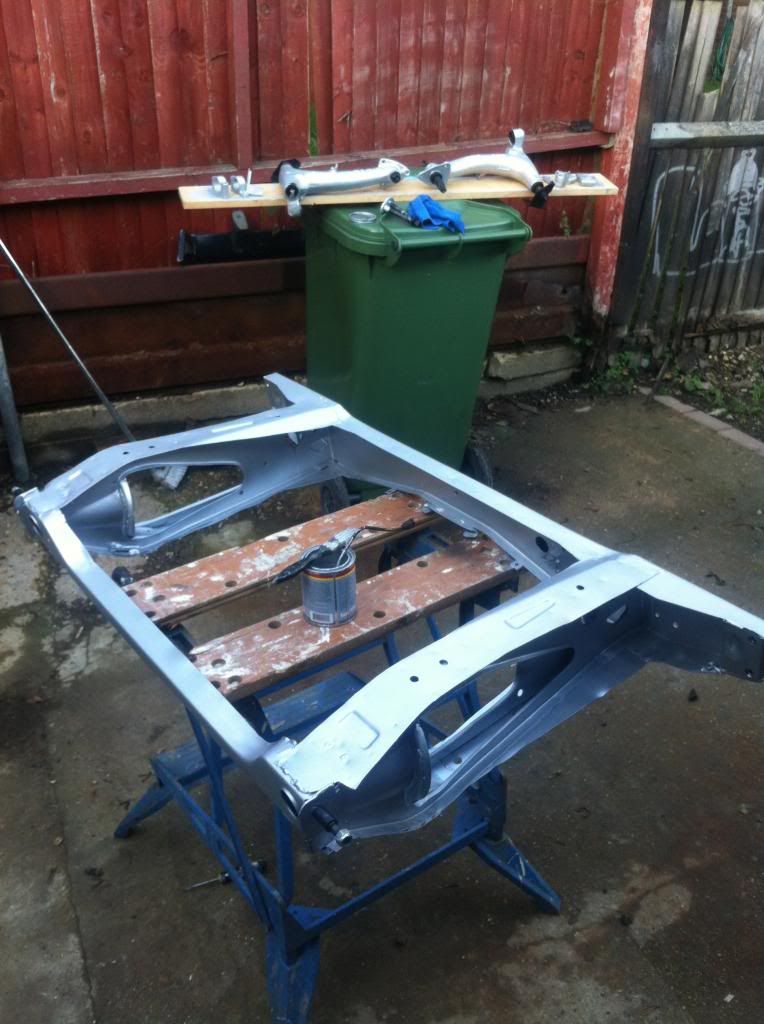
Also done a bit with both subframes, took them both apart completely to start work on them...
|
||||||
|
1142 Posts Member #: 10165 Post Whore Stansted, Essex |
22nd Oct, 2013 at 08:36:00pm
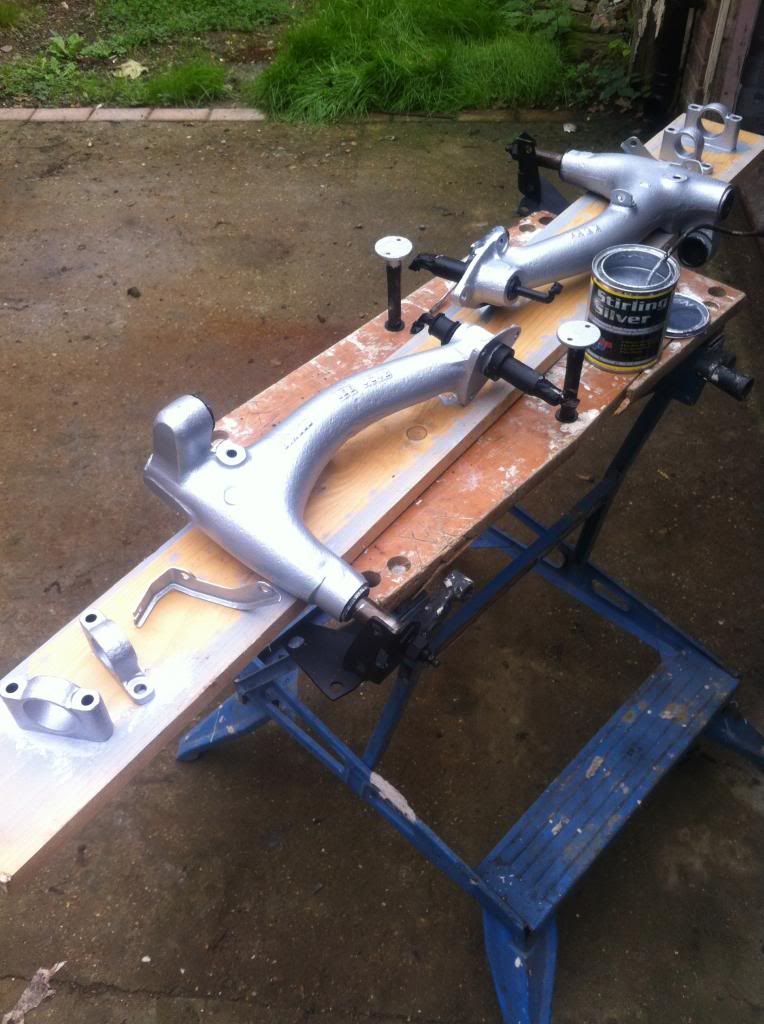
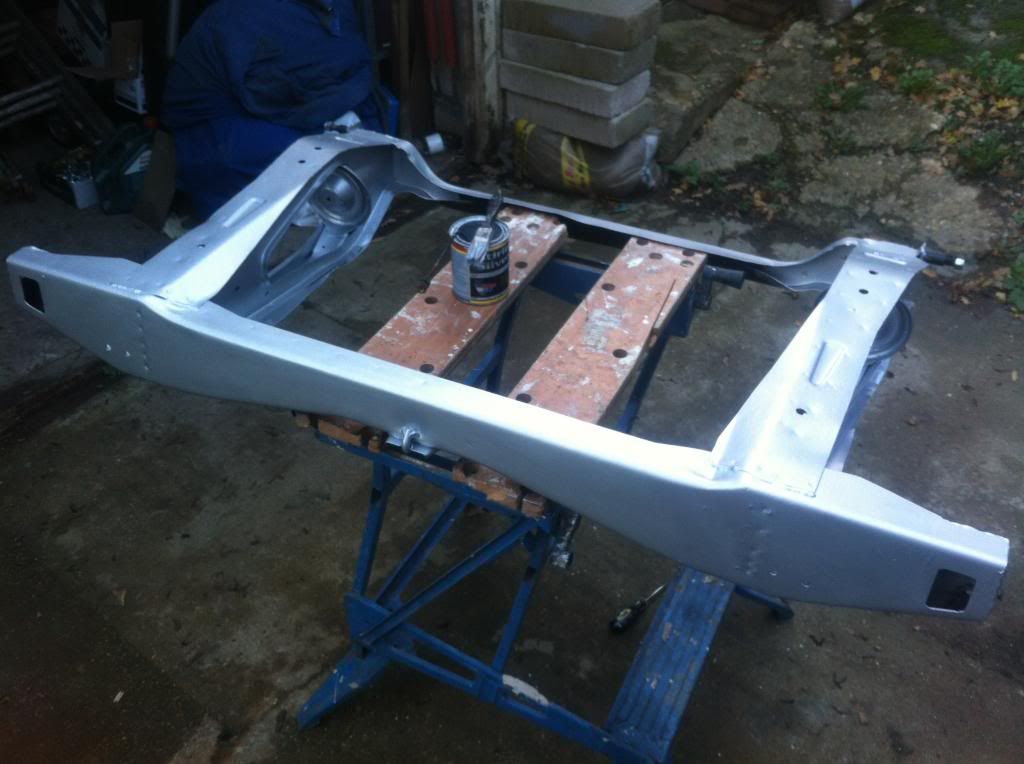
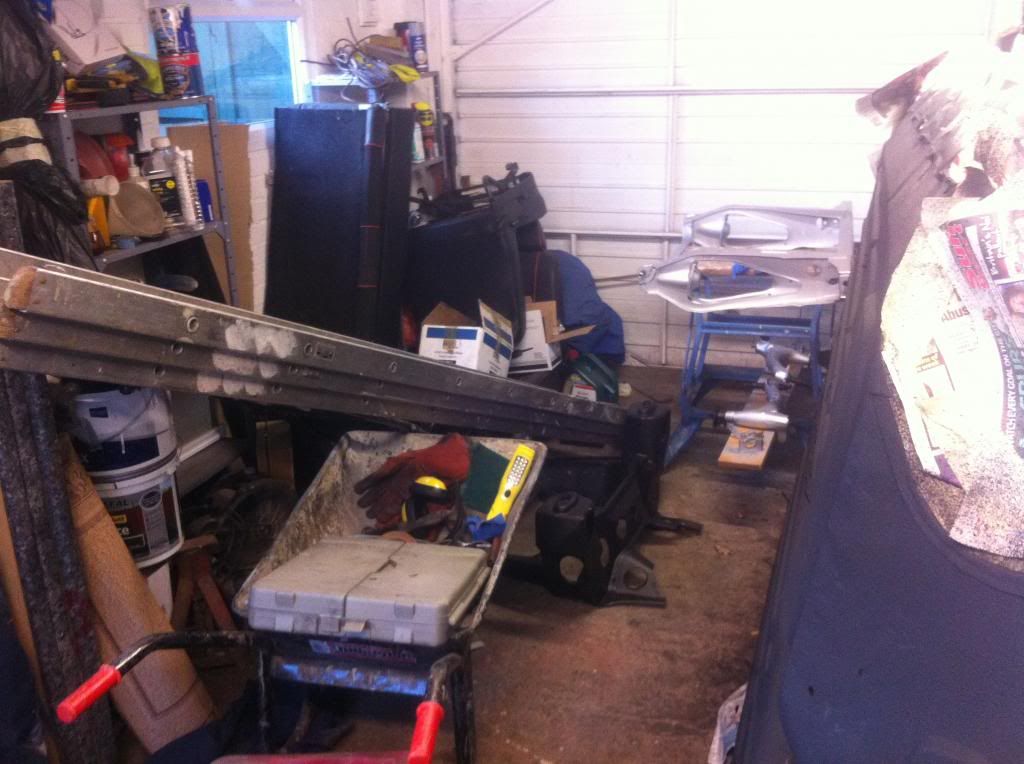
Started painting up the radius arms, trunnions and other bits... using Por15 sterling silver. Im going to paint the complete subbies in this colour cos I have two full tins of it, might be overkill on the silver but so what! It dries solid and is hard to scratch it so it'll be good for the job!
|
||||||
 690 Posts Member #: 1851 Post Whore Woolavington, Zummerzet |
22nd Oct, 2013 at 10:45:15pm
Daft reply not realising there was still a page to go... Edited by Alex on 22nd Oct, 2013. Metric is for people who can't do fractions. |
||||||
|
1142 Posts Member #: 10165 Post Whore Stansted, Essex |
22nd Oct, 2013 at 11:23:27pm
On 22nd Oct, 2013 Alex said:
Daft reply not realising there was still a page to go... Huh? Edited by evad1980 on 23rd Oct, 2013. |
||||||
 2094 Posts Member #: 9894 Post Whore Dorking |
23rd Oct, 2013 at 09:39:35am
looking good! |
||||||
|
1142 Posts Member #: 10165 Post Whore Stansted, Essex |
24th Oct, 2013 at 01:09:24pm
Went a bit mental with the silver yesterday afternoon....
|
||||||
| Home > Show Us Yours! > The ClubVan... Back in business!! | |||||||
|
|||||||
| Page: |

