| Page: |
| Home > Show Us Yours! > The ClubVan... Back in business!! | |||||||
|
882 Posts Member #: 9854 Post Whore Hounslow, Middlesex |
16th Apr, 2013 at 03:42:39pm
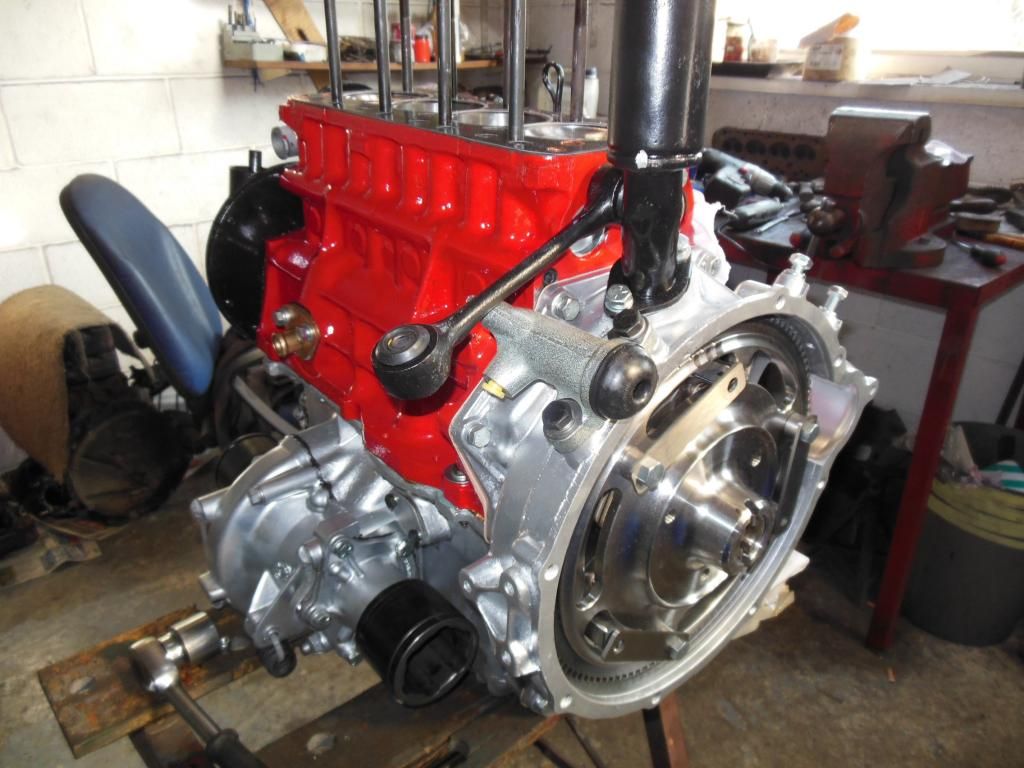
Looks sweet, what is the spec of the engine? |
||||||
 3673 Posts Member #: 9300 Post Whore Quarry Bonk |
16th Apr, 2013 at 03:45:09pm
Nice looking project :)
On 26th Jan, 2012 Tom Fenton said:
ring problems are down to wear or abuse but although annoying it isn't a show stopper On 5th Aug, 2014 madmk1 said:
Shit the bed! I had snapped the end of my shaft off!! 17.213 @ 71mph, 64bhp n/a (Old Engine) |
||||||
 412 Posts Member #: 9766 Senior Member Warwickshire |
16th Apr, 2013 at 04:20:30pm
that engine looks fantastic! nice project too by the looks of it Avon 2010 class c 3rd
|
||||||
|
1142 Posts Member #: 10165 Post Whore Stansted, Essex |
16th Apr, 2013 at 04:38:20pm
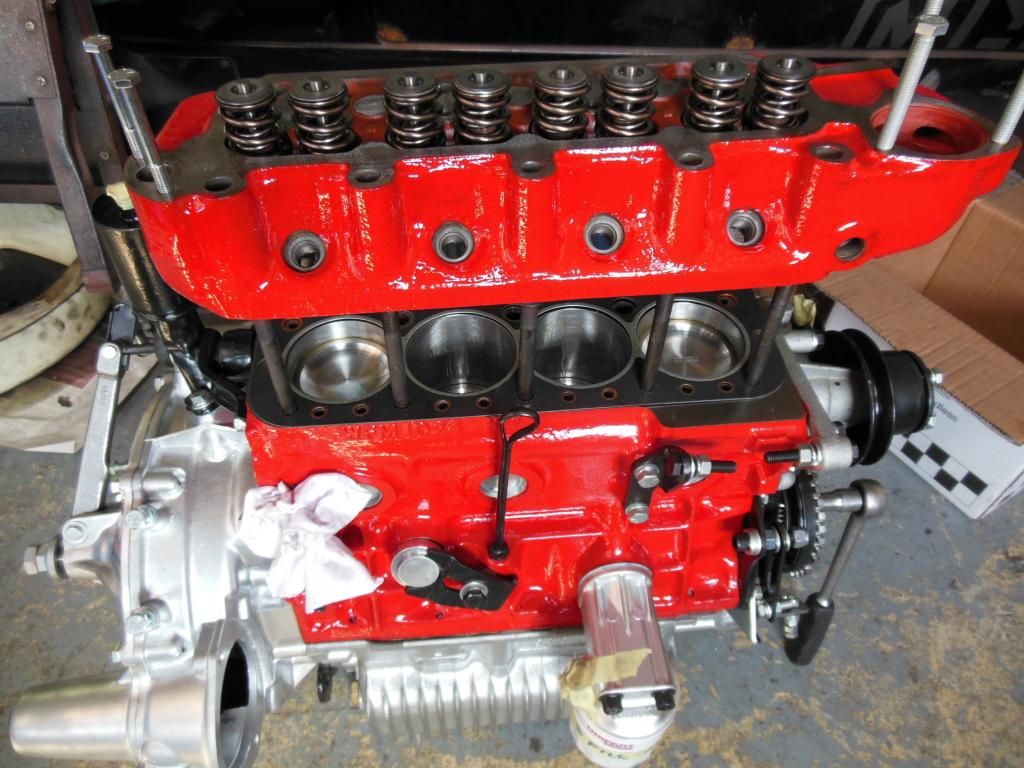
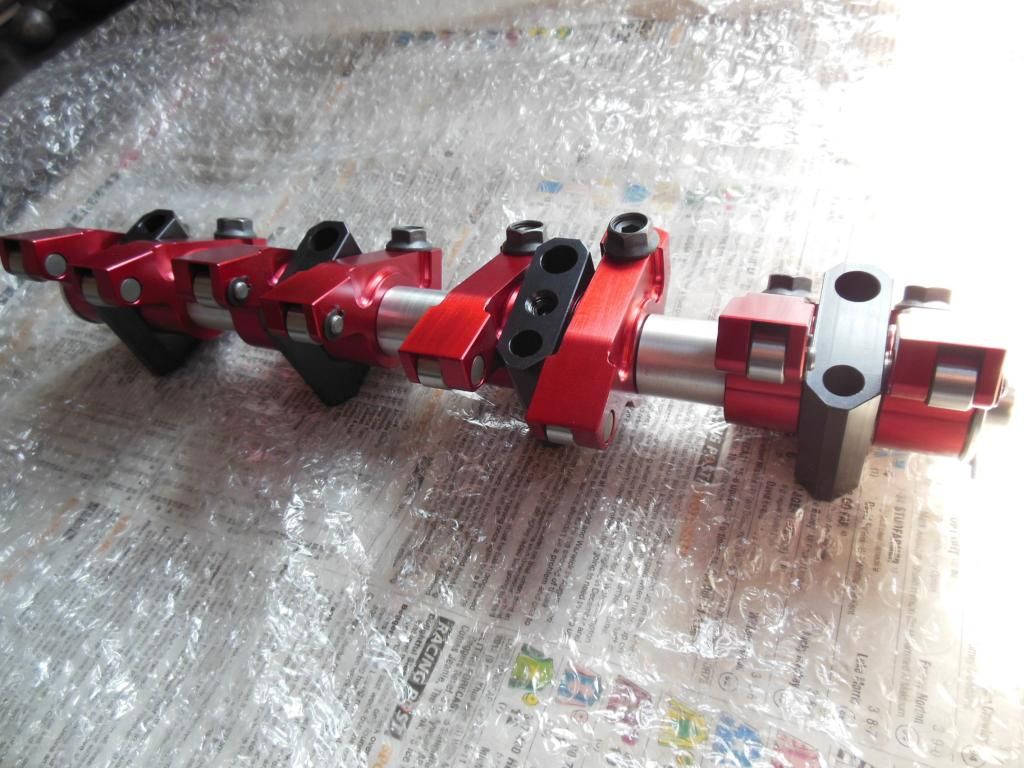
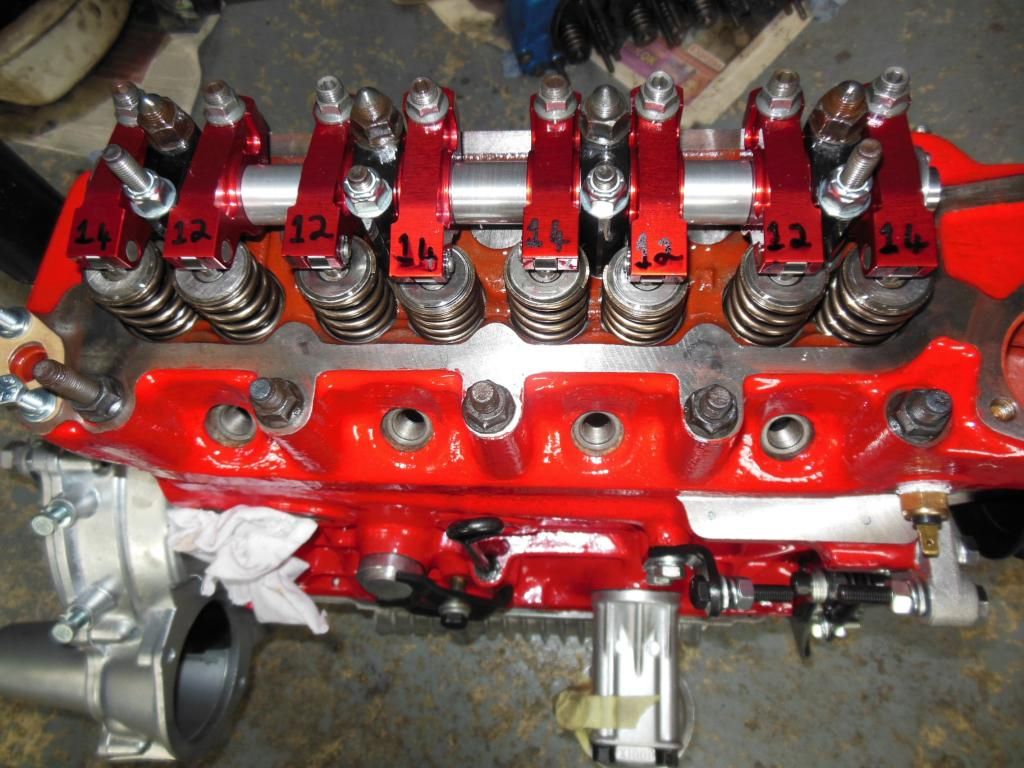
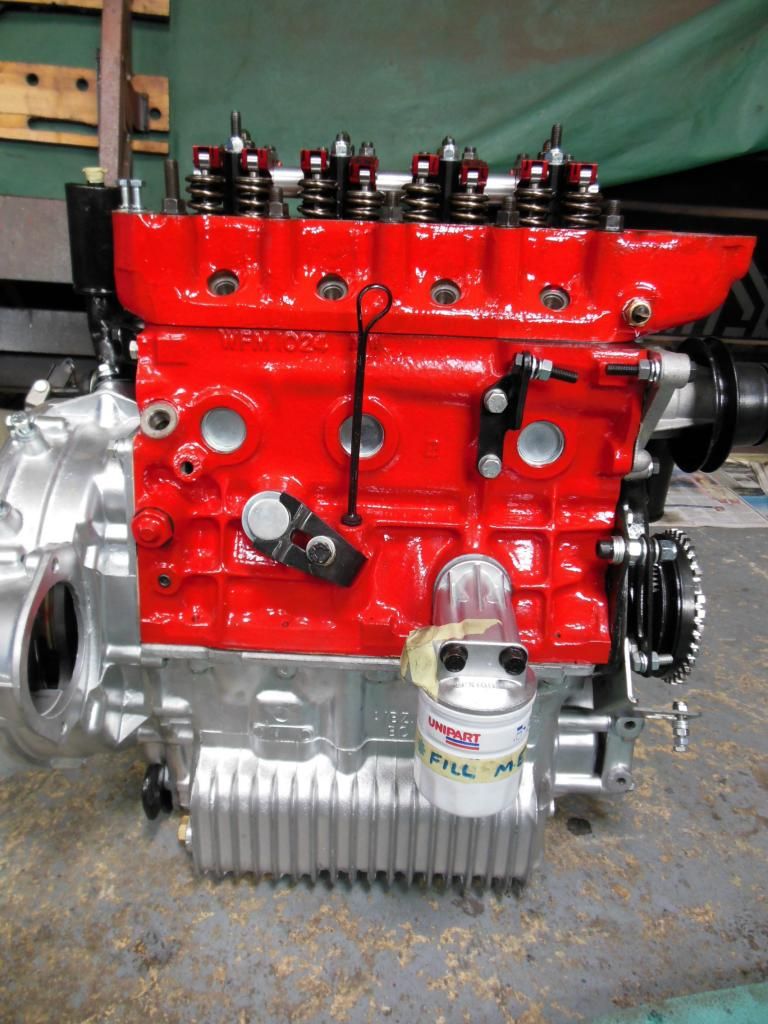
Cheers guys, here's the spec, in his own words.....
Edited by evad1980 on 17th Apr, 2013. |
||||||
 2094 Posts Member #: 9894 Post Whore Dorking |
16th Apr, 2013 at 04:49:39pm
Looks top notch! |
||||||
 6729 Posts Member #: 618 Post Whore Glasgow |
16th Apr, 2013 at 07:06:52pm
Better get on with the shell now! |
||||||
|
1142 Posts Member #: 10165 Post Whore Stansted, Essex |
16th Apr, 2013 at 07:38:53pm
Ha yes Rob, having the lump ready will make me work harder!! |
||||||
|
1142 Posts Member #: 10165 Post Whore Stansted, Essex |
17th Apr, 2013 at 04:27:04pm
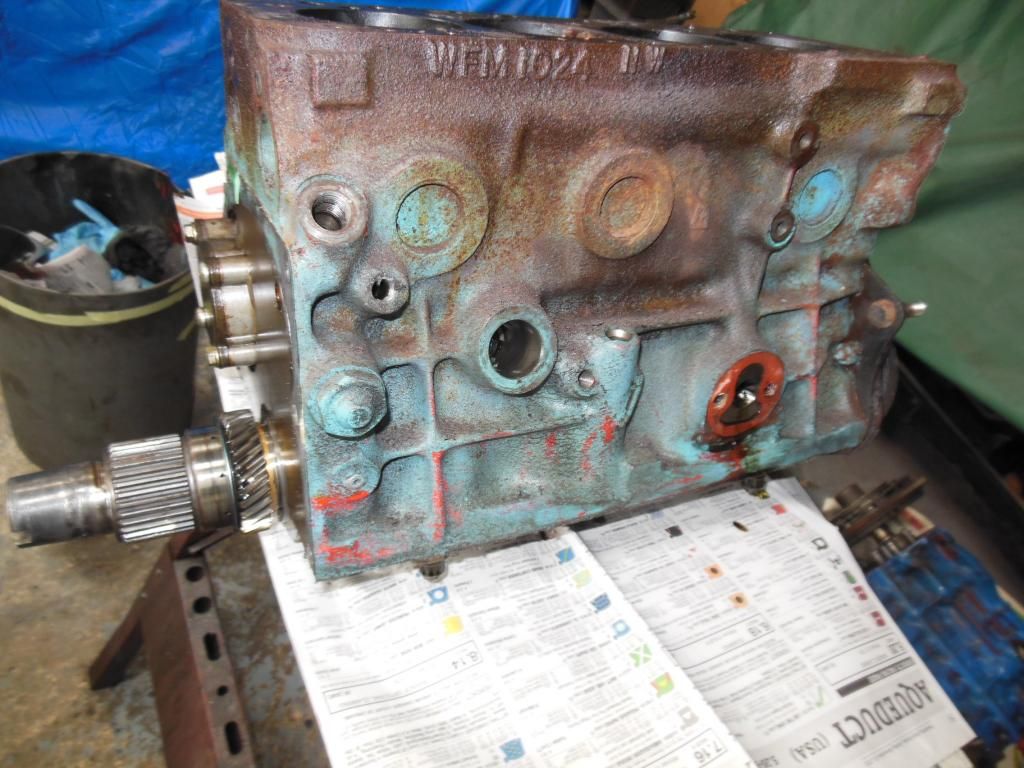
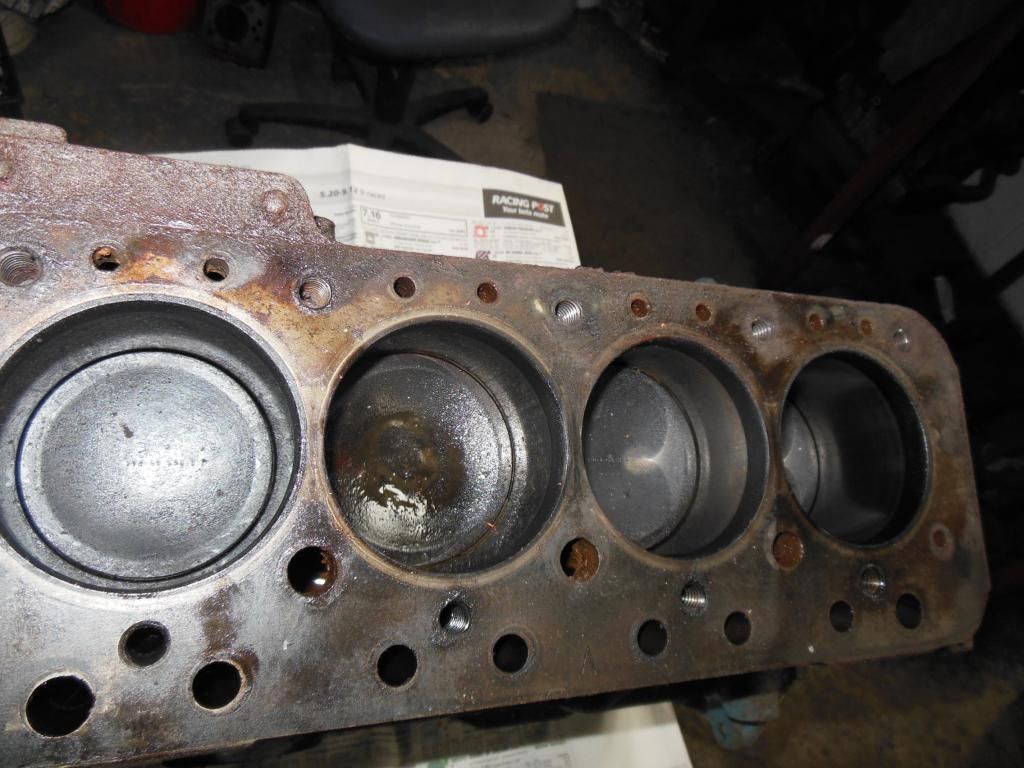
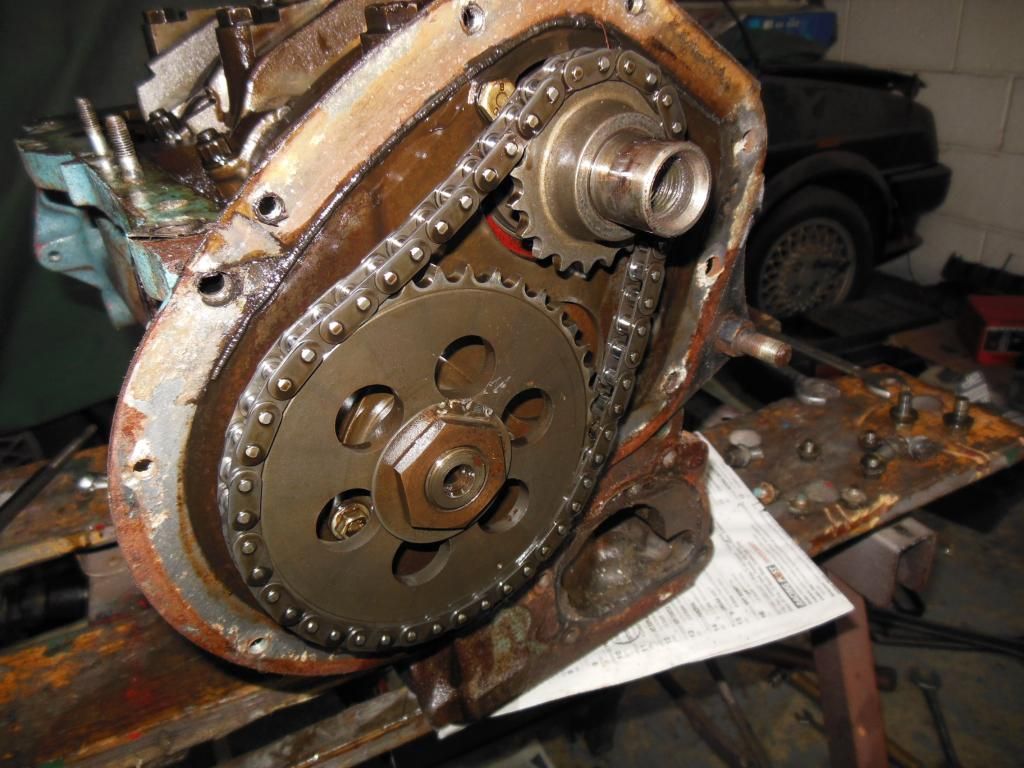
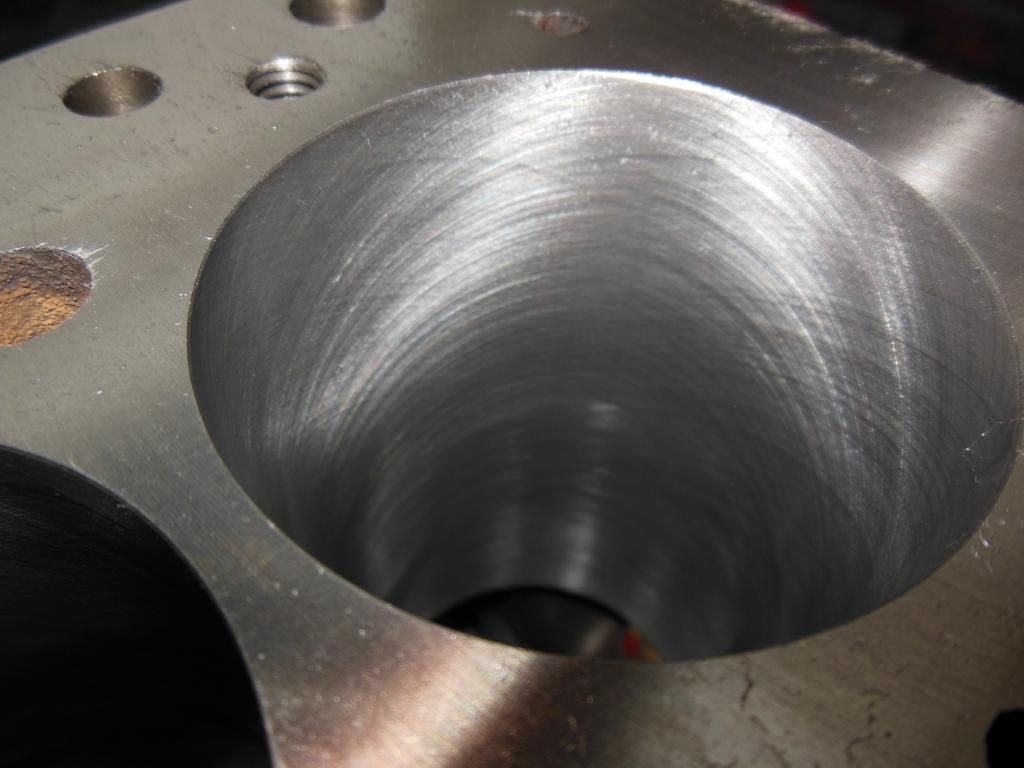
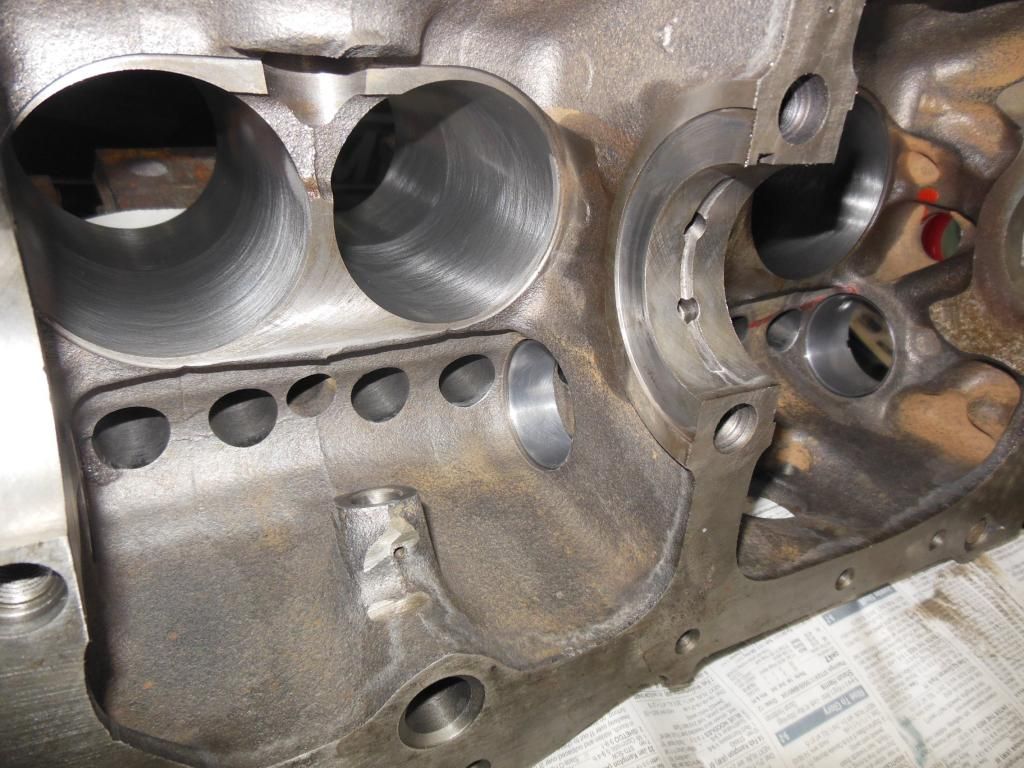
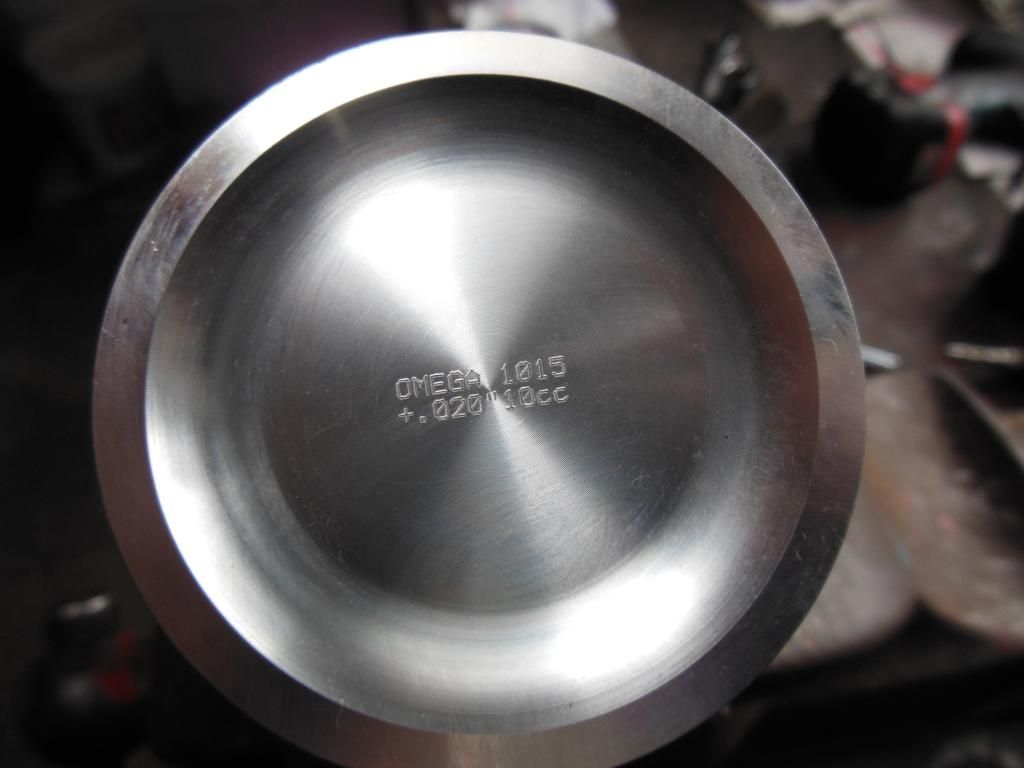
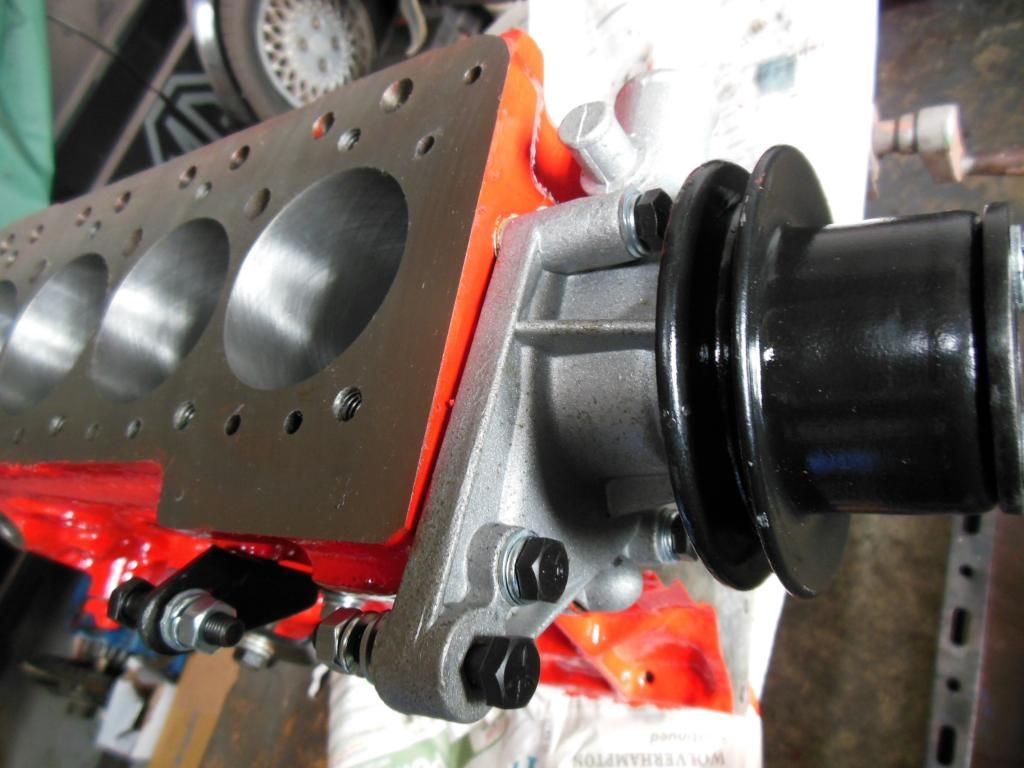
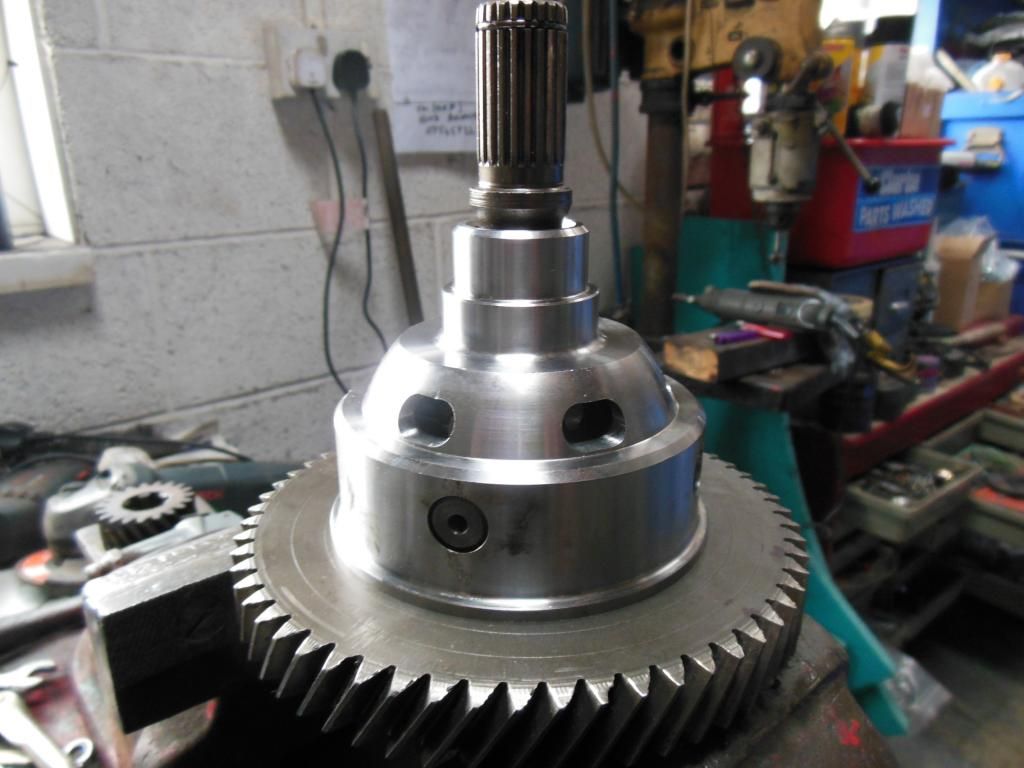
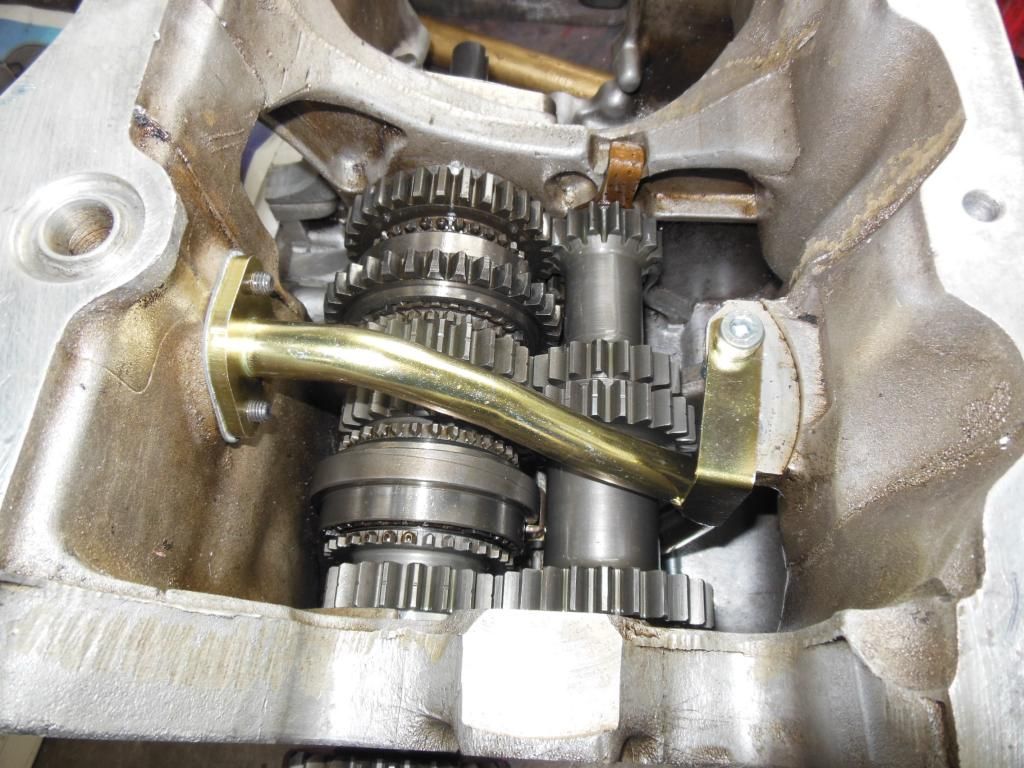
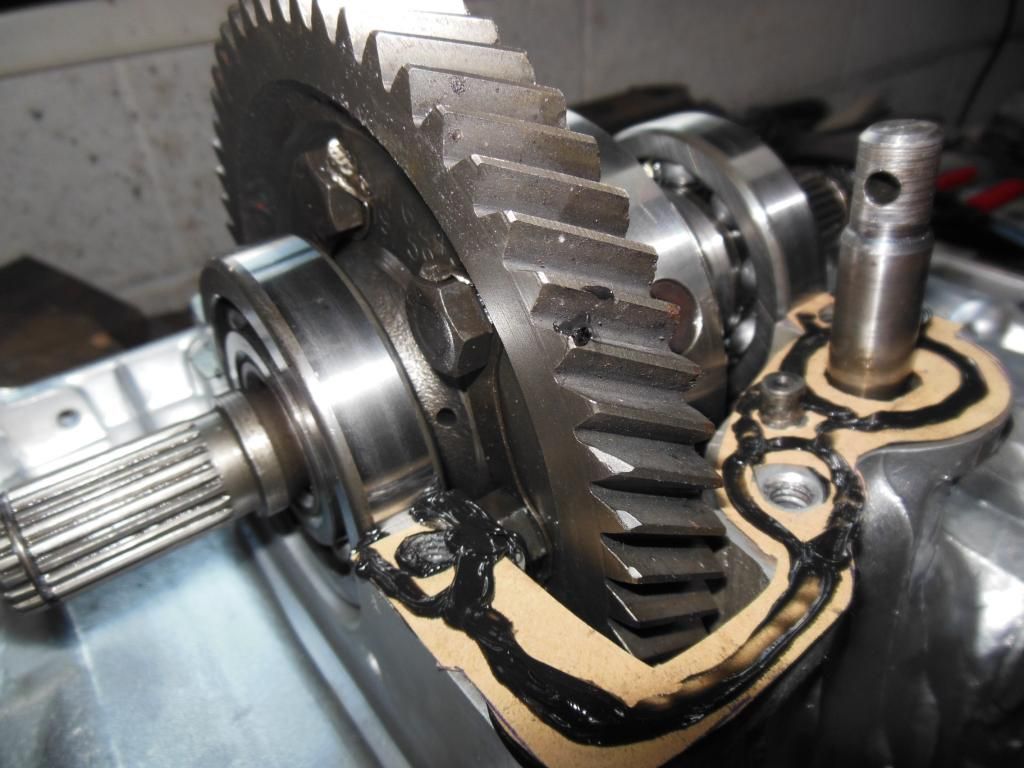
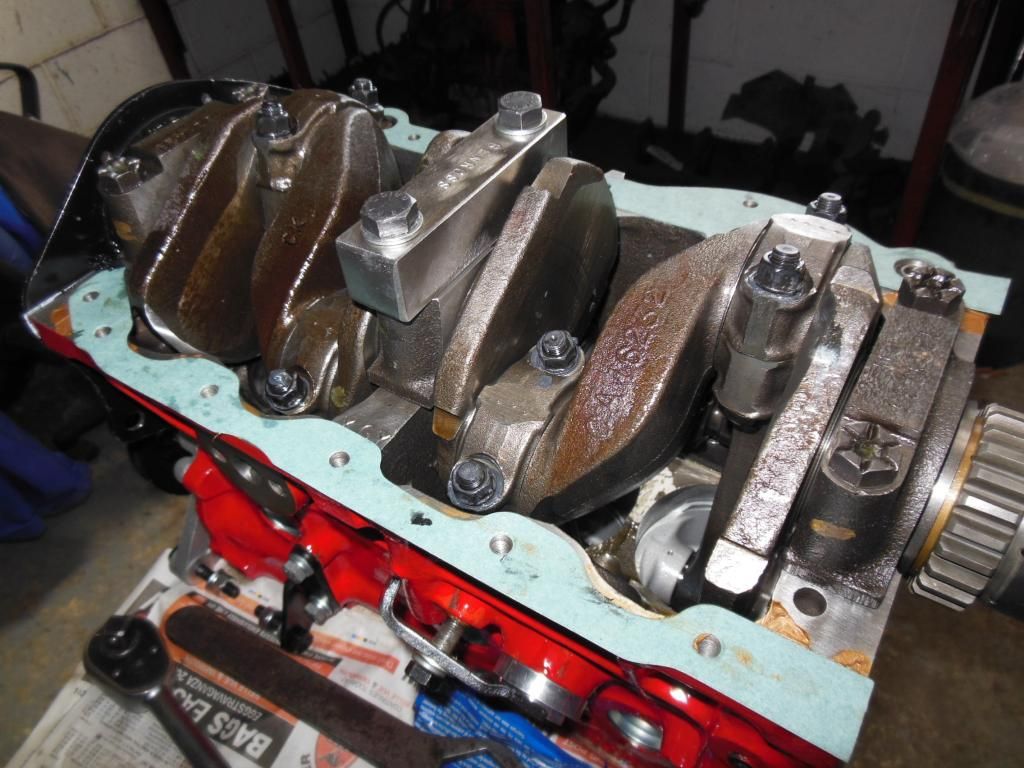
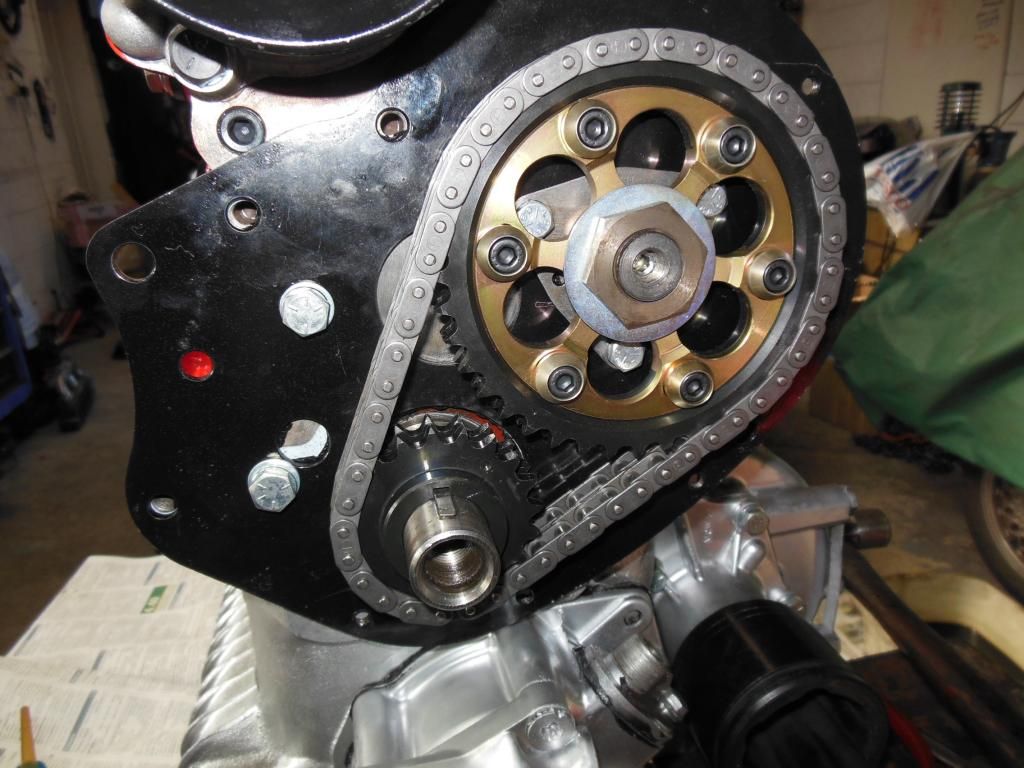
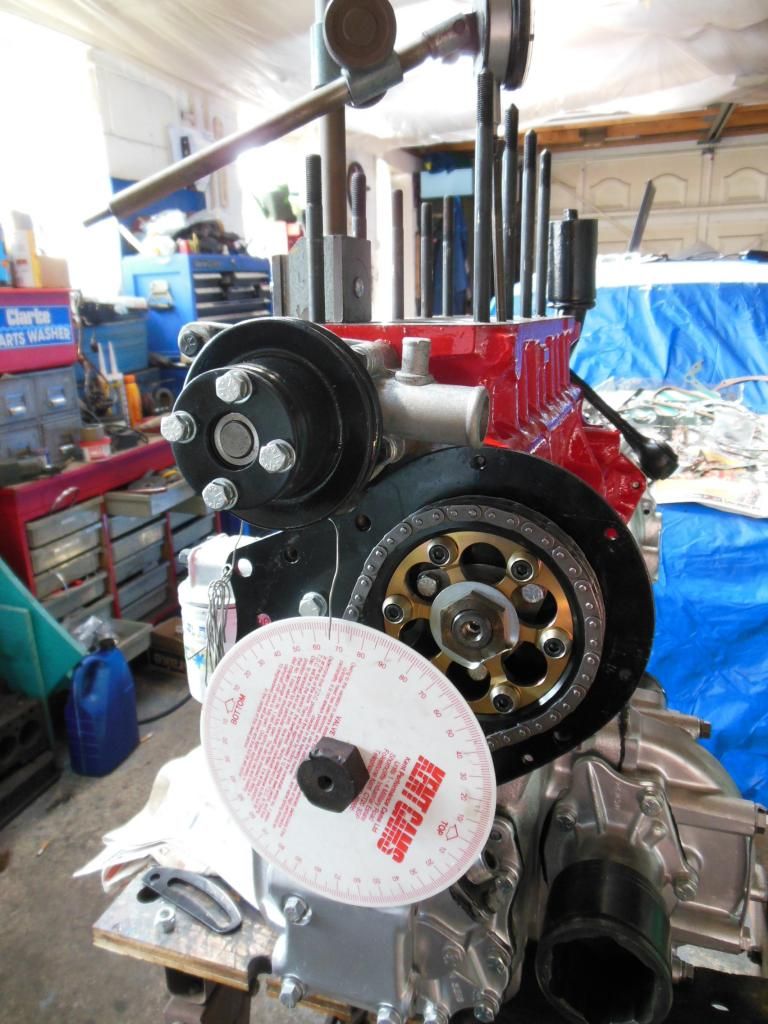
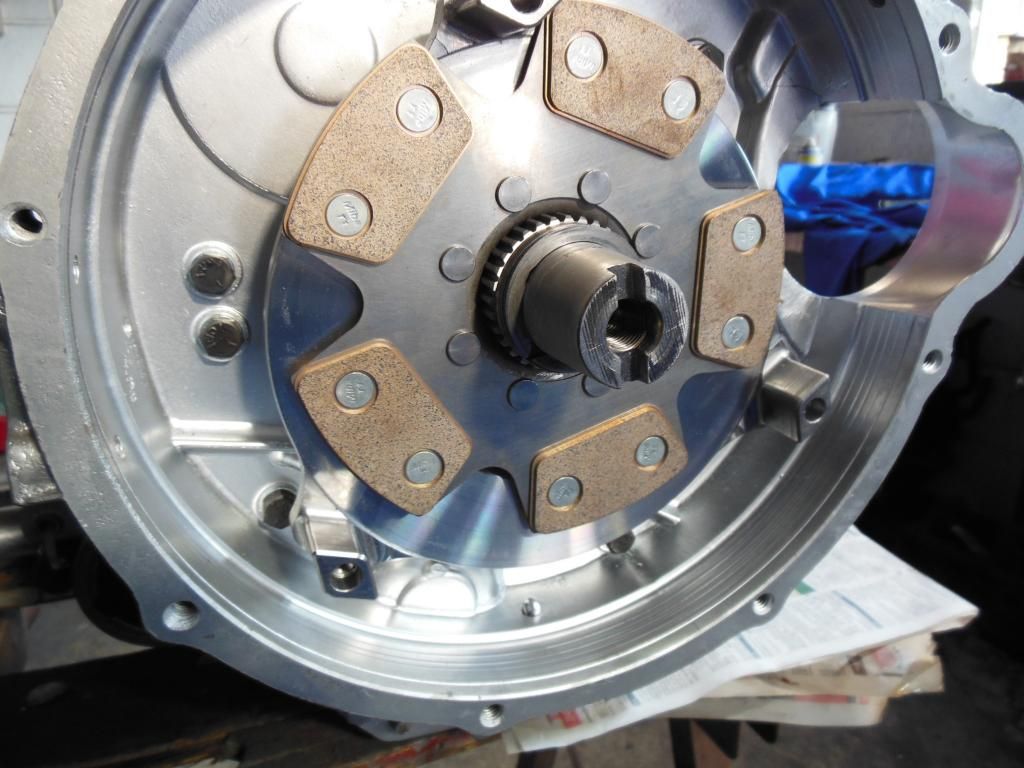
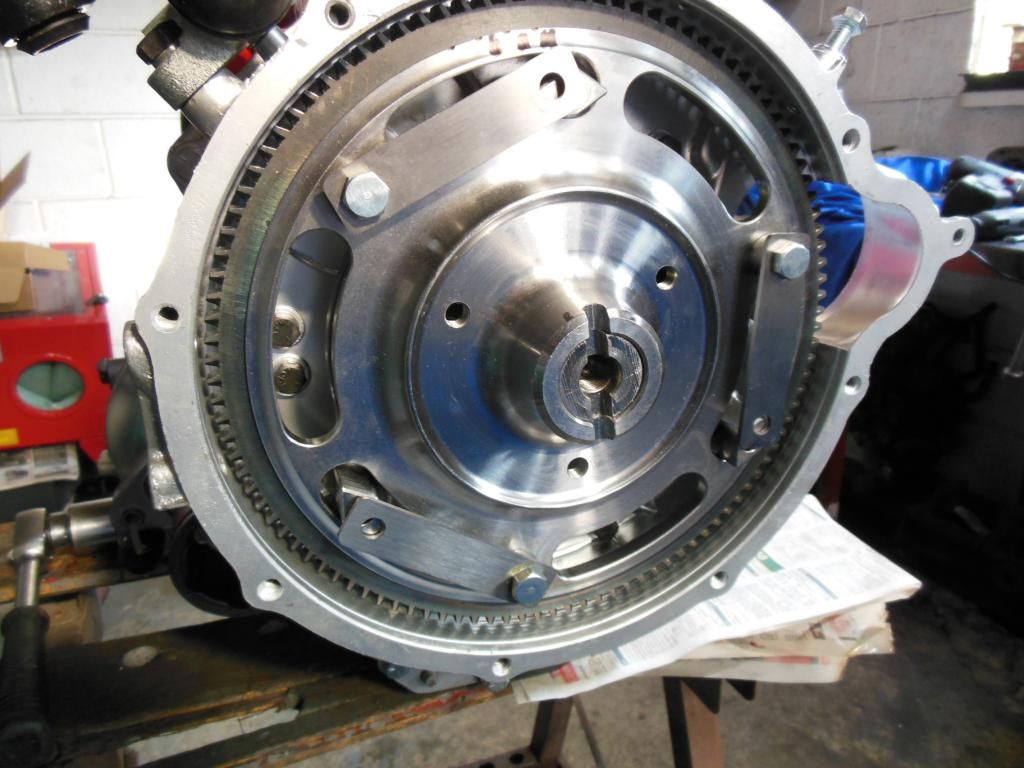
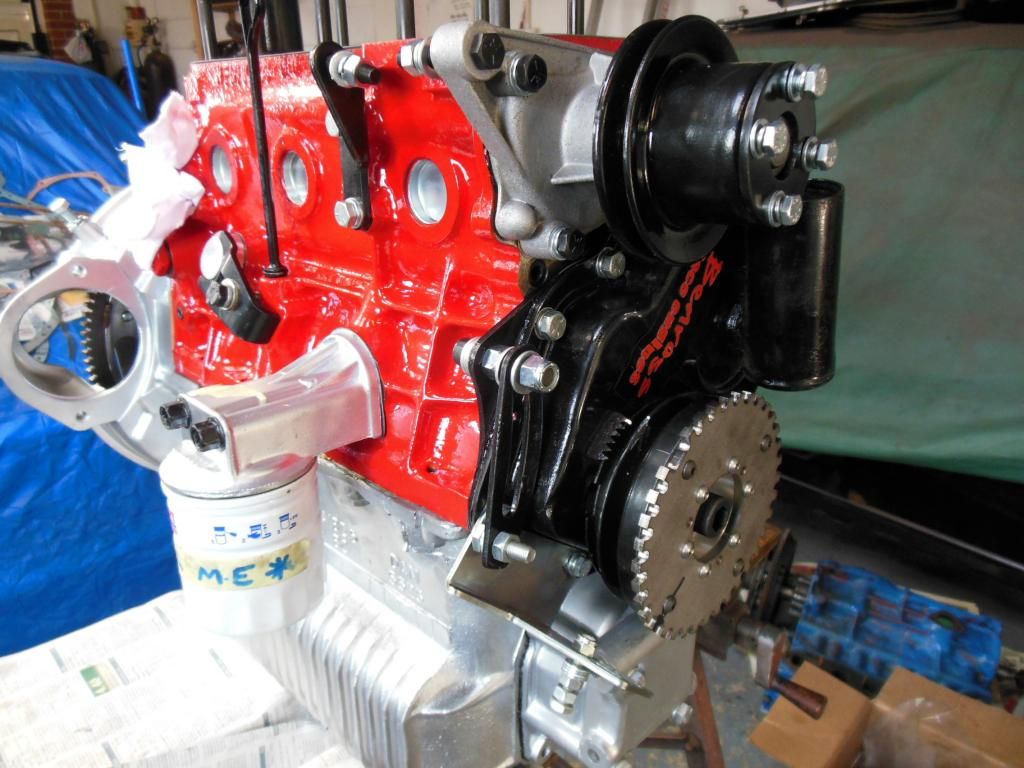
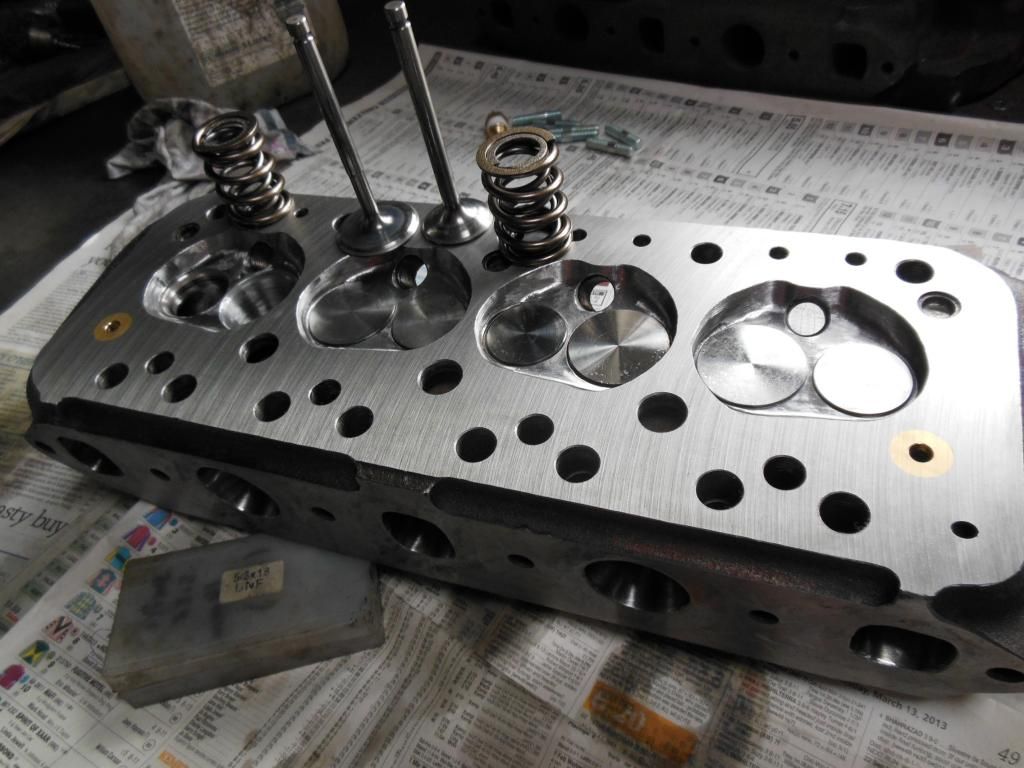
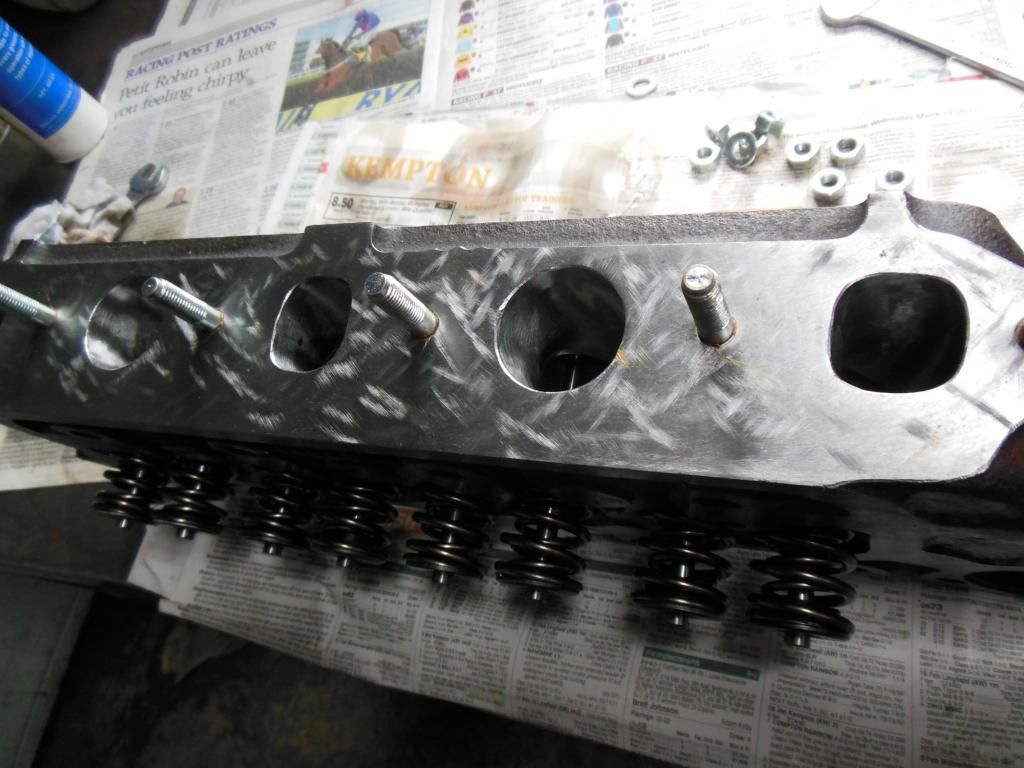
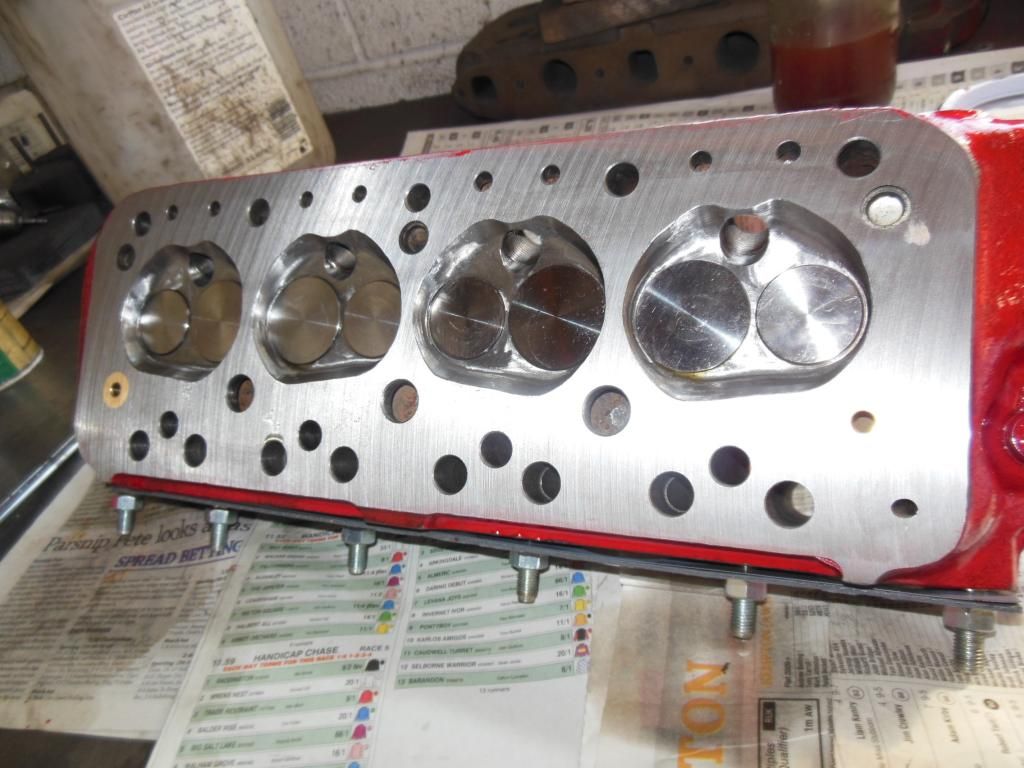
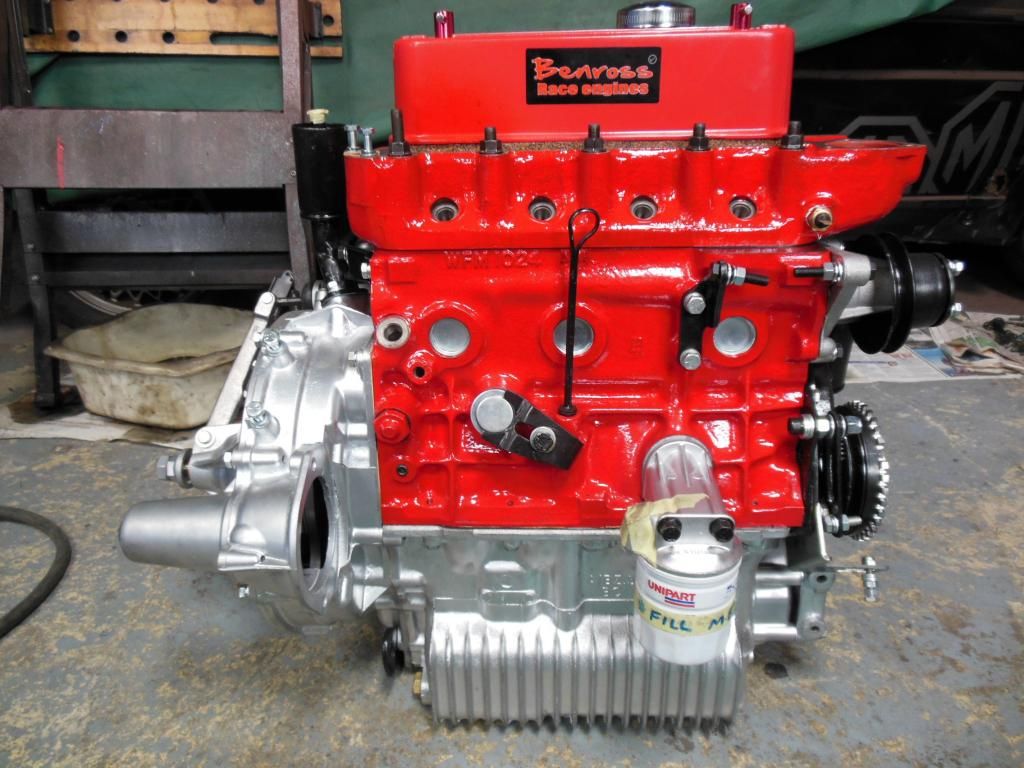
Ok guys, below you will find some pictures of the engine transformation from start to finish. I really want to post all of them but there simply are too many, i'd be here all night in fairness! Over 200!!
Edited by evad1980 on 20th Apr, 2013. |
||||||
|
1142 Posts Member #: 10165 Post Whore Stansted, Essex |
17th Apr, 2013 at 04:34:12pm
Oh and here is the correct engine spec, slightly different than the one I listed earlier.....
|
||||||
 94 Posts Member #: 10338 Advanced Member Huddersfield |
17th Apr, 2013 at 08:53:51pm
Wow ! Loving the build and also very excited about getting my engine back from benross as it looks fantastic ! Loads of work to do at my end ! Il keep an eye on the build :) |
||||||
|
1142 Posts Member #: 10165 Post Whore Stansted, Essex |
17th Apr, 2013 at 09:52:30pm
Cheers Hoops!! Yup, you'll be a very happy camper no doubt!! :) |
||||||
 293 Posts Member #: 10010 Senior Member Northants |
17th Apr, 2013 at 09:52:39pm
The engine looks great, the wizard has definitely done his magic |
||||||
|
1142 Posts Member #: 10165 Post Whore Stansted, Essex |
17th Apr, 2013 at 10:07:28pm
Indeed he has!! :) |
||||||
 6729 Posts Member #: 618 Post Whore Glasgow |
18th Apr, 2013 at 07:51:27am
stop getting distracted with shiny bits and get the shell sorted! |
||||||
|
1142 Posts Member #: 10165 Post Whore Stansted, Essex |
18th Apr, 2013 at 09:10:50am
On 18th Apr, 2013 Rob Gavin said:
stop getting distracted with shiny bits and get the shell sorted! Ok ok, enough of the Benross brown nosing for the time being... On with the shell!!  
|
||||||
|
1142 Posts Member #: 10165 Post Whore Stansted, Essex |
20th Apr, 2013 at 05:34:14pm
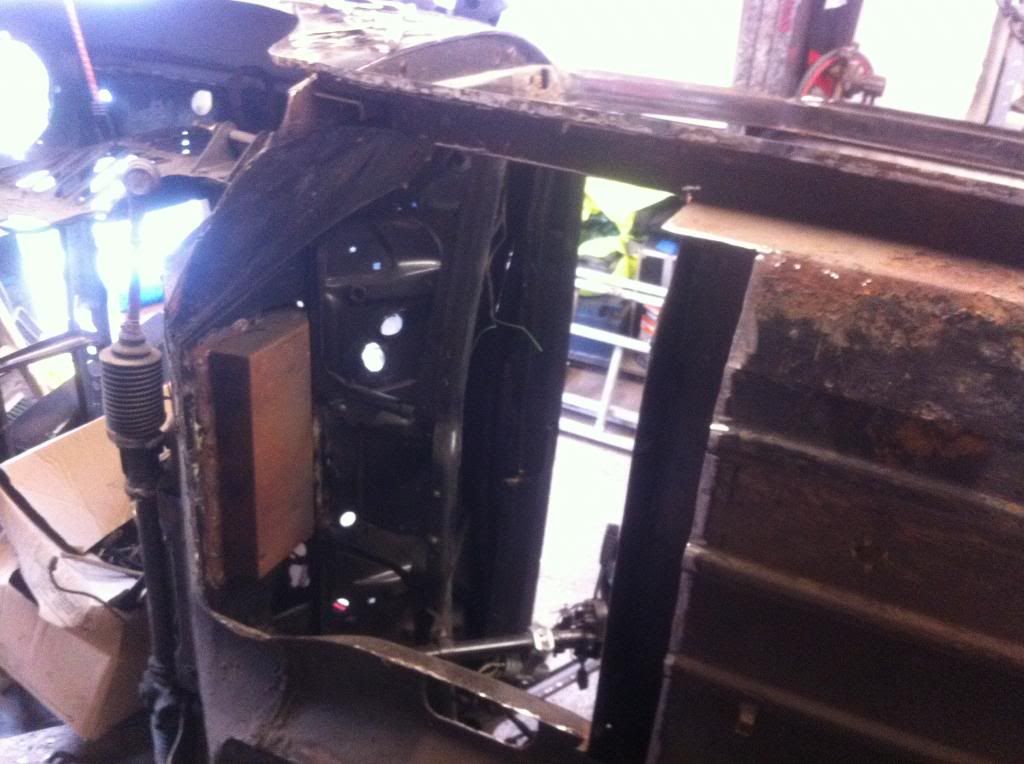
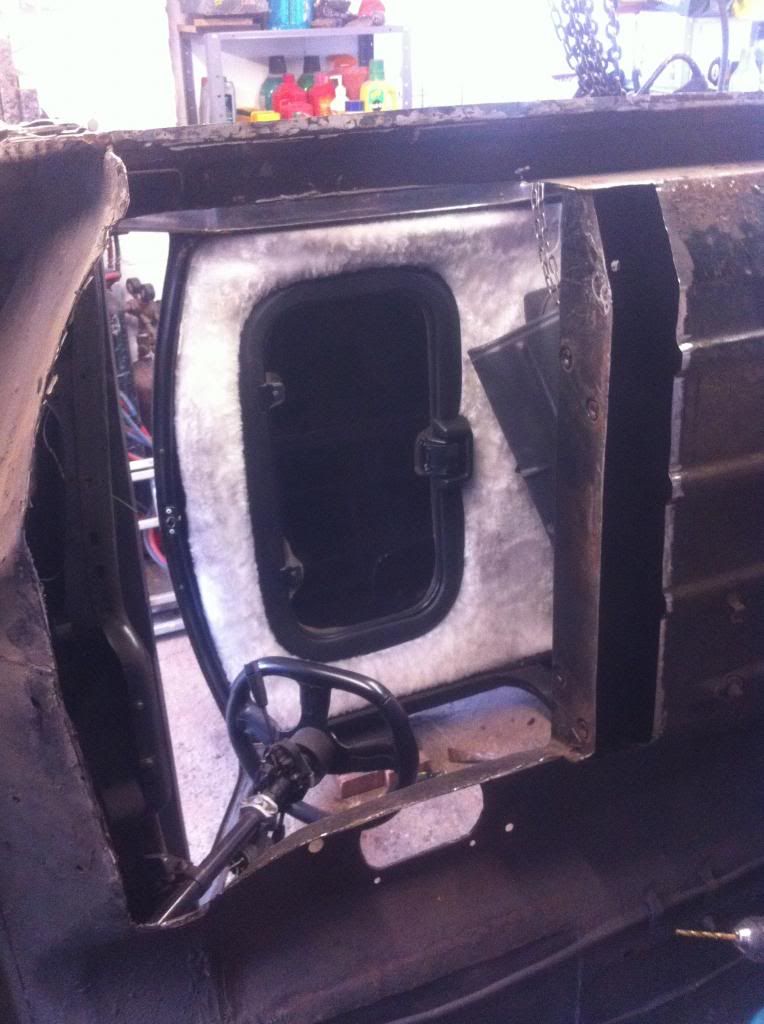
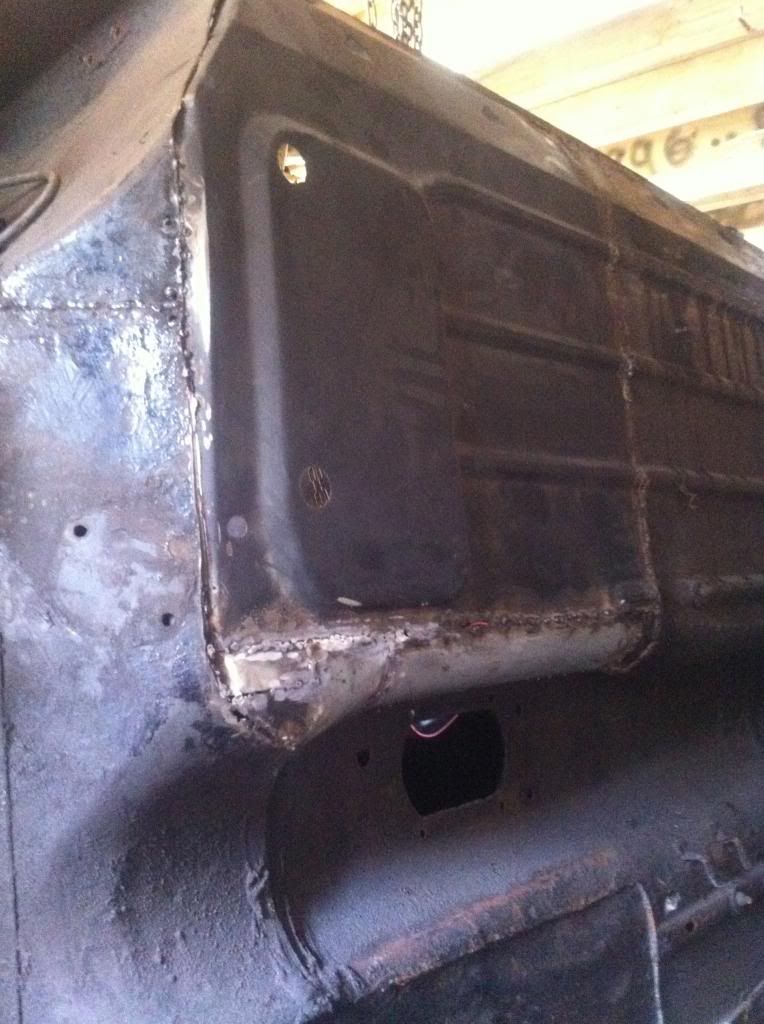
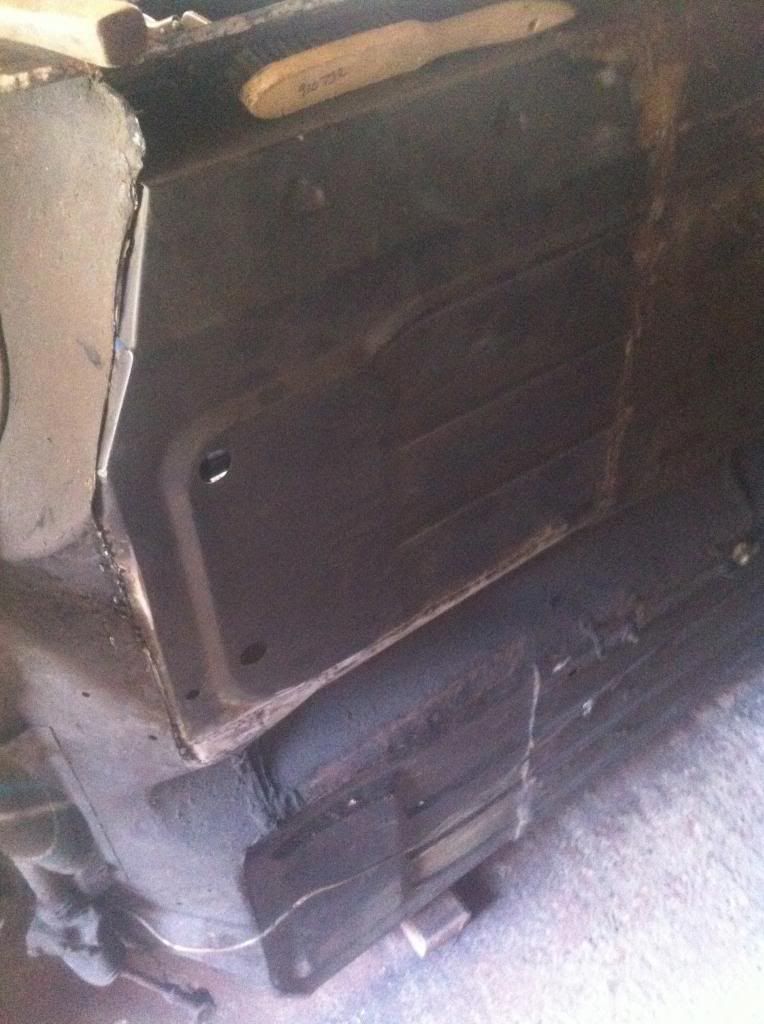
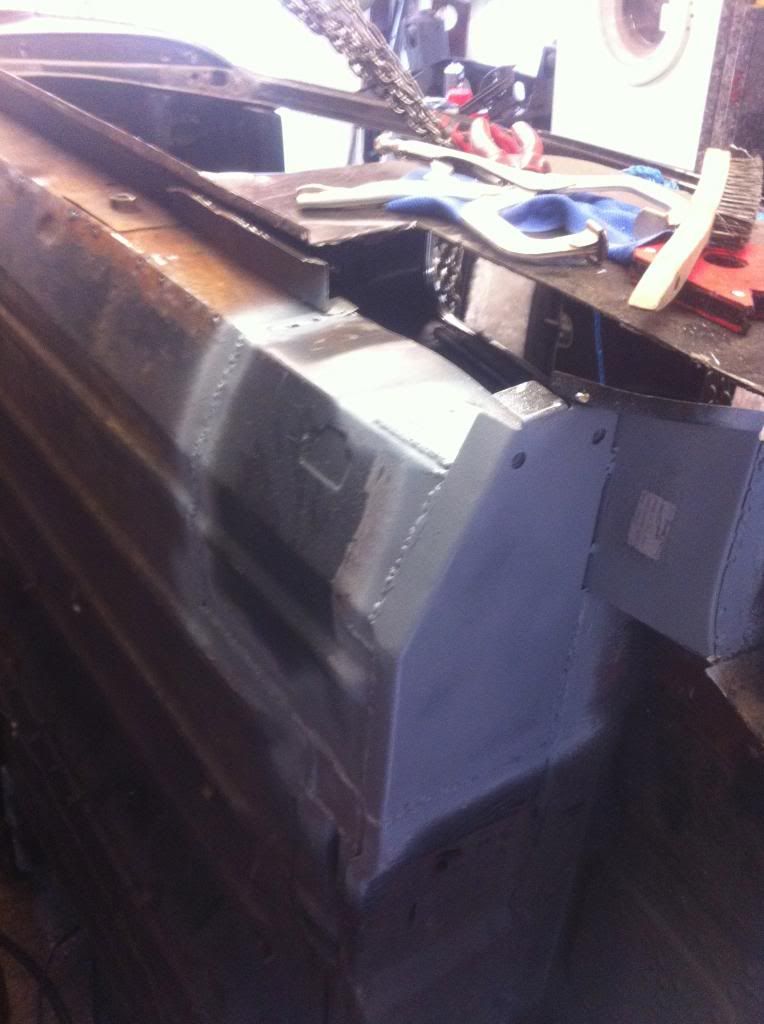
So the next job was to attack the underneath, starting with the passenger side footwell. As I have the car up on its side I'll do the complete left half repairs, then I'll turn it on its other side for the right. As I said before, the floor pans had been replaced at some point but had not been done very well. I'm no welder but there is a first time for everything!
|
||||||
 16540 Posts Member #: 4241 King Gaycharger, butt plug dealer, Sheldon Cooper and a BAC but generally a niceish fella if you dont mind a northerner Rotherham, South Yorkshire |
21st Apr, 2013 at 07:51:22am
It looks OK for a first go.
On 11th Feb, 2015 robert said:
i tried putting soap on it , and heating it to brown , then slathered my new lube on it 
|
||||||
|
1142 Posts Member #: 10165 Post Whore Stansted, Essex |
21st Apr, 2013 at 10:12:23am
On 21st Apr, 2013 apbellamy said:
It looks OK for a first go. You need to cover that fluffy headlining up with something fire retardant. One spark from the grinder or the welder and the whole lot is up in flames. Yes I have been mate, had a tarpaulin draped over it... Removed it for the photos cos they came out too dark... :) |
||||||
|
1142 Posts Member #: 10165 Post Whore Stansted, Essex |
2nd May, 2013 at 02:05:01pm
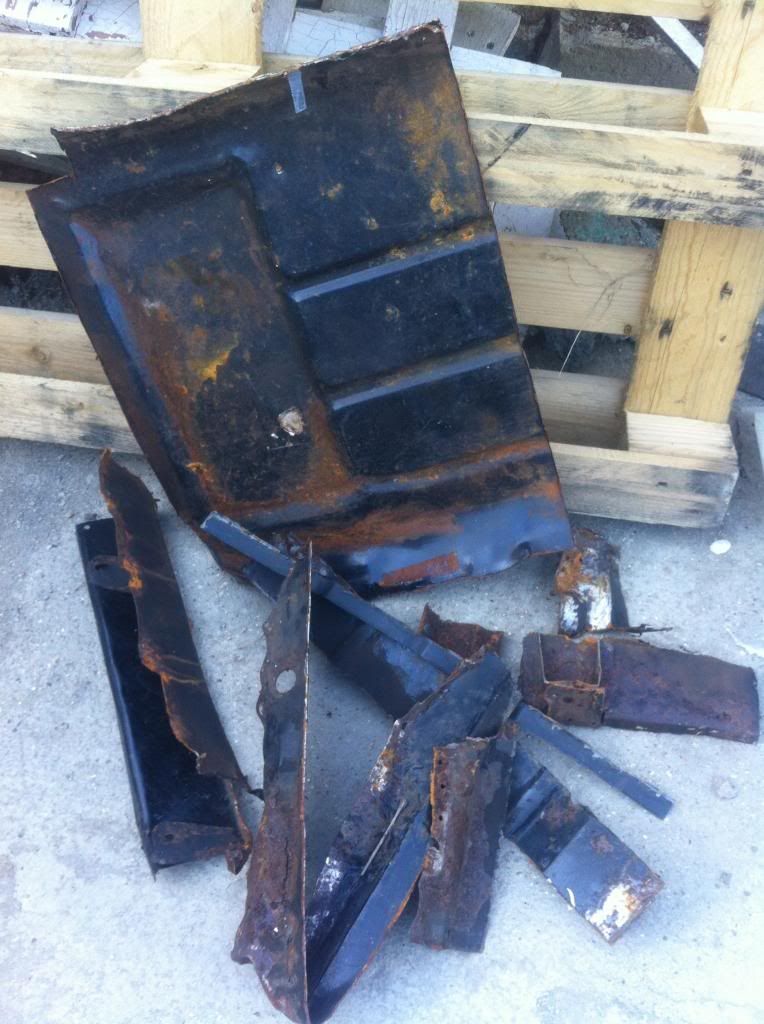
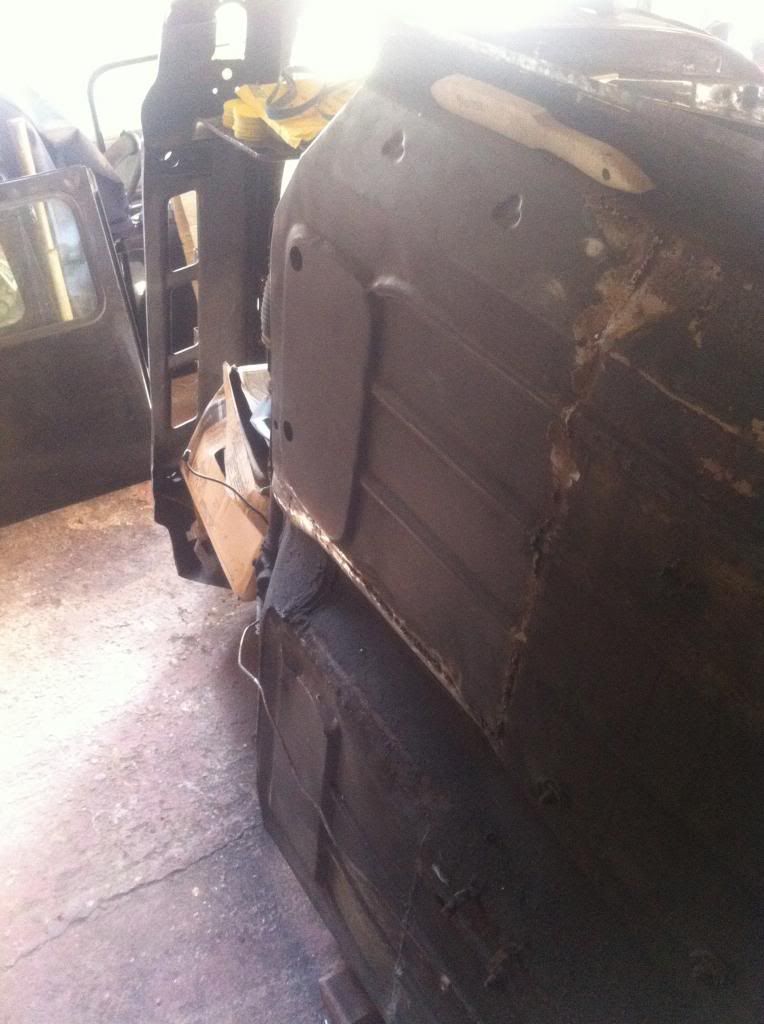
So another bit of an update.. only been managing to do an hour or so here and there so progress a wee bit slow at the moment.
|
||||||
 2054 Posts Member #: 452 Post Whore Chester, UK |
2nd May, 2013 at 05:04:24pm
thats a funky oil filter head thing.... what is it?
|
||||||
|
1142 Posts Member #: 10165 Post Whore Stansted, Essex |
3rd May, 2013 at 01:16:23am
On 2nd May, 2013 t@z said:
thats a funky oil filter head thing.... what is it? also lovely engine +red means we got a fast one here  Cheers t@z.... Sorry, what thing do you mean?? |
||||||
|
1142 Posts Member #: 10165 Post Whore Stansted, Essex |
24th May, 2013 at 03:05:55pm
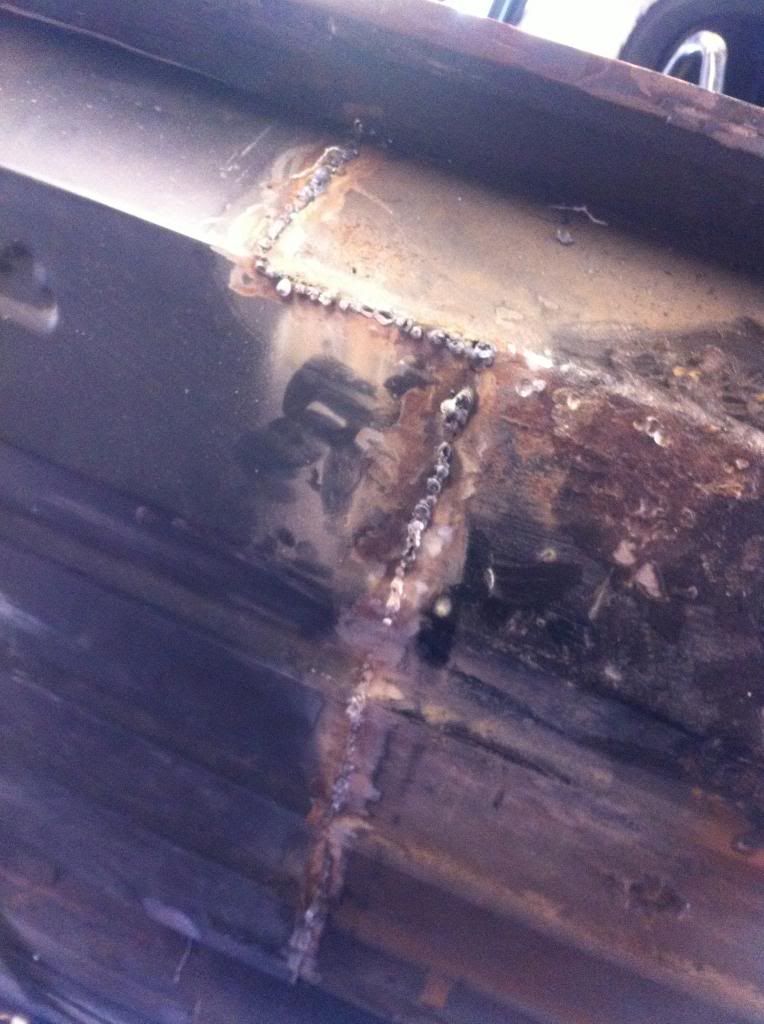
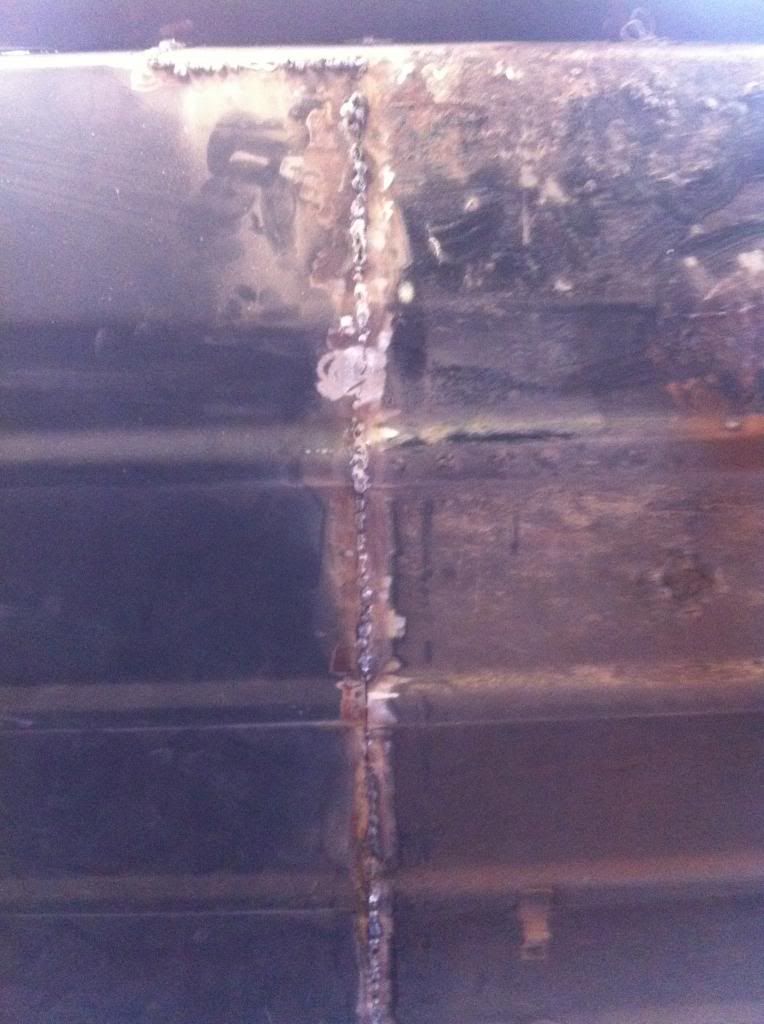
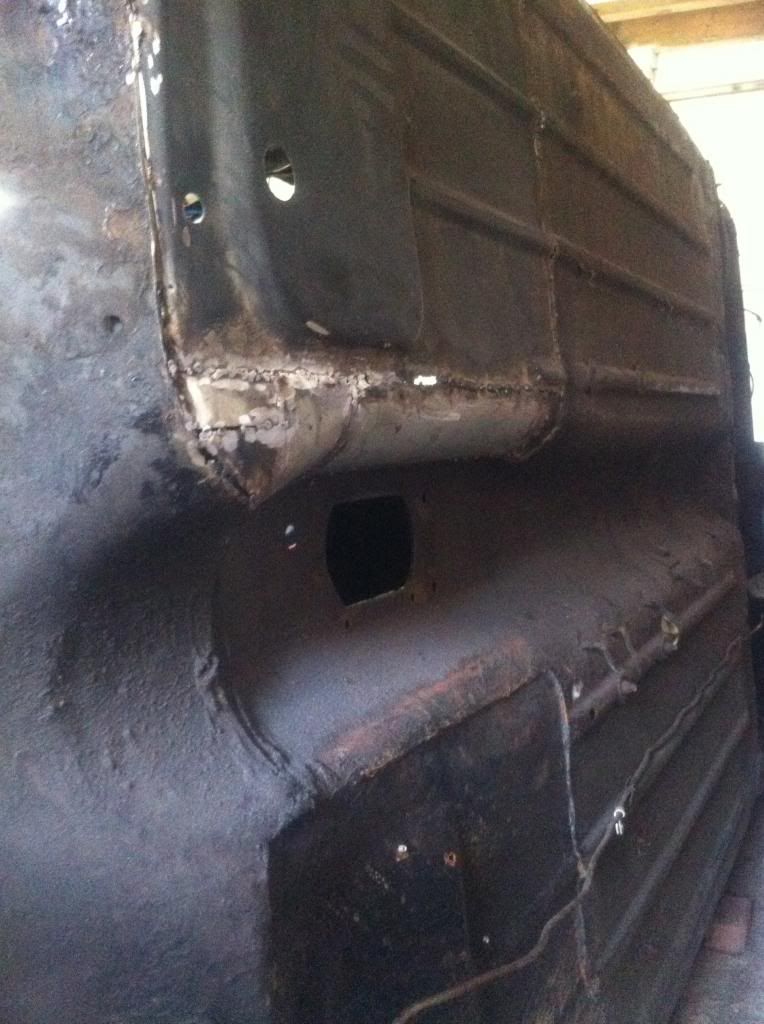
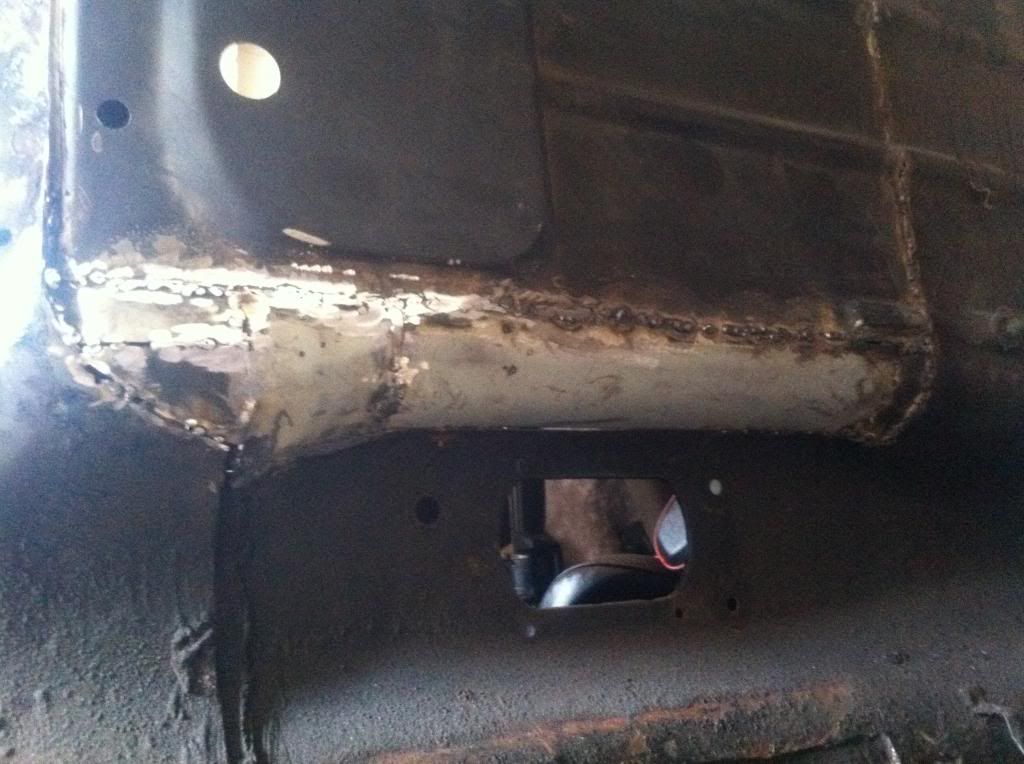
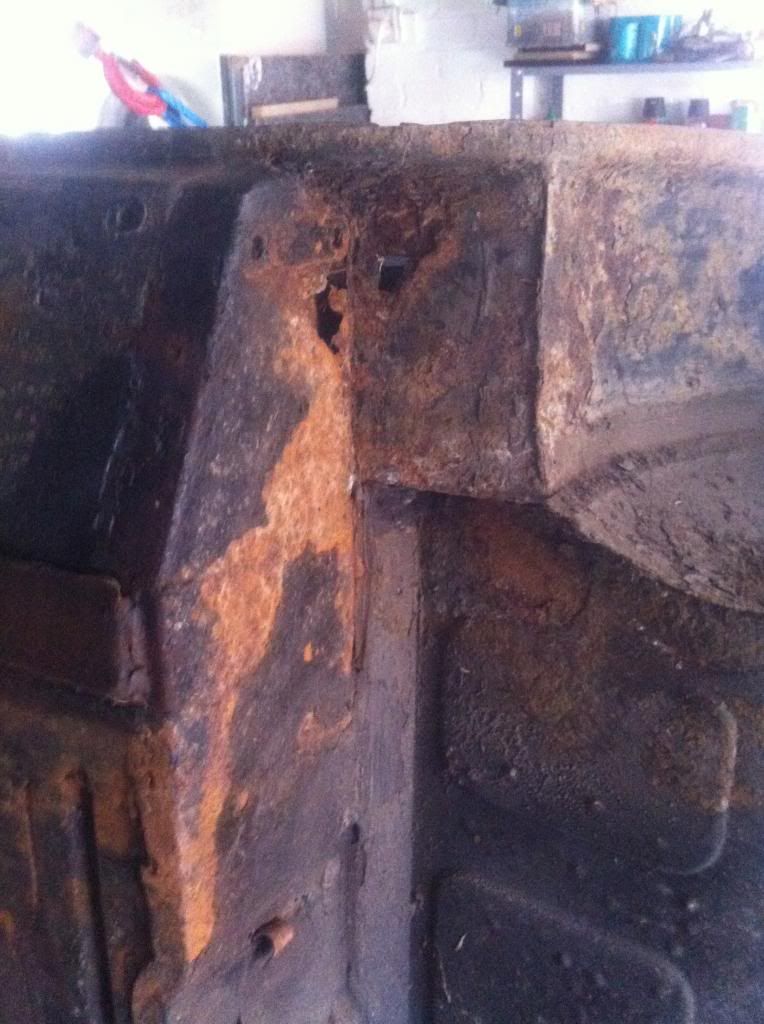
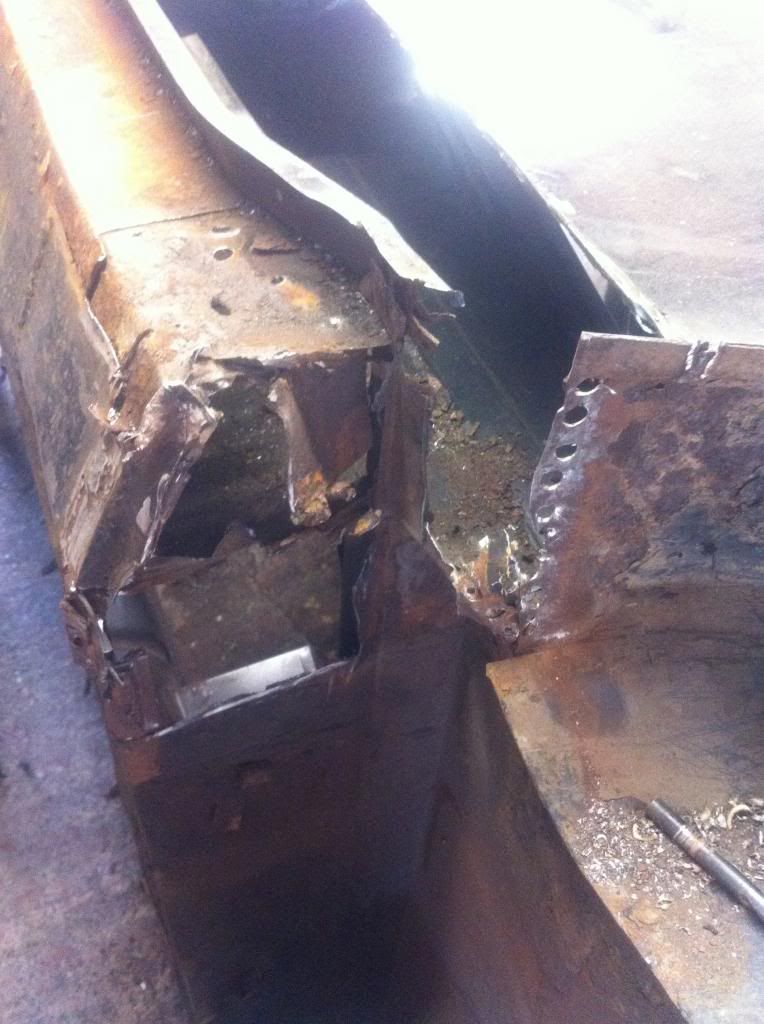
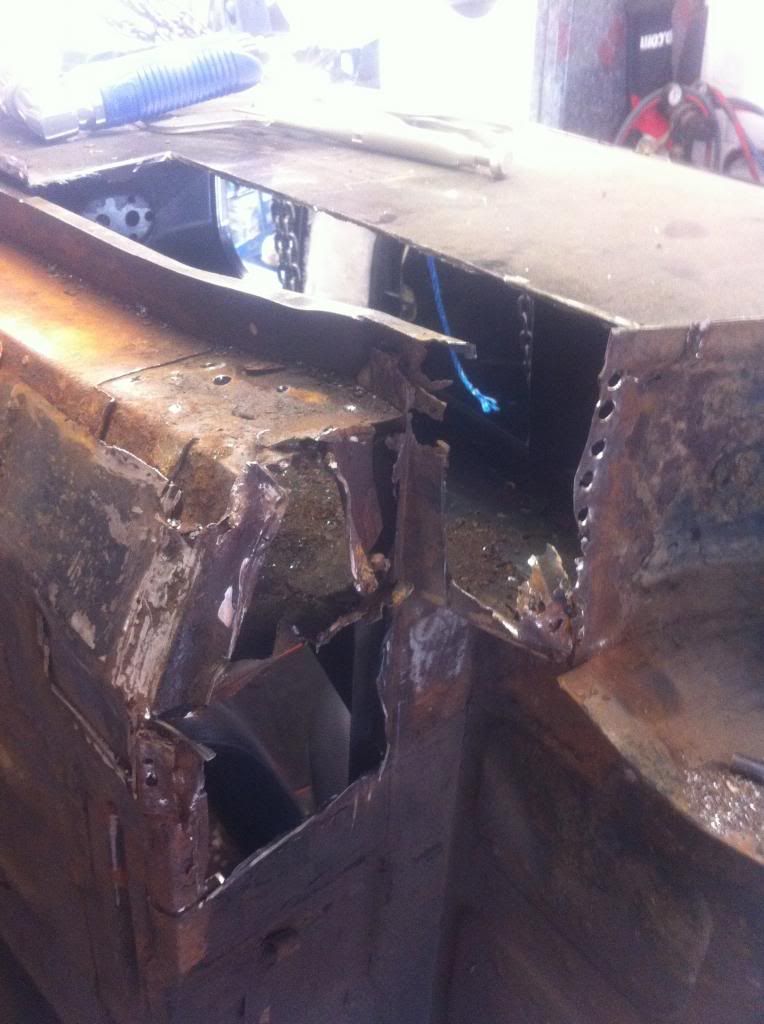
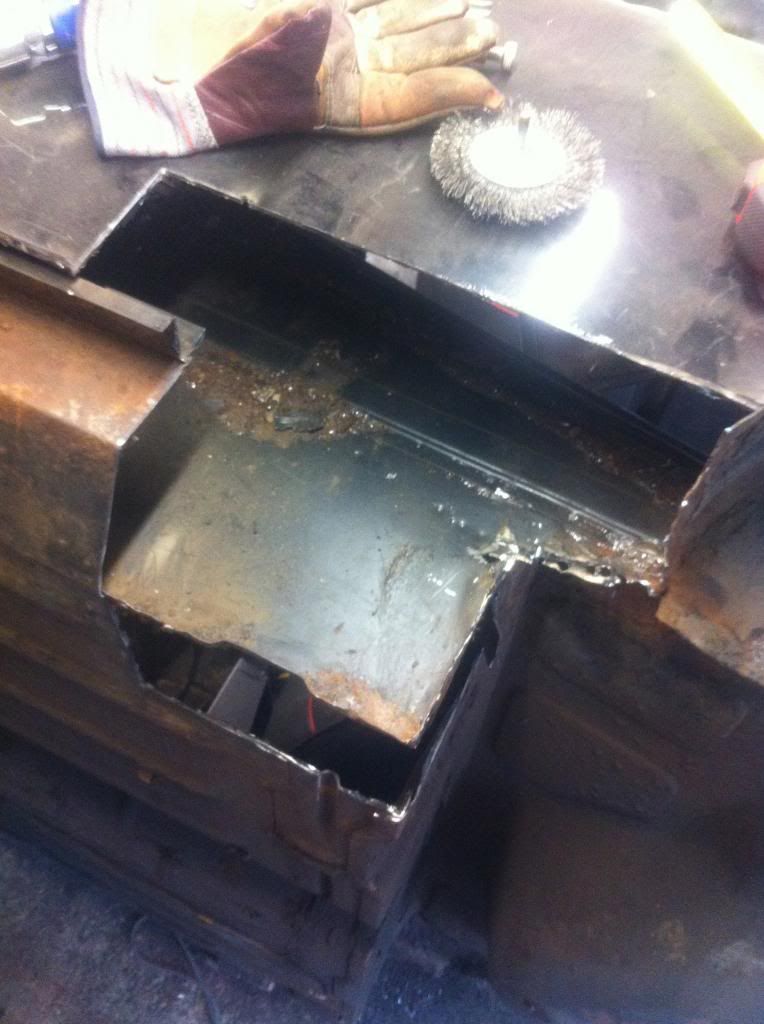
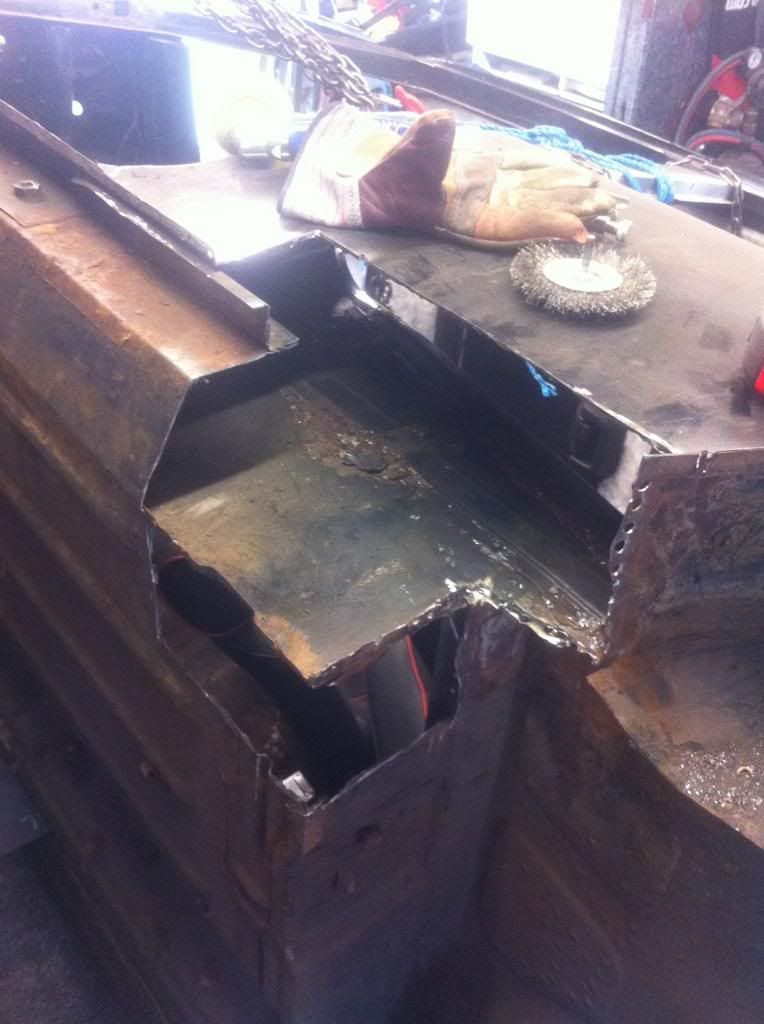
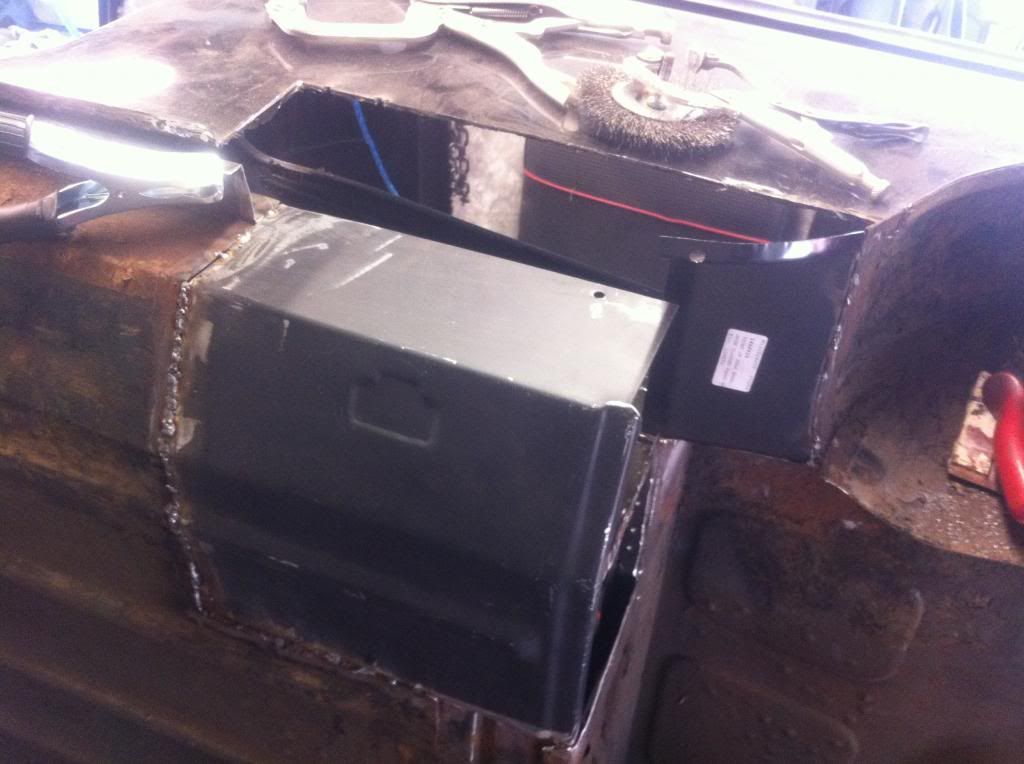
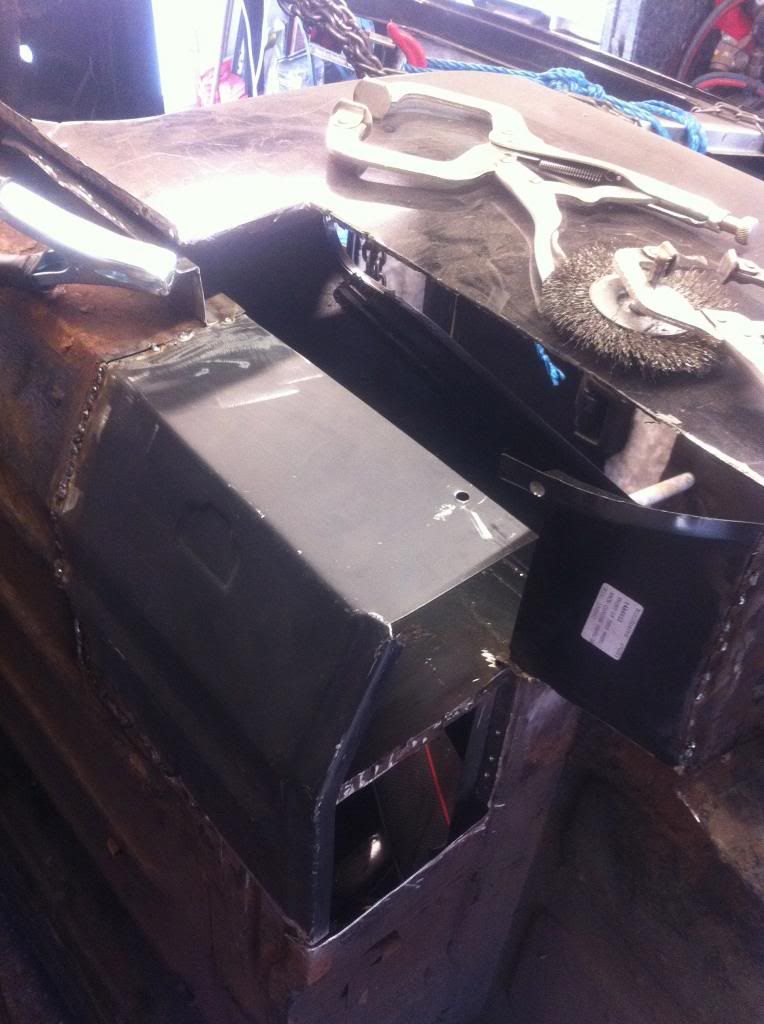
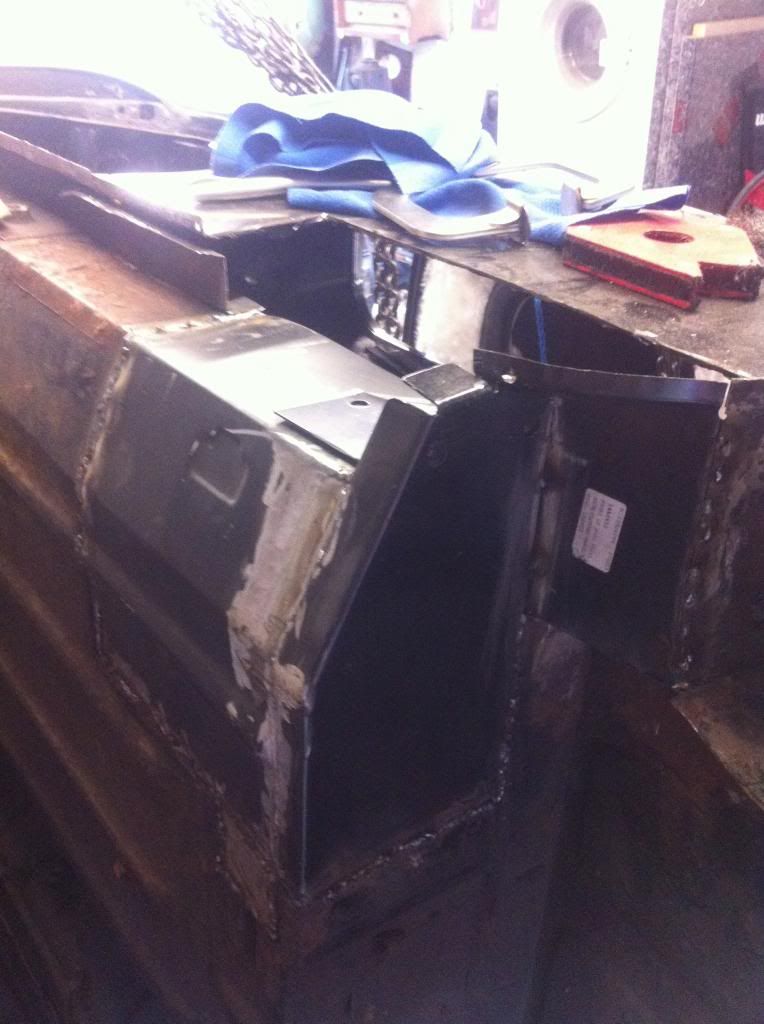
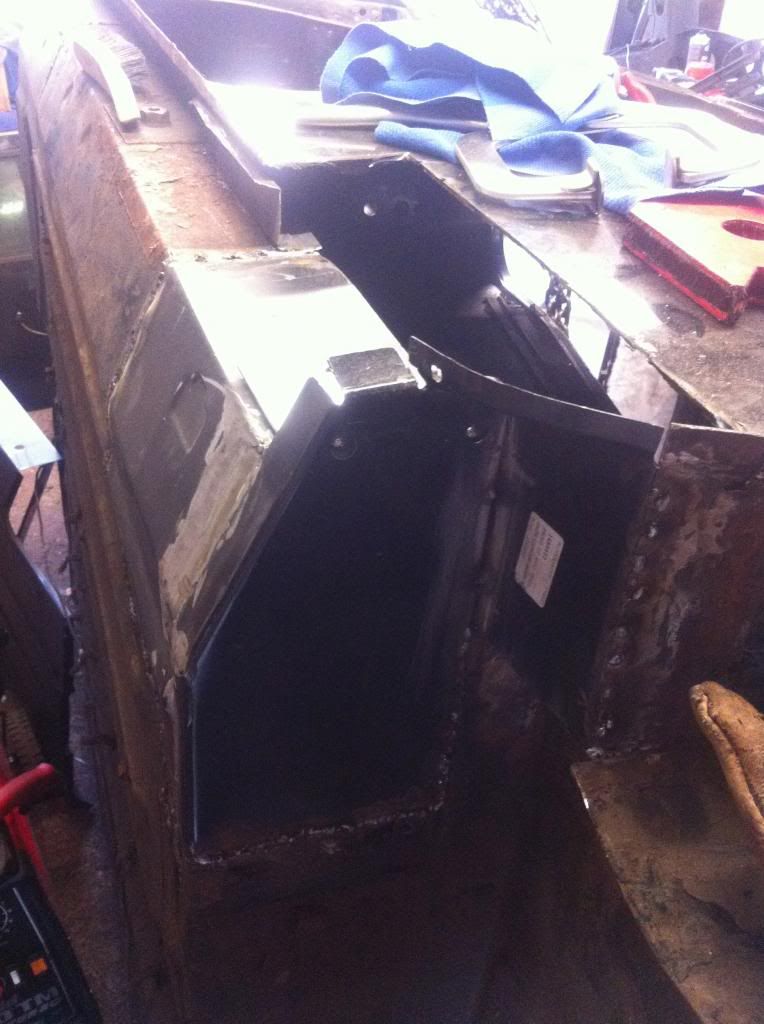
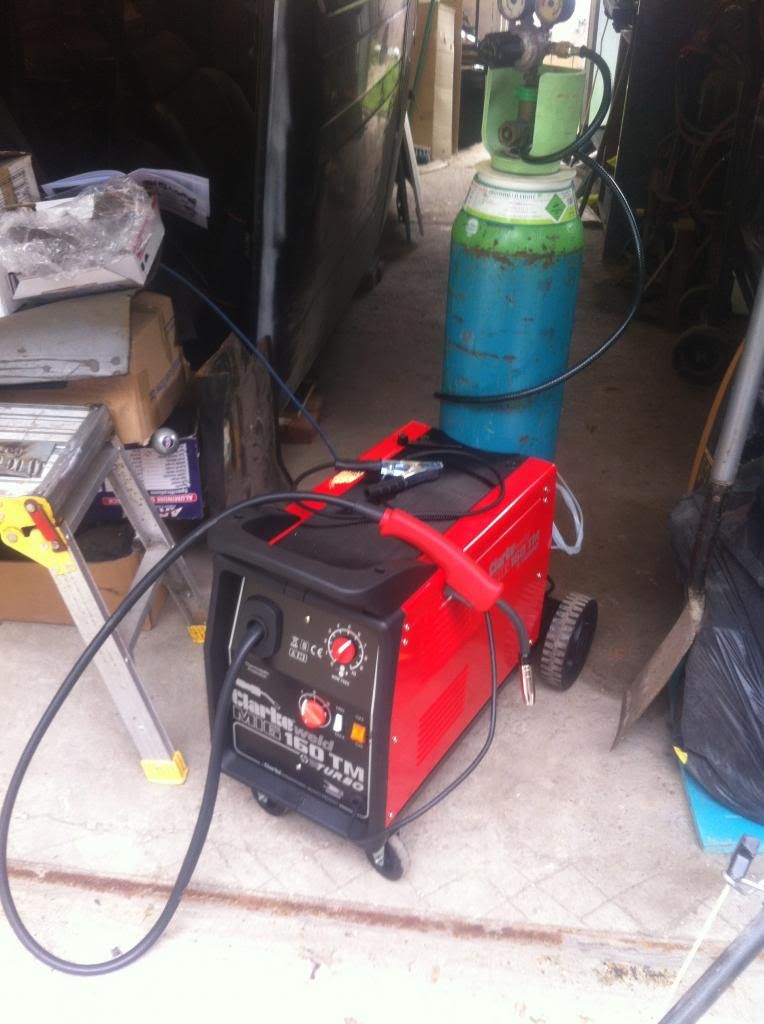
Ok so I've been hard at it over the last few days, had a few days off work so a great excuse to get the new welder up and running.
|
||||||
|
1142 Posts Member #: 10165 Post Whore Stansted, Essex |
24th May, 2013 at 03:11:48pm
Chaps... whats the best tool to use to smooth down rough welds? I am using an angle grinder but its a bit violent at times..
|
||||||
 12307 Posts Member #: 565 Carlos Fandango Burnham-on-Crouch, Essex |
24th May, 2013 at 03:14:58pm
angle grinder with flap discs.
On 28th Aug, 2011 Kean said:
At the risk of being sigged... Joe, do you have a photo of your tool? http://www.turbominis.co.uk/forums/index.p...9064&lastpost=1 https://joe1977.imgbb.com/ |
||||||
 12307 Posts Member #: 565 Carlos Fandango Burnham-on-Crouch, Essex |
24th May, 2013 at 03:15:00pm
angle grinder with flap discs.
On 28th Aug, 2011 Kean said:
At the risk of being sigged... Joe, do you have a photo of your tool? http://www.turbominis.co.uk/forums/index.p...9064&lastpost=1 https://joe1977.imgbb.com/ |
||||||
| Home > Show Us Yours! > The ClubVan... Back in business!! | |||||||
|
|||||||
| Page: |


