| Page: |
| Home > Show Us Yours! > 1360 turbo clubby van | |||||||
|
96 Posts Member #: 9313 Advanced Member |
14th Feb, 2011 at 10:15:06pm
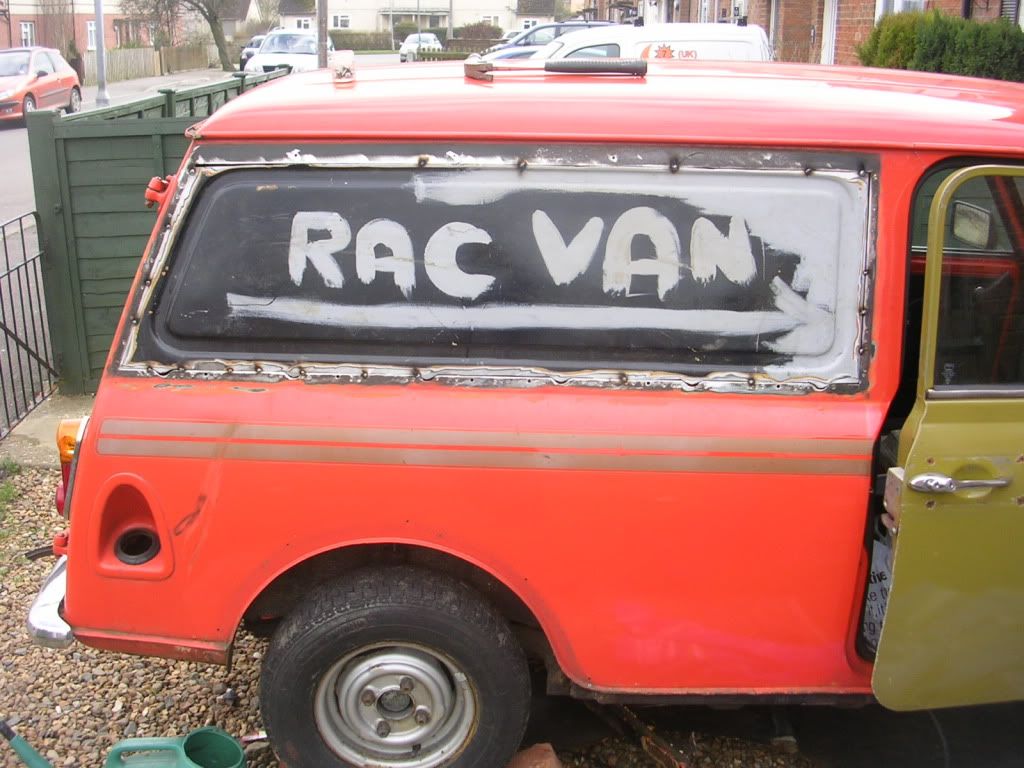
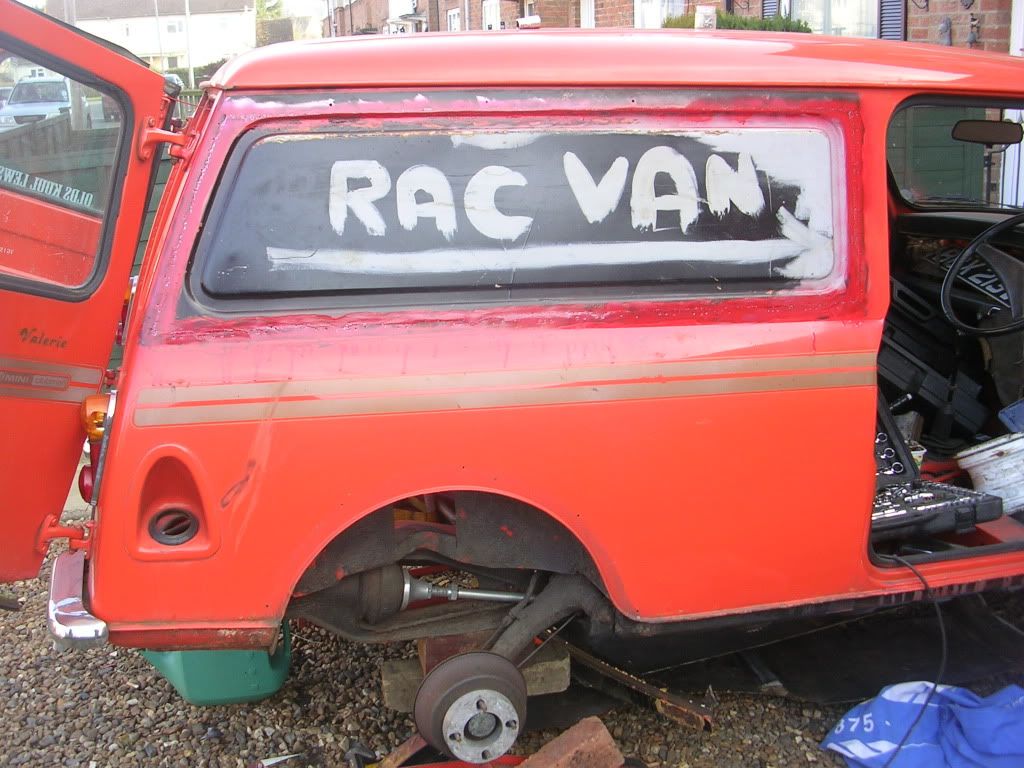
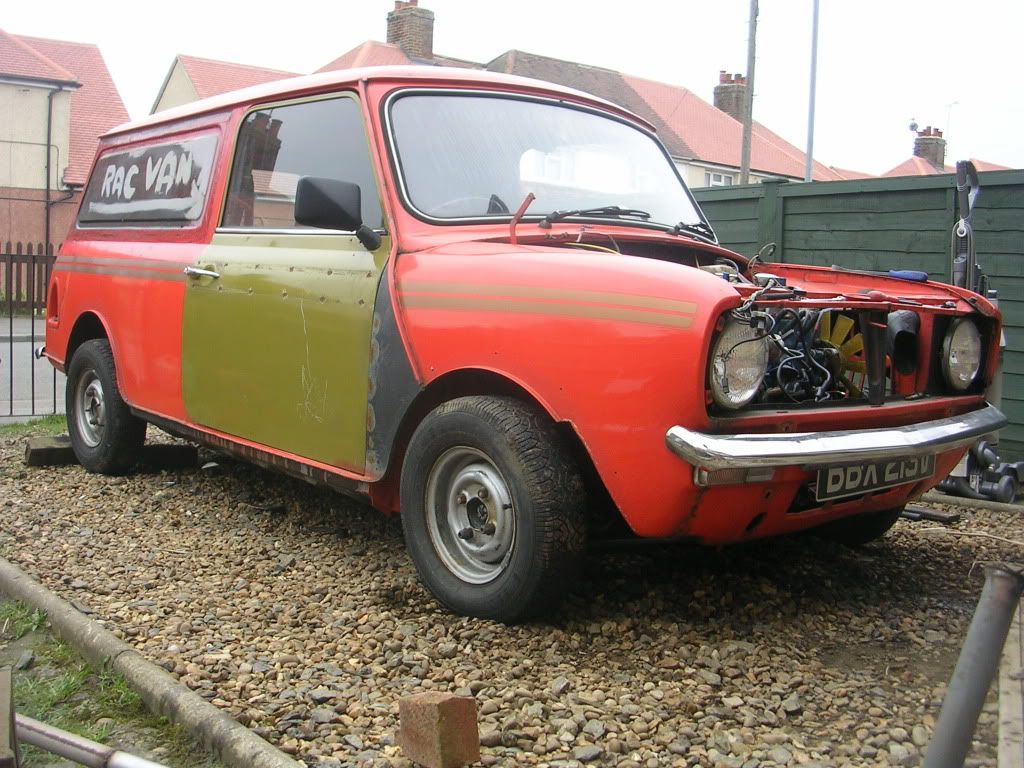
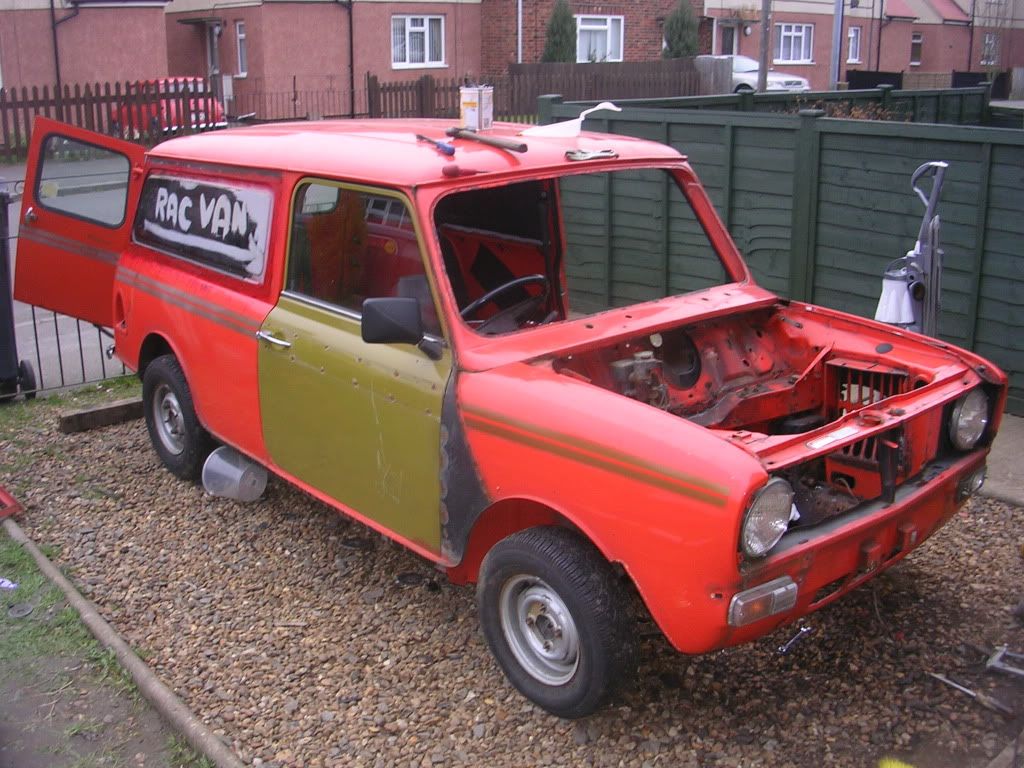
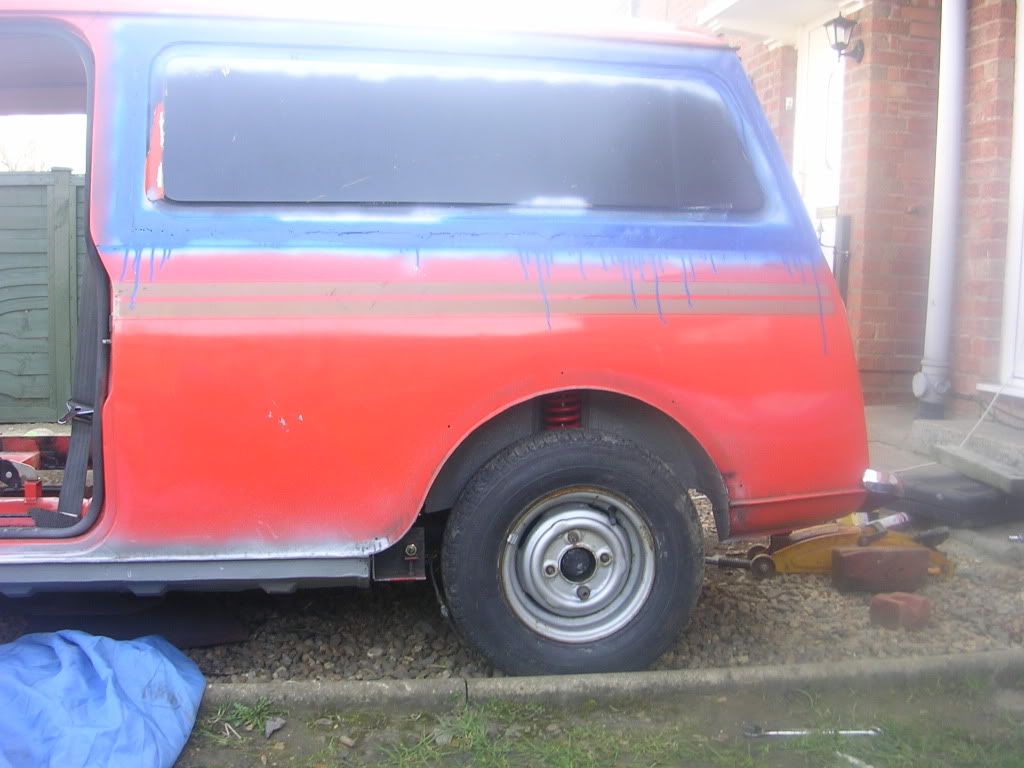
im not making it into a proper van, always wanted 1 though, im just making a car that i think will look pretty damn cool lol and its cheaper to convert it to van rear sides than it is to buy new seals for the rear sliding windows lol |
||||||
|
96 Posts Member #: 9313 Advanced Member |
17th Feb, 2011 at 09:28:30pm
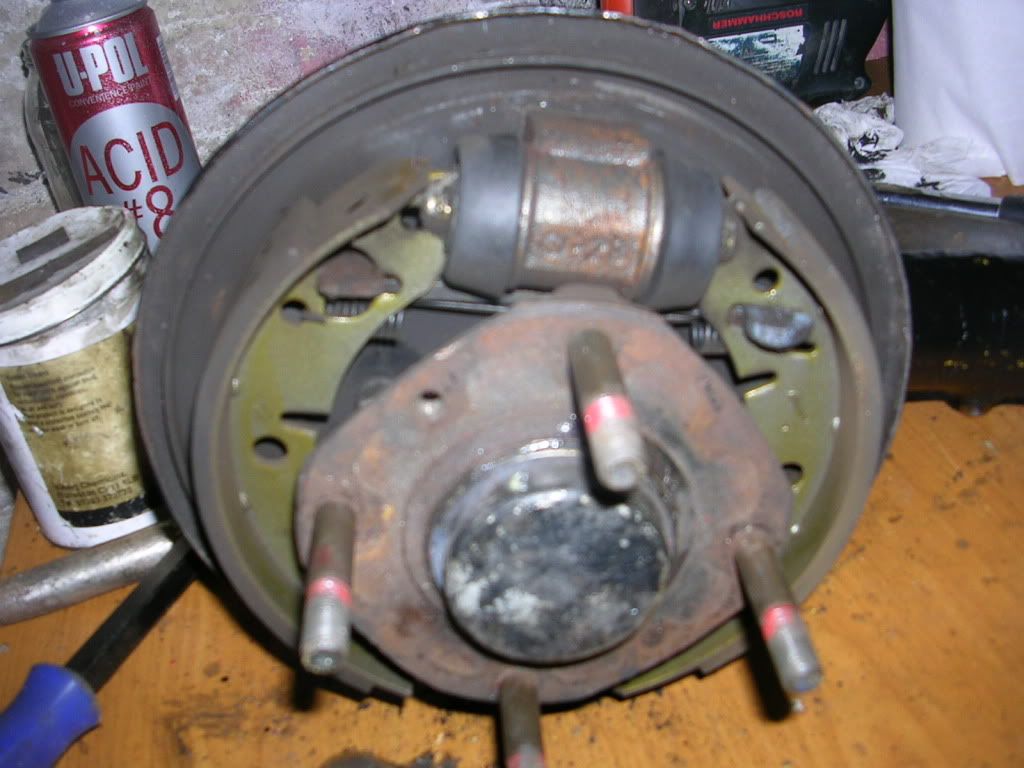
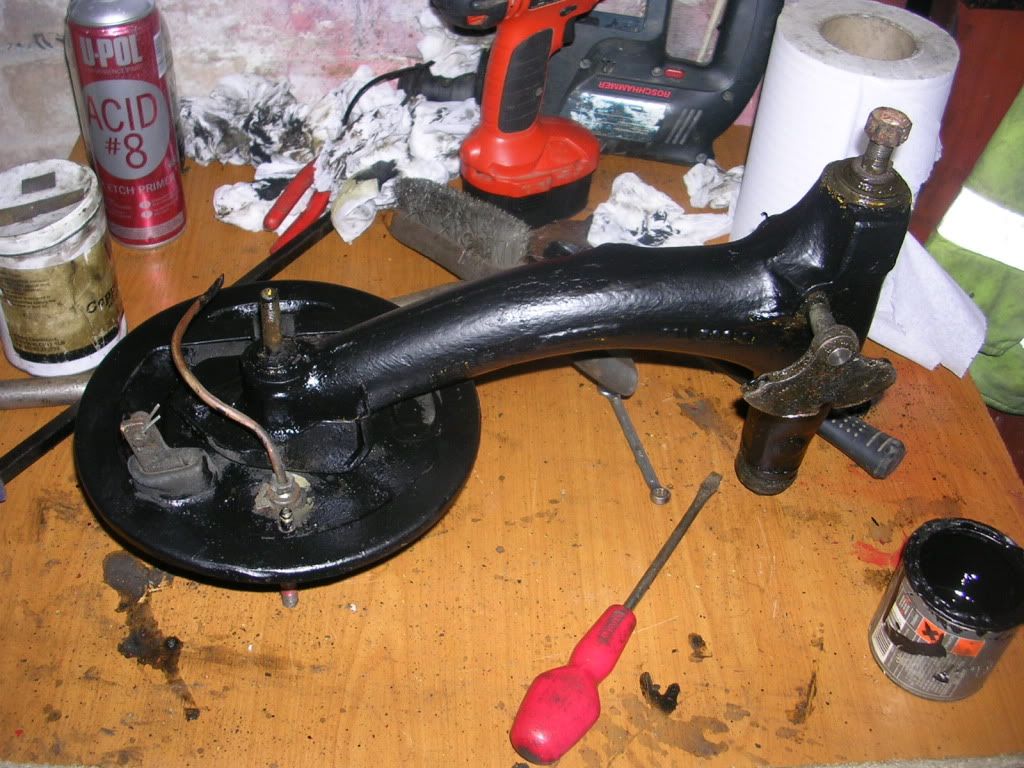
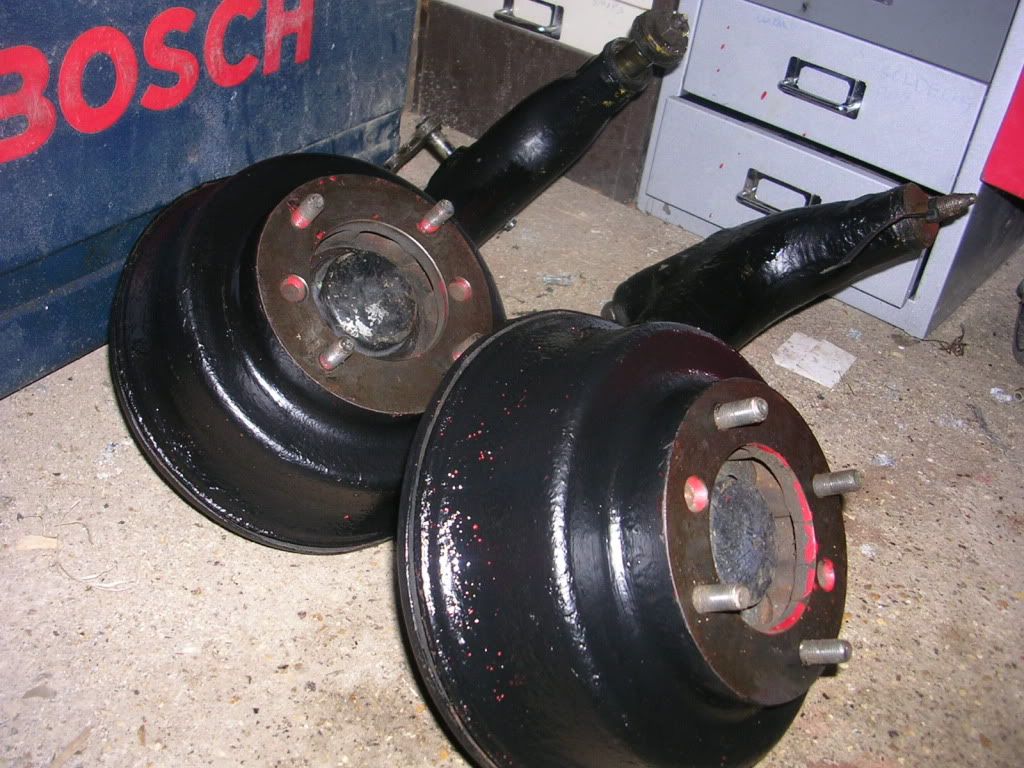
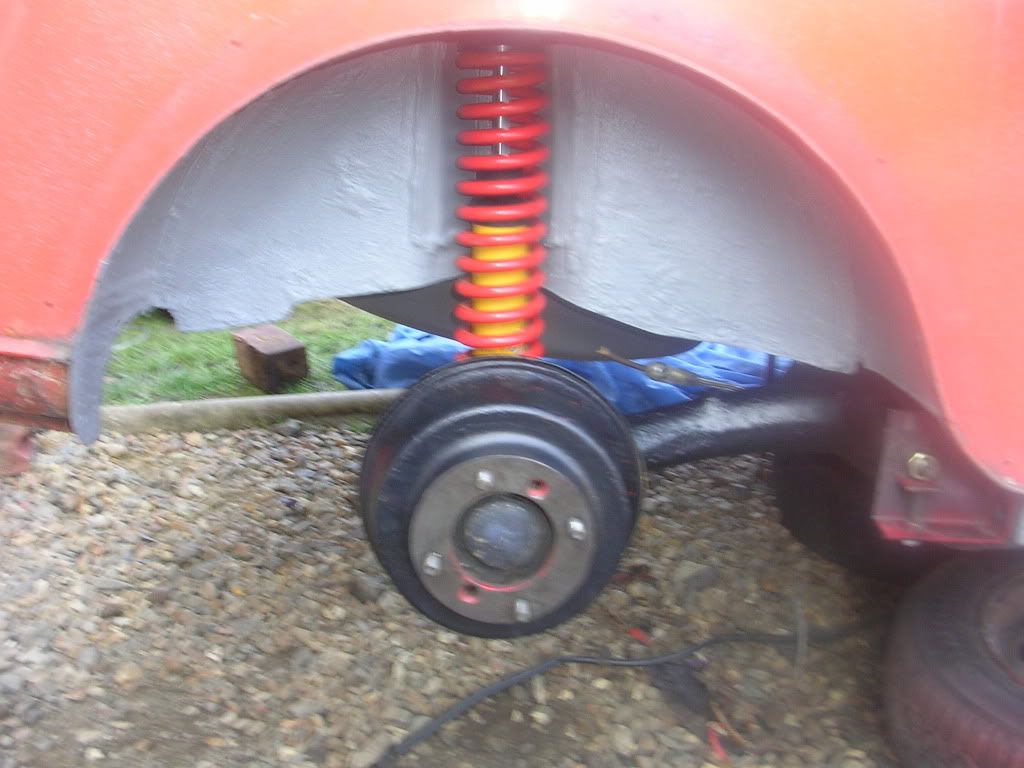
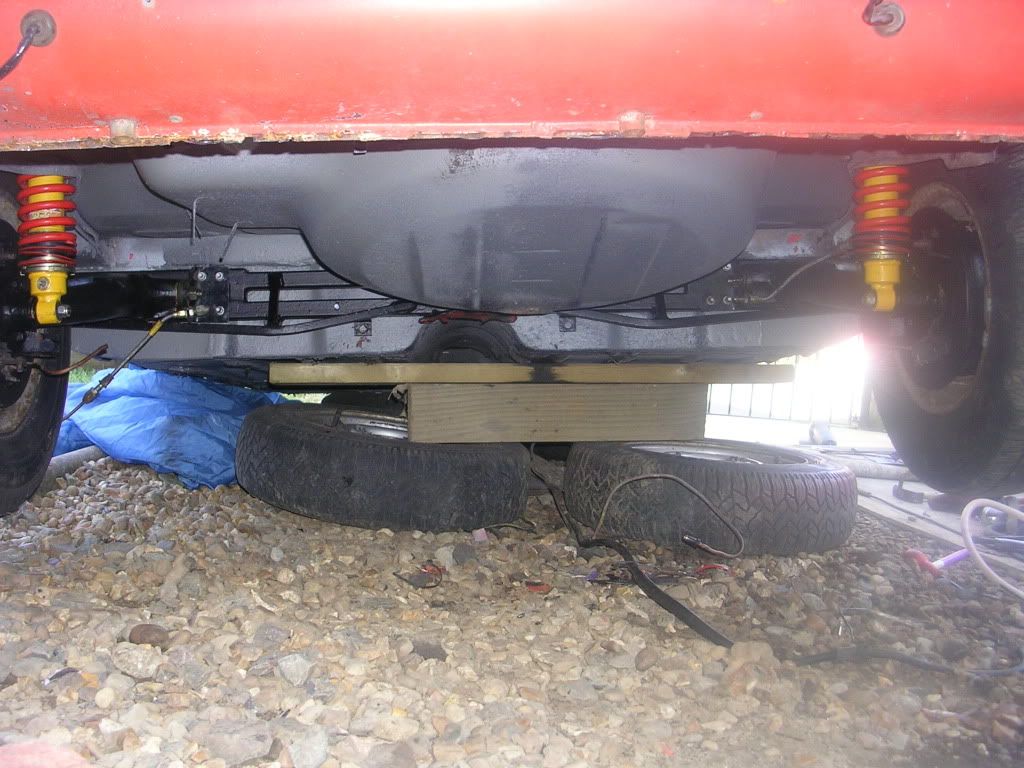
here are a few pics of the radius arms after a check over and a paint...
|
||||||
|
96 Posts Member #: 9313 Advanced Member |
17th Feb, 2011 at 09:30:09pm
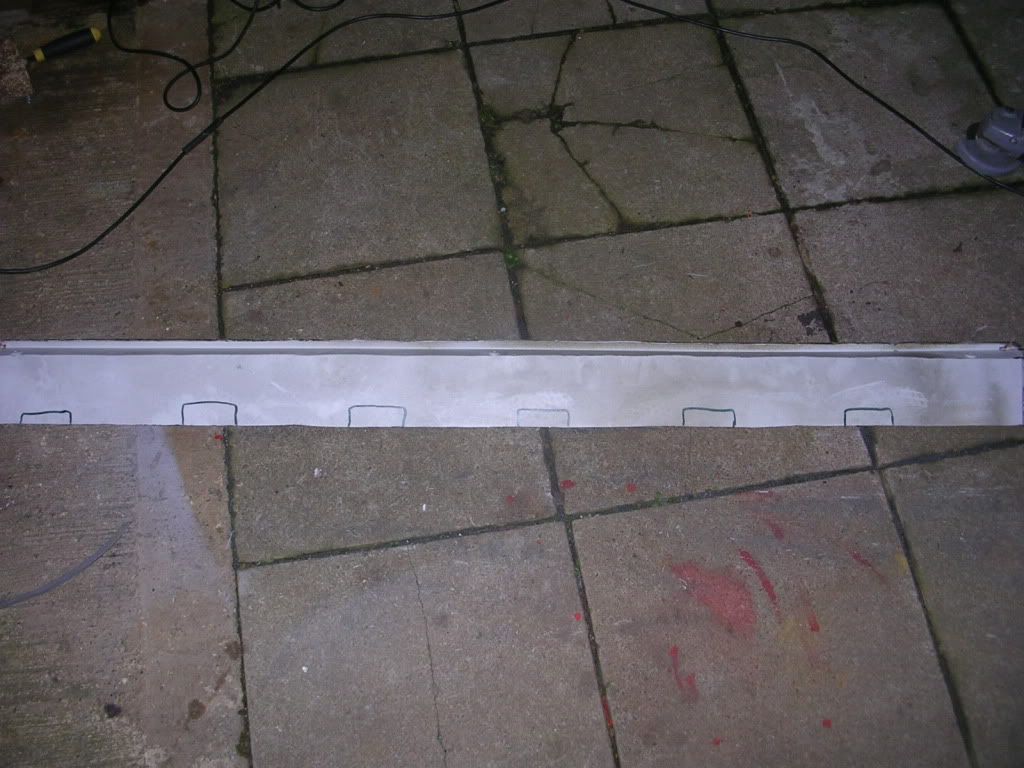
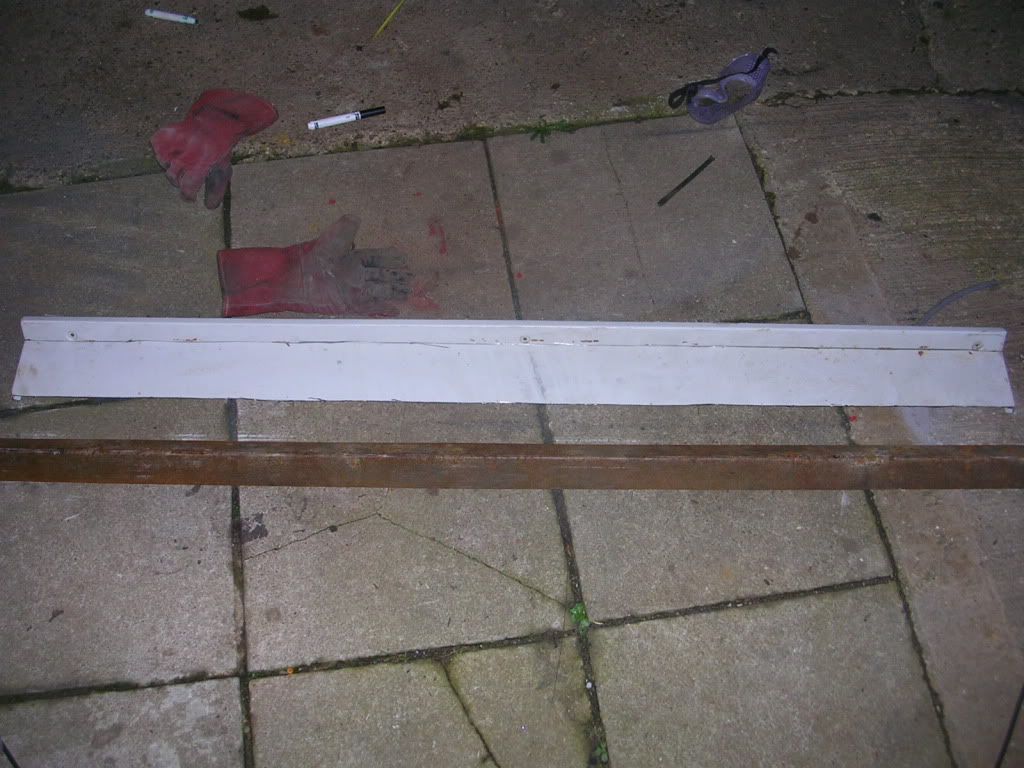
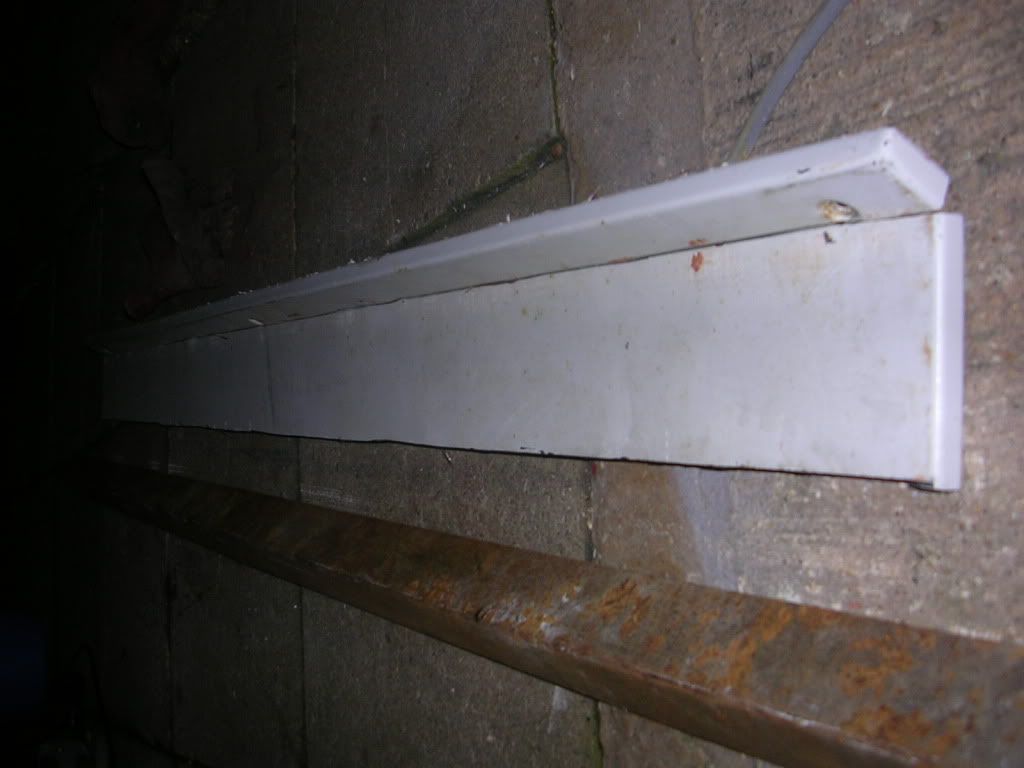
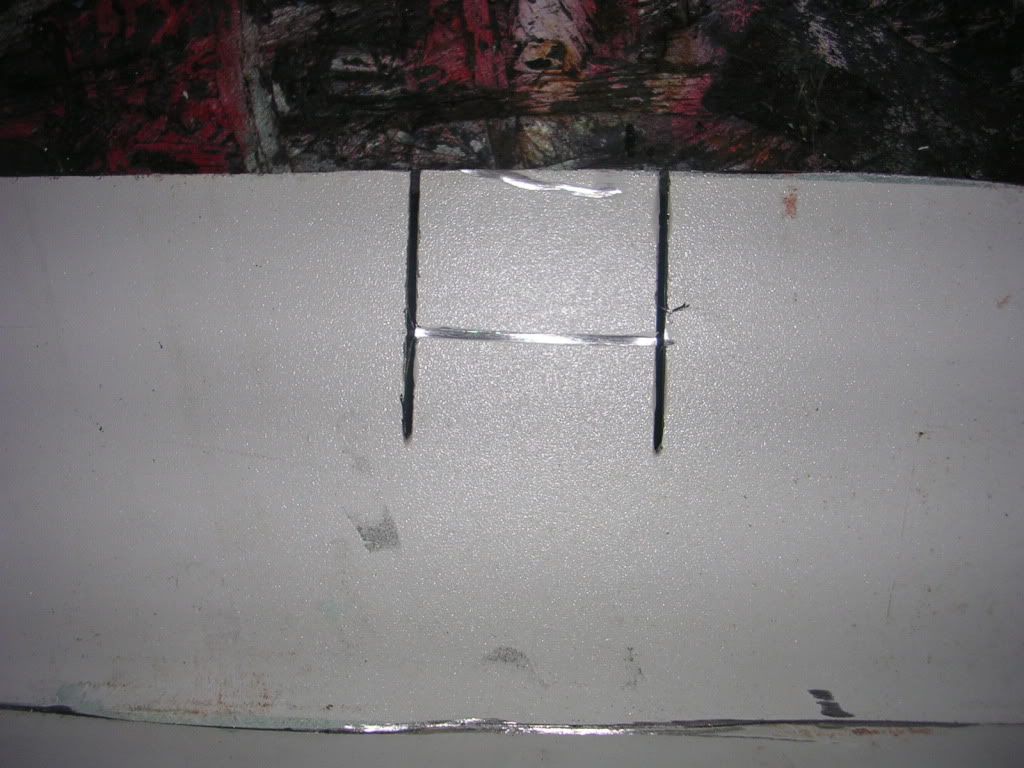
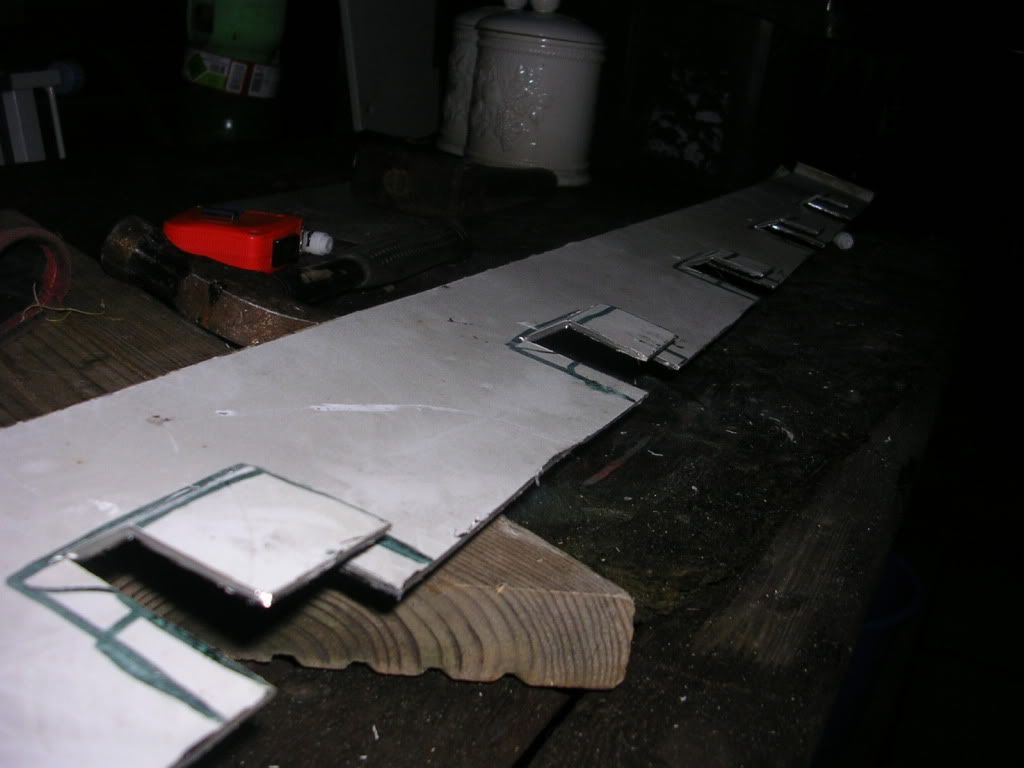
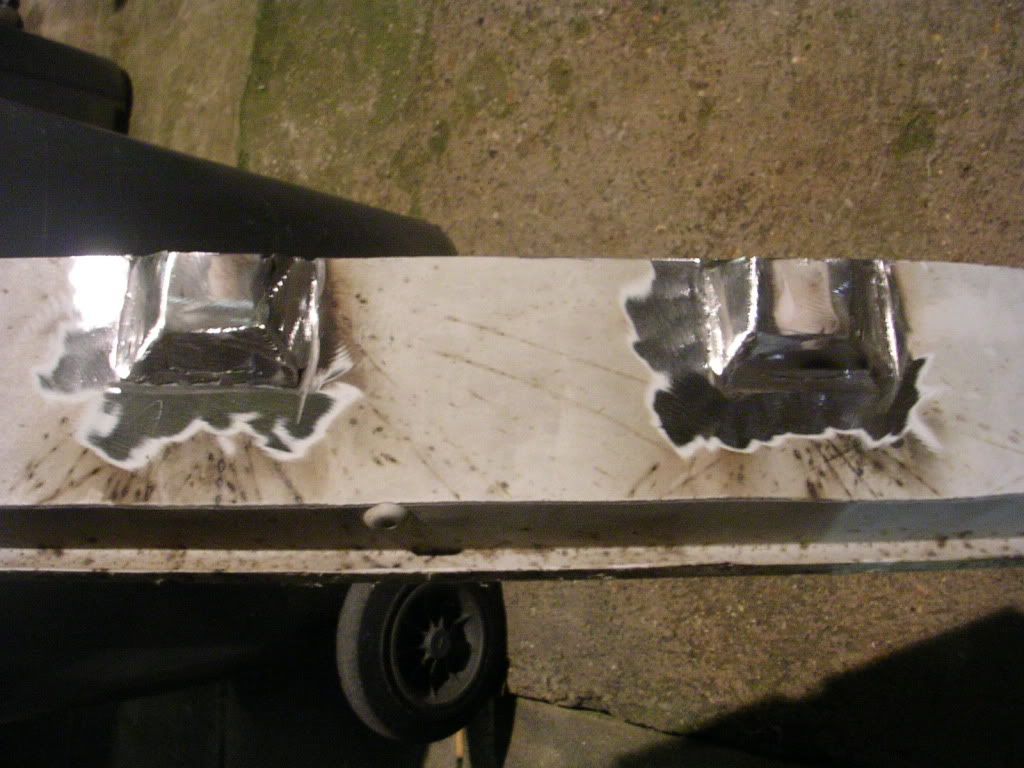
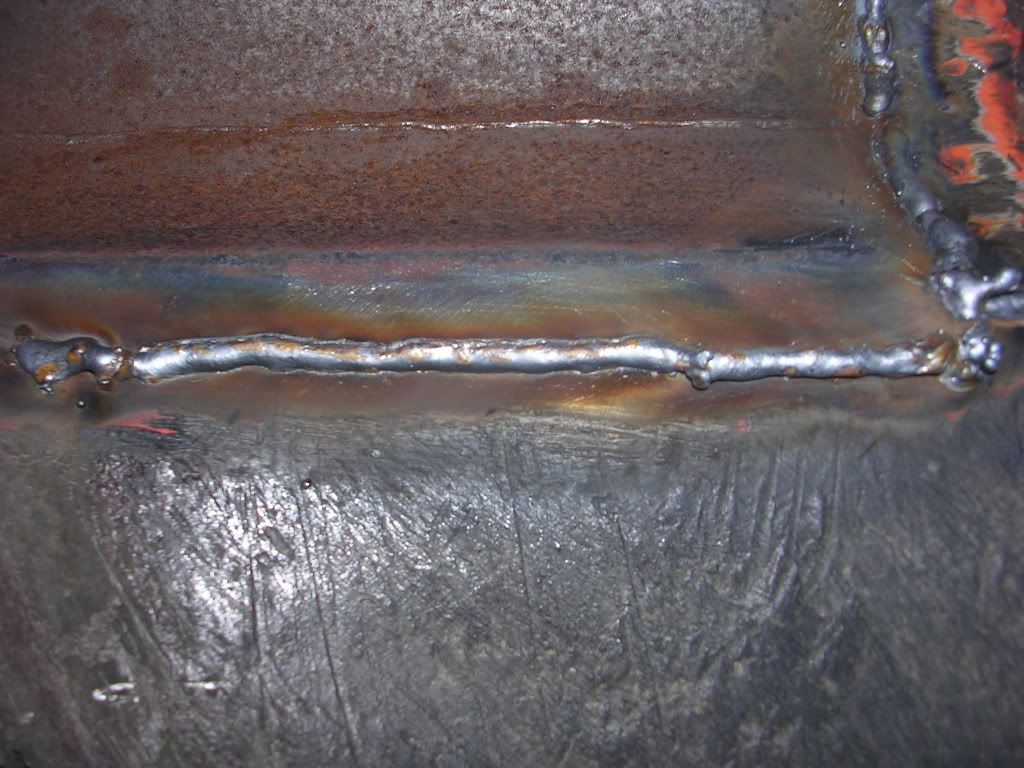
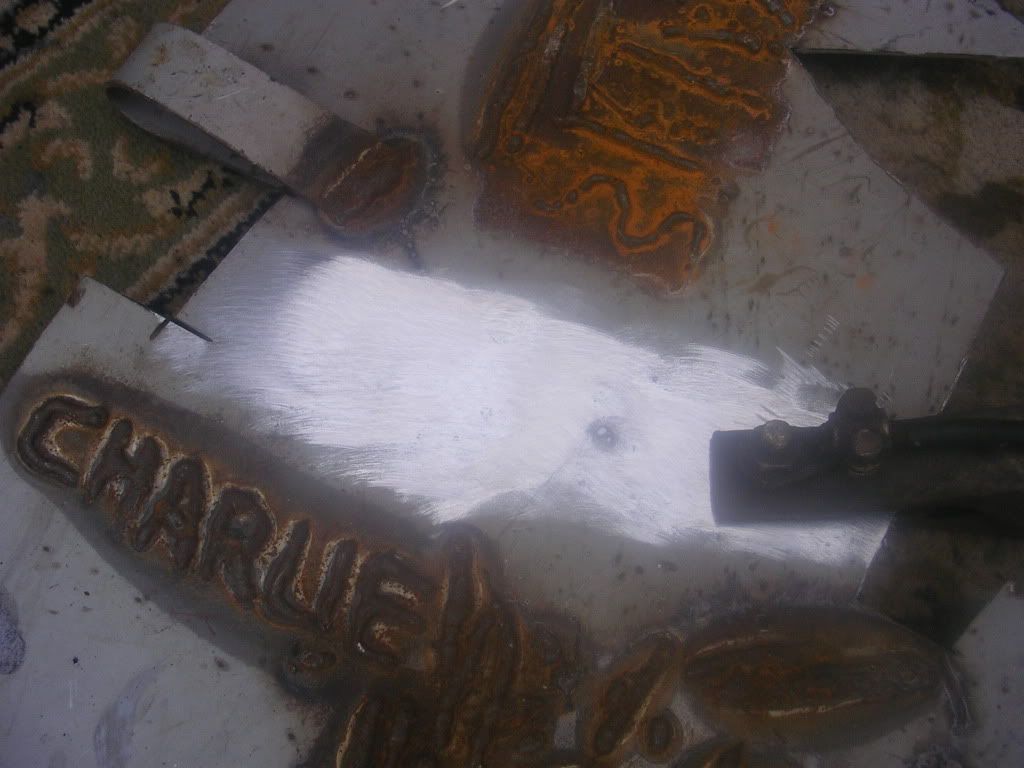
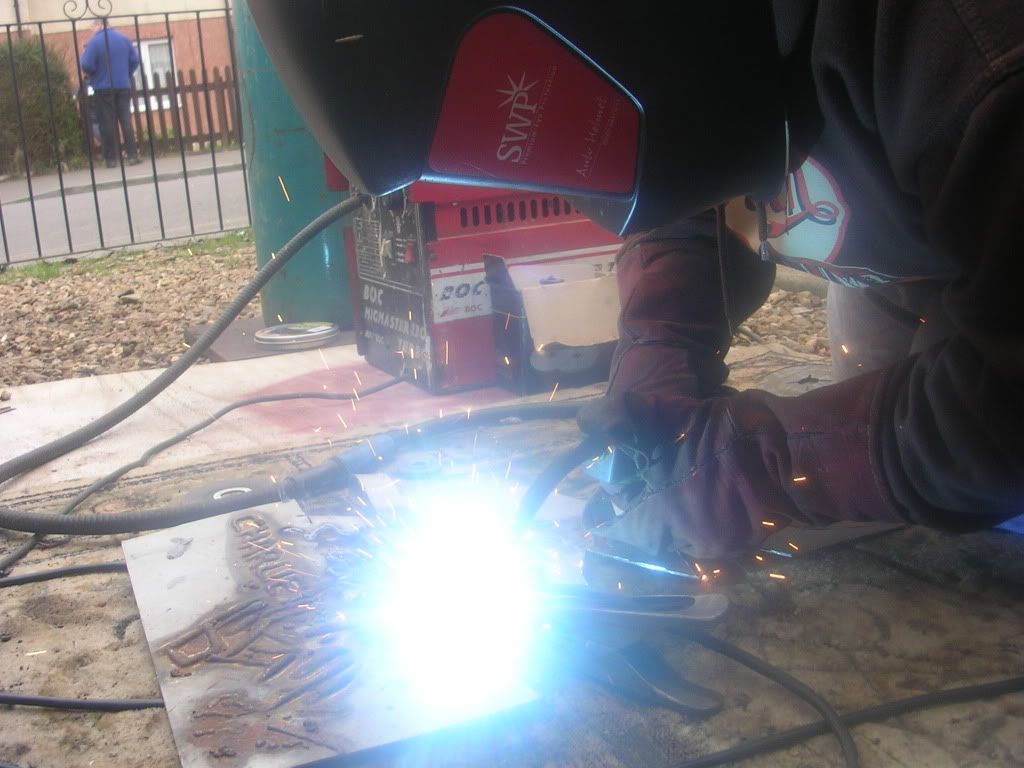
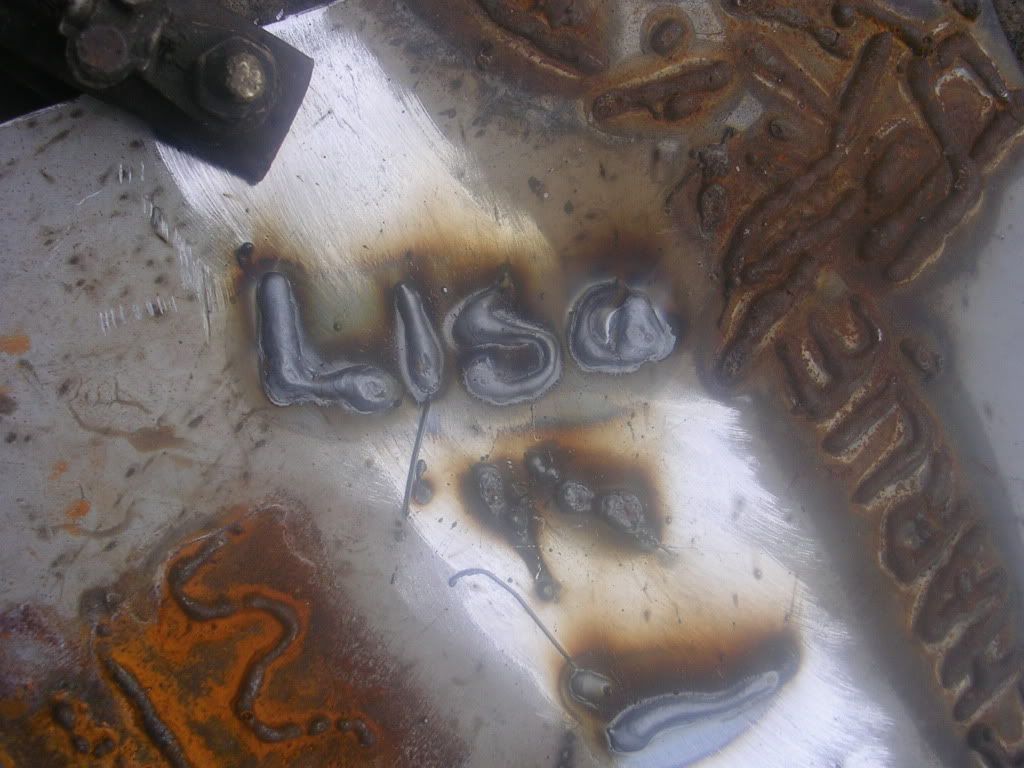
after "scoring" a line along the steel, i use a piece of angle iron as a dolly and start to bend the sheet into more of a sill shape
|
||||||
 497 Posts Member #: 7641 Senior Member Jersey, CI |
17th Feb, 2011 at 10:20:52pm
Nice one, be interested to see the finished article! |
||||||
|
96 Posts Member #: 9313 Advanced Member |
17th Feb, 2011 at 10:59:17pm
im putting the turbo engine on hold for the time being, all my spare cash is going on getting the car up and running (with a standard 1275 engine for now until funds allow) |
||||||
 16540 Posts Member #: 4241 King Gaycharger, butt plug dealer, Sheldon Cooper and a BAC but generally a niceish fella if you dont mind a northerner Rotherham, South Yorkshire |
18th Feb, 2011 at 08:25:06am
that looks like pretty good fabrication on the sill.
On 11th Feb, 2015 robert said:
i tried putting soap on it , and heating it to brown , then slathered my new lube on it 
|
||||||
|
96 Posts Member #: 9313 Advanced Member |
18th Feb, 2011 at 05:21:41pm
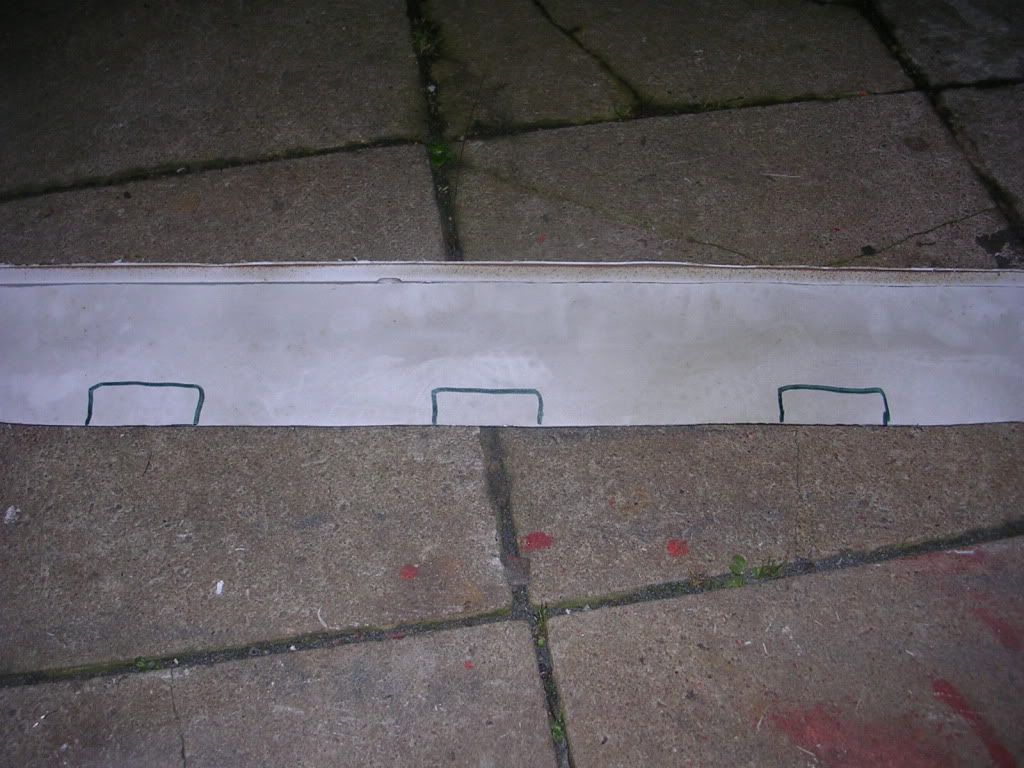
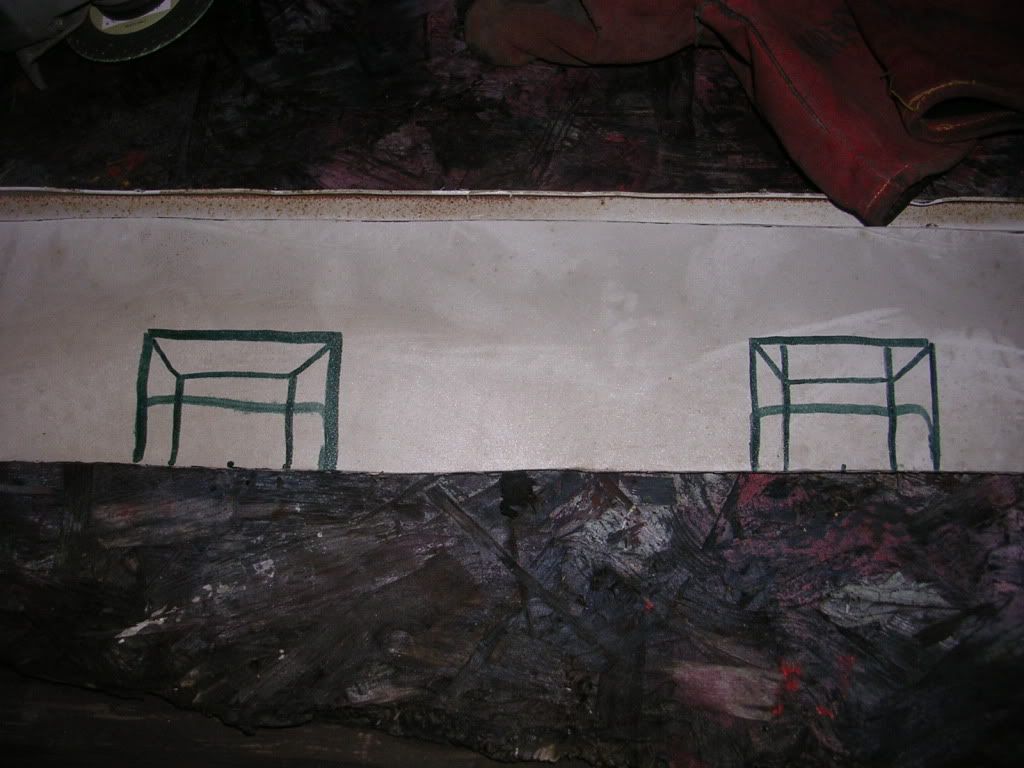
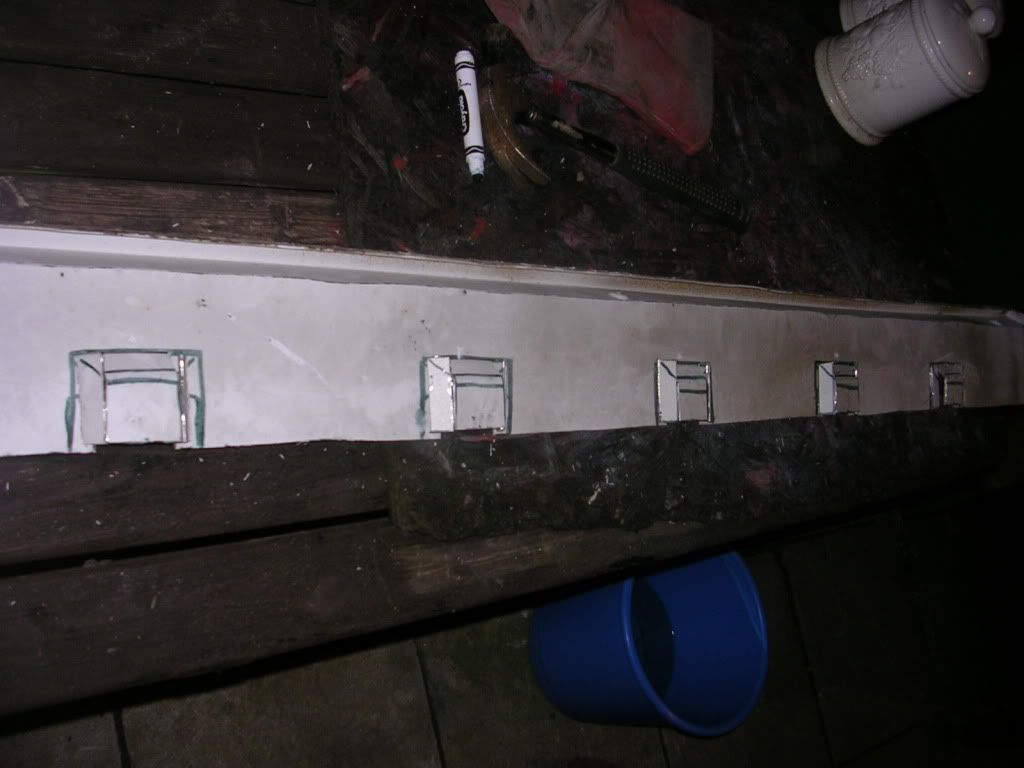
cheers for that link mate! very interesting reading! gonna carry on with the sills now, gotta get the drainage vents knocked up! will post a few more pics to show my workings |
||||||
|
96 Posts Member #: 9313 Advanced Member |
18th Feb, 2011 at 08:05:13pm
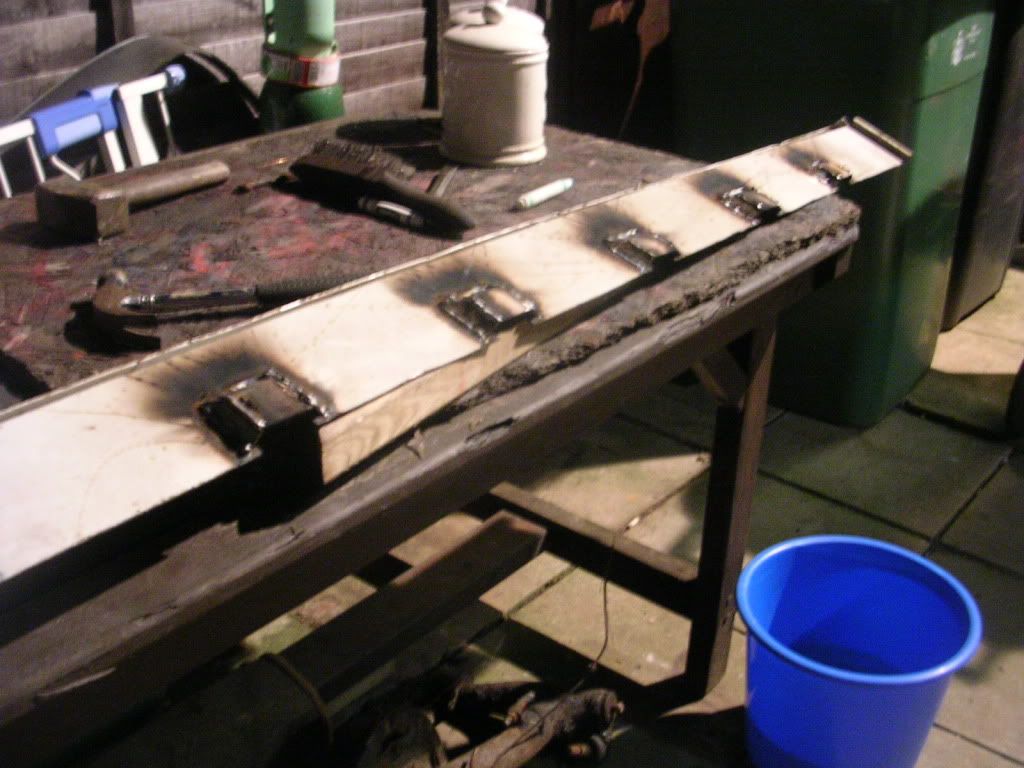
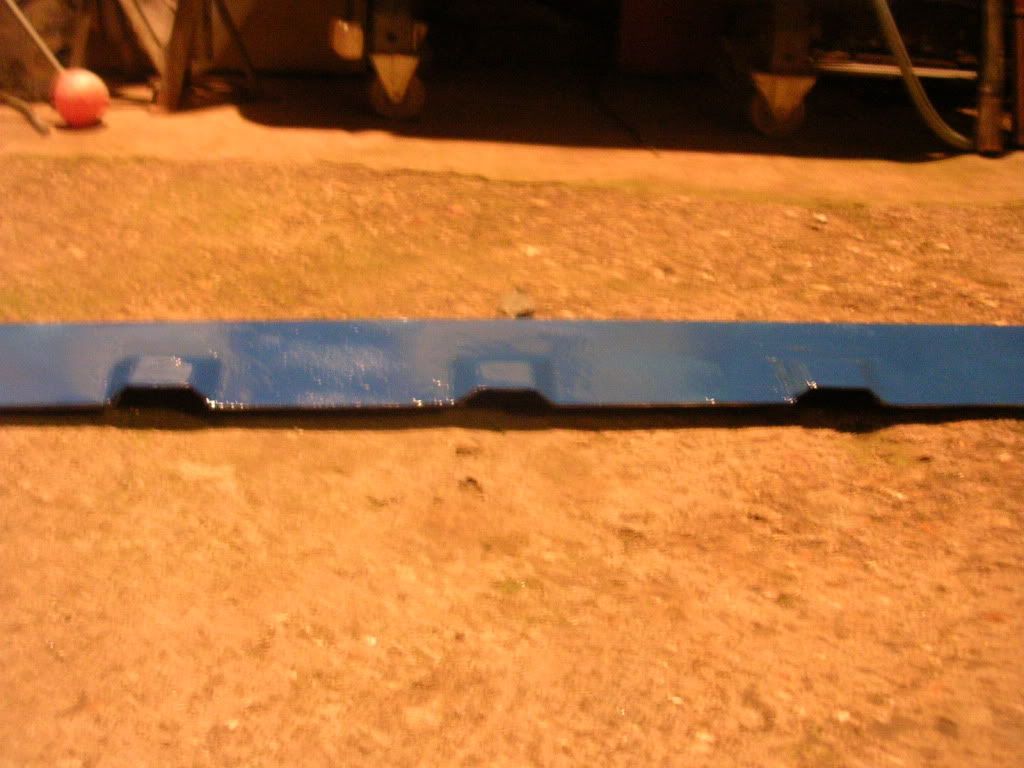
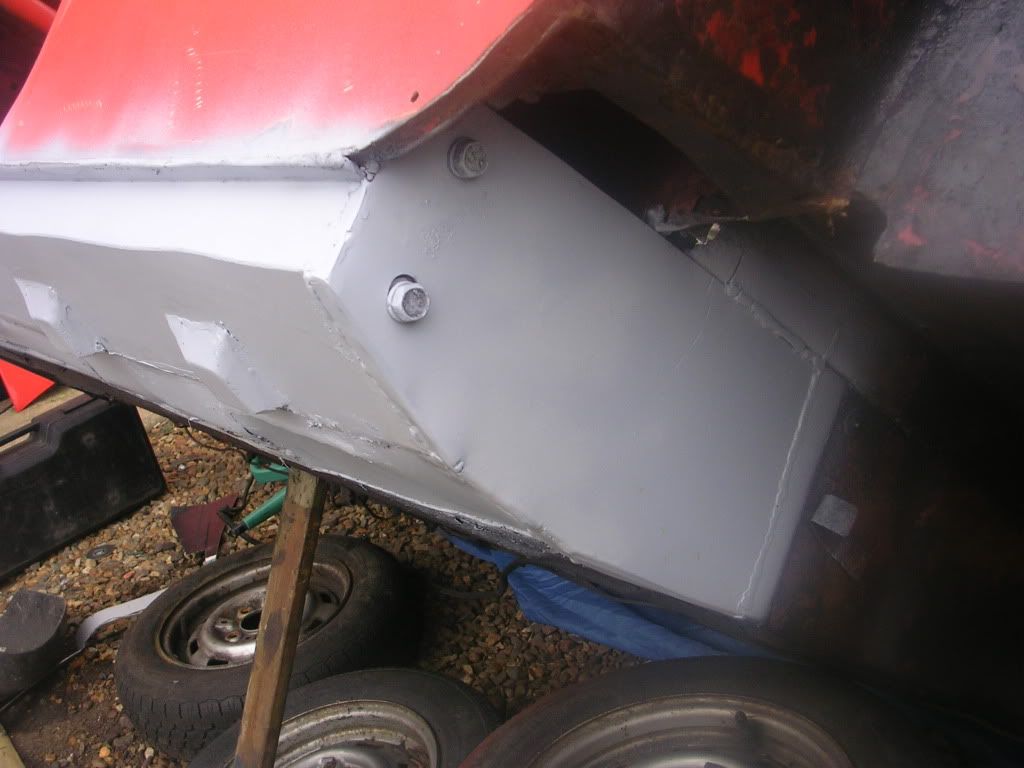
tonight i have been finishing off the sill i have been making up for valerie... i know i can buy them off the shelf, but wheres the fun in that!
|
||||||
|
96 Posts Member #: 9313 Advanced Member |
21st Feb, 2011 at 08:13:29pm
ive decided to convert the wiring loom to earlier spec, more basic with the 2 switches and 1 stalk on the column, spent 3 hours checking over the loom, removing all old tape and re-taping it all, i now have a mint loom to replace the original butchered loom, i would post a pic, but its only wiring lol |
||||||
|
96 Posts Member #: 9313 Advanced Member |
5th Mar, 2011 at 07:23:11am
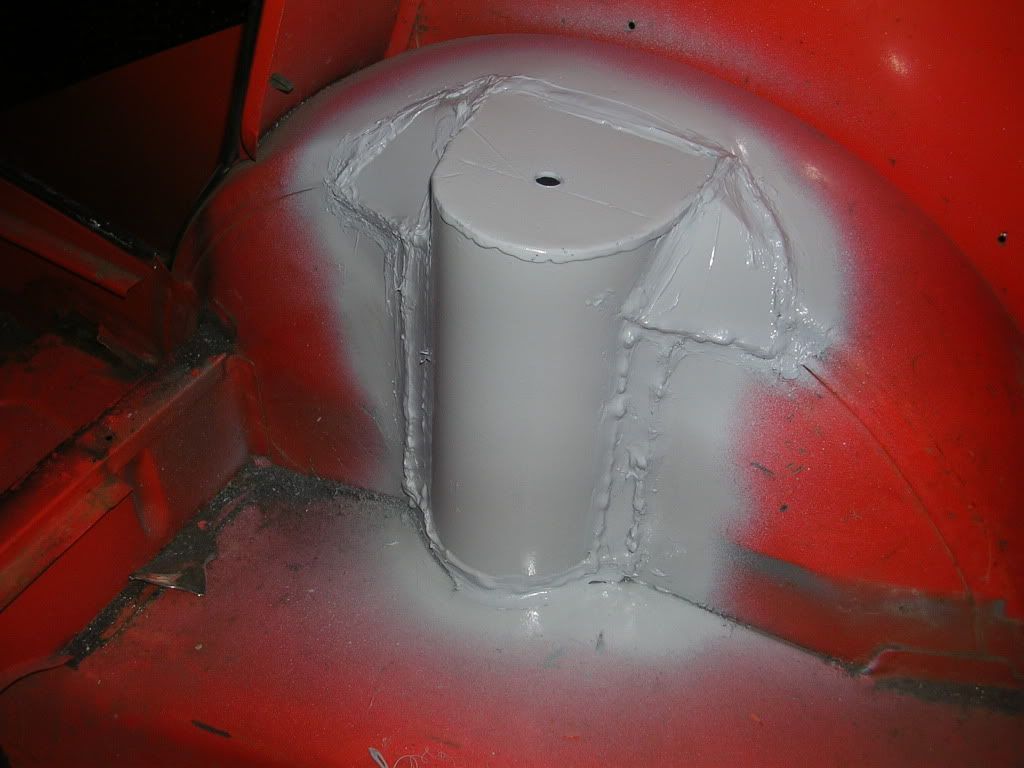
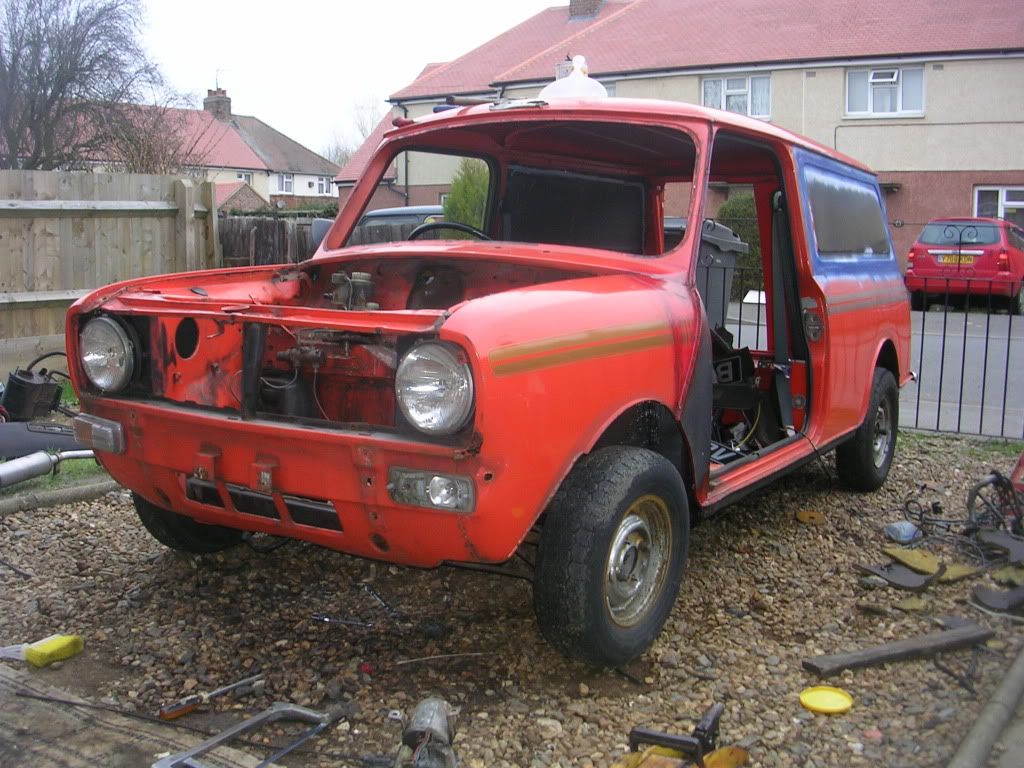
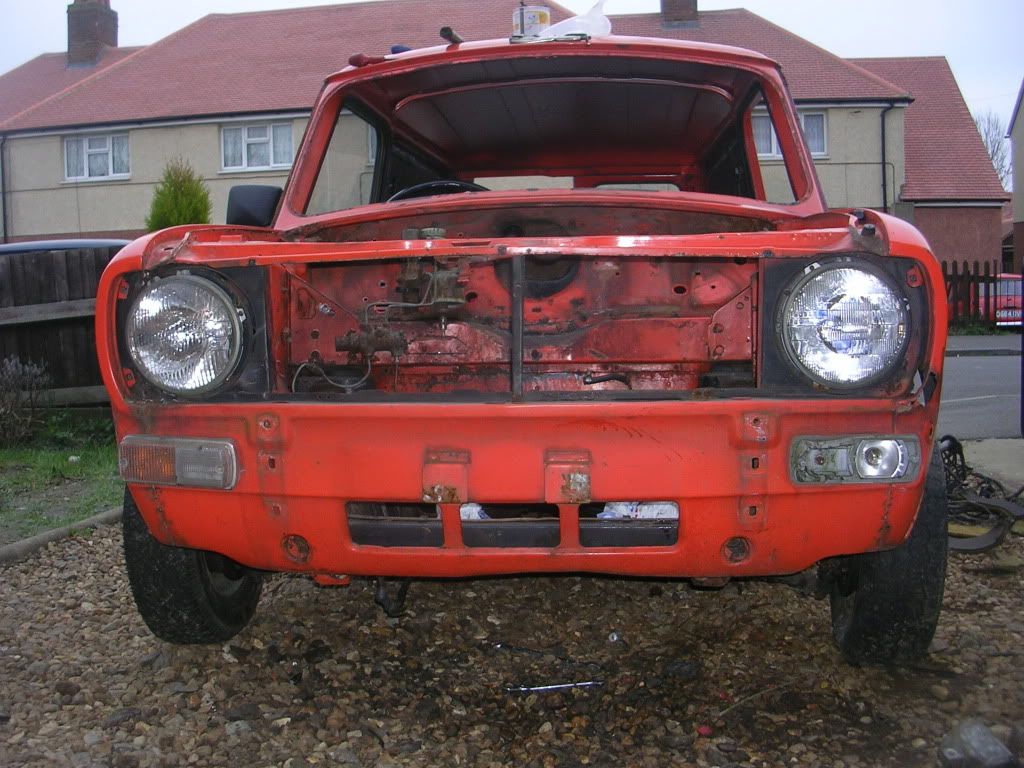
here are some pics of todays progress..
|
||||||
|
96 Posts Member #: 9313 Advanced Member |
5th Mar, 2011 at 07:24:17am
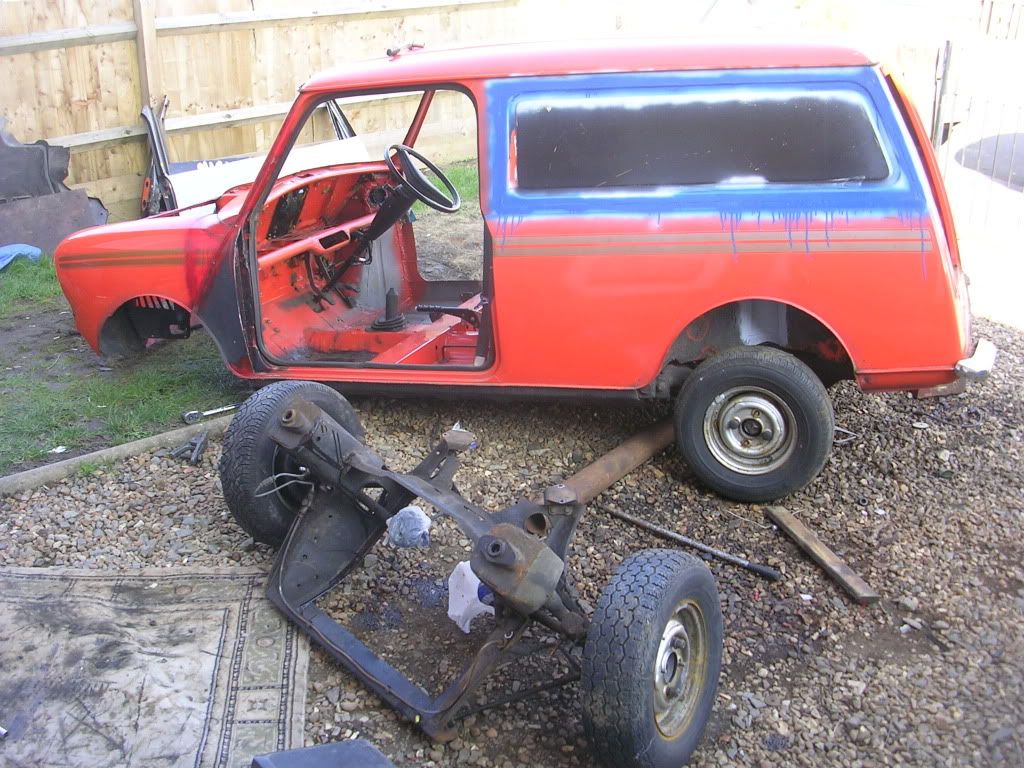
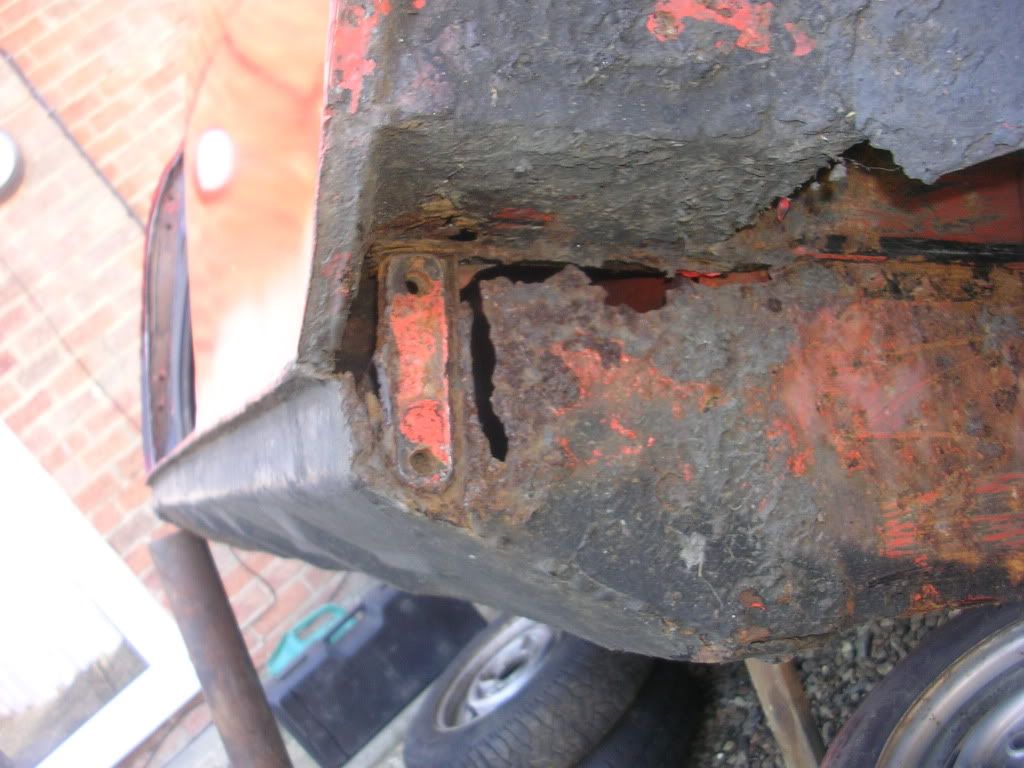
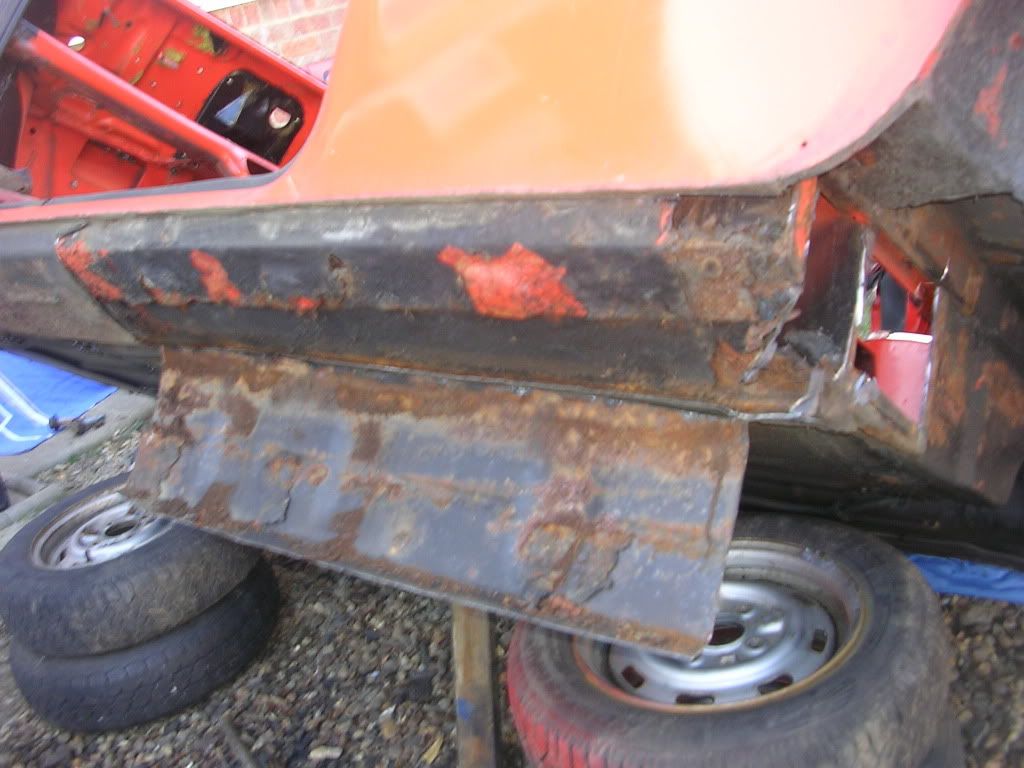
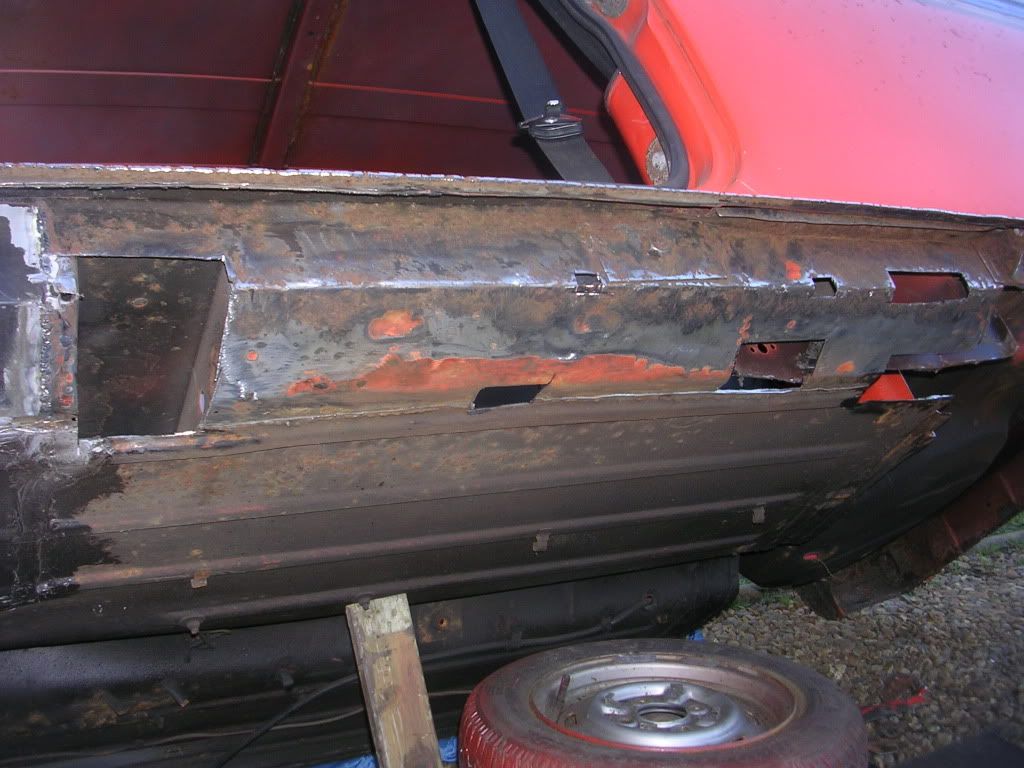
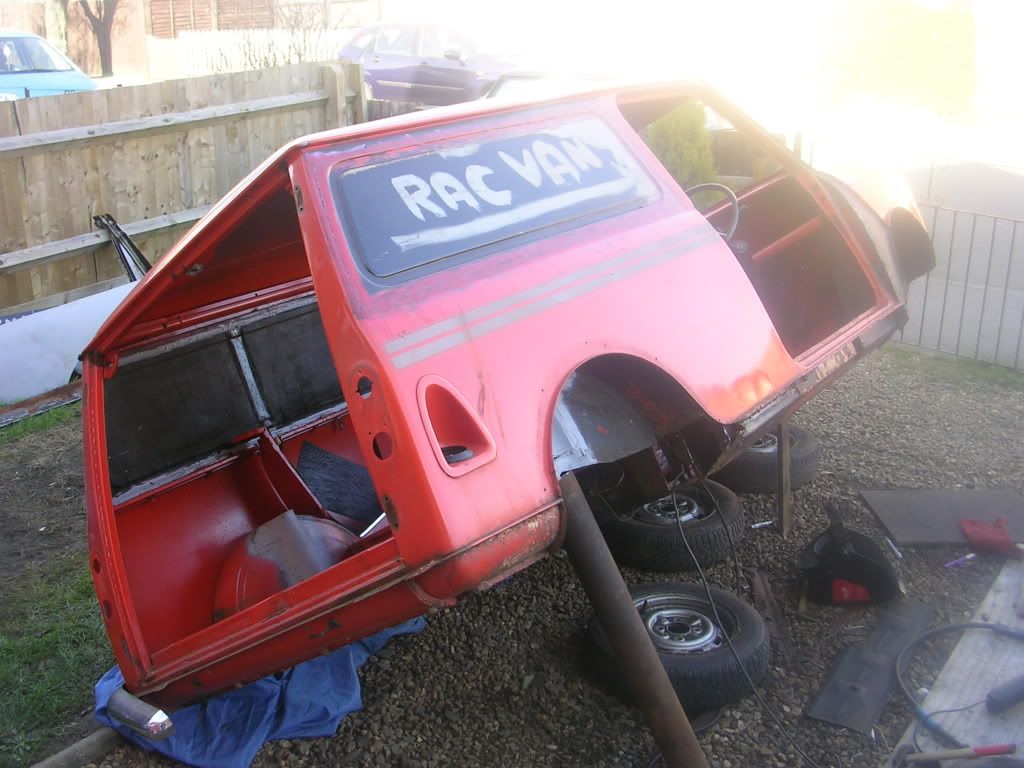
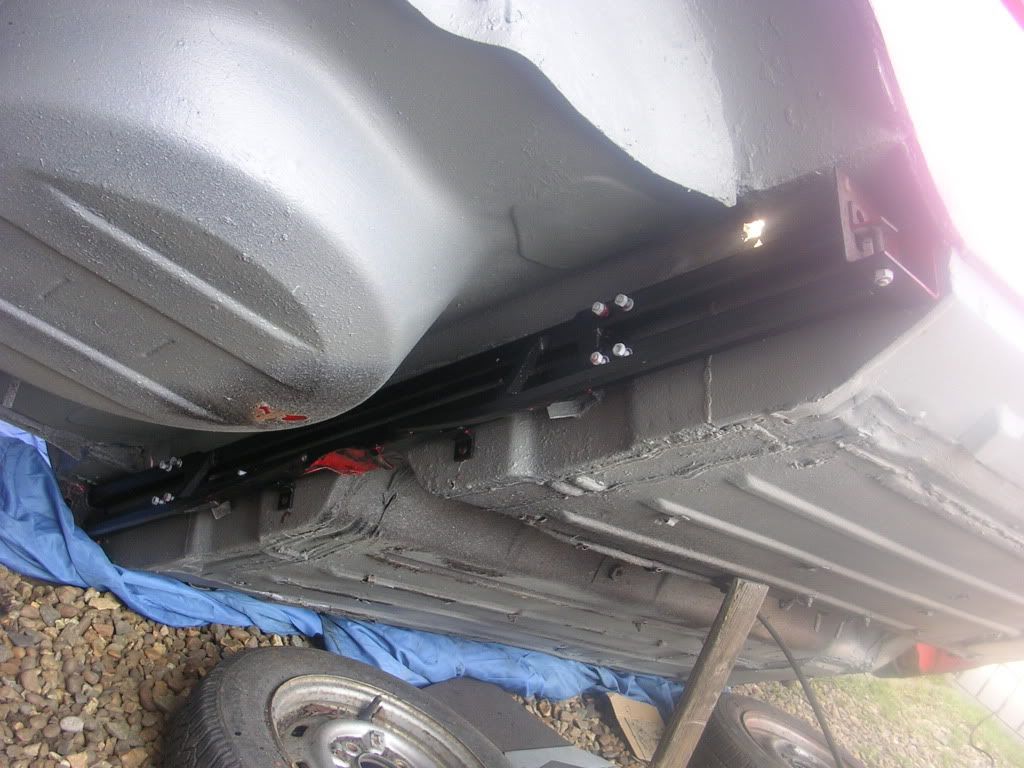
done more work today, took the engine out, stripped all the wiring, dash, all electrics, pretty much got her down to a rolling shell with only subframes and steering connected so i can flip it on its side to do the heal board and sills and tidy the underneath up, stone chip and paint it before it goes off to the body shop for a respray... |
||||||
|
96 Posts Member #: 9313 Advanced Member |
5th Mar, 2011 at 07:25:14am
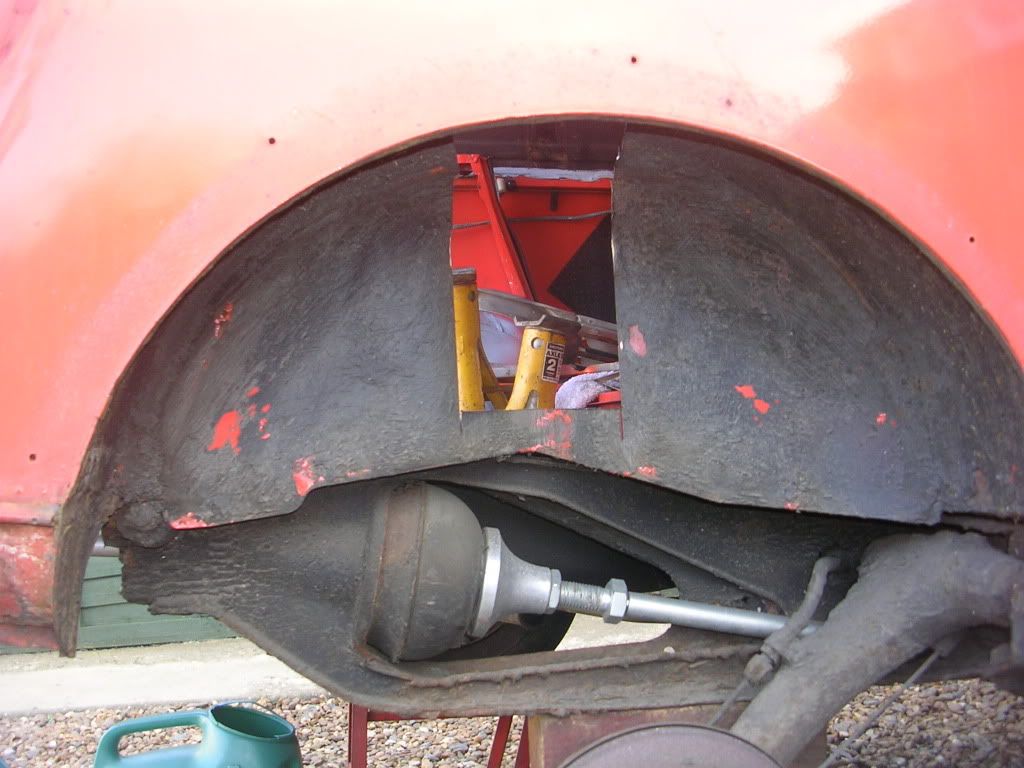
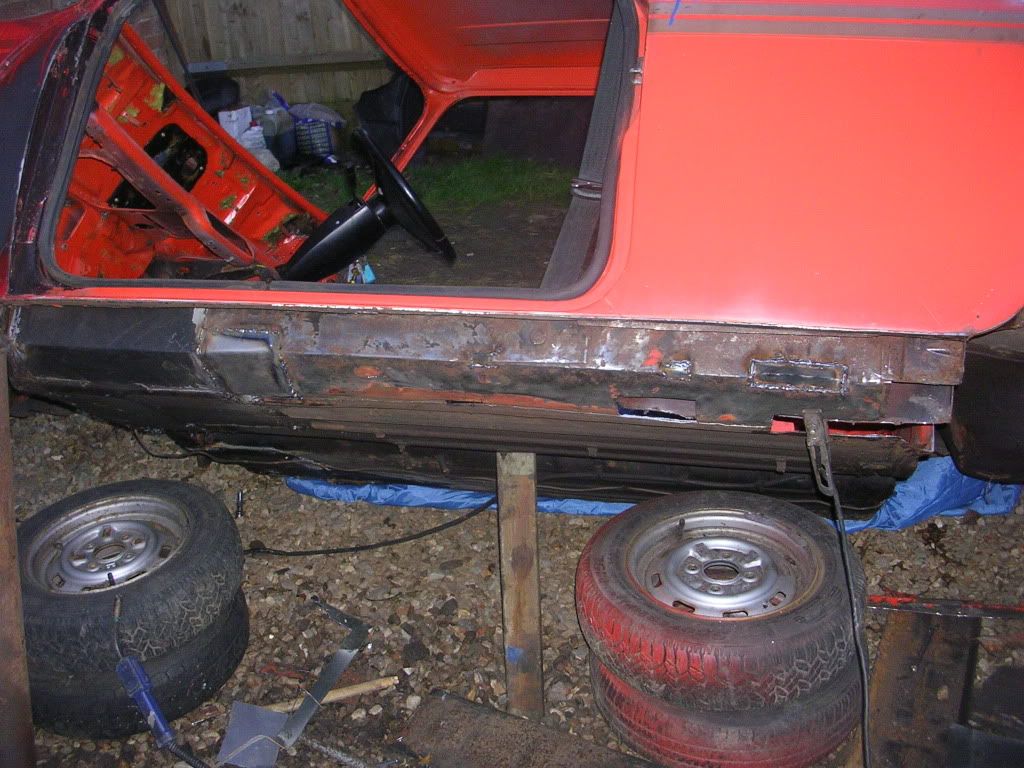
been pretty productive again today, got the subframe off so i can assess the heal board and also make it easier to do the sills with it on its side...
|
||||||
|
96 Posts Member #: 9313 Advanced Member |
6th Mar, 2011 at 10:40:14am
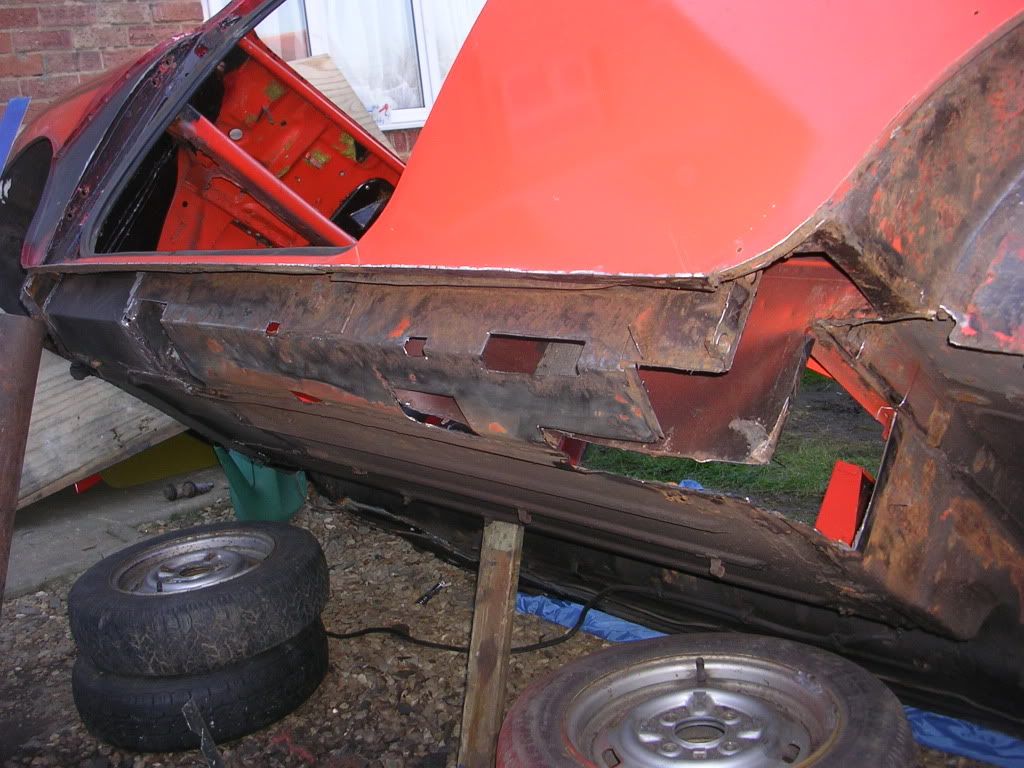
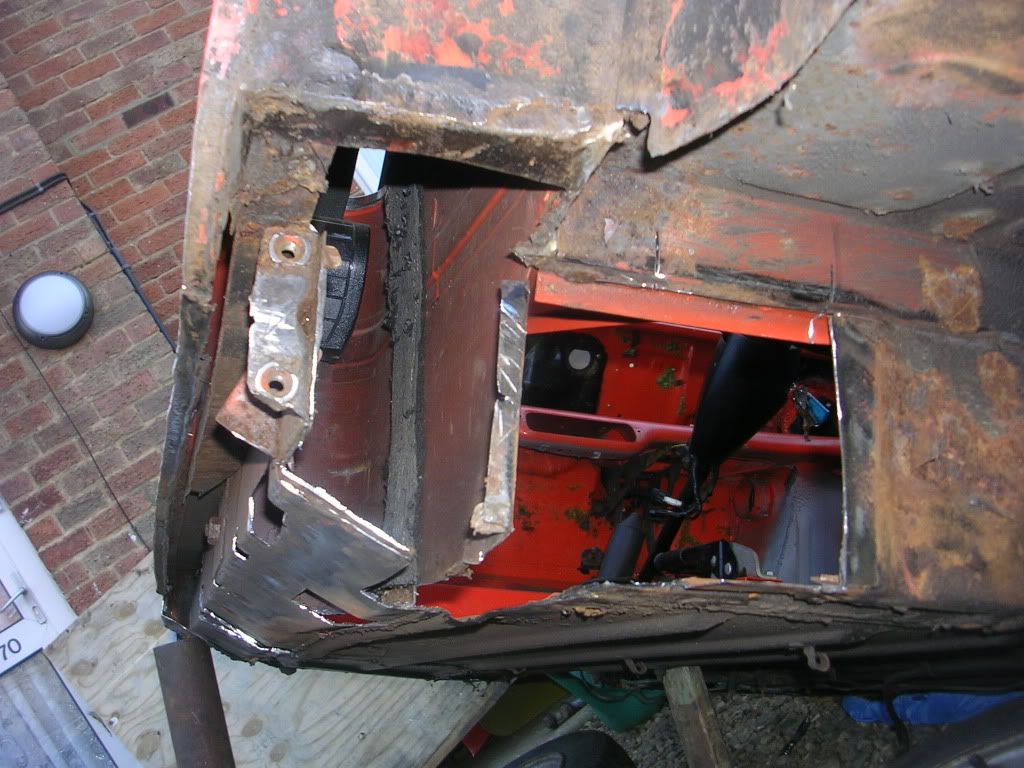
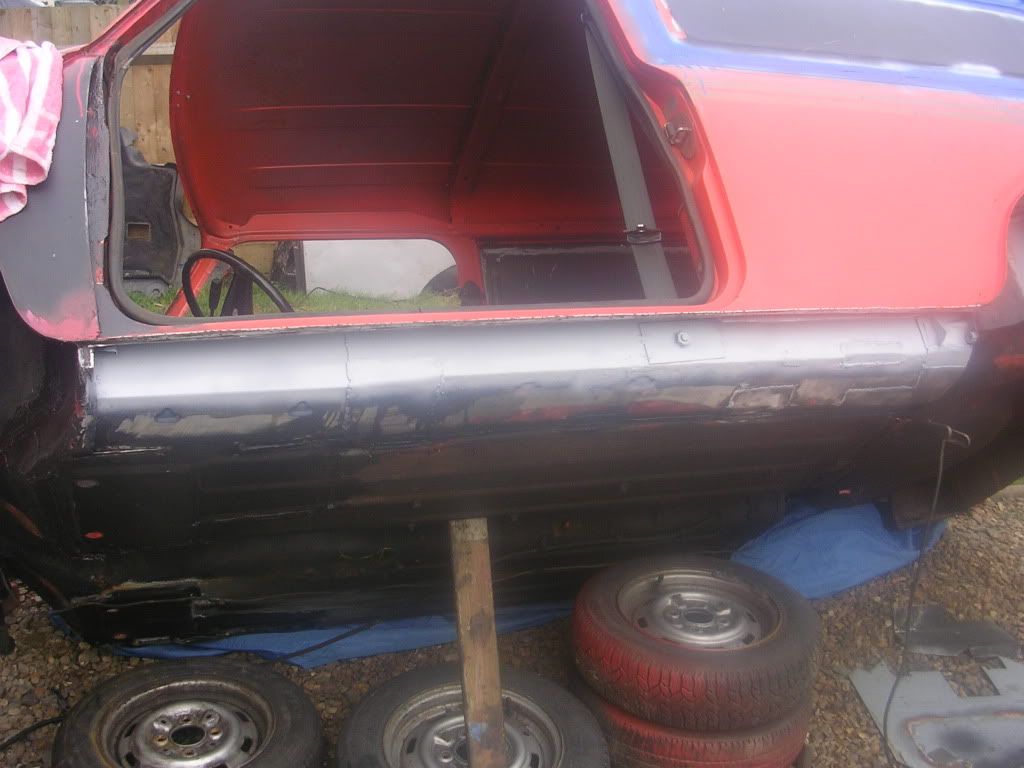
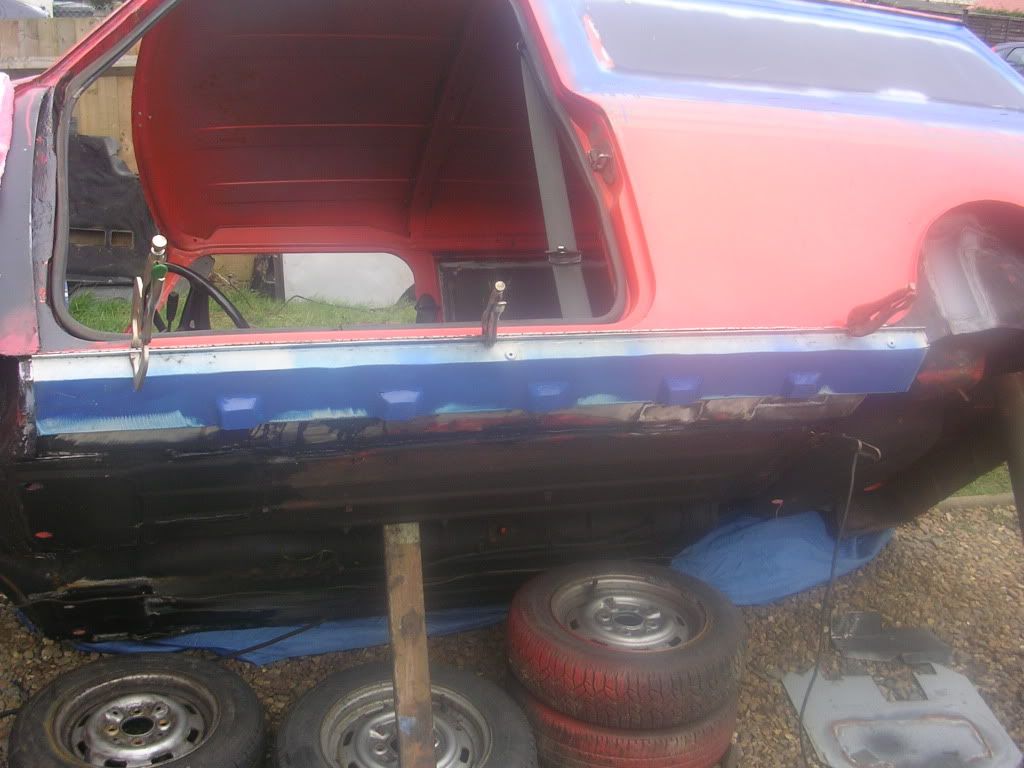
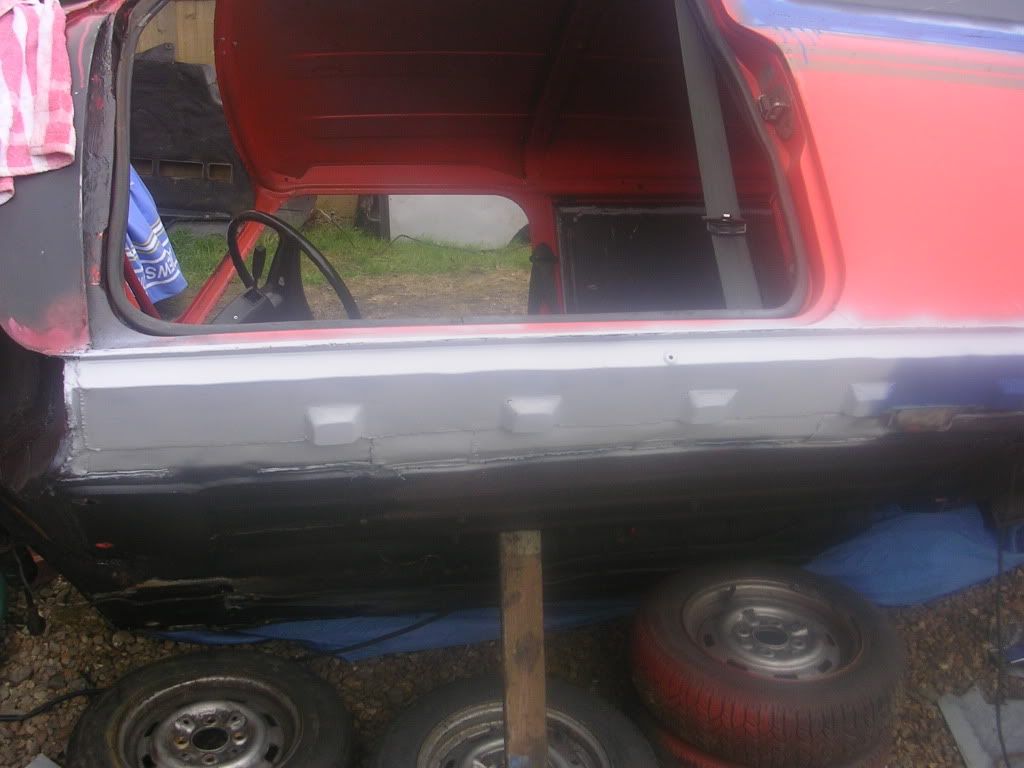
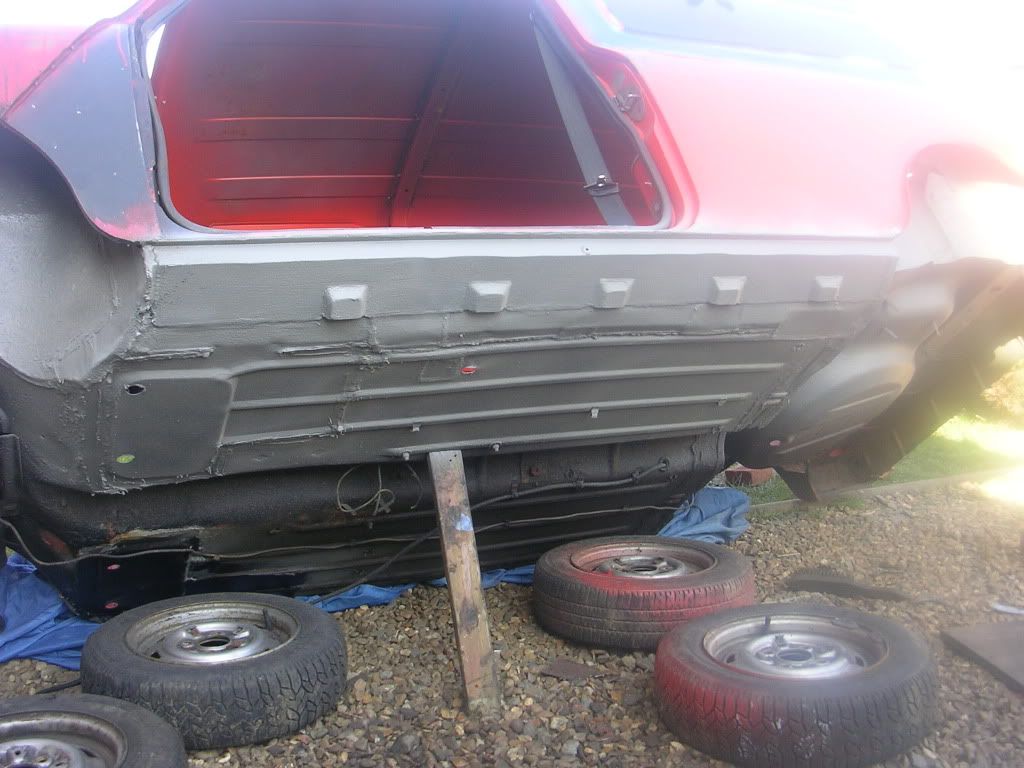
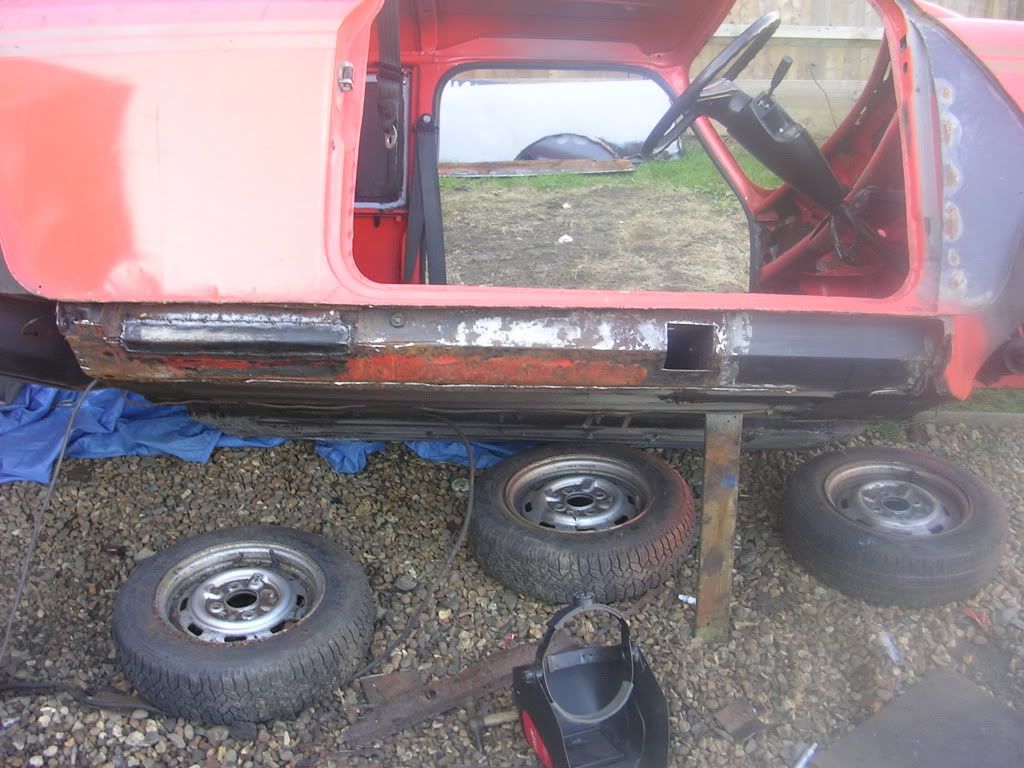
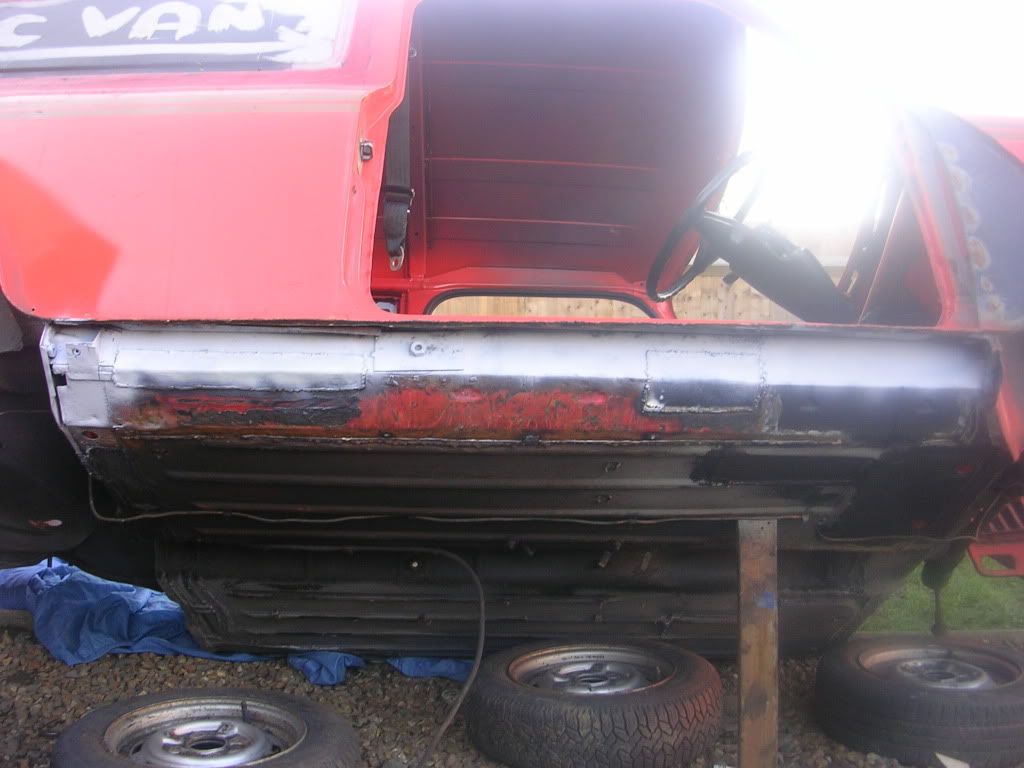
passenger side inner sill completed, homemade sill test fitted and the fit is good |
||||||
|
96 Posts Member #: 9313 Advanced Member |
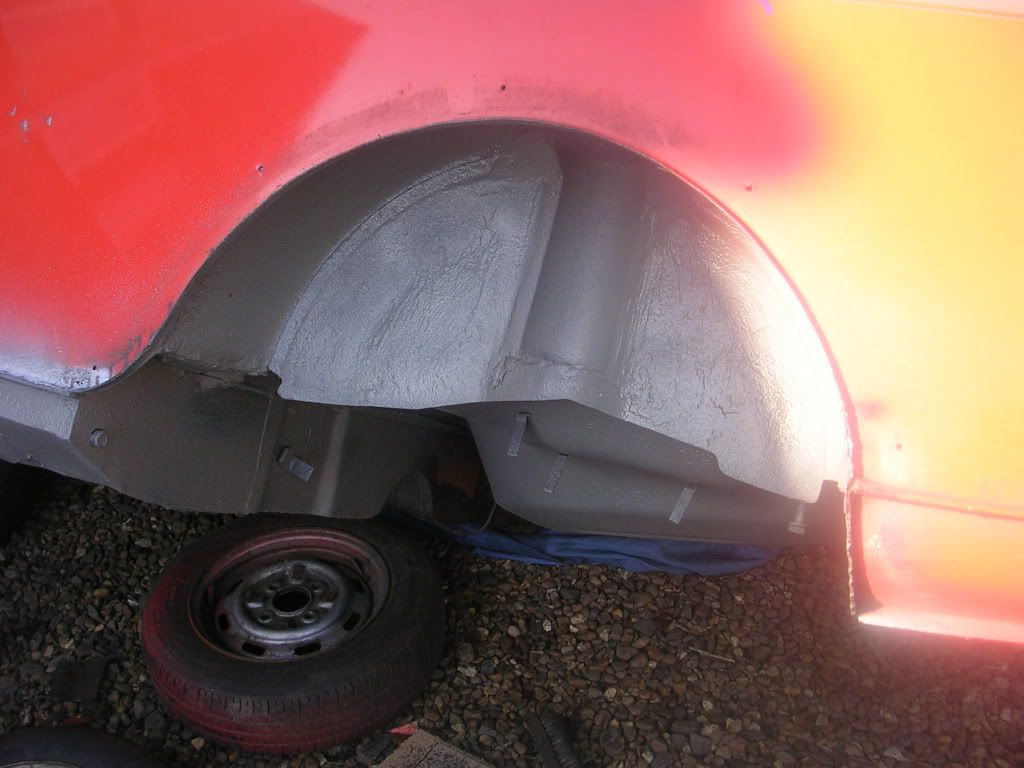
6th Mar, 2011 at 10:40:43am
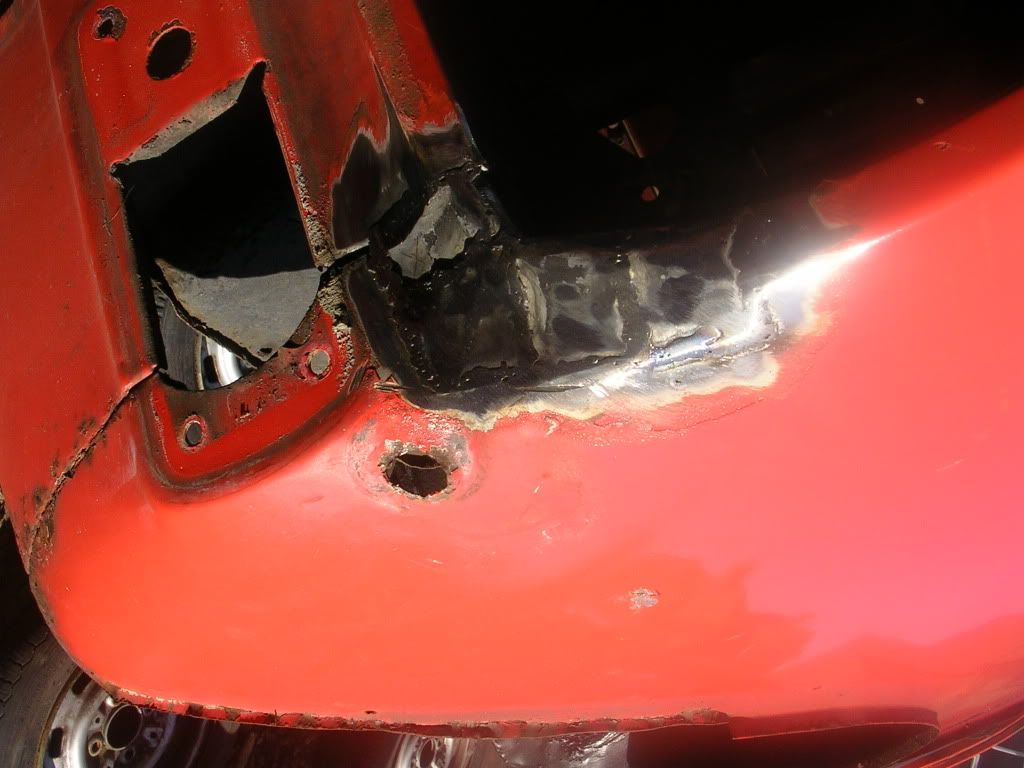
passenger side pretty much complete, except stonchipping and repairing the front wing as it has 2 little holes in it, here are pics if anyones actually bothering to read this lol
|
||||||
 1648 Posts Member #: 9038 Post Whore Carlisle, Cumbria |
6th Mar, 2011 at 11:19:29am
its coming along well, and when i took my oversills off it was much worse. What was the outer and inner sill just fell out in a big flakey mess. Good work on fabricating your own sills though. |
||||||
|
96 Posts Member #: 9313 Advanced Member |
6th Mar, 2011 at 09:46:24pm
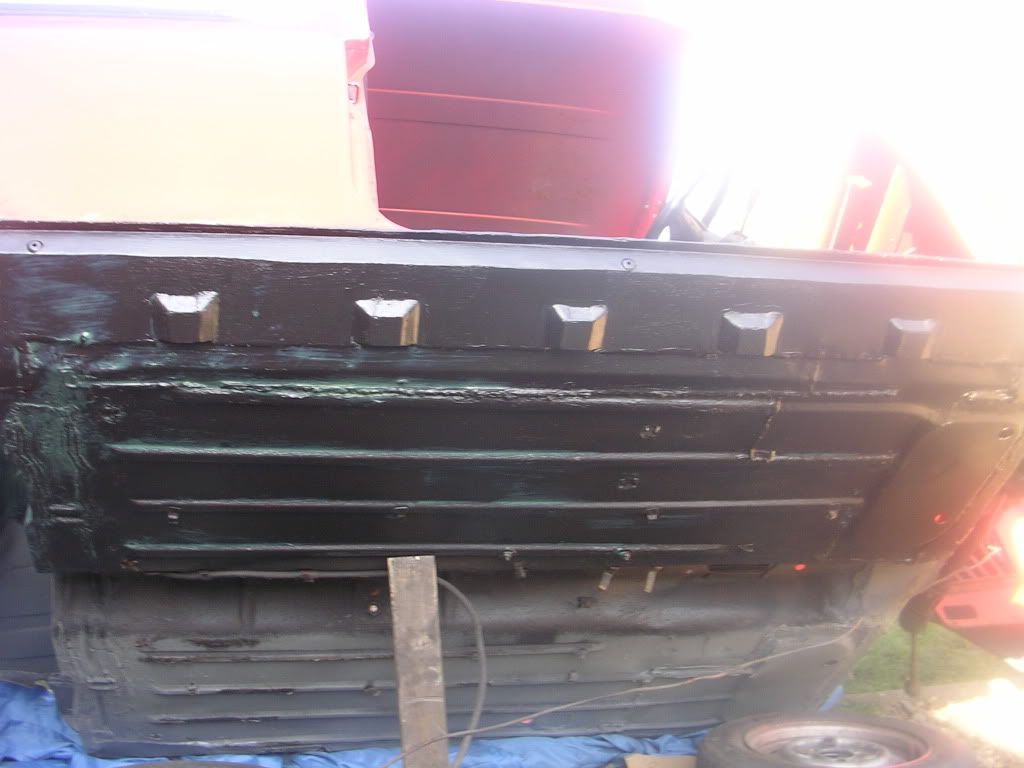
i was horrified when i took the oversill off, i feared the worse, but i was pretty lucky, as the inner sills from the inside of the car looked sound, the bits i cut out were pitted and thin, the worse area was under the cross memeber, but thats to be expected really, as they hardly ever see much paint other than primer inside there! but once its all painted up and lookin sweet, im gonna pressure blast engine oil in all the cavities and sills with my compressor, nothing beats oil on rust prevention! i know waxoyl is good, but oil is cheap especially when its used lol and good at keeping water away! |
||||||
|
96 Posts Member #: 9313 Advanced Member |
8th Mar, 2011 at 08:23:14am
got more done today, i love having time off work to do my cars |
||||||
|
998 Posts Member #: 2178 Post Whore Leyland, Lancs |
8th Mar, 2011 at 12:57:41pm
Coming along well mate. On 15th Jul, 2009 fastcarl said:
a breif struggle ensued but Will emerged the victor with a pair of undies in his possesion On 21st Sep, 2009 apbellamy said:
No, but you did chuck your guts up over my front gate the Saturday before! You even managed to get a bit in your arm pit... |
||||||
|
96 Posts Member #: 9313 Advanced Member |
8th Mar, 2011 at 02:11:08pm
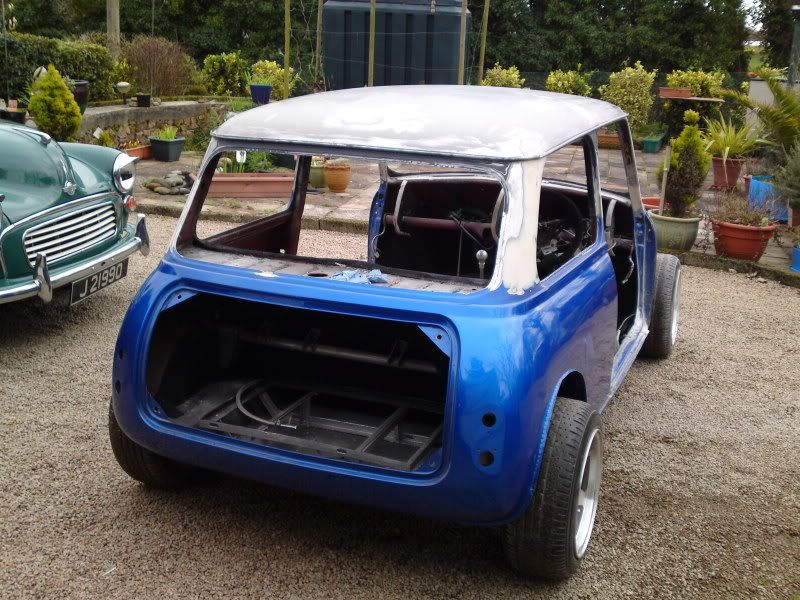
cheers mate! another update!
|
||||||
 2742 Posts Member #: 637 Post Whore Hertfordshire |
8th Mar, 2011 at 06:19:57pm
looking good mate
My build thread..
|
||||||
|
4304 Posts Member #: 1321 Post Whore Wiltshire |
8th Mar, 2011 at 07:08:47pm
Bloody hell, your not hanging about. Good progress. On 7th Oct, 2010 5haneJ said:
yeah I gave it all a good prodding |
||||||
|
96 Posts Member #: 9313 Advanced Member |
8th Mar, 2011 at 07:09:42pm
its a huddersfield beam axle, but ive modified it slightly so the exhaust doesnt catch it |
||||||
|
230 Posts Member #: 1131 Senior Member |
9th Mar, 2011 at 04:48:42pm
nice lewis mate |
||||||
|
Site Admin  15300 Posts Member #: 337 Fearless Tom Fenton, Avon Park 2007 & 2008 class D winner & TM legend. |
9th Mar, 2011 at 06:07:30pm
Looks like you are getting on well buddy, although I must ask, would it not have been easier to just buy a replacement sill?
On 29th Nov, 2016 madmk1 said:
On 28th Nov, 2016 Rob Gavin said:
I refuse to pay for anything else Like fuel 😂😂 |
||||||
|
96 Posts Member #: 9313 Advanced Member |
9th Mar, 2011 at 07:09:53pm
i have made sills for both sides, i would of just bought them off the shelf, but the quality was very poor, with poor definition, poor metal thickness, and just plain crap lol the ones i have made are 1.5mm thick, so will last a hell of a lot longer than the less then 1mm thick off the shelf sills |
||||||
| Home > Show Us Yours! > 1360 turbo clubby van | |||||||
|
|||||||
| Page: |

