Donations towards server fund so far this month.

 
£0.00 / £100.00 per month
Page:
Home > Show Us Yours! > Lightweight, uncomfortable, minimalist, fun.

richminiturbo.

User Avatar

2370 Posts
Member #: 719
Post Whore

Horndean - Near Portsmouth

Hows the to-do list coming along James? Hopefully getting smaller!!


James_H

User Avatar

3692 Posts
Member #: 1833
Formally mini_majic

Auckland, New Zealand

well got the hose made up (took two hours when it should have taken 30 mins because of traffic!!)

but still got back and started to crack on with the mini at about 12.


dear oh dear!!!! i got one side tubbed and it took me near enough 4 hours!!! what is wrong with me!! im off out there in a minute to crack on.

so if i want to get my list done i need to:
1) tub the other side
2) miglia my bulkhead
3) turn the mini on its side
4) weld in a few patches that need doing
5) chop off any unwanted tabs/brackets
6) seam seal everything
7) stone chip the underside

somehow i dont think thats going to happen!

my computer has shit itself so im having to use my mums laptop but hopefully i will get some pictures up later to show of my lack of progress.

im just relying on the tubbing the other side not taking so long because i know how to make it abit easier now that i have done the other side. (doubtfull!!)


James_H

User Avatar

3692 Posts
Member #: 1833
Formally mini_majic

Auckland, New Zealand

ahhhhh well well well!!! what a weekend!!!

late night after work friday night doing some bits to a trailer (making it so as that it can take mine and a mates pit bikes)

up sat morn, stuck in nightmare traffic for 2 hours to get the pipe made up! get back and only manage to tub one side and it was a bitch to do!!!!

finish working on the mini at around 5, have a nice dominoes pizza, back down to work at 7 for another, VERY, late night working on the trailer getting it finished. (i'll stick some pics up in a different thread)

very lazy start to sunday morning only manage to get out to the mini at 2 oclock after waking up at 12. oops. but did very very well today!!

managed to get the other side tubbed and then my mate rang and asked if i fancied going out on the pit bikes.......course i did!! *tongue*

so at 5 i was off out on the bikes for a few hours fun before it started to get dark. wellllll you might as well have some fun ey!!

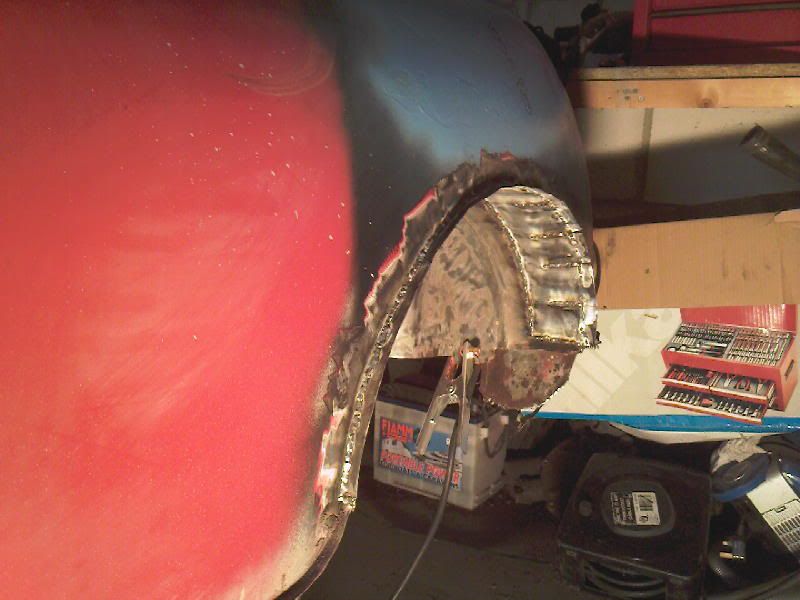
oh and learning for the first one the second arch was ALOT easier! i cut the outside of the first one too low and it made it a PITA to form the metal around!


anyway, pics!

thank jimster! this little puppy was a god send!!


used a "fein" saw to cut the body out its great! just just vibrates to cut through the metal and it doesnt jump like a grinder, even if it did jump it can cut your skin because your skin would just move with the blade as it vibrates *happy* not fooking cheap though at over £400 and £30 a blade! luckily i just robbed it from work for the weekend, its the same as what the hospicals use to cut plasetrs off!


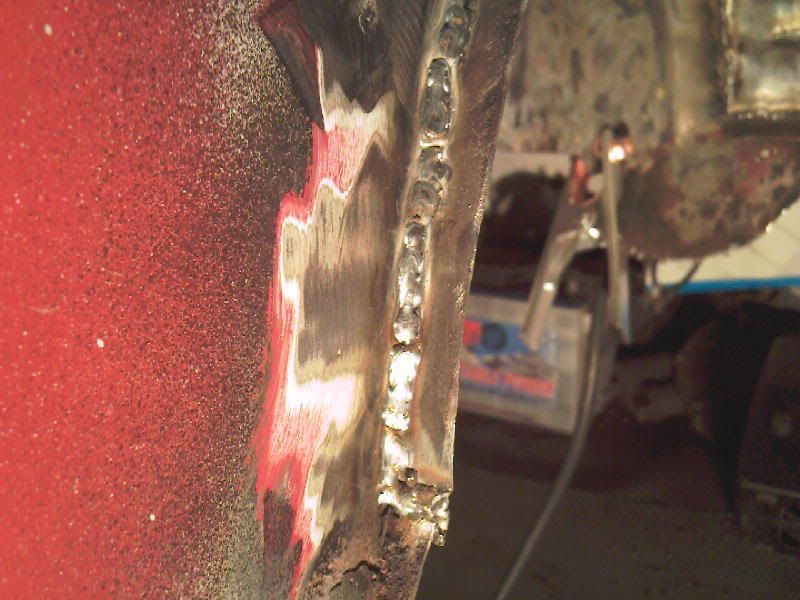
the whole 1 inch weld technique didnt exactly make the welding look very good.


Edited by James_H on 19th Oct, 2008.


Ben.

628 Posts
Member #: 1064
Formally Whyte_ben

Horndean, Hampshire

Looking good mate.

Welding look strong which is what matters, and its going to be covered up with the arch's anyway!

I got mine too hot when welding and now im having to filler all the side panel where its warped...


Build Thread Click Here


richminiturbo.

User Avatar

2370 Posts
Member #: 719
Post Whore

Horndean - Near Portsmouth


On 20th Oct, 2008 Ben. said:
Looking good mate.

Welding look strong which is what matters, and its going to be covered up with the arch's anyway!

I got mine too hot when welding and now im having to filler all the side panel where its warped...


It's ok, you can become an expert at it when you do mine for me, bitch

Looking good James!

Edited by richminiturbo. on 20th Oct, 2008.


James_H

User Avatar

3692 Posts
Member #: 1833
Formally mini_majic

Auckland, New Zealand

yeah, that was the good side! did the other side the same but it was already pretty warped for some reason, and the only thing i did different was on the good side i had a wet tea towel and kept the body above the weld nice and damp.

cheers for the comments, James.


James_H

User Avatar

3692 Posts
Member #: 1833
Formally mini_majic

Auckland, New Zealand

righttttttt....to do tomorrow (after rebuild the head for the pitbike now that i have ported it and opened up the head and thne measuring the cc's. anyway i'll get some pics of that and start a new thread!) is chop my top bulkhead out and get a nice miglia styleeee box in there.

that will be all for this weekend most concentration has been on the silly bike this weekend because i want it back as soon as possible. and more importantly because i am super skint at the moment, as soon as i see money its gone to someone/something that isnt very exiting! so im stretching the work out to keep me busy. next weekendcan be getting it on its side and welding up the holes/cutting brackets off and sealing/stone chipping.

well that little write up took about 3mins of my boring night out of the way....what to do next?!?!


James_H

User Avatar

3692 Posts
Member #: 1833
Formally mini_majic

Auckland, New Zealand

riiiiiiiiiightoooo seeing as i found out that im skint as a mint sat on a peice of flint i think i might get some pics up of todays small progress.

plan was to chop out the top bulkhead ready to sheet it up and maybe weld it tomorrow.

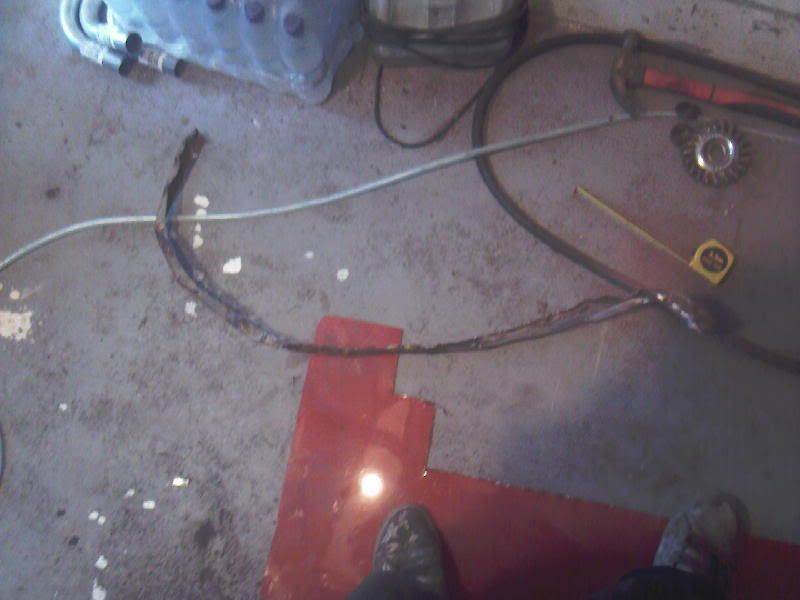
so chopped it and then decided i would chop out the bottom dash rail while im there....then decided that i had might aswell do the top rail too because it needs replacing.....then the little peice of the bulkhead that is left up the top was rusty in a few little places which made it very weak soooooo that came out too....uhmm weight saving ey!!


unfortunately i will now not be able to get the miglia style bulkhead in tomorrow now because i wont be able to get the shape right.

i'll need to start by getting the new top dash rail in place and then i can shape the top of the bulkhead correctly and box it up finally followed by the new scuttle.

so tommorrow if i can find some material i will weld in a brace between the two a pillars and chuck it over on its side to chop brackets and stone chip it.

before formula 1 of course!!!

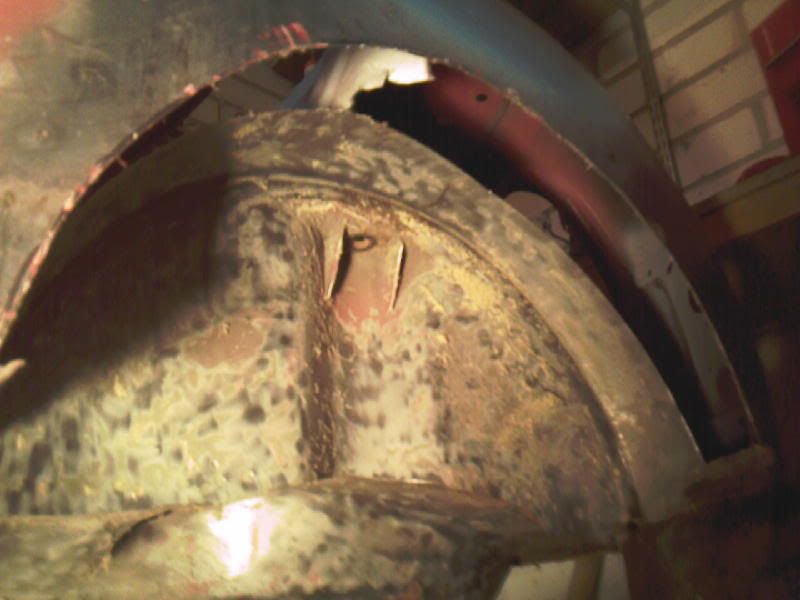
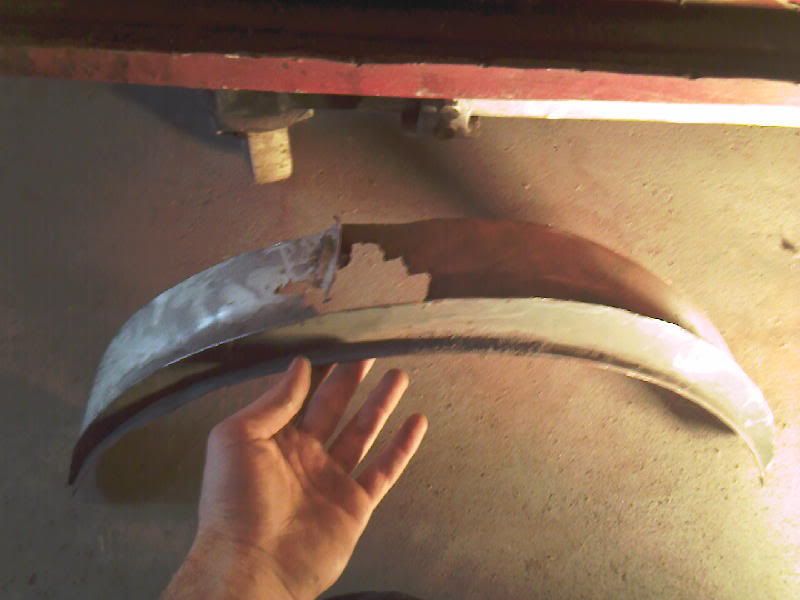
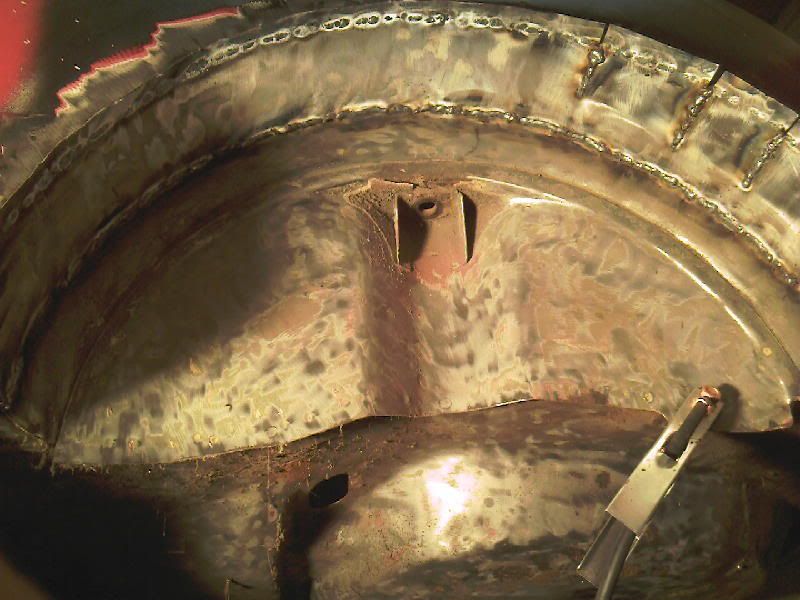
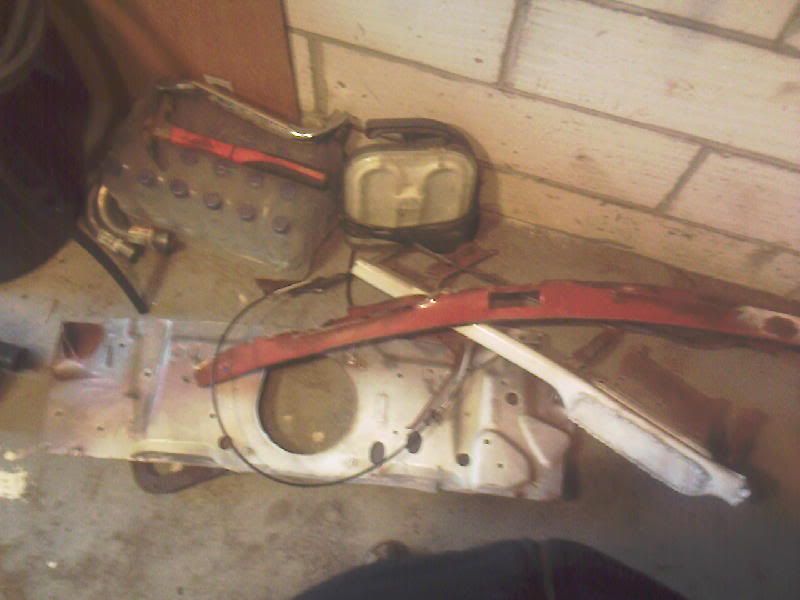
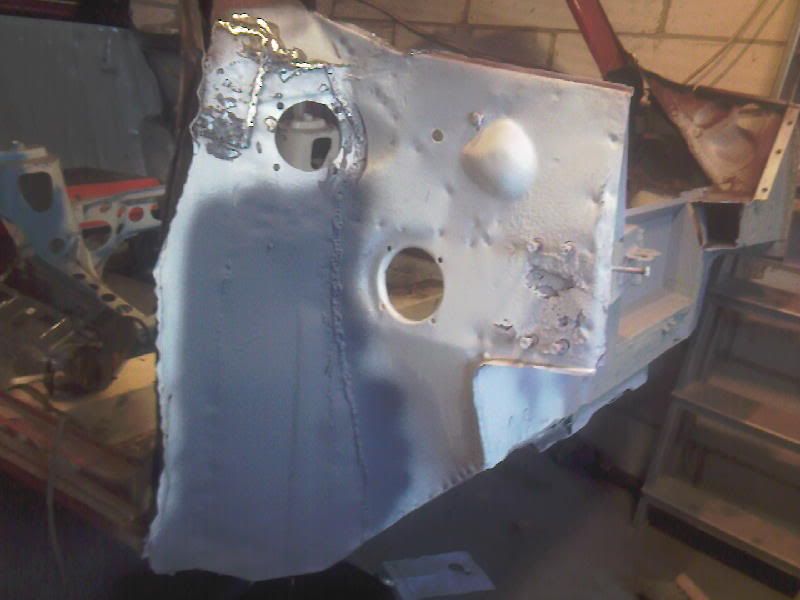
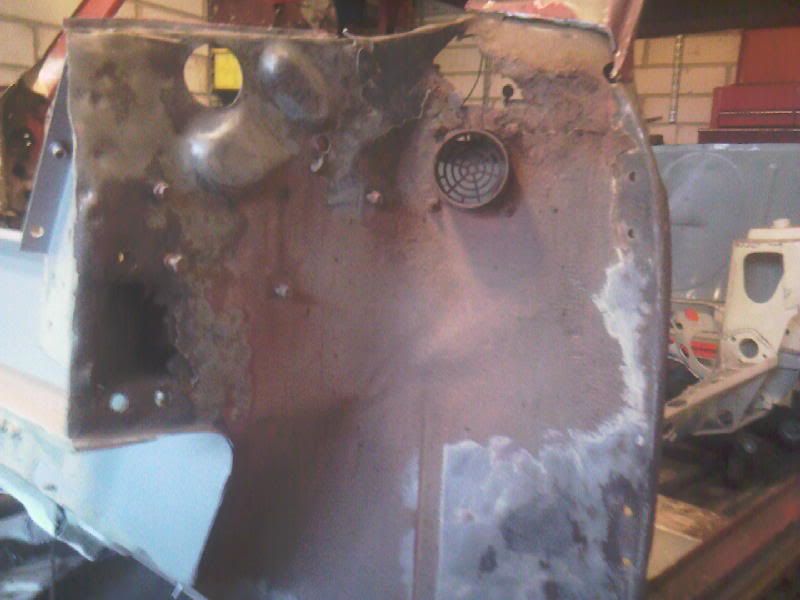
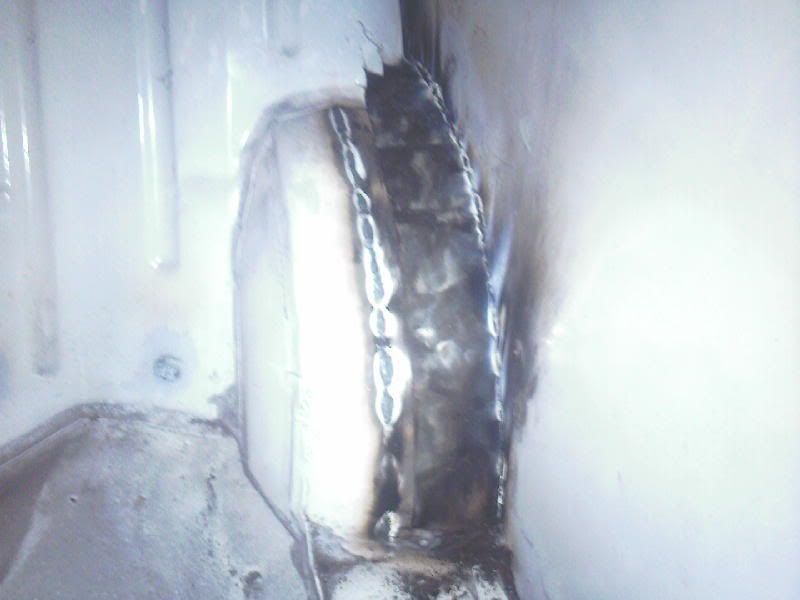
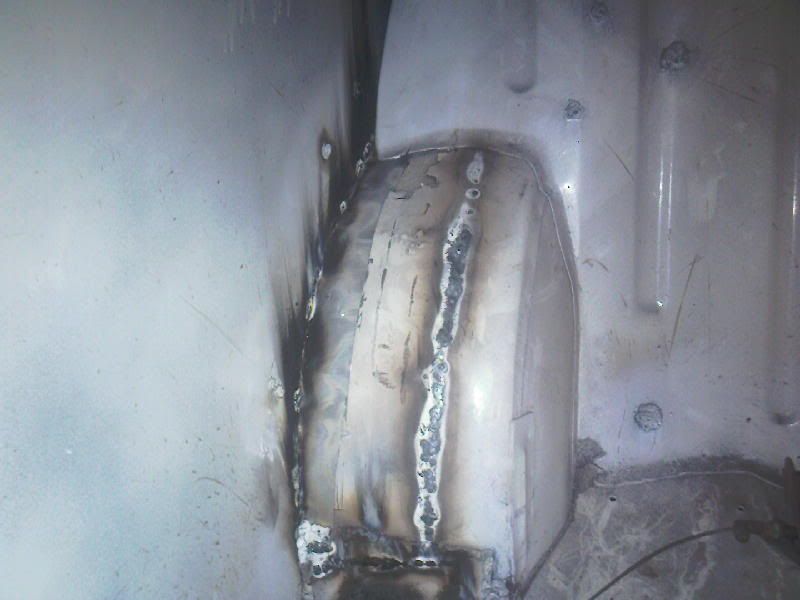
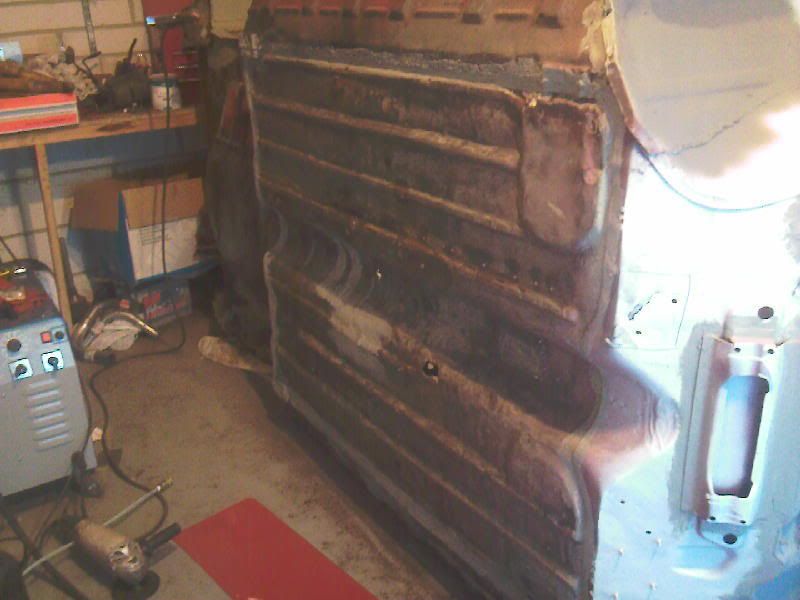
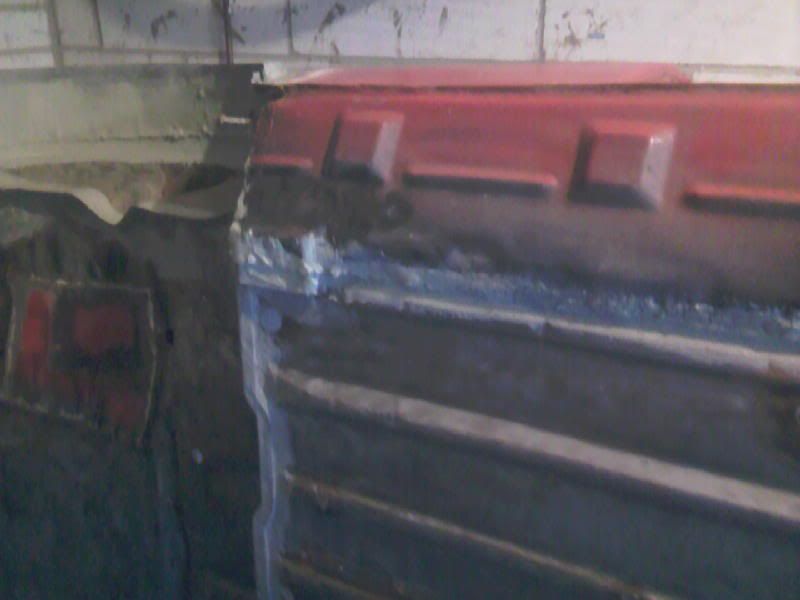
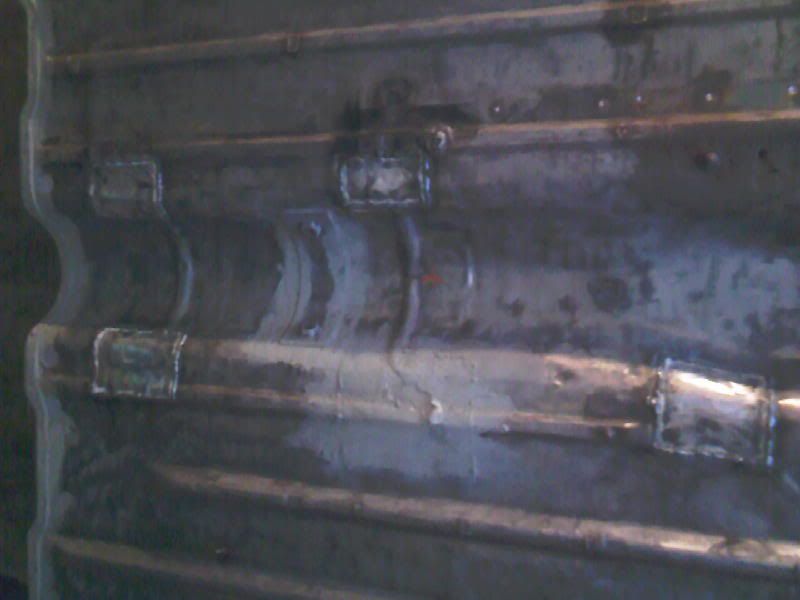
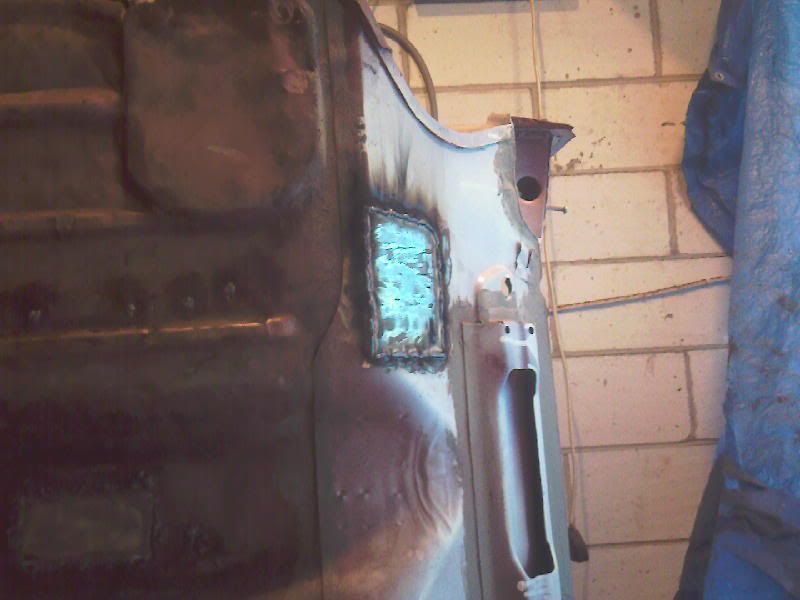
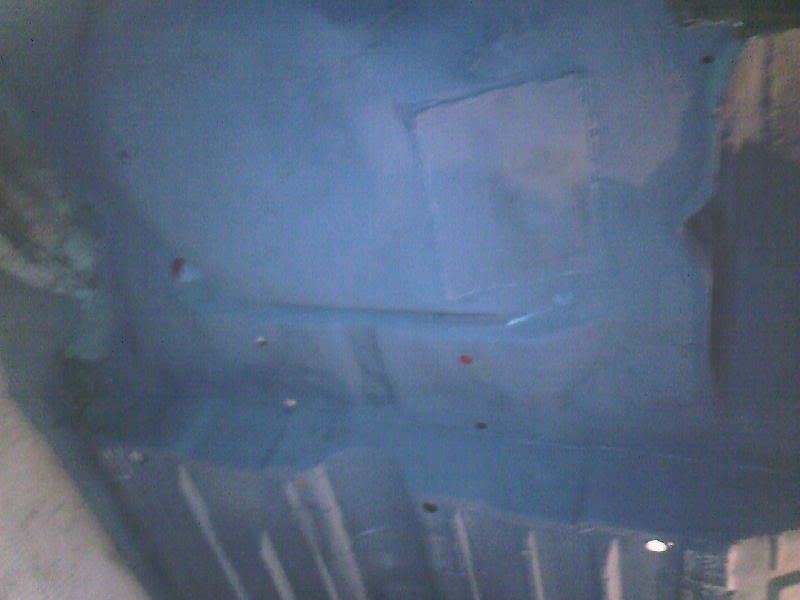
a few pics of the inner wings that will be gettin replaced and a couple of the tubbing from the inside.


getting there! every little helps afterall!!


Ben.

628 Posts
Member #: 1064
Formally Whyte_ben

Horndean, Hampshire

Looking good mate, keep it up!


Build Thread Click Here


James_H

User Avatar

3692 Posts
Member #: 1833
Formally mini_majic

Auckland, New Zealand

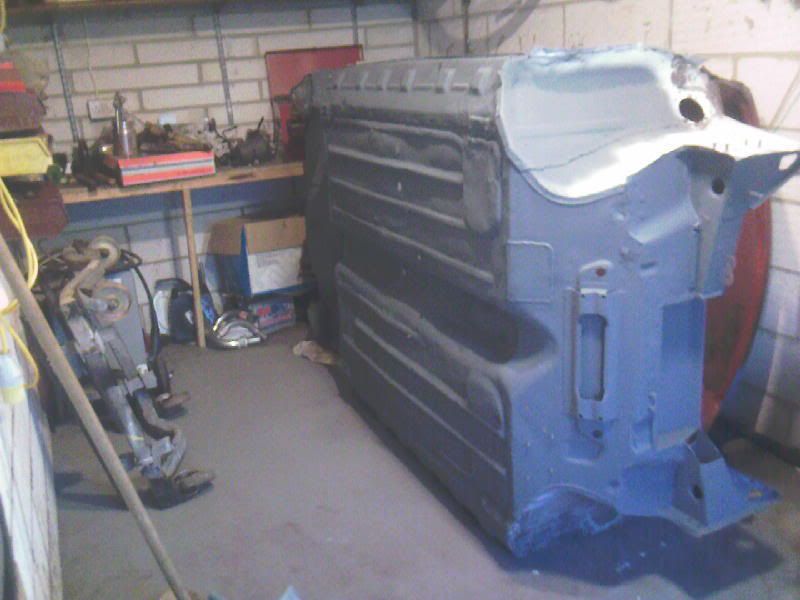
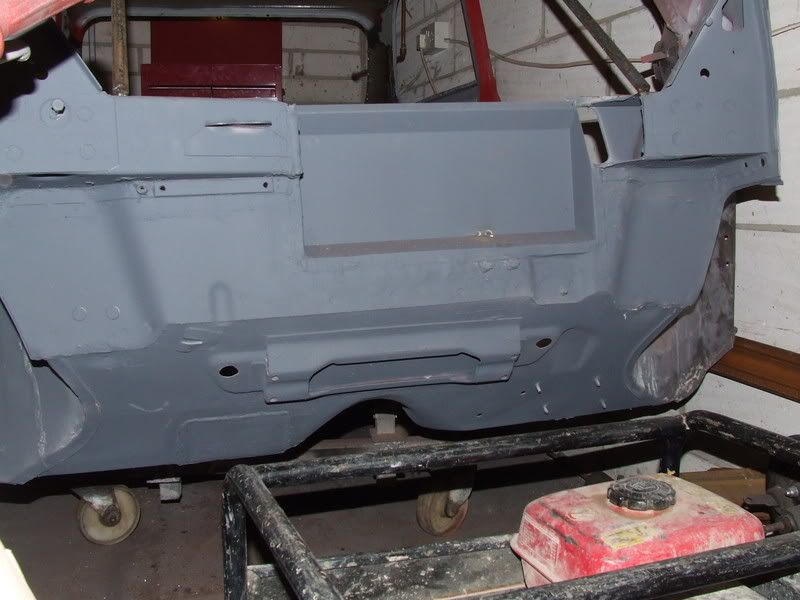
well a good day today *happy* what a difference a bit of colour makes! even if it is only stone chip!!!!!!!!!!wooohooooo

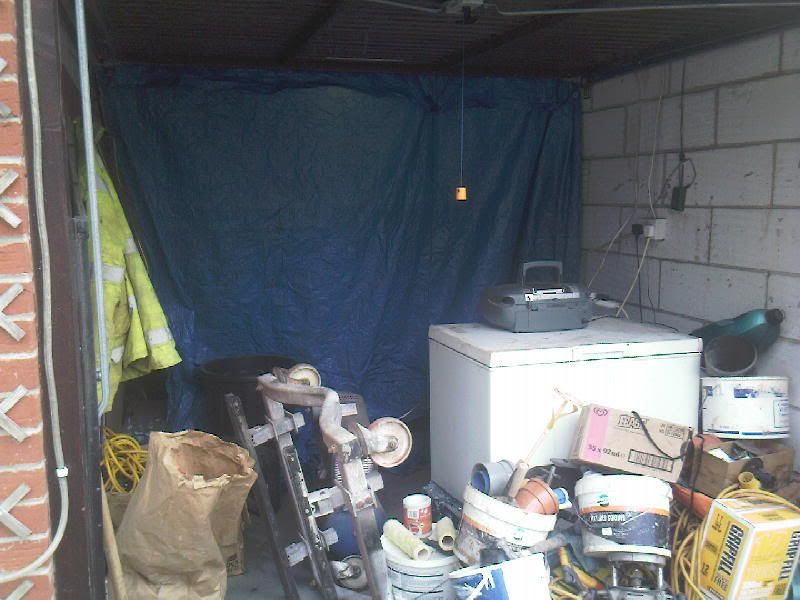
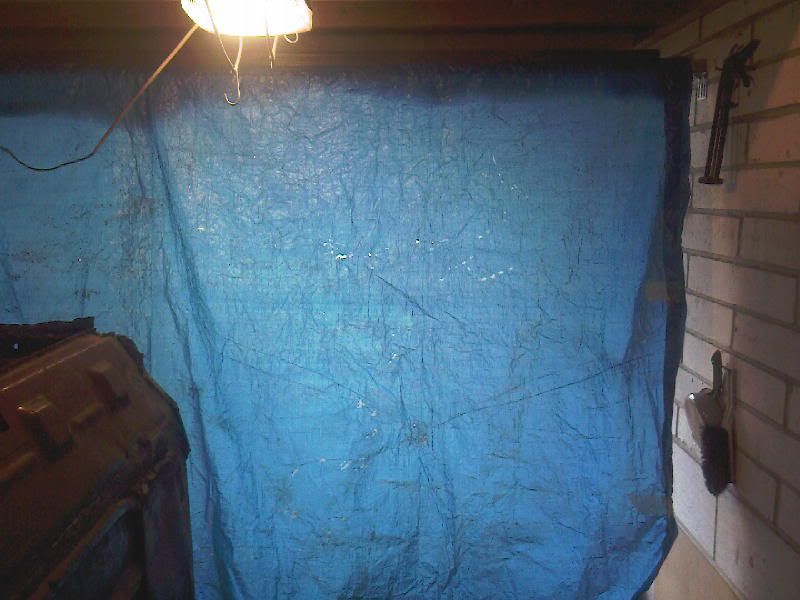
"spray booth" haha bodge!


chucked it on its side..really really light at the moment *happy*


probably light because i took this massive weight off!


oooooofffffffff!!!! i know what your thinking "how did he move that crazy heavy thing around his garage!" to be honest im a beast soooo.....

anyway seam-sealer adn a few patches later:


ran out of gas on the last one!

then it was time to piss the neighbours off because my little compressor cant really deal with the stone chip gun so it was pretty much going constantly other than when i had a break to let it recharge and stop myself from getting too high!


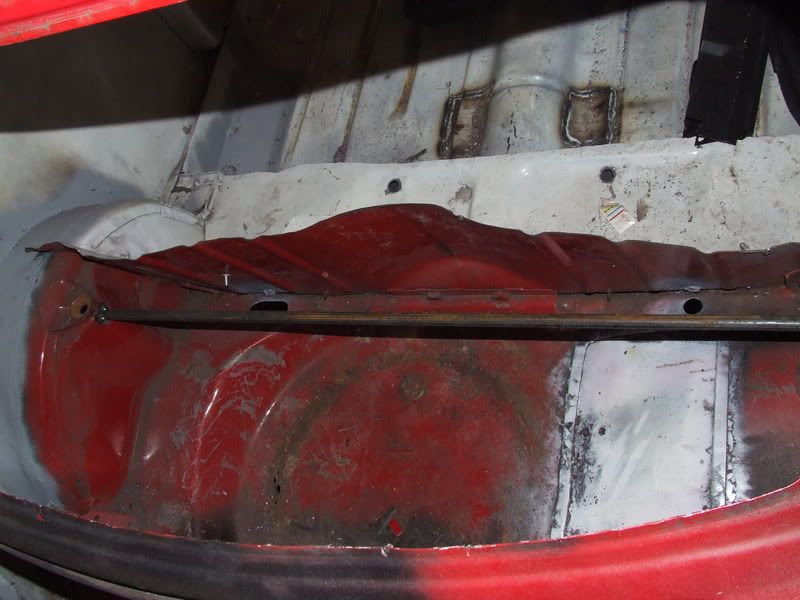
a fiberglass bootfloor will be going in so i just sparayed it to give it abit of extra protection really. i will sort the bits of rust out when i know how much will be left after the chop!

all in all its given me quite a boost really. now its time to order some panels when i have got some fundage back in the bank and that will be the main body work sorted (discounting fiberglass stuff, so the rusty bits if you know what i mean?)


Cheers for looking, a happy James *happy*


James_H

User Avatar

3692 Posts
Member #: 1833
Formally mini_majic

Auckland, New Zealand

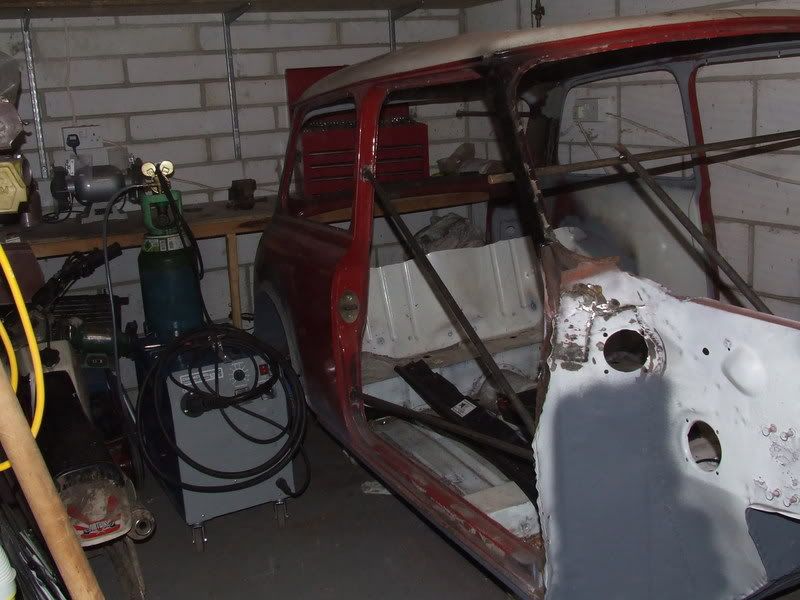
been out there today chopping bits out of the shell.

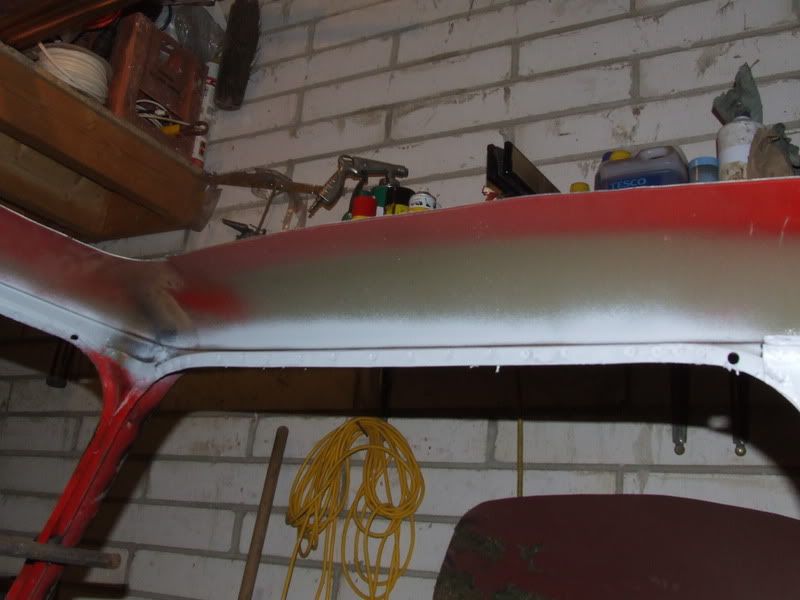
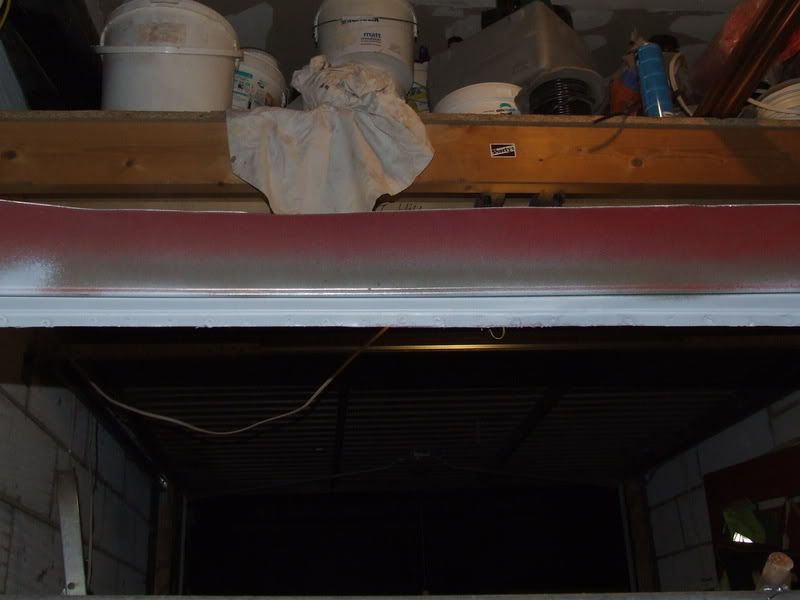
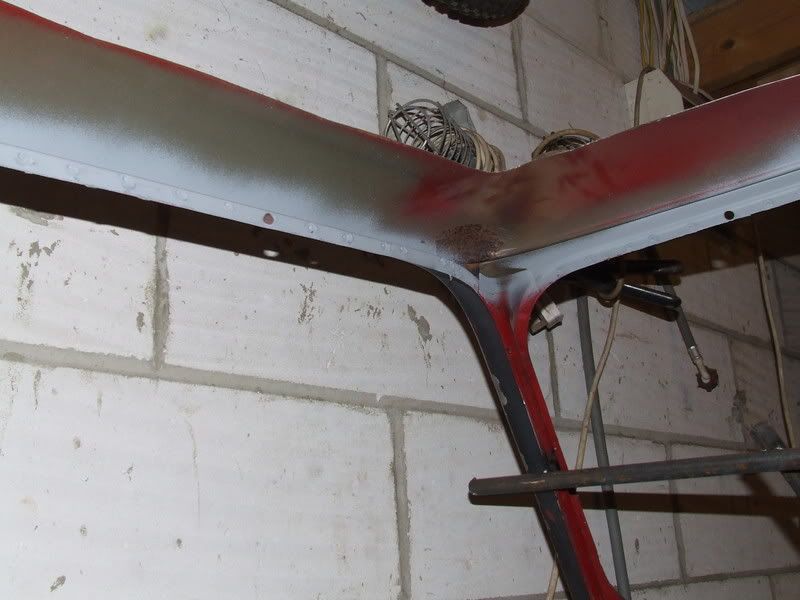
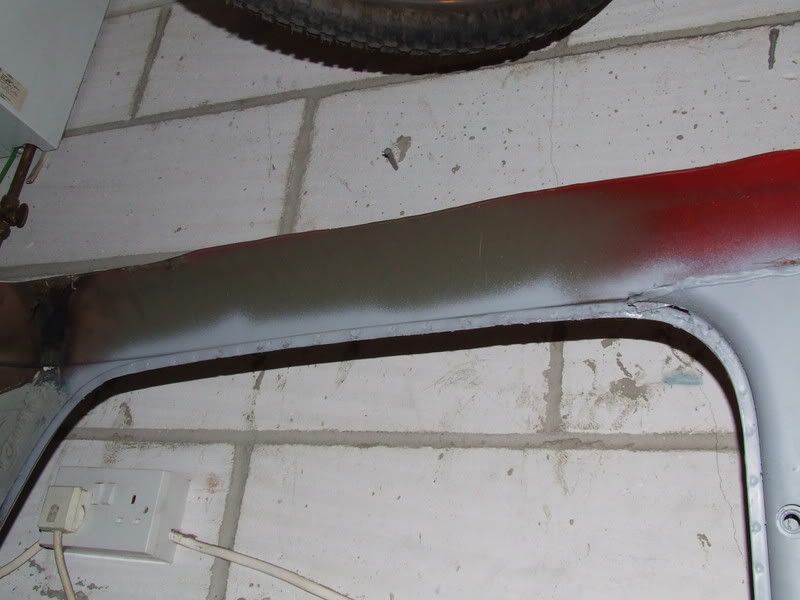
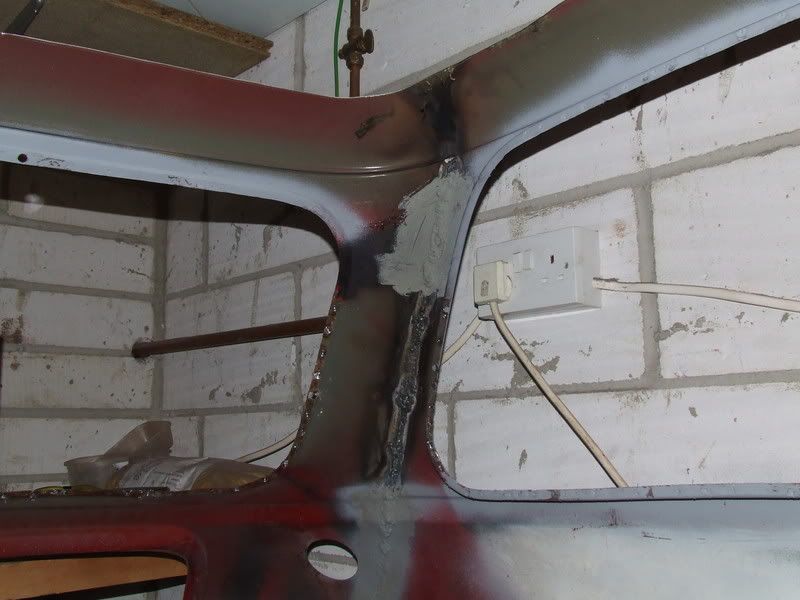
got a few more bits to get off but just been doing the usual, chopping off brackets, headlining rails etc etc etc, roof also came off to make drilling the spot welds easier and because im getting a FG or carbon roof.

so now its just getting rid of the last few bits and bobs that can go, then its bracing everything up before removing the inner wings to be replaced. Then i can finally rebuild the top half of my bulkhead before im ready for my cage!

should keep me busy!


turboestate

User Avatar

368 Posts
Member #: 362
Senior Member

durham area

its amassing how much you end up cutting out seems never ending looking good though all worth it in the end.

love that straight cut scream!!!
______
/___|_____
_ (@)___(@)


minimole23

4304 Posts
Member #: 1321
Post Whore

Wiltshire

Ooooo, are those oversills on the shell? If so I would have them straight off and weld some pucka ones on. Or if there just non genuing normal sills stick some ventilation in them.

No point having the shell this far apart and not sorting that, my shell would have been very good had the oversills not screwed it over.

Other then that it looks like it getting on well.

On 7th Oct, 2010 5haneJ said:
yeah I gave it all a good prodding


James_H

User Avatar

3692 Posts
Member #: 1833
Formally mini_majic

Auckland, New Zealand

dont worry, Andre has already pulled me up on that over on EFI. they are some of the panels that will be ordered when i have the funds...


minimole23

4304 Posts
Member #: 1321
Post Whore

Wiltshire

Thats good then. I wouldn't want to see you completely restore the shell, then have a load more work in a couple of years sorting more rust:)

On 7th Oct, 2010 5haneJ said:
yeah I gave it all a good prodding


hario

444 Posts
Member #: 2885
Senior Member

Dude, how come there is a Picture of a toolbox in your garage?
lol


James_H

User Avatar

3692 Posts
Member #: 1833
Formally mini_majic

Auckland, New Zealand

haha! being a mechanic i hate not having a tool where its supposed to be! if i have to root around for it thats wasted time!

i need a bigger tool box and better tools though! they are ok for while im stripping it down but WILL NOT be anywhere good enough for when i start to rebuild.

might have my box from work back at home by that time though if i go to uni so im reluctant to buy anthing bigger for home just yet.

and garage space is limited, especially when the old man keeps dumping his shit in there when i cleared it out as can be seen in this thread.

it seems every thime i go to work on the car he has filled it up again and its really starting to piss me off!


James_H

User Avatar

3692 Posts
Member #: 1833
Formally mini_majic

Auckland, New Zealand

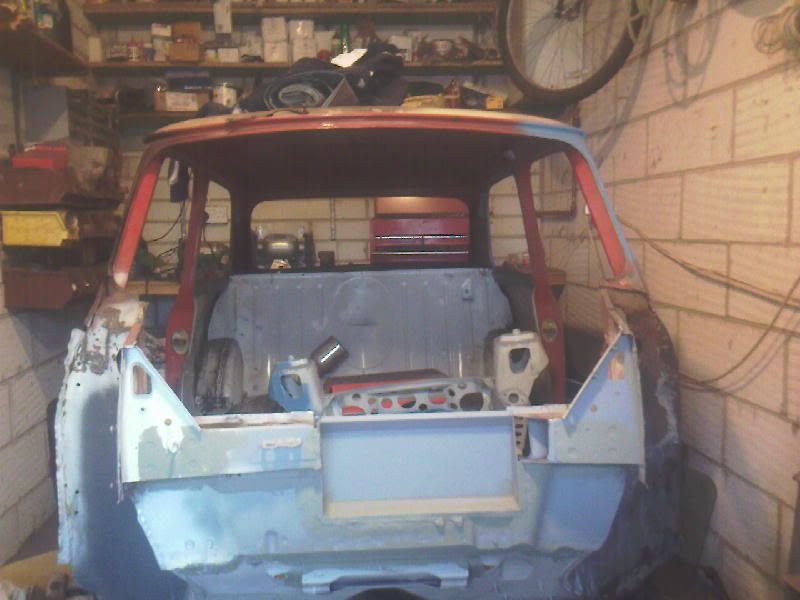
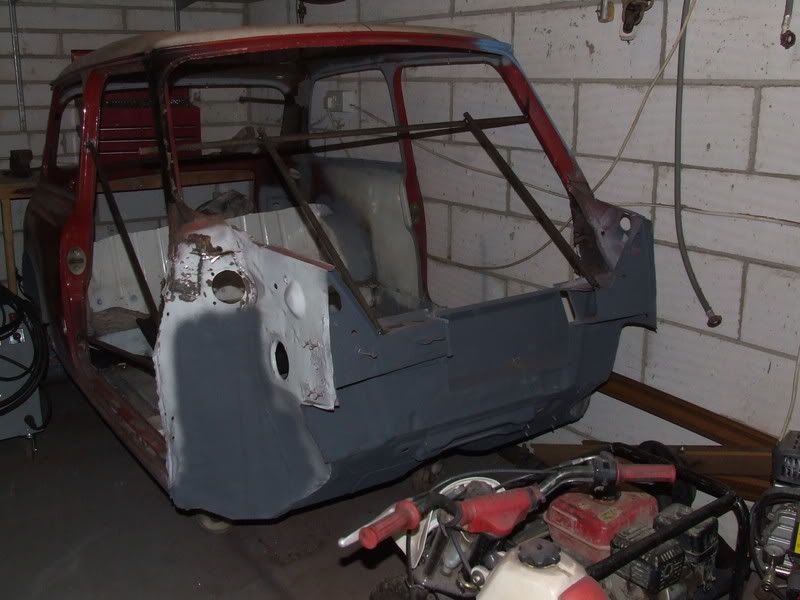
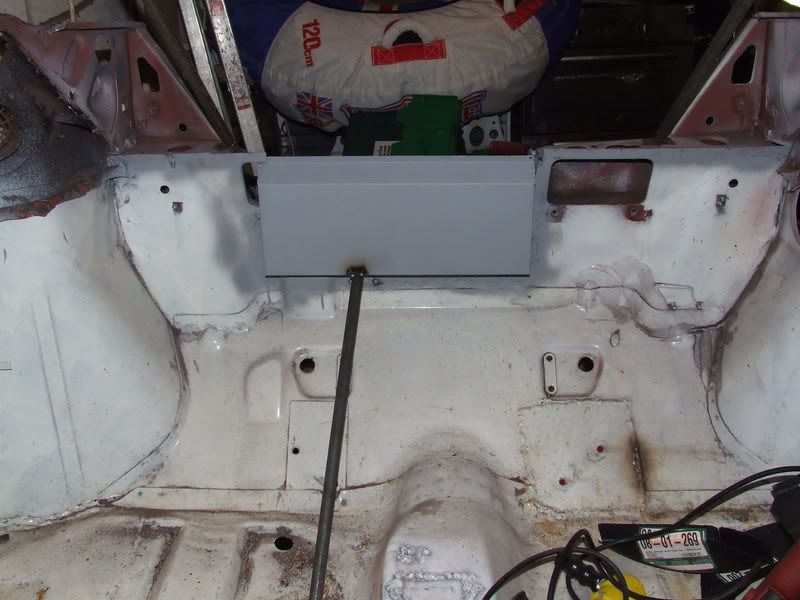
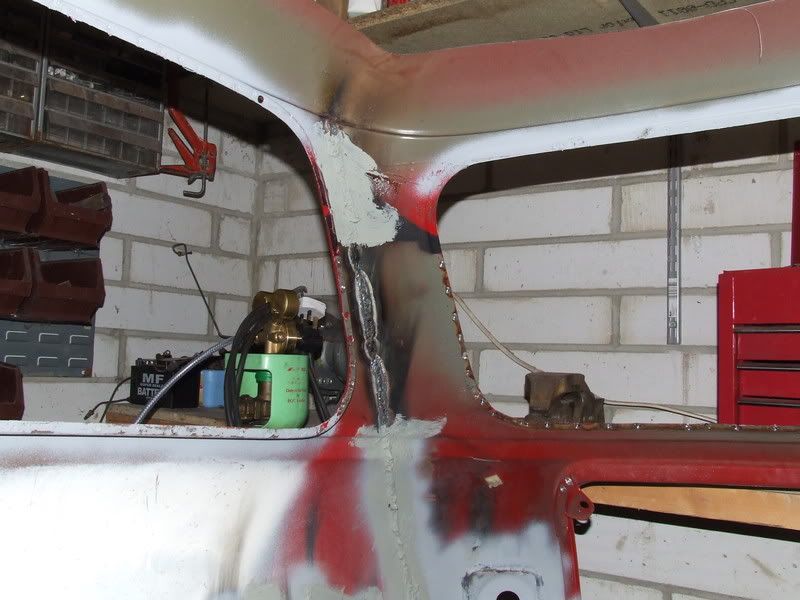
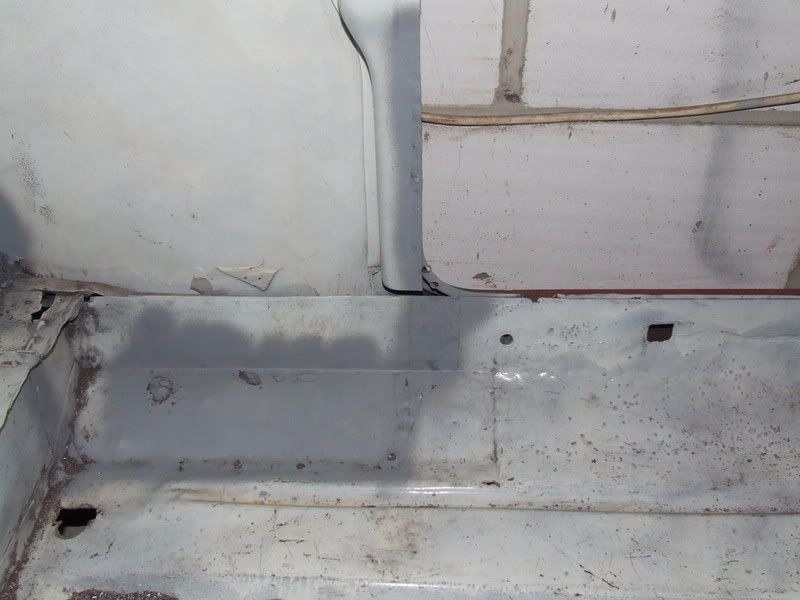
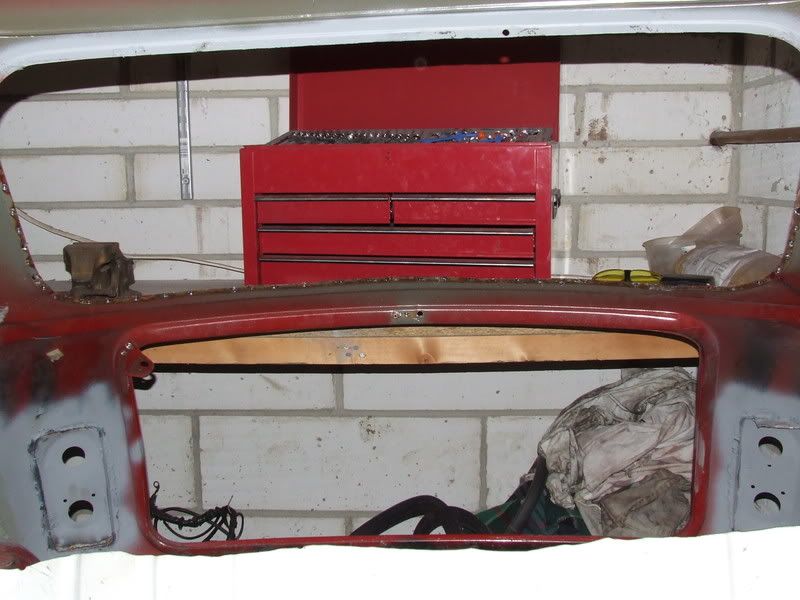
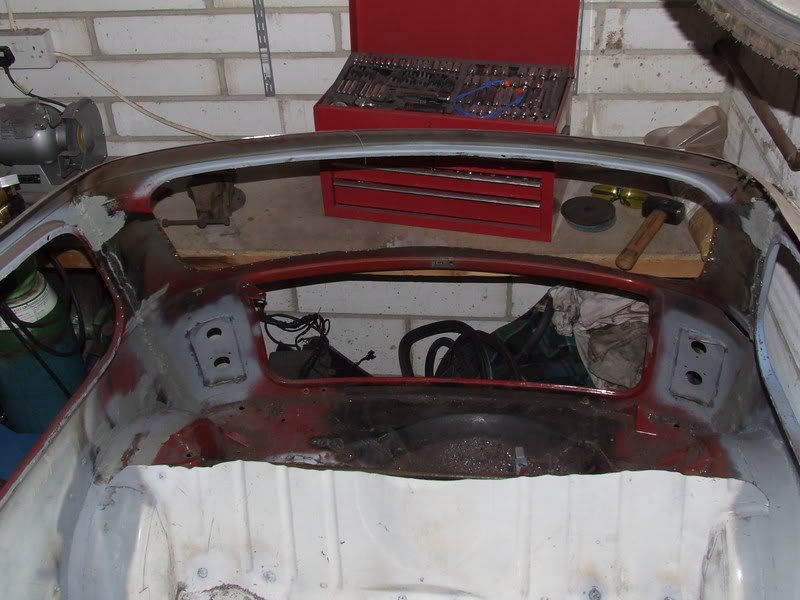
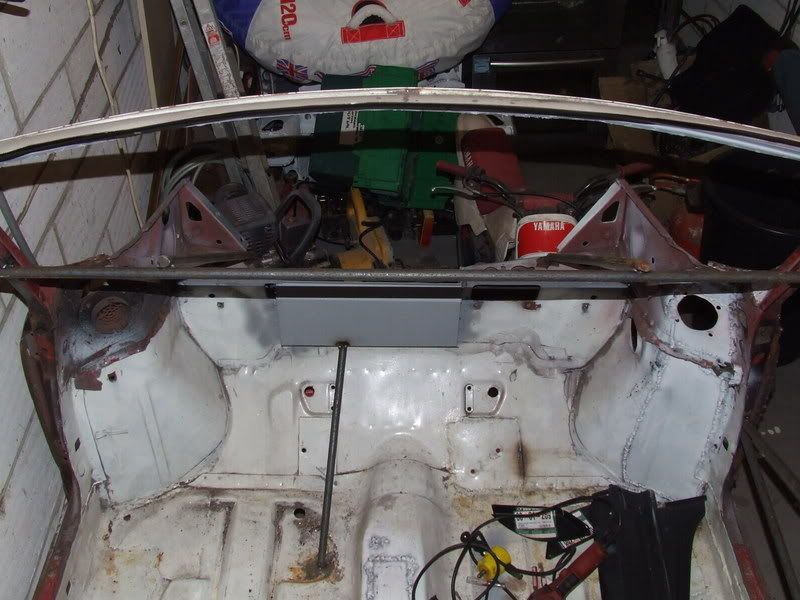
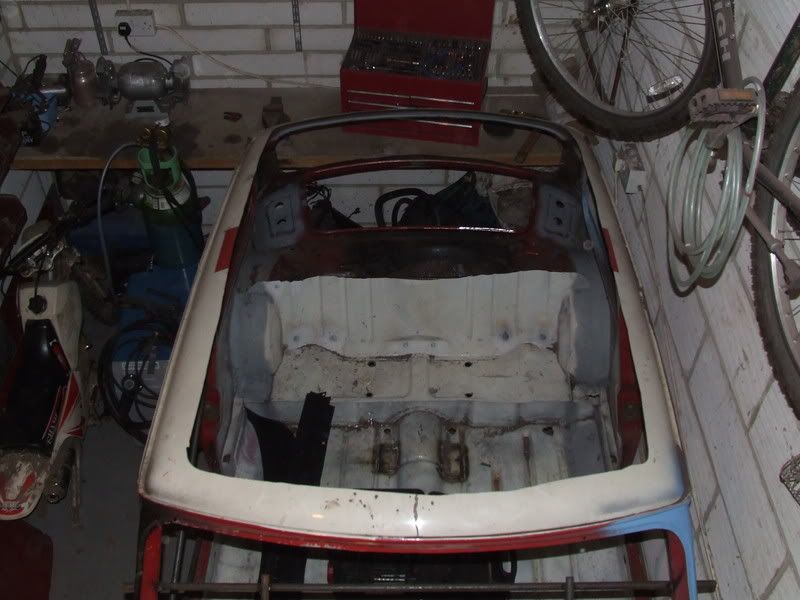
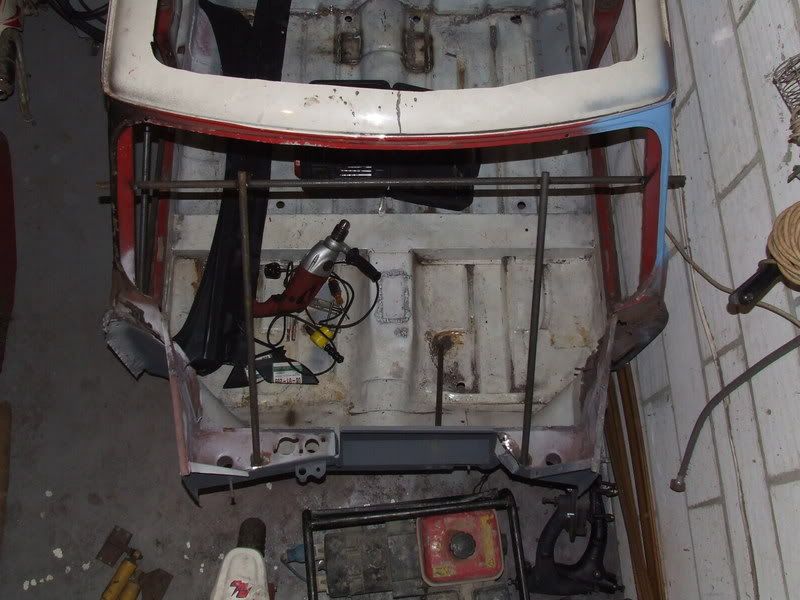
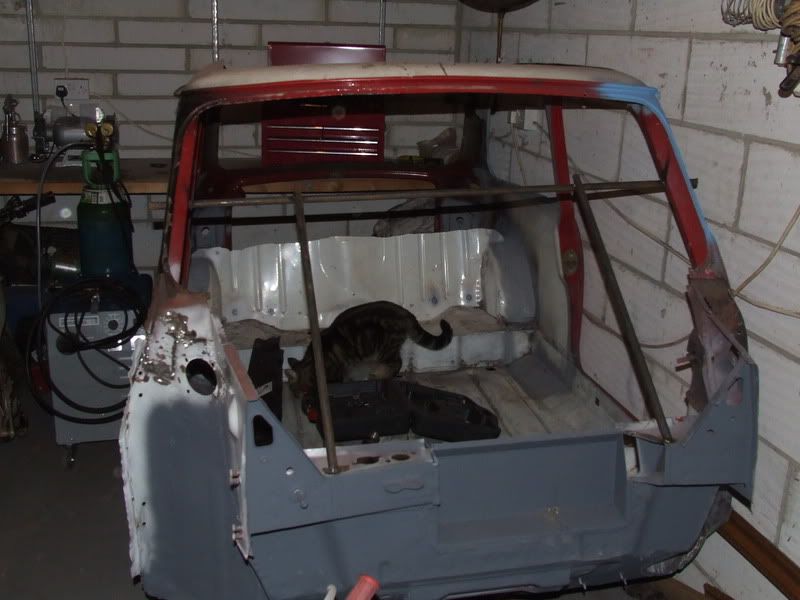
well, ive been on a diet!!!!

ive also braced it up so as that i can remove the panels that need to be replaced.


as you can see i got carried away with removing things and had a few to many beers while doing it. the bulkhead has gone. *surprised* i will be using adjustable brace/anti-roll bars to stiffen everything back up and the cage will be tied in everywhere i can.

EDIT: the de-seaming will be strenghtened now that i have a welder that i am happy with. It will have a strip of metal covering it and welded in place with nice looking welds so as that it covers up the ugly stuff to give more strength and a better appearance.

Edited by James_H on 28th Jan, 2009.


Oli

User Avatar

1733 Posts
Member #: 1910
Post Whore

Wilts

Looking good. Not much more you could lose of the shell is there?

On 15th Jul, 2009 fastcarl said:
the pissed up clown stood back up, did a twirl and left bollock naked,


James_H

User Avatar

3692 Posts
Member #: 1833
Formally mini_majic

Auckland, New Zealand

the front bulkhead triangles will go, the steering rack bracket will get attacked with a drill/hole saw. the tunnel will be modded at the front (exhaust clearance not weight saving) and then just little brackets and bits/bobs.

but nope, not really much more i can lose i dont think!!

Edited by James_H on 30th Jan, 2009.


Si P

784 Posts
Member #: 912
Post Whore

North Yorkshire

Looking good,

Its interesting seeing the work you've done. Makes you think about how much of a shell you actually need..?

Si

I drill holes in everything..!


James_H

User Avatar

3692 Posts
Member #: 1833
Formally mini_majic

Auckland, New Zealand

well, im going to find out if ive gone to far the first time it see's some sprited driving i suppose!

if its horrible it will be getting ARB's / body stiffening until its how i want.

someones got to try.

oh and i would never have taken that much out if i wasnt having a multipoint cage!


advantage998

458 Posts
Member #: 1840
Senior Member

Kings Lynn, Norfolk

Bloomin hell, its looking bare, must nearly be able to pick the whole shell up by your self.


apbellamy

User Avatar

16540 Posts
Member #: 4241
King Gaycharger, butt plug dealer, Sheldon Cooper and a BAC but generally a niceish fella if you dont mind a northerner

Rotherham, South Yorkshire

Can you loose any more roof?? You can't need that much metal to bond a fibre glass/carbon fiber one to??

On 11th Feb, 2015 robert said:
i tried putting soap on it , and heating it to brown , then slathered my new lube on it

*hehe!*


James_H

User Avatar

3692 Posts
Member #: 1833
Formally mini_majic

Auckland, New Zealand

i will definately be losign more roof. i just dont have a FG/Carbon one to hand to see how much i actually need.

once i have one to measure from the excess will be removed!
Home > Show Us Yours! > Lightweight, uncomfortable, minimalist, fun.
Users viewing this thread: none. (+ 4 Guests) <- Prev   Next ->
To post messages you must be logged in!
Username: Password:
Page: