Donations towards server fund so far this month.

 
£0.00 / £100.00 per month
Page:
Home > Show Us Yours! > TwinKam 16v Sprint Car update 19/11/15

MarkGTT

User Avatar

3249 Posts
Member #: 1194
Post Whore

Shropshire.

Glad to hear it!


lee.pb

User Avatar

1425 Posts
Member #: 9199
Post Whore

Lancashire

nice looking mini, glad you dumped the vtec......

What the mind can conceive the mini can achieve
MITP 2012 17.01 seconds 1/4 mile against "The Don"
MITP 2013 16.83 seconds 1/4 mile


harry_orridge

User Avatar

132 Posts
Member #: 9142
Advanced Member

Nottingham

Hi all, a rather large update coming up!!

After much thought and seeing other people do it lol i have after changed my mind on my engine plans yet again in the words of my dad "ill never hang myself"!! hehe!

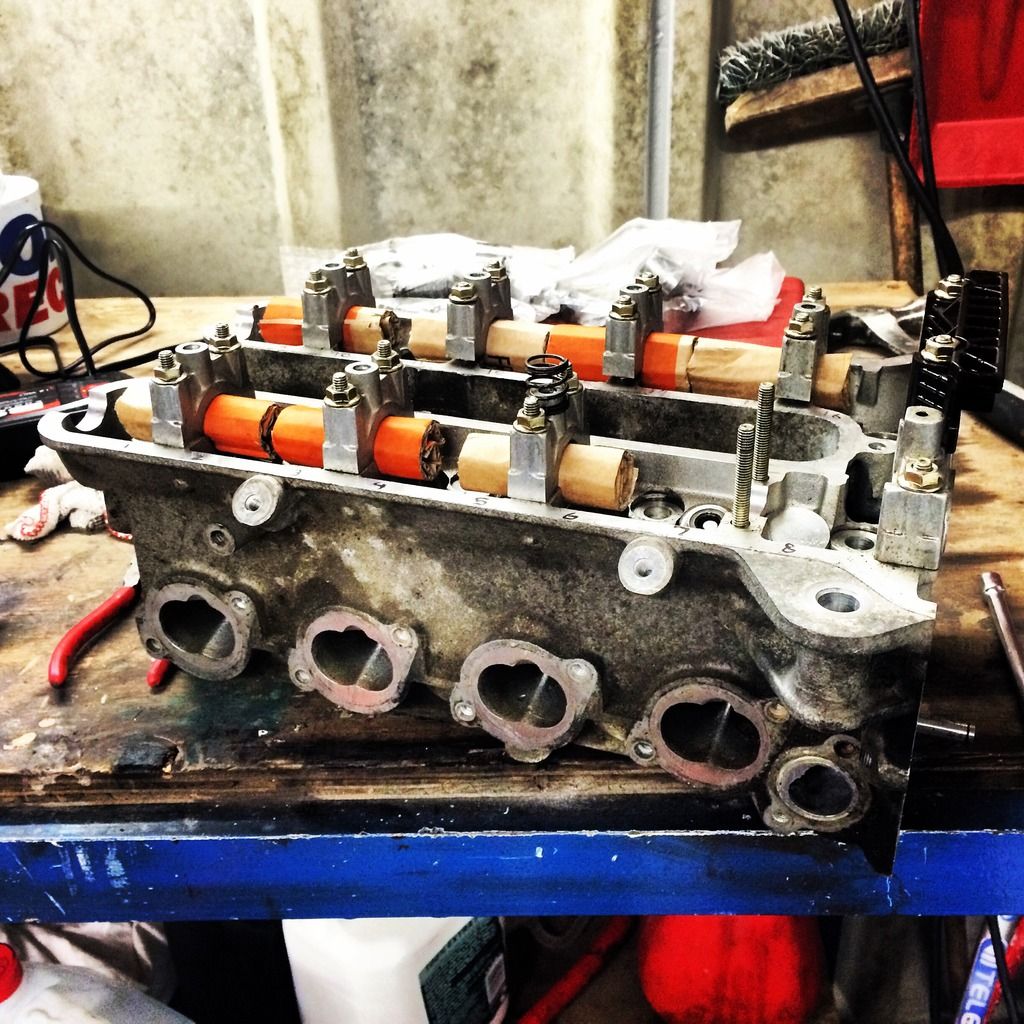
Anyway the plans were for a big spec "K" head, so after a little bit of searching here and the a rather cheap K1100 LT head popped up on eBay so i sent the guy an offer out of eBay and a deal was done so i bought the head minus throttle bodies etc.

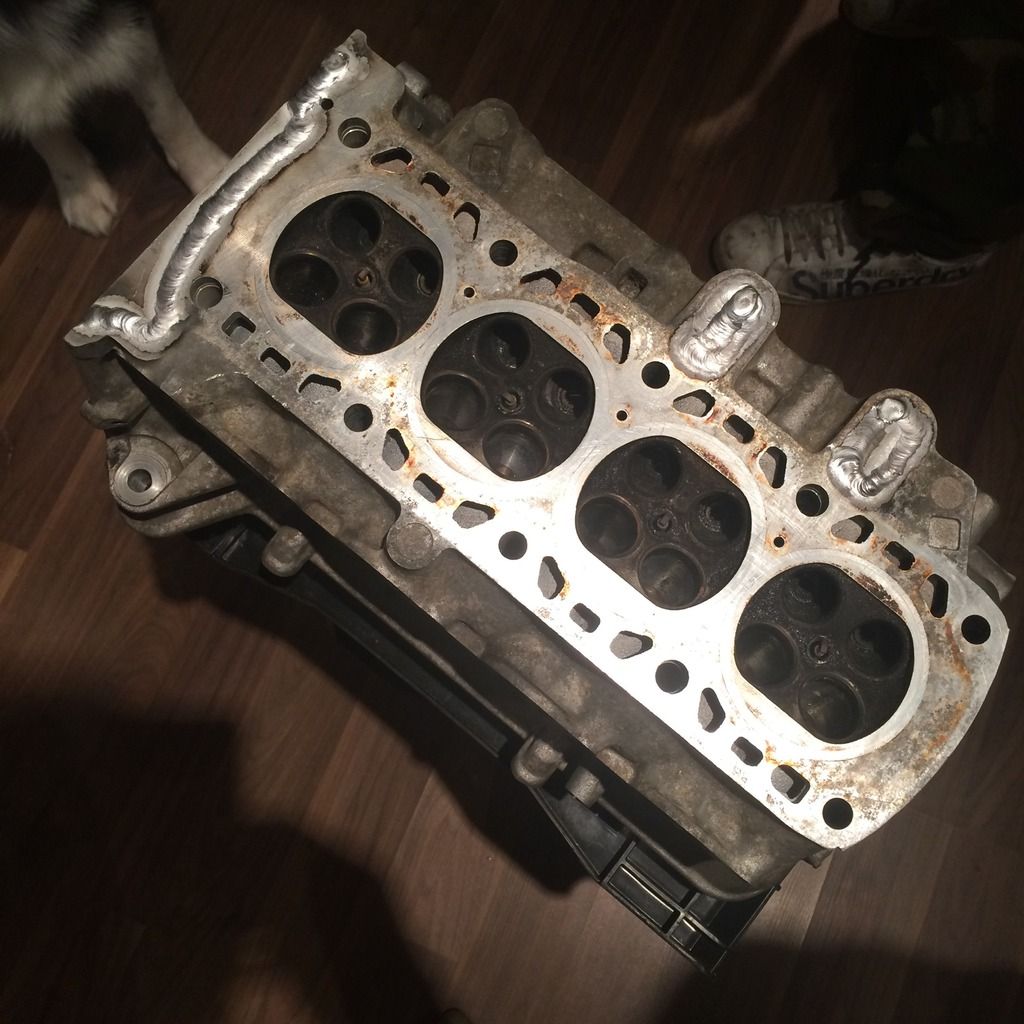
First things first i got the head all stripped down cams and valves etc all removed ready to be welded up, luckily enough at the time i worked in fabrication so i got the ending all done by a friend at work the results were as shown

From this:


To this:


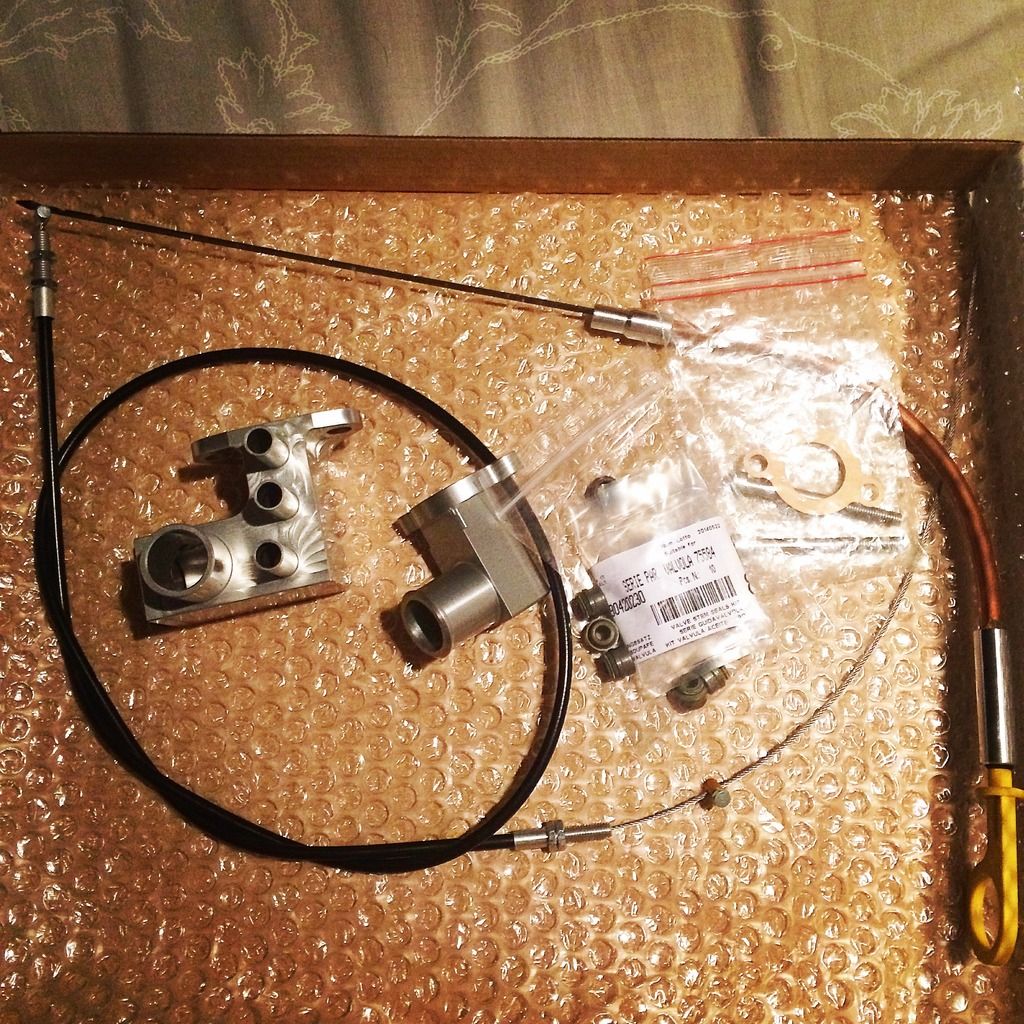
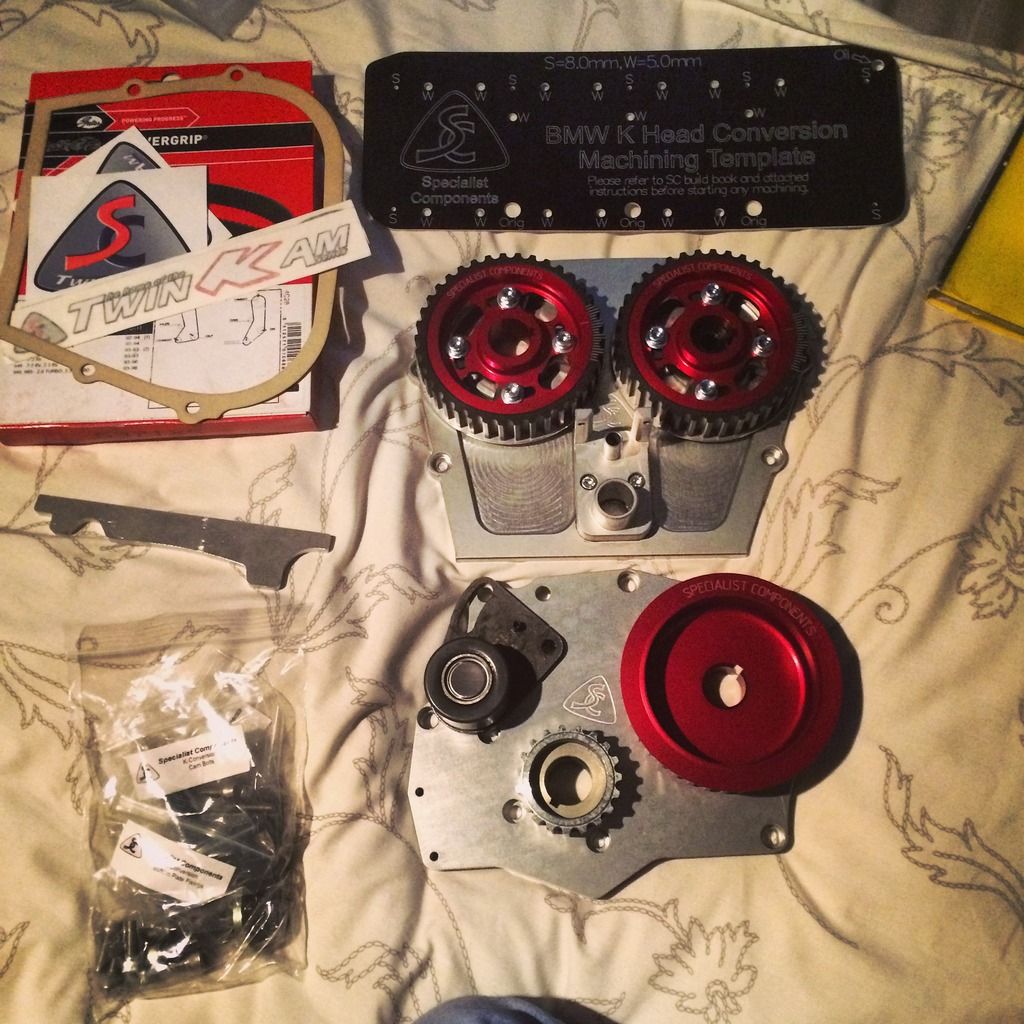
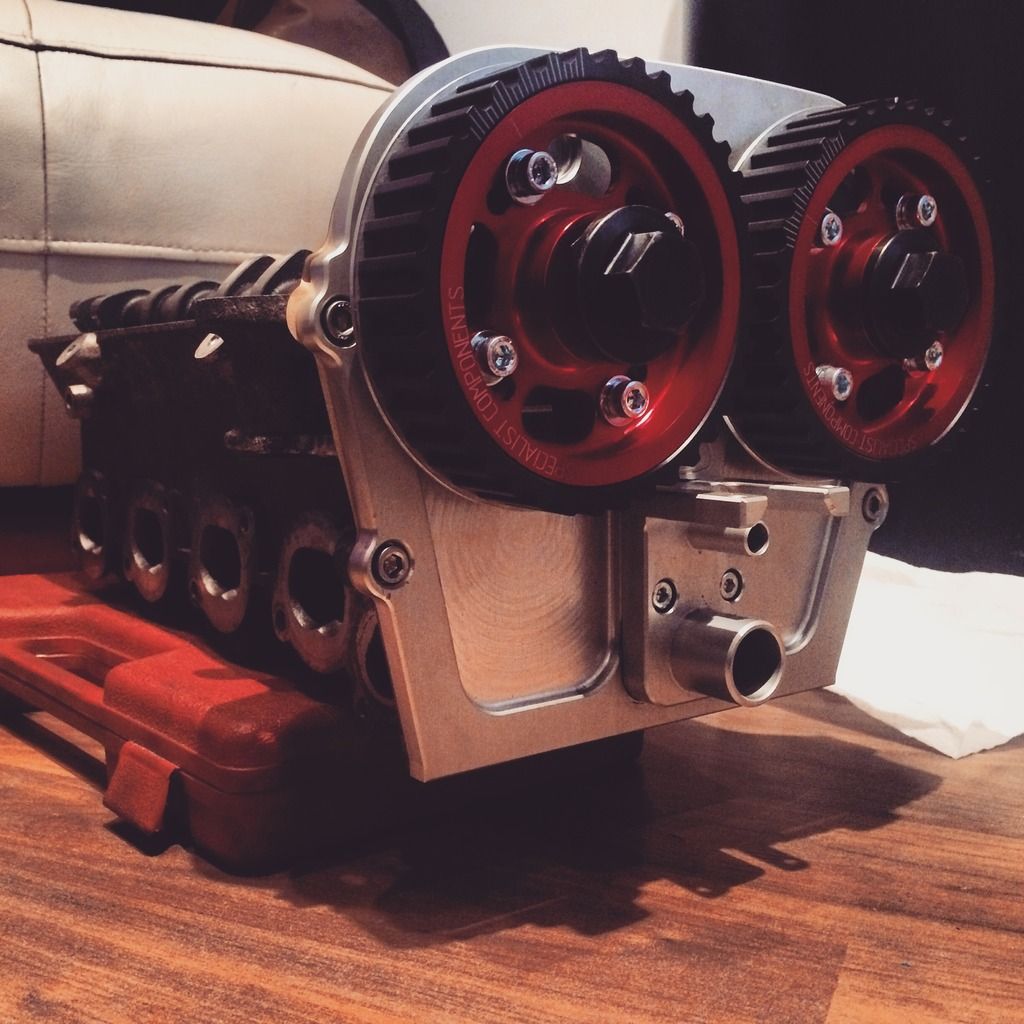
after seeing my turbo stuff i collected i had a small amount of cash to spare so i order the Specialist Components conversion kit, ancillaries pack and a set of steel rods.


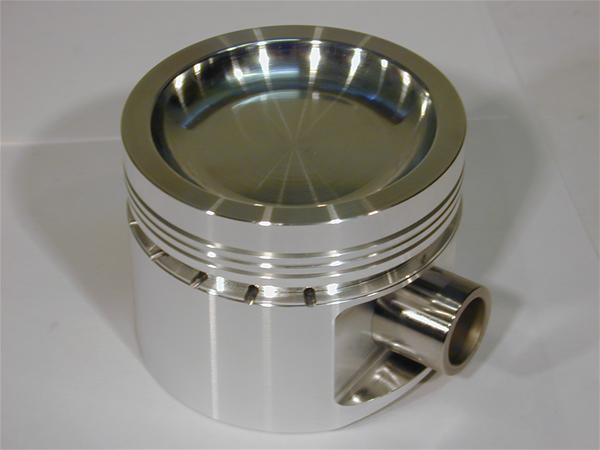
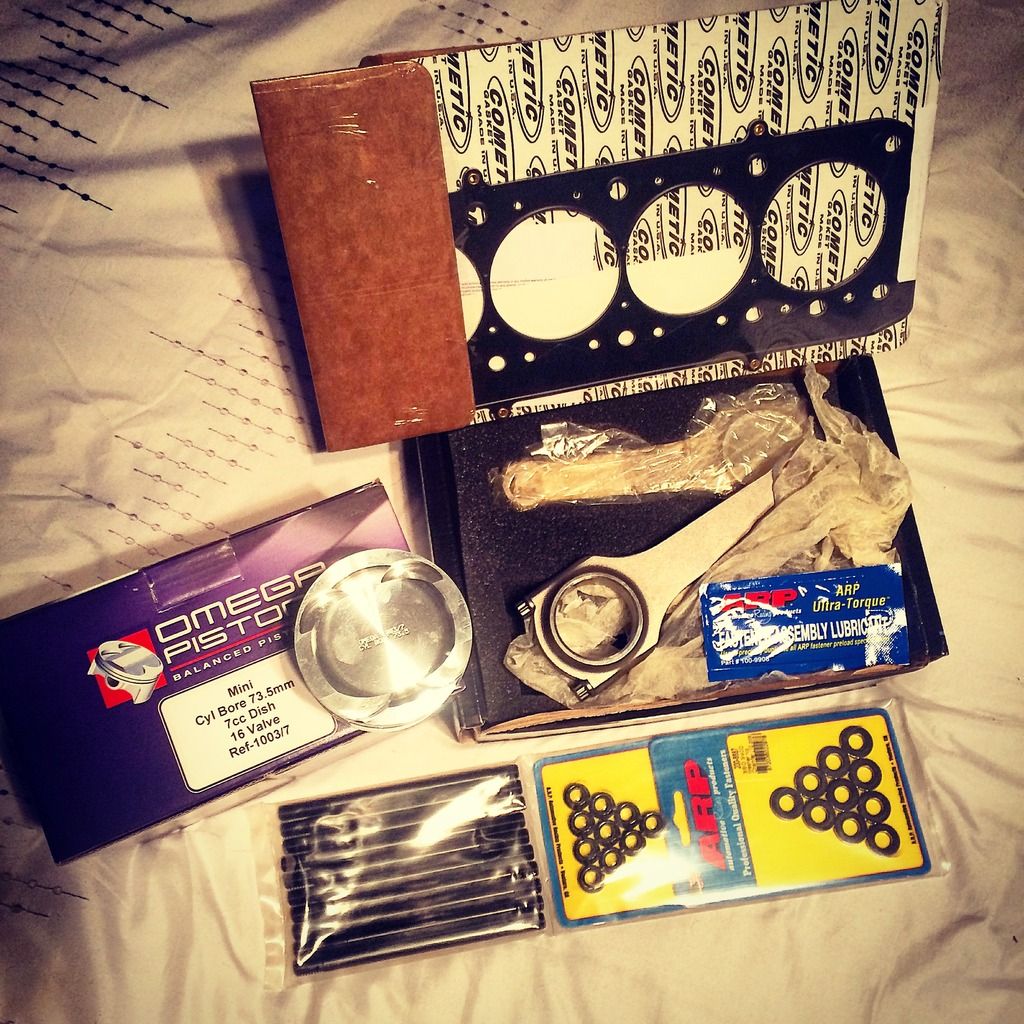
And from MED i ordered a set of Omega 16v 73.5mm pistons, a Cometic steel head gasket, ARP head stud kit. so that was the end of that load of cash this would of been November time 2014.


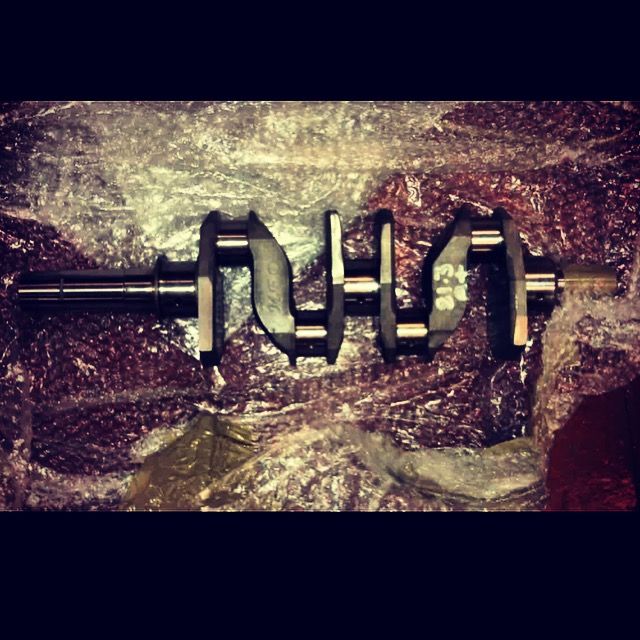
so when December payday came round it was time to buy peoples christmas presents well i theory it was anyway, up until i saw a MED steel crank off sale on eBay so the idea of christmas was had but not giving presents to everyone else i got myself a nice steel crank oops!


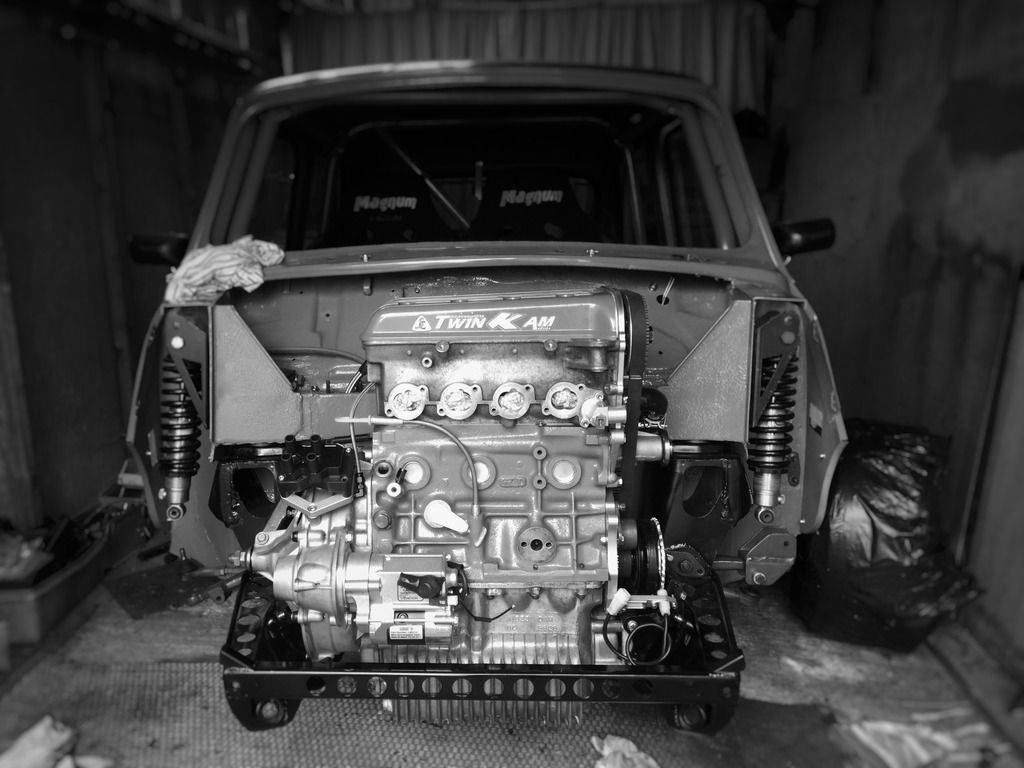
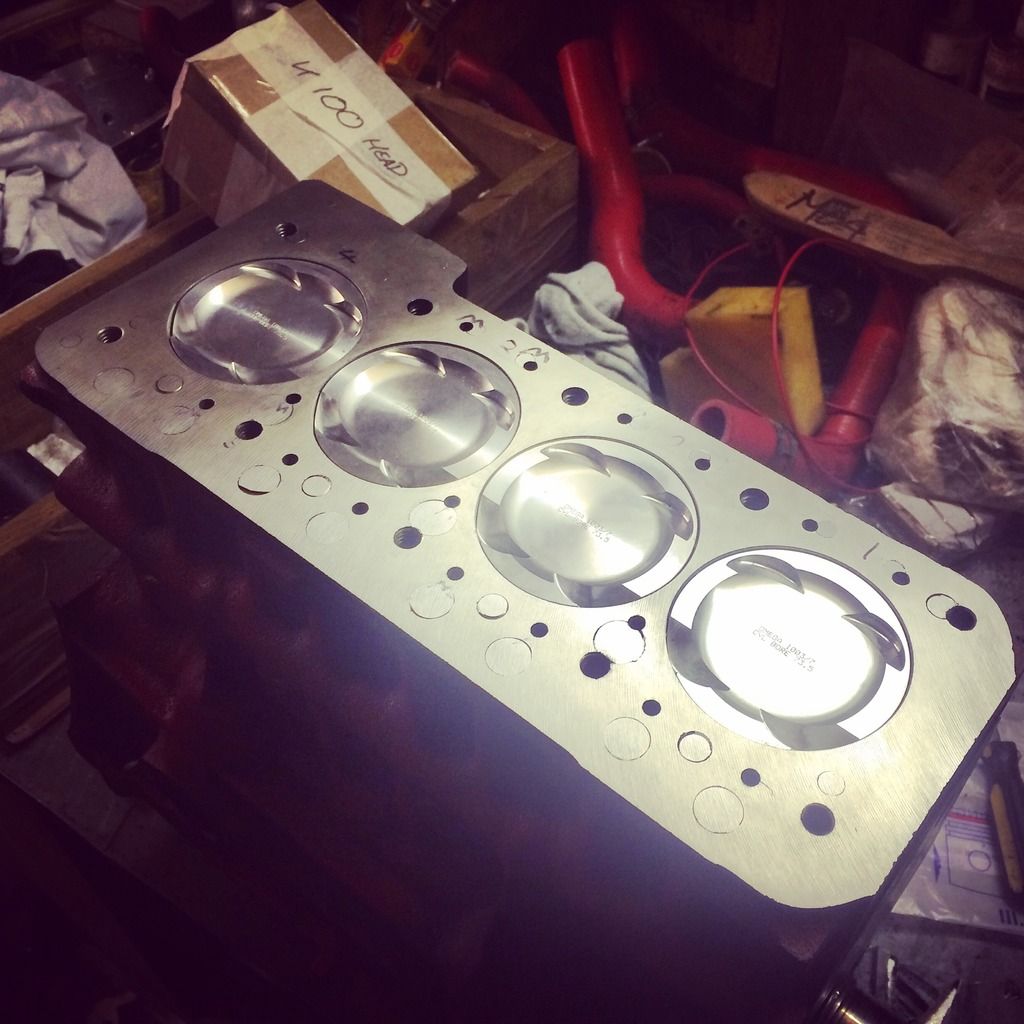
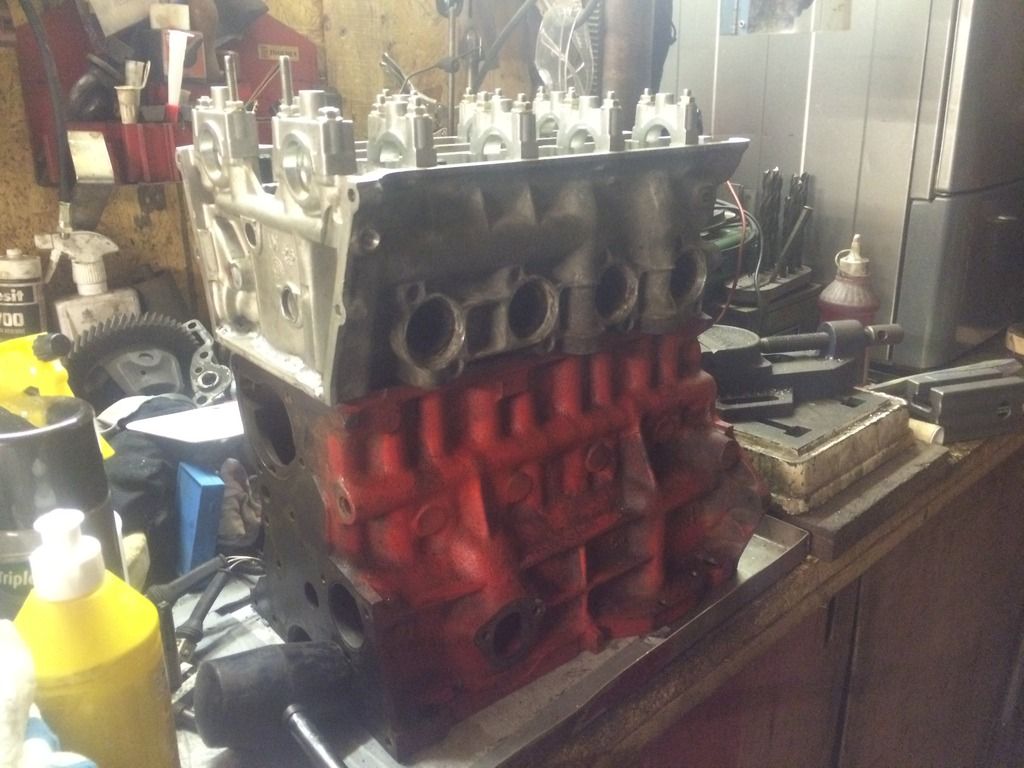
So with all the bits to build up the bottom end, it was time to start on the hard part, blocking up the old drillings to make way for the new ones, this stage i didn't seem to take pictures for some reason but anyway it wasn't quite as hard as i thought it would be, so i took my time to drill everything whilst i was at it i enlarge the gearbox mounting bolts to 5/16th then sent the block and head off to be machined i had it offset rebored, honed, the block decked, and the head skimmed. and all the studs lined up properly when the head was dropped on. i got it all together finally progress i thought, Wrong! the new cam bearings i bought were 5 though to small so the jack shaft would not fit so i went of the hunt for another set to see if it was me that was doing something wrong, measured up a set of ACl bearings and what a surprise they turned out to be the size they should be so after all that pissing about they finally went in and the jackshaft was a nice fit too, moral of that story buy cheap buy twice. Anyway i got the crank, rods, pistons and bearings etc fitted and checked the tolerances and all that jazz thankfully everything went well so we had the bottom end built which felt like a massive milestone.
pg

After that it was back on to the head that had been skimmed at the same time as the block machining so i got that all built up clearances checked and started to fit the shiny bits *happy*.


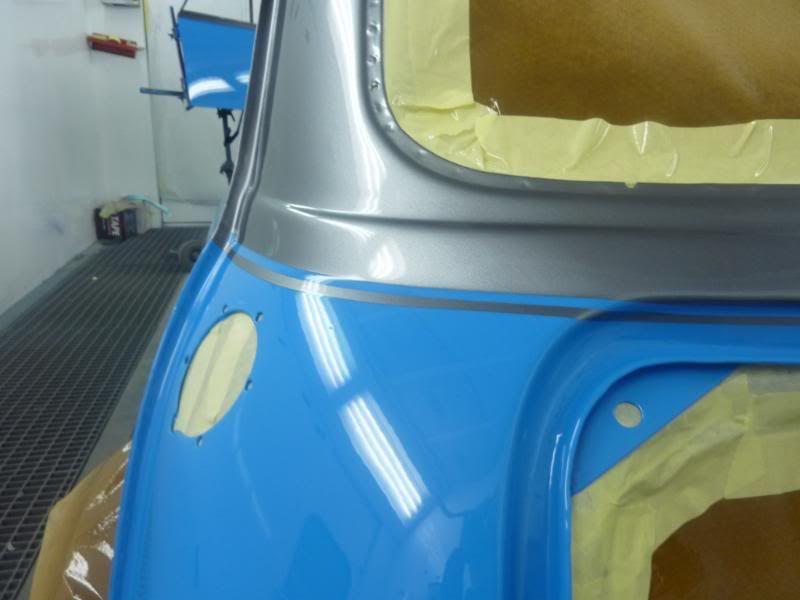
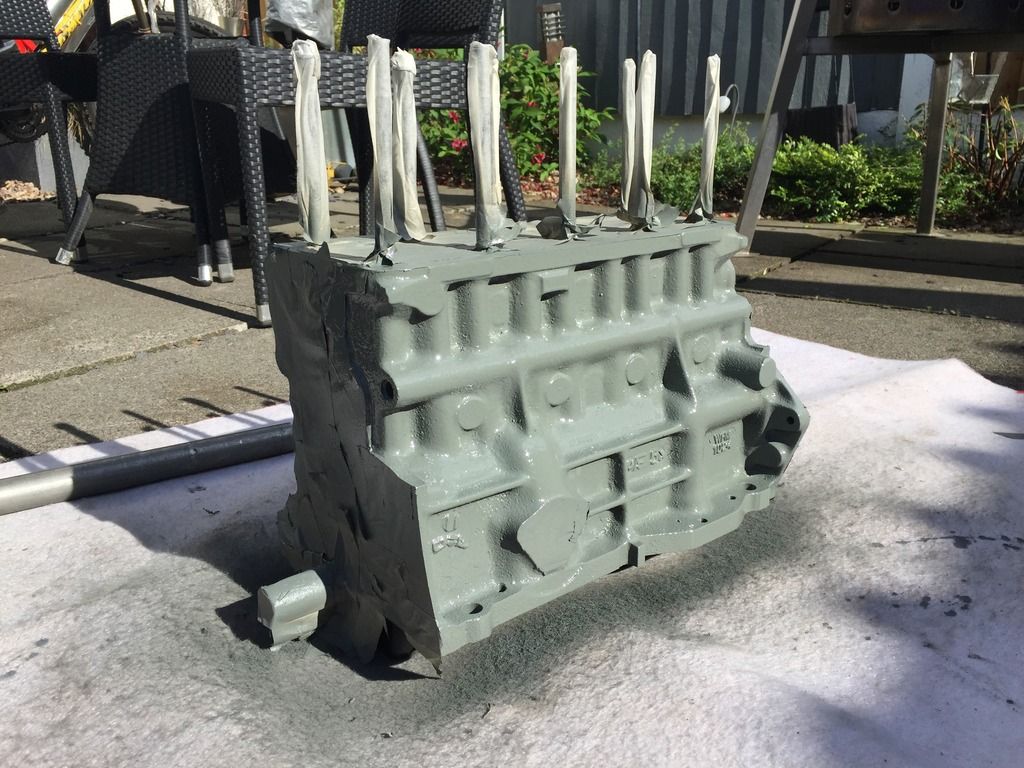
So with the both of them ready to be mated together i realised i had cocked up by not painting the block before i built it up but oh well, i masked it off and sprayed it up which looked much better.


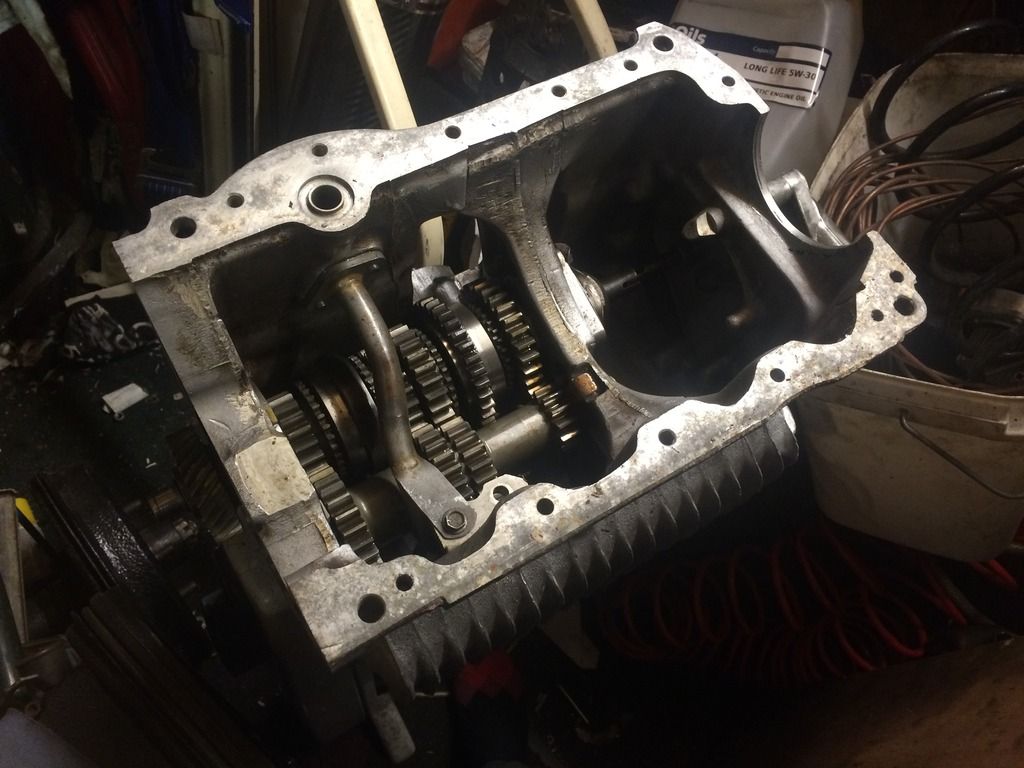
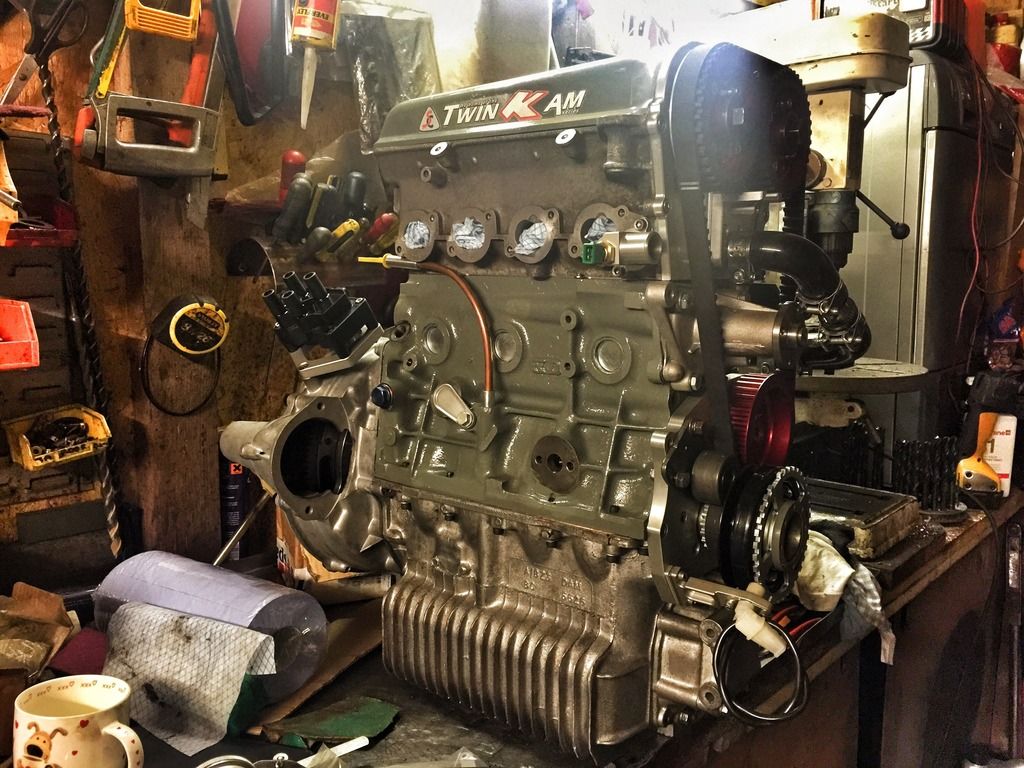
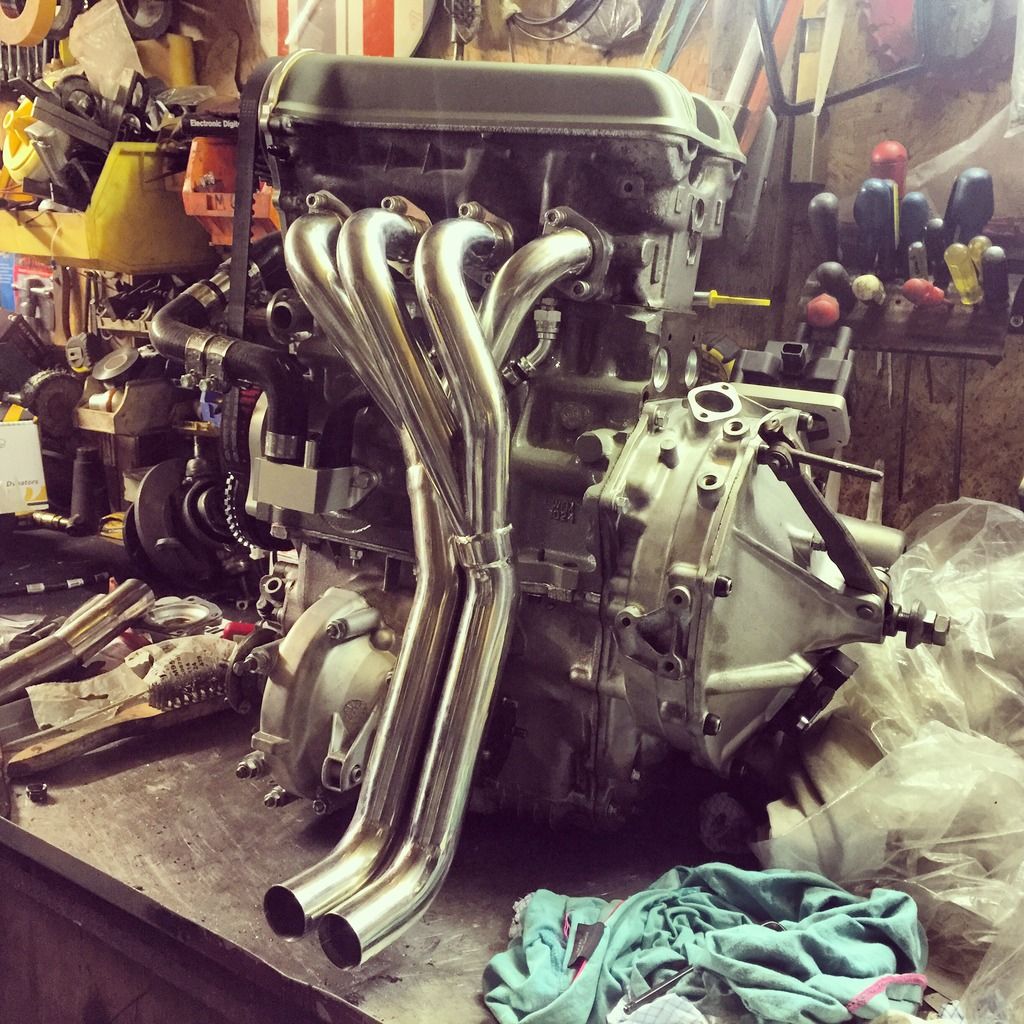
Then got on with building the rest of the engine and gearbox i bought off here which is a rebuilt JKD straight cut jobby


To cut all the crap heres there finished article.


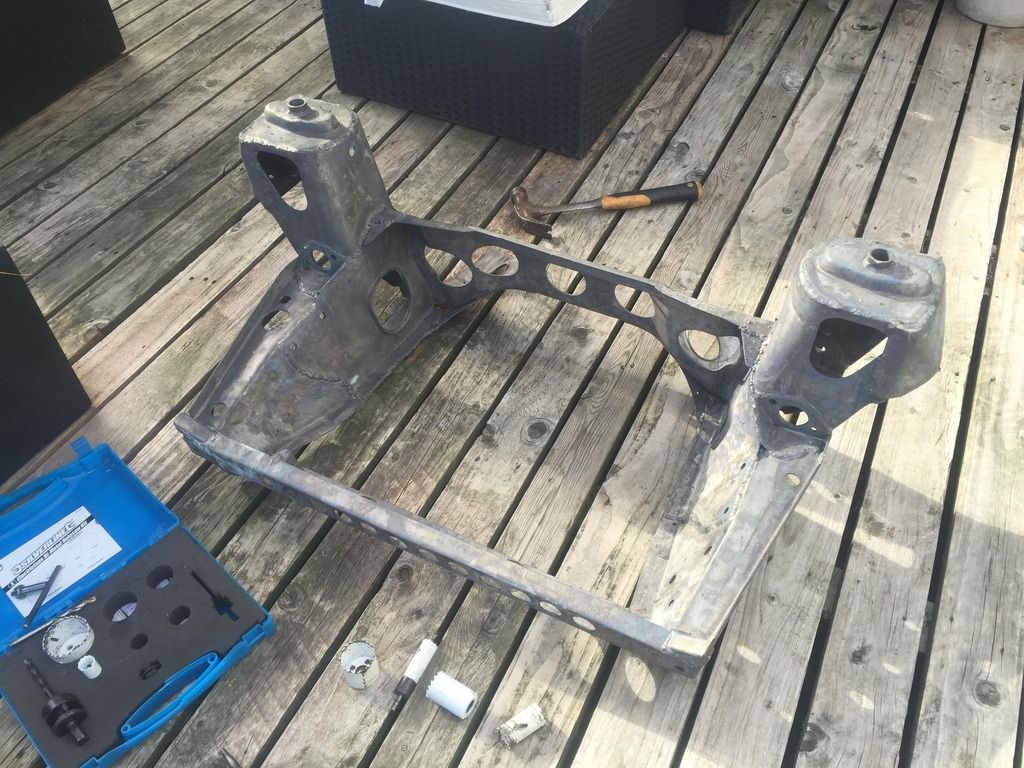
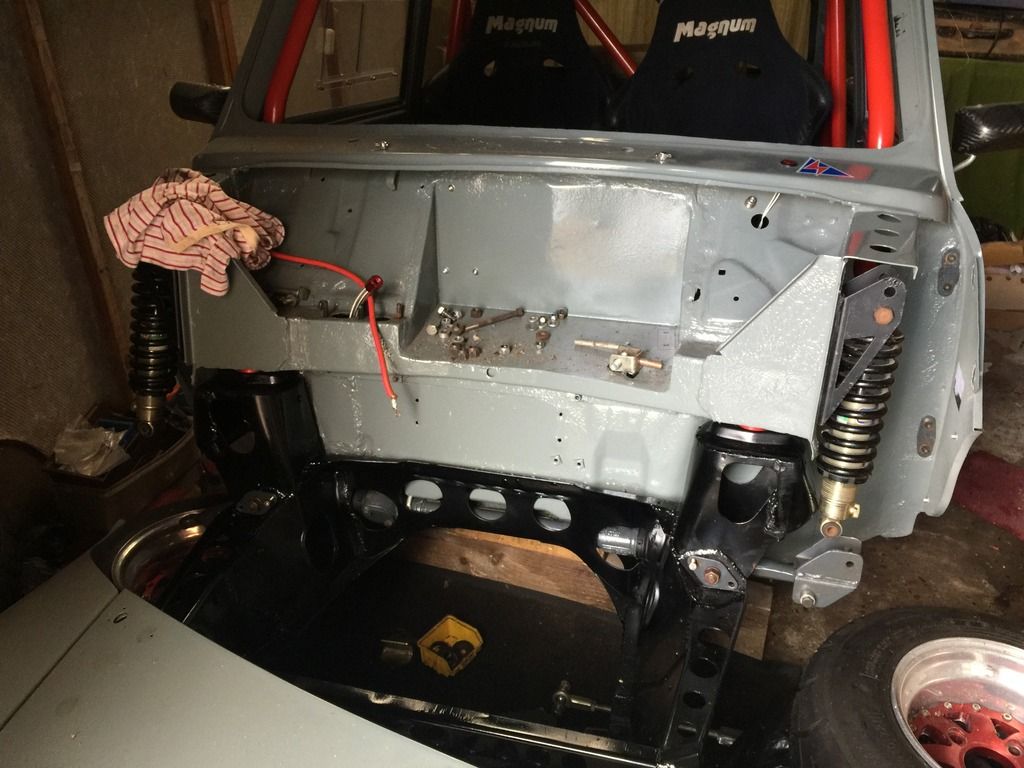
Then i had the subframe dipped and a did a bit of lightning and welded it up to strengthen it up abit.so thats no rust free, i painted it up black and got it fixed to the car which was good progress.


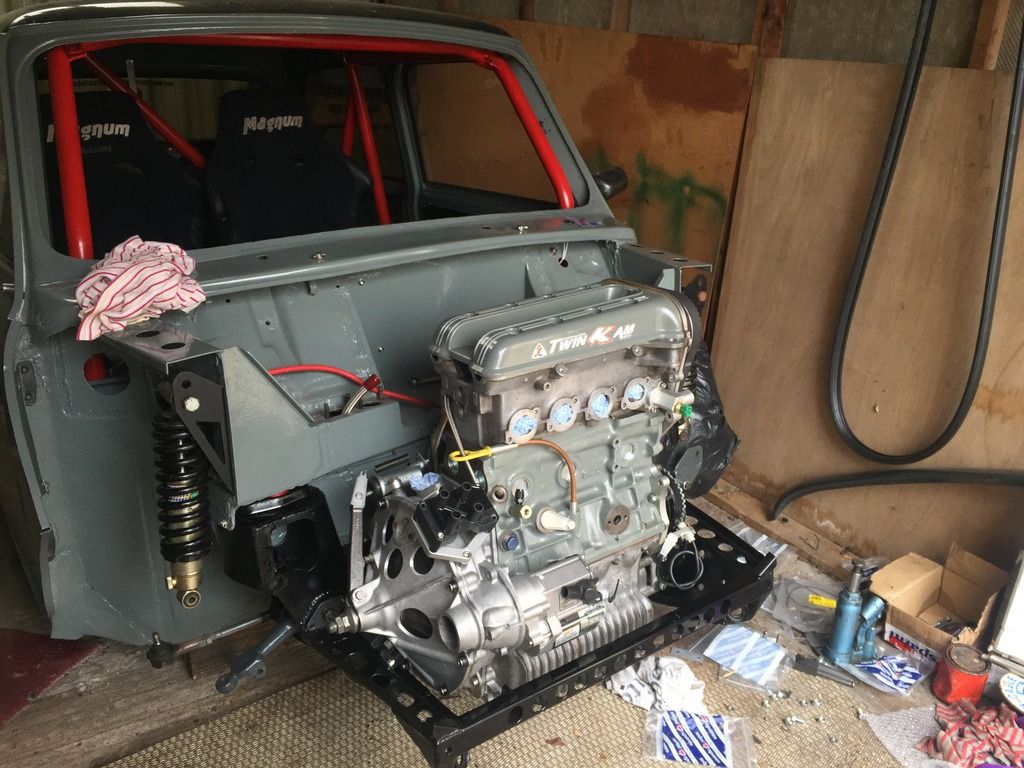
So it was then time to fit the engine in to the car on my birthday of all days lol.


To say i was happy was an understatement, have finally go it to somewhere id like it to be!
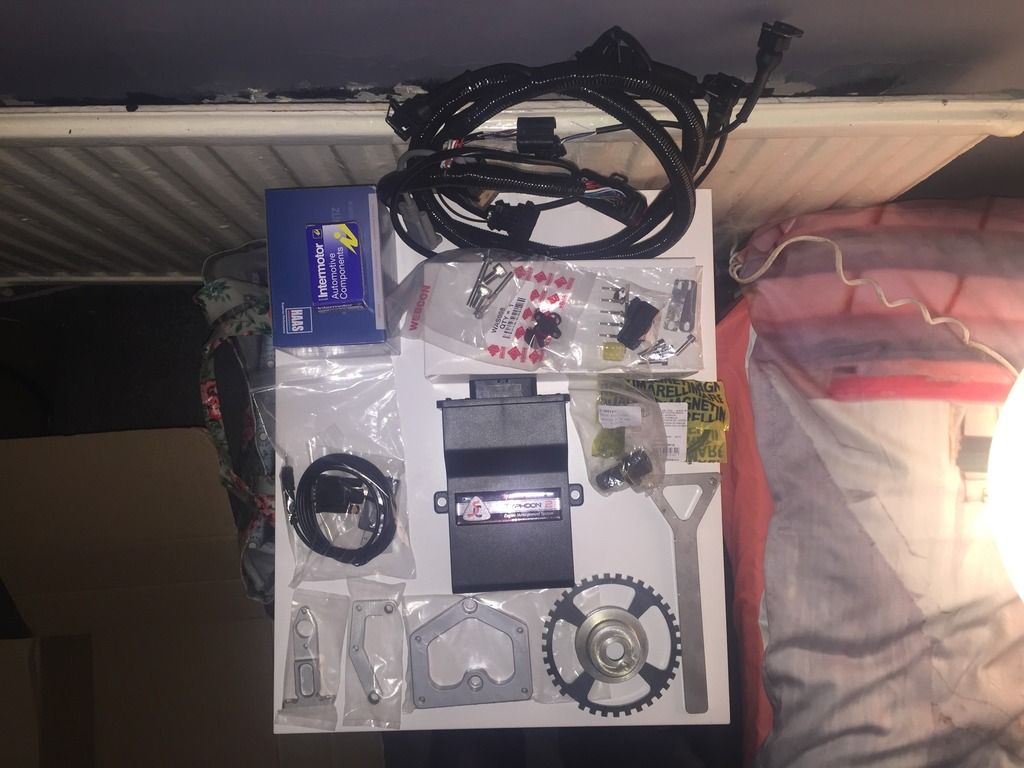
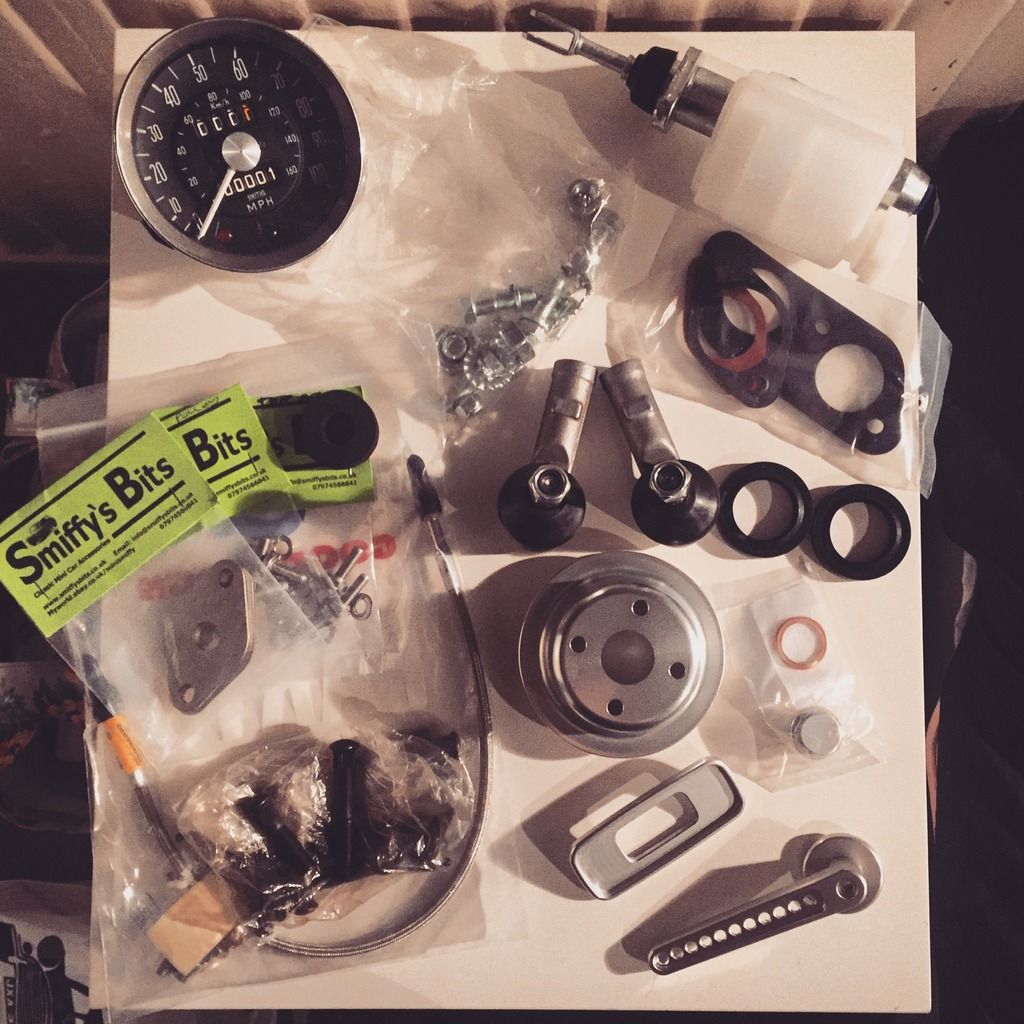
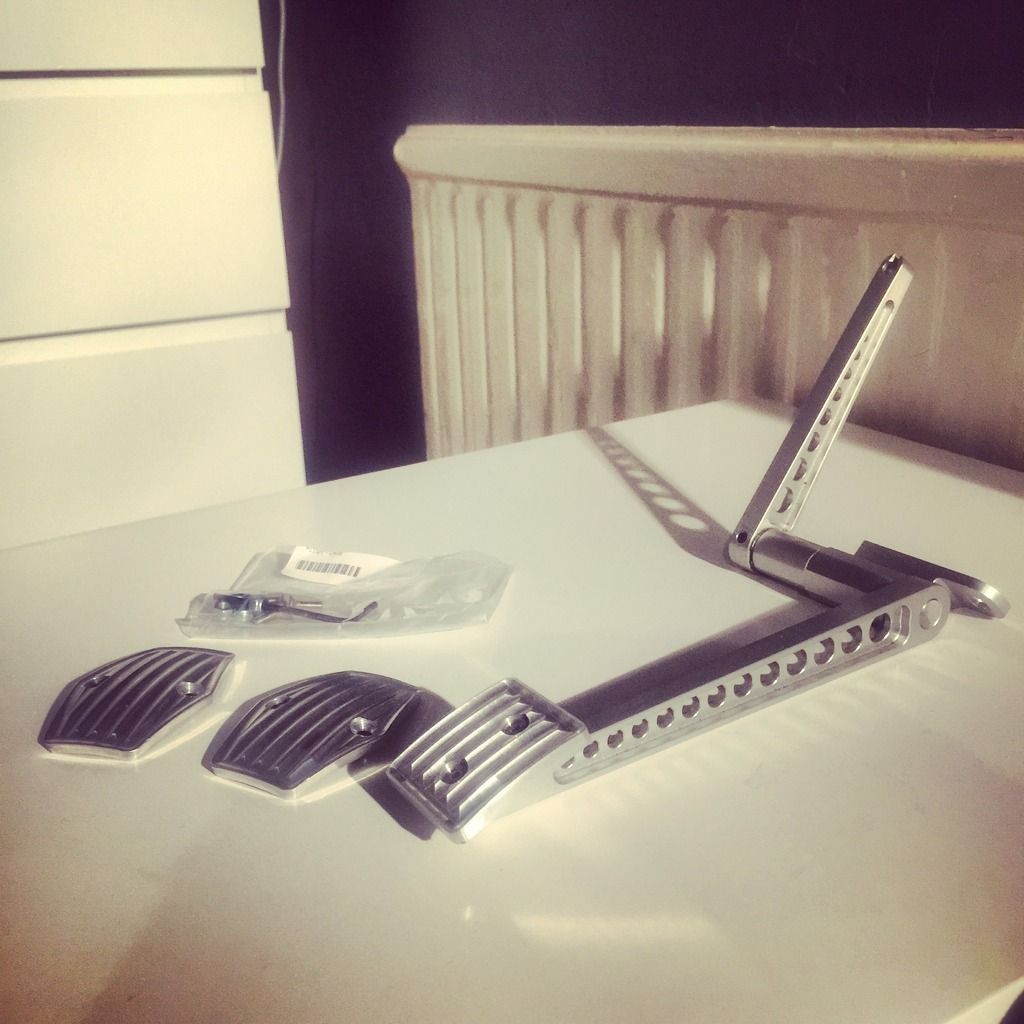
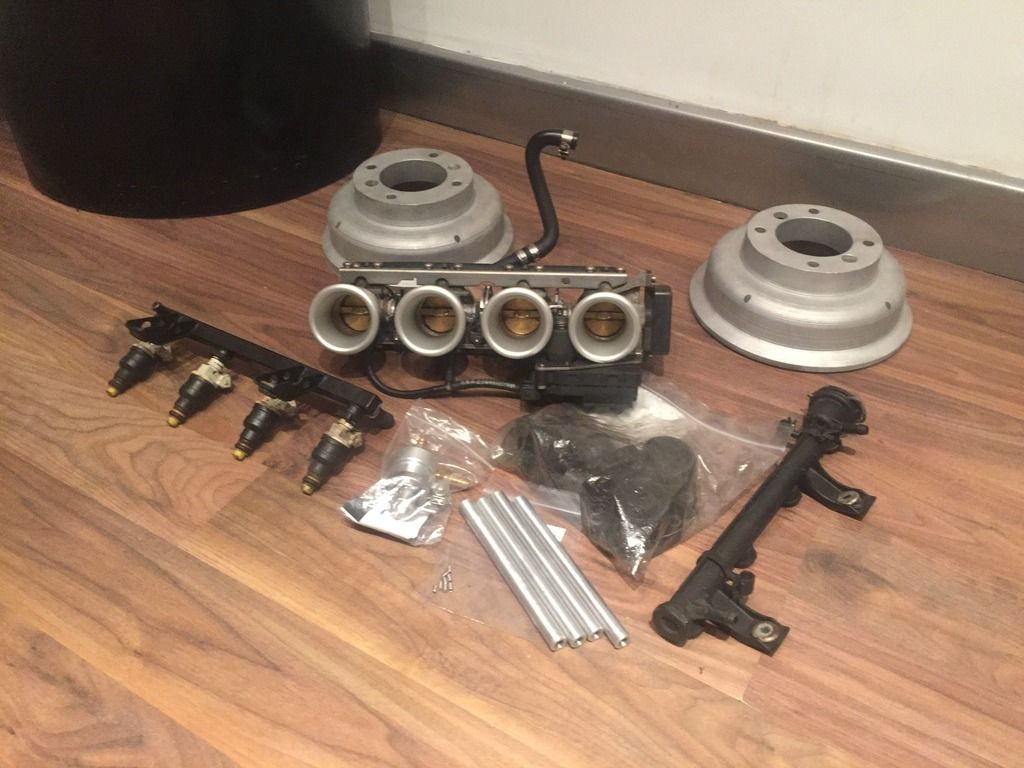
So i bought the ecu kit and some billet goodies from DSN classics rebuilt the driveshafts with all new bits fitted the LSD and 3.9fd and a set of K1200RS 38MM throttle bodies so thats where I'm up to now!


Edited by harry_orridge on 10th Nov, 2015.


JT

User Avatar

2742 Posts
Member #: 637
Post Whore

Hertfordshire

Nice crank mate

My build thread..

http://www.turbominis.co.uk/forums/index.php?p=vt&tid=542985


D4VE

User Avatar

2974 Posts
Member #: 10749
Post Whore

lowestoft suffolk

A the pics are of the crank?? Lol dammmmn

On 24th Oct, 2015 jonny f said:
Nothing gets past Dave lol

NOTHING GETS PAST ME!! *tongue*

1/4 mile 14.7 @ 96mph 12psi boost
Showdown class A 2nd place 18.6 @ 69mph


John

User Avatar

10021 Posts
Member #: 1456
Mongo

Barnsley, South Flatcapshire

That's a lot of crank

If something is worth doing, it's worth doing half of.


graemec

940 Posts
Member #: 1424
Post Whore

Carnforth, Lancs

He's proud of his crank, leave him alone!


harry_orridge

User Avatar

132 Posts
Member #: 9142
Advanced Member

Nottingham

HAHA what an idiot, copied and pasted all the same photo, edited now lol. Face palm!


JT

User Avatar

2742 Posts
Member #: 637
Post Whore

Hertfordshire

Looks good mate.
Im afraid to say, thoughs DSN pedals are dangerous!!!
The throttle pedal might be ok but brake and clutch pedals are no goes in my opinion.

My build thread..

http://www.turbominis.co.uk/forums/index.php?p=vt&tid=542985


harry_orridge

User Avatar

132 Posts
Member #: 9142
Advanced Member

Nottingham

Thanks mate, hmm yeah I bought them off here second hand I wondered if they' would be too slippy I'll try them if there no good I'll stick some grip tape on the pedals instead.


JT

User Avatar

2742 Posts
Member #: 637
Post Whore

Hertfordshire

I got a set without throttle pedal.
There fine on a warm dry day, but as soon as it gets a bit damp or wet they are leathal. I took them off and fitted the standard rubbers again.

My build thread..

http://www.turbominis.co.uk/forums/index.php?p=vt&tid=542985


madmk1

User Avatar

5417 Posts
Member #: 6181
Double hard bastard

brookwood woking

Looks good mate!

I have started posting on Instagram also my name on there is turbomk1golf

Nothing is impossible it just costs more and takes longer.

On 1st Nov, 2007 Ben H said:
There is no such thing as 'insignificant weight saving', it all adds up.


jonny f

User Avatar

2094 Posts
Member #: 9894
Post Whore

Dorking

looks very nice


apbellamy

User Avatar

16540 Posts
Member #: 4241
King Gaycharger, butt plug dealer, Sheldon Cooper and a BAC but generally a niceish fella if you dont mind a northerner

Rotherham, South Yorkshire

You've spent a lot of Tim and money on that engine. Don't waste it by fitting the SC trigger wheel, they slip meaning your timing changes dynamically. Could end in disaster...

On 11th Feb, 2015 robert said:
i tried putting soap on it , and heating it to brown , then slathered my new lube on it

*hehe!*


slater

User Avatar

1030 Posts
Member #: 1291
Post Whore

Suffolk / Birmingham

They dont if you do them up tight *tongue*

Not a bad idea to pin them tho once it's all set up.

How much did you get the crank for? The next one I build will be all steel. You need the revs with these heads.


harry_orridge

User Avatar

132 Posts
Member #: 9142
Advanced Member

Nottingham

Andy your not the first person to tell me that, however the MED crank pulley apparently didn't fit with the kit which is shit! :/! I'm going to drill and pin it when it's set up!

The crank I paid £500 for whic was a bargain really! Looking forward to the revs haha!


minimole23

4304 Posts
Member #: 1321
Post Whore

Wiltshire

Now that is a bargain, what cams are you running?

On 7th Oct, 2010 5haneJ said:
yeah I gave it all a good prodding


ministar

User Avatar

107 Posts
Member #: 10760
Advanced Member

Derby

Looking good Harry!

Mod prod will look interesting in 2016!


harry_orridge

User Avatar

132 Posts
Member #: 9142
Advanced Member

Nottingham

Just standard lt cams at the moment however, I'm going to swap them for a set of RS ones before it goes to be set up!

Thanks James!

Defiantly mate, looking forward to it!


cossierick

User Avatar

3074 Posts
Member #: 1348
Post Whore

wakefield West Yorks

Love it .


harry_orridge

User Avatar

132 Posts
Member #: 9142
Advanced Member

Nottingham

Another small update

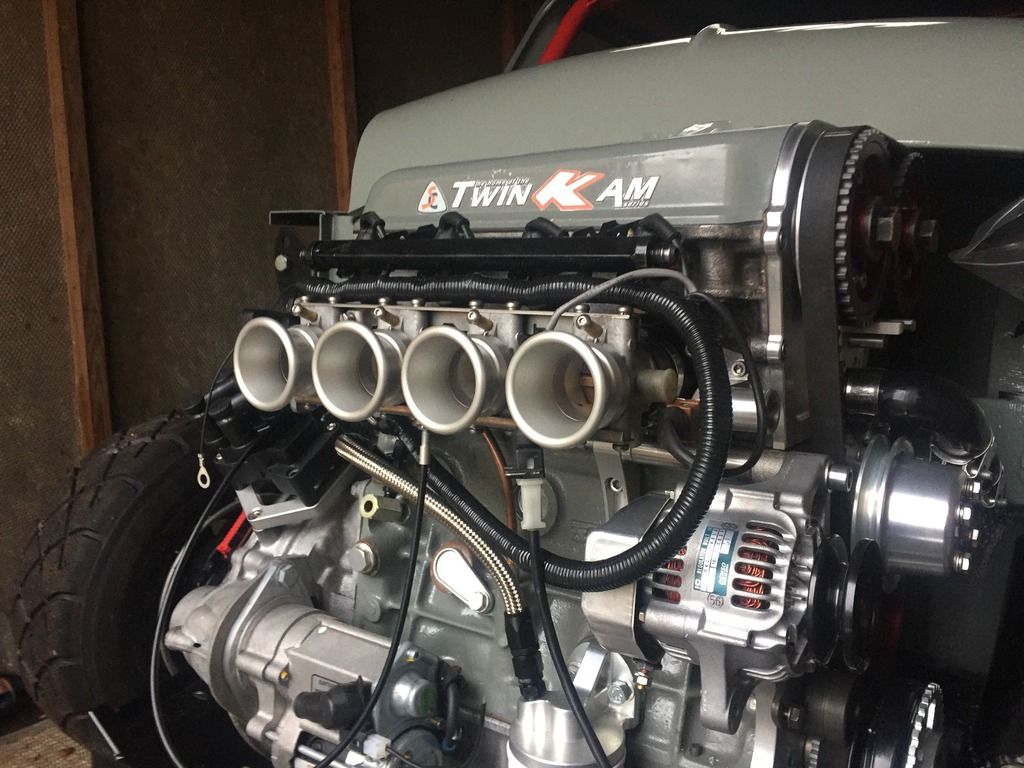
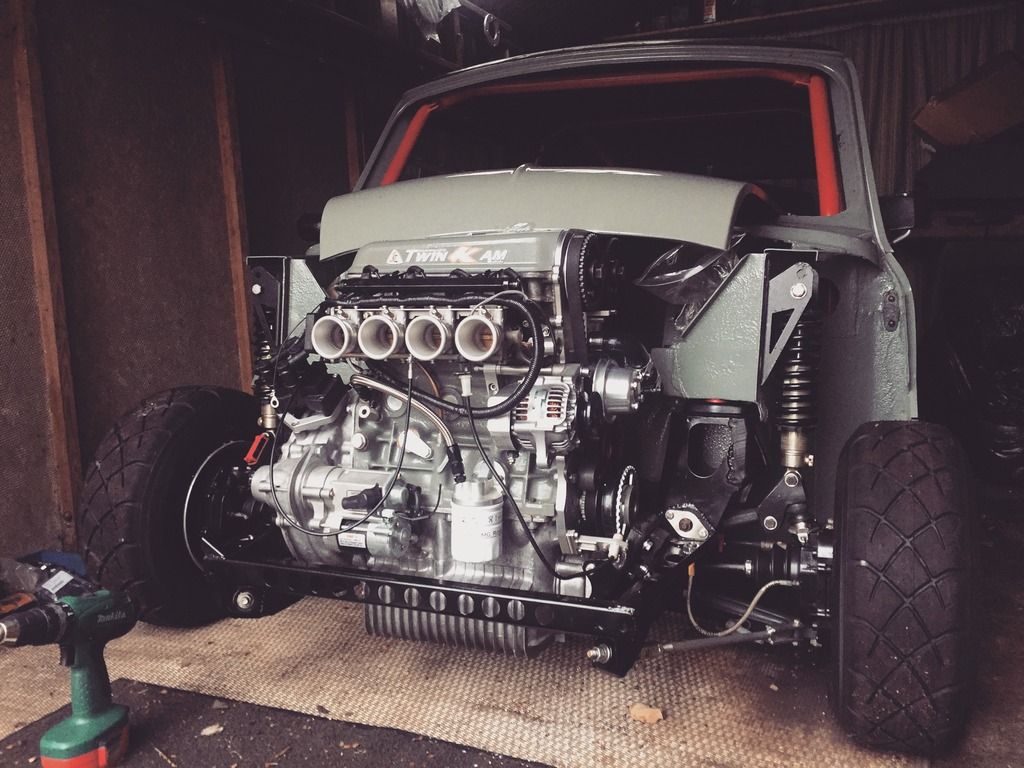
Last weekend i had another day on the mini and managed to get the throttle bodies that I blasted stripped and rebuilt so i fitted up the specialist components trumpets and bolted them on to the car, another step forward.

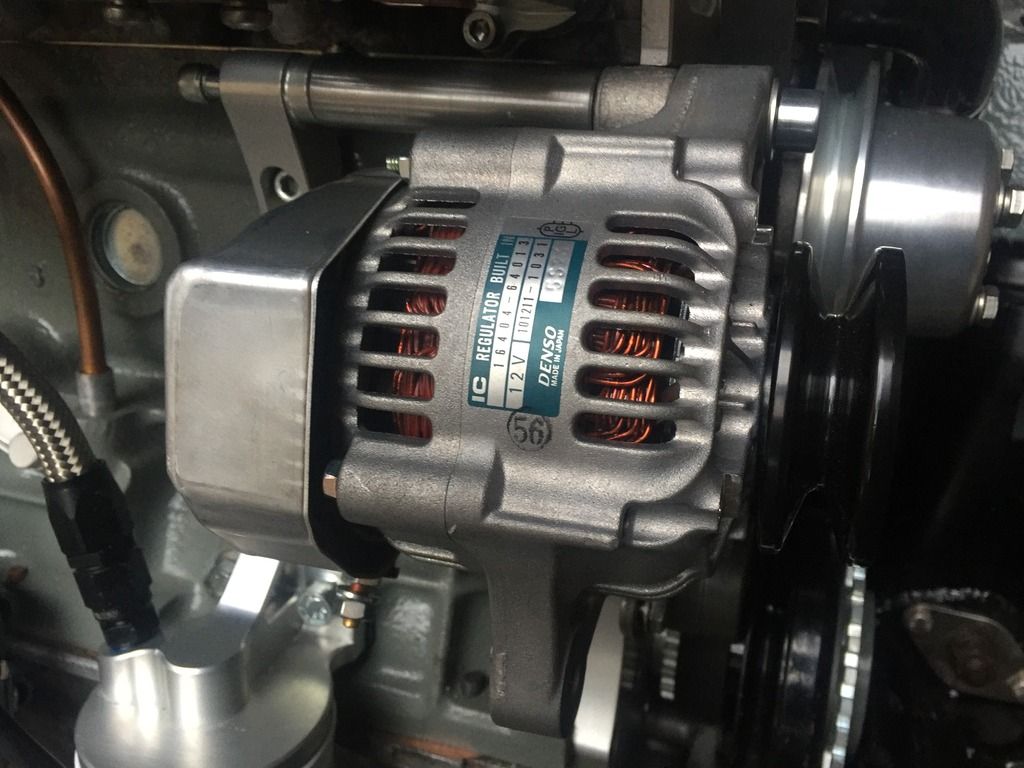
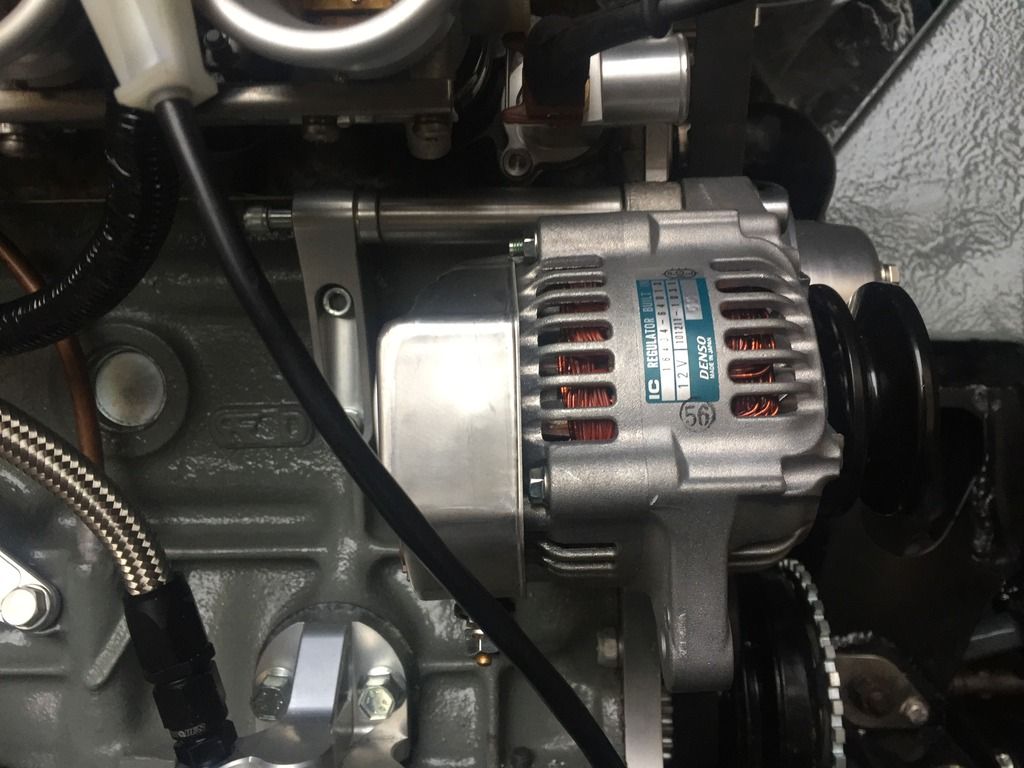
I also managed to get a brand new little 40amp Denso alternator off good old eBay for the bargain price of £35 so i set about trying to get that to fit, the first problem was the fact it had a 10mm hole in the top mounting lug so i just enlarged the 5/16" hole in the water pump to 10mm, i bought a Denso alternator bracket and machined up a little adaptor out of a piece of ali bar with a 5/16" unf thread in one end and a 10mm thread in the other to brace the water pump to the alternator bracket. I bolted the alternator up using the adaptor and the pulley was 15mm to far out so i hd to mill some off the mounting lug, theres still plenty of meat left on the alternator so hopefully that won't any agro. I forgot to measure to length of the belt so thats job for next weekend.


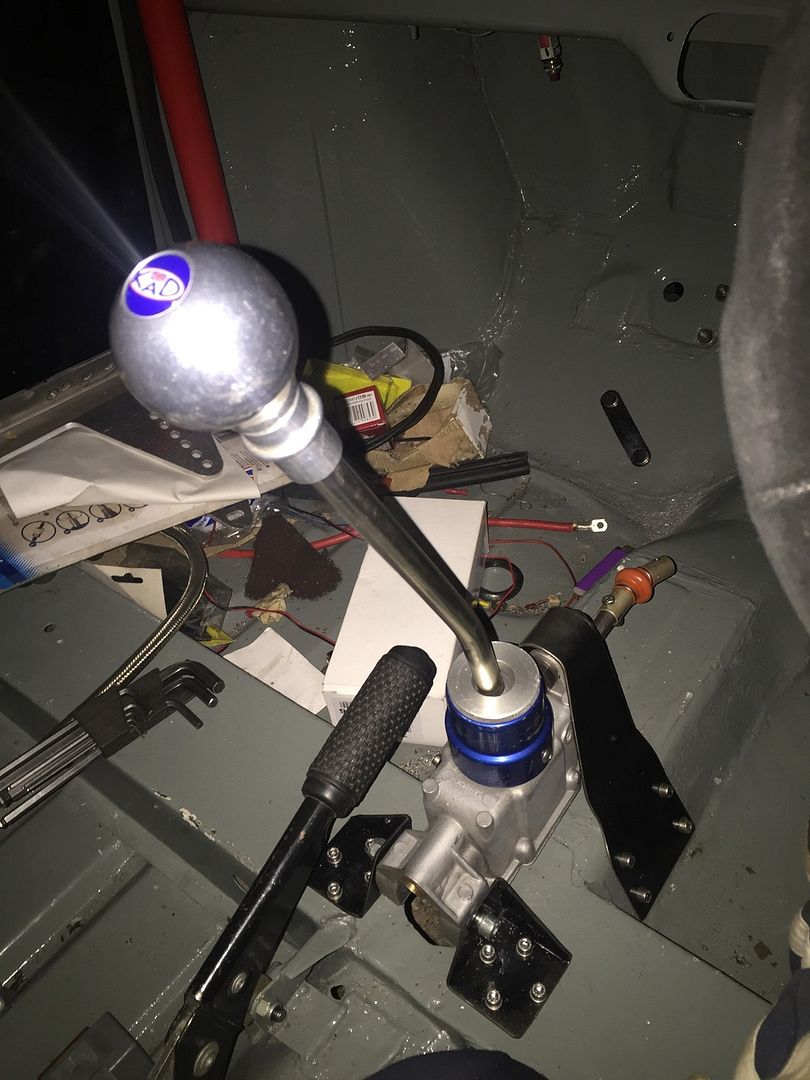
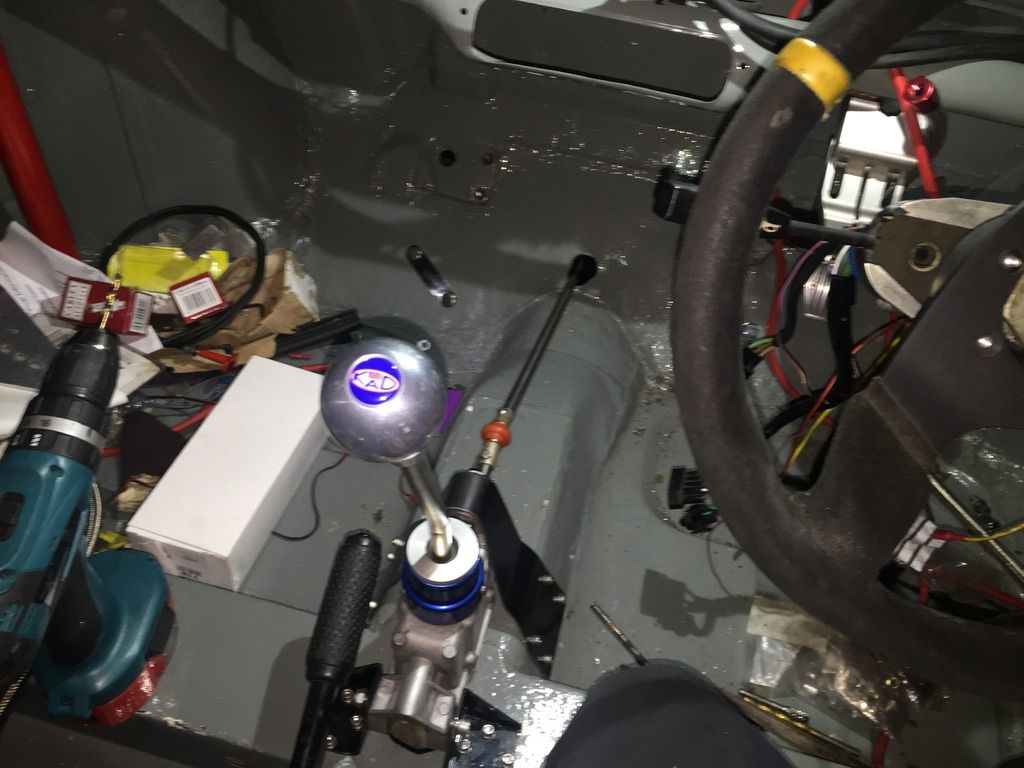
I also got on with sorting out the gear selector, I made a new brass bush at work for either end to that it was all nice and tight before i started anything, I wanted the selector inside the car to make some room in the tunnel for the exhaust and also so I can reach the fecking thing lol *happy* !! Anyway I made up some copy Kad brackets to hold the unit itself, I had a Kad quick shift i had on the car previously so I wanted to use that too, it might be too shorter throw but we shall see! So I built up the selector housing and got it mounted in the car where it felt comfatable. I then bought some race tech helicopter joints and made a new rod out of some stainless i had kicking about and fitted it all Sunday afternoon. it feels great and I seem to be able to get all the gears so I productive day had there too!! Very happy with the results!


The jobs for this weekend are get some power back in the garage so I can actually seem what I'm doing, fit the fuel lines and all the associated gear, fit the new radiator I bought and see if I can sort a way of mounting the exhaust.

Thanks for looking!!


madmk1

User Avatar

5417 Posts
Member #: 6181
Double hard bastard

brookwood woking

This looks sweet!! Makes me want to build the 16v I have sat in a box in the shed lol

I have started posting on Instagram also my name on there is turbomk1golf

Nothing is impossible it just costs more and takes longer.

On 1st Nov, 2007 Ben H said:
There is no such thing as 'insignificant weight saving', it all adds up.


harry_orridge

User Avatar

132 Posts
Member #: 9142
Advanced Member

Nottingham

Thanks a lot! Get it built!! 16v turbo mk1 *wink*!! I want nothing more than a mk1 shell to put this in!


madmk1

User Avatar

5417 Posts
Member #: 6181
Double hard bastard

brookwood woking

I have bigger things to sort out first

I have started posting on Instagram also my name on there is turbomk1golf

Nothing is impossible it just costs more and takes longer.

On 1st Nov, 2007 Ben H said:
There is no such thing as 'insignificant weight saving', it all adds up.


slater

User Avatar

1030 Posts
Member #: 1291
Post Whore

Suffolk / Birmingham

Nice, the alternator looks like the one I have. Much better fit than most. I made a enlarged pulley to under drive it a bit and at the same time that helped to correct some of the offset.

Home > Show Us Yours! > TwinKam 16v Sprint Car update 19/11/15
Users viewing this thread: none. (+ 2 Guests) <- Prev   Next ->
To post messages you must be logged in!
Username: Password:
Page: