Donations towards server fund so far this month.

 
£0.00 / £100.00 per month
Page:
Home > Show Us Yours! > Meight the mini. Now mini van

BronkoMini

301 Posts
Member #: 10610
Senior Member

Wiltshire

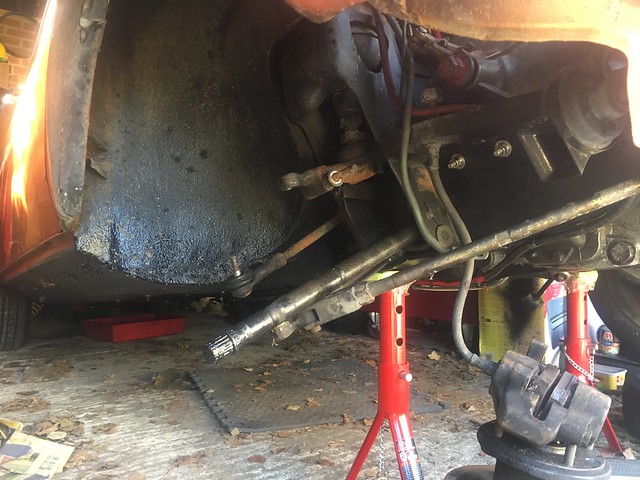
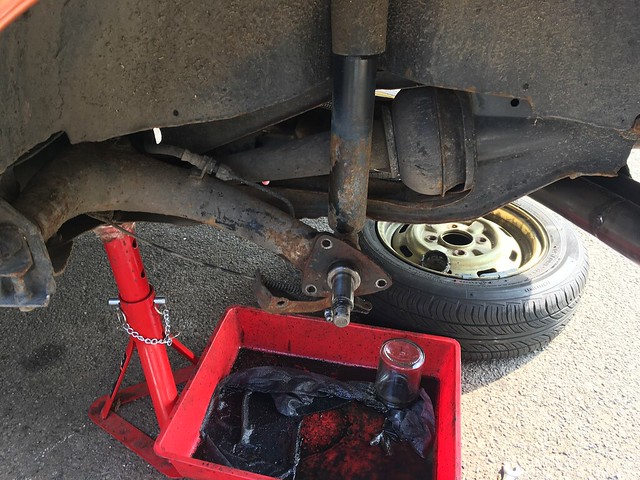
All taken apart, had to get a ball joint slitter.
Untitled by Bryn Kinsman, on Flickr
So heres the problem, one of the ball bearings in the cv had come out, so ive ordered a new one:
Untitled by Bryn Kinsman, on Flickr
While ive got all the brakes of i'm gonna change them for some new ones as they're looking a little worse for wear.

Edited by BronkoMini on 26th Feb, 2019.


burcy35

177 Posts
Member #: 10990
Advanced Member

Hornsea

Is the thread on that track rod end ok? Maybe it's just the picture a little unclear but if it looks rough change it.


BronkoMini

301 Posts
Member #: 10610
Senior Member

Wiltshire


On 26th Feb, 2019 burcy35 said:
Is the thread on that track rod end ok? Maybe it's just the picture a little unclear but if it looks rough change it.

I don’t remember it being bad. But I’ll have a look when I next get time to work on the car. Thanks for pointing it out


BronkoMini

301 Posts
Member #: 10610
Senior Member

Wiltshire

Been busy with work recently, but managed to do some stuff.
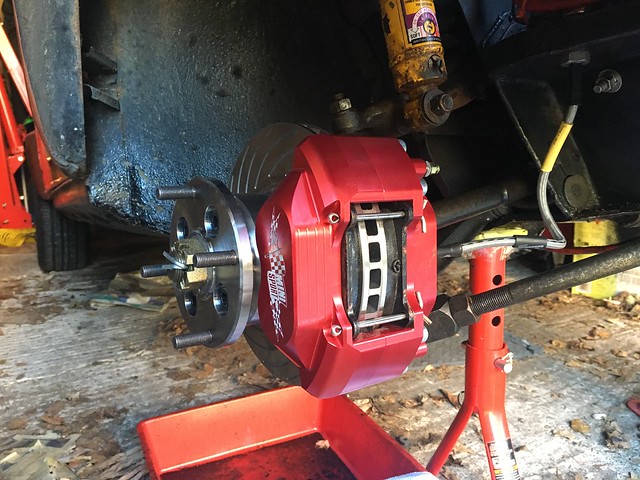
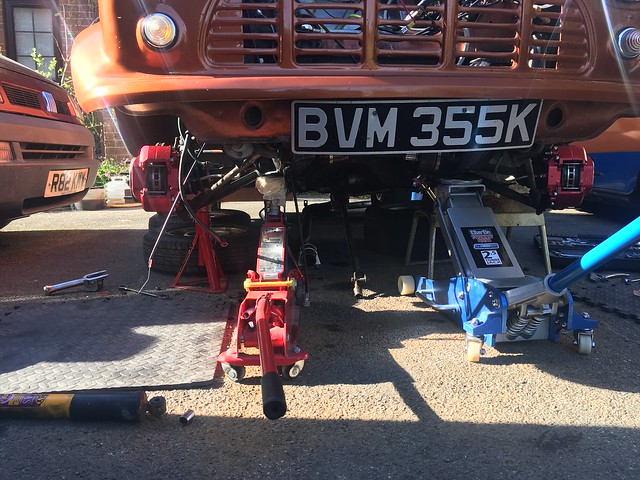
Spent far to long doing the brakes, as the discs were rubbing on the arm.
Drivers side went on ok:
Untitled by Bryn Kinsman, on Flickr
But the passenger side was a pig, also ended up bending the wheels studs, so had to take it all off again and change them:
Untitled by Bryn Kinsman, on Flickr
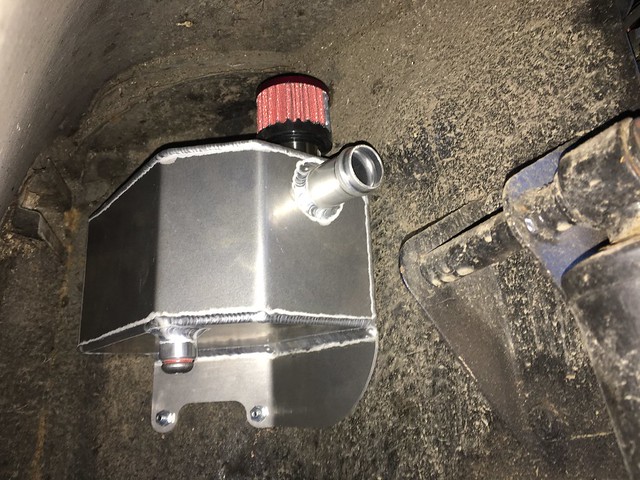
Fitted the catch can:
Untitled by Bryn Kinsman, on Flickr
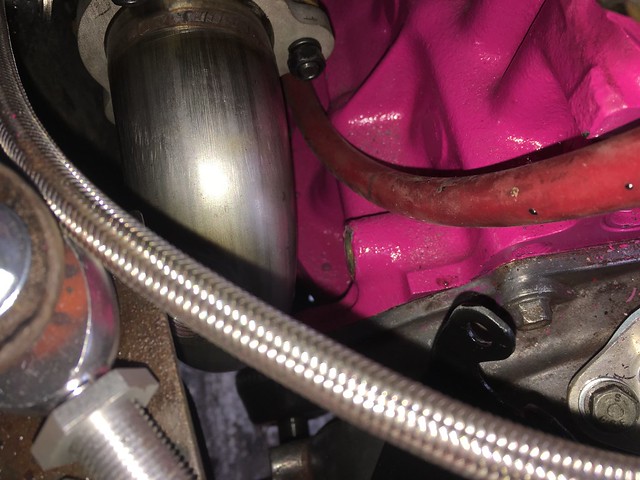
Went to fit the exhaust but the water drain got in the way so gonna have to get a 90 degree fitting instac and hope it clears the pipe:
Untitled by Bryn Kinsman, on Flickr
All these jobs seem to take forever

Edited by BronkoMini on 13th Mar, 2019.


BronkoMini

301 Posts
Member #: 10610
Senior Member

Wiltshire

Done a bit this afternoon.
Put the rocker cover on to make it look nicer, haha:
Untitled by Bryn Kinsman, on Flickr
Not got a picture but changed the clutch slave cylinder thing and hose:
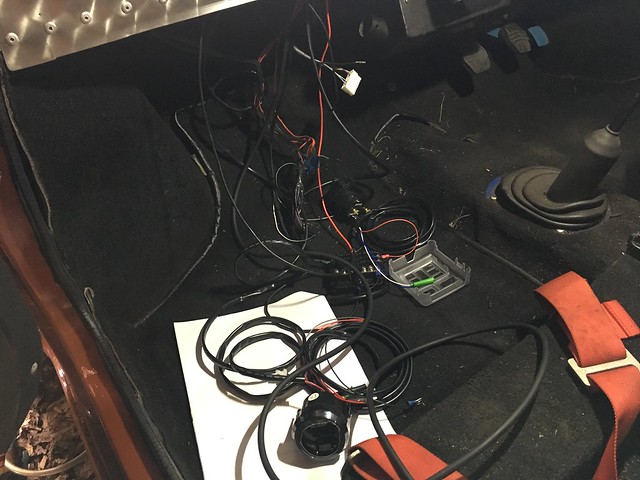
Started to lay out the megajolt wiring:
Untitled by Bryn Kinsman, on Flickr
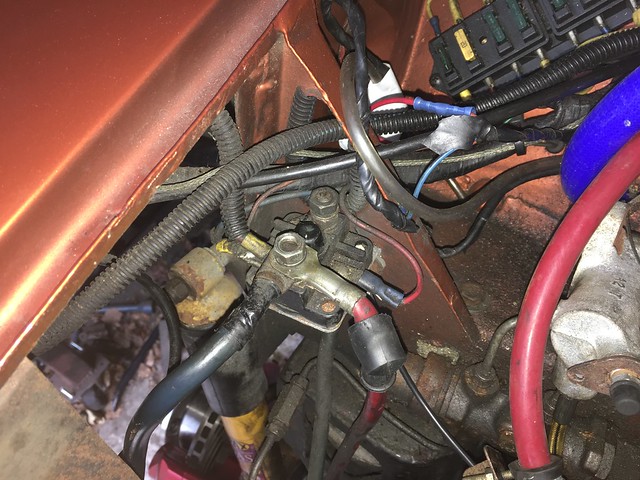
And also set about changing the wiring for the pre engaged starter motor, im using the original solenoid as a relay as has been advised, ive put both the battery feed and feed to the starter motor on the same terminal but thats as far as ive got as im confused:
Untitled by Bryn Kinsman, on Flickr
The wire colours dont seem to match what everyone has said online:
Untitled by Bryn Kinsman, on Flickr


BronkoMini

301 Posts
Member #: 10610
Senior Member

Wiltshire

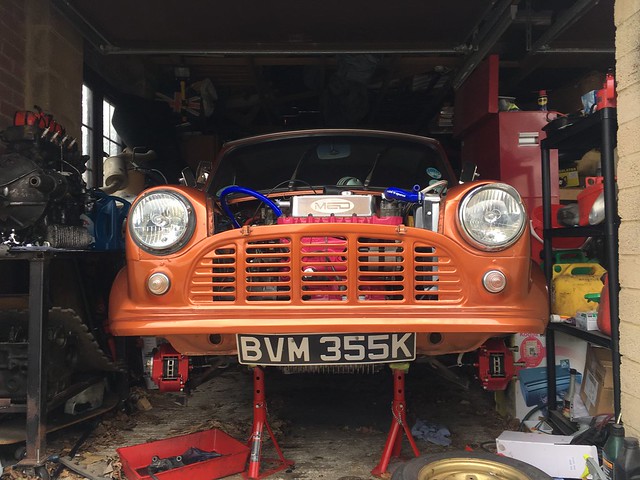
Getting there, just need to sort the wiring and get an air filter, also fill all the liquids etc:
Untitled by Bryn Kinsman, on Flickr


BronkoMini

301 Posts
Member #: 10610
Senior Member

Wiltshire

Edis etc located:
Untitled by Bryn Kinsman, on Flickr
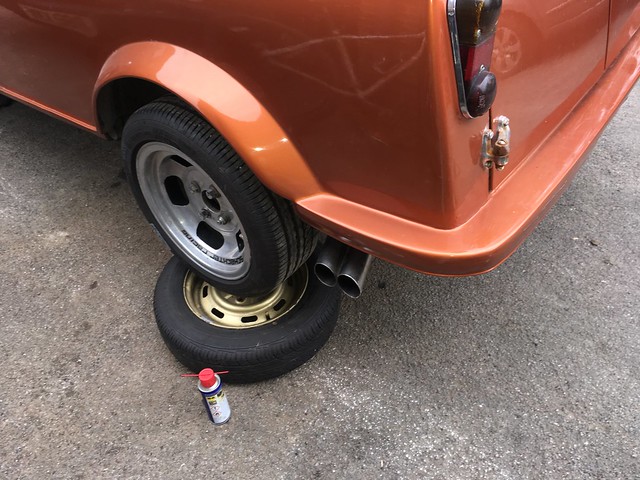
Exhaust modified and fitted:
Untitled by Bryn Kinsman, on Flickr
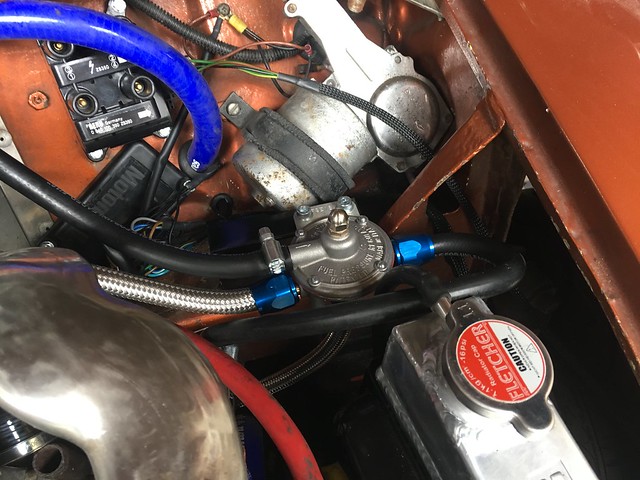
Fuel pressure regulator bracket made up:
Untitled by Bryn Kinsman, on Flickr
And fitted:
Untitled by Bryn Kinsman, on Flickr
Radiator top bracket made and fitted:
Untitled by Bryn Kinsman, on Flickr
Rear brakes changed, just need bleeding:
Untitled by Bryn Kinsman, on Flickr
Boost controller plumbed in just need wiring in:
Untitled by Bryn Kinsman, on Flickr
Fuel pressure gauge fitted inline:
Untitled by Bryn Kinsman, on Flickr


BronkoMini

301 Posts
Member #: 10610
Senior Member

Wiltshire

So we’ve got it cranking over. The fuel pressure gauge doesn’t seem to pick up anything. Tried changing the regular turning it both ways but nothing. There’s definitely fuel going through. Now we can’t seem to read what’s on the megajolt:
https://youtu.be/hzx097G7YWM


BronkoMini

301 Posts
Member #: 10610
Senior Member

Wiltshire

It starts
https://youtu.be/Ju6qSz003m8


BronkoMini

301 Posts
Member #: 10610
Senior Member

Wiltshire

It starts
https://youtu.be/Ju6qSz003m8


BronkoMini

301 Posts
Member #: 10610
Senior Member

Wiltshire

Rolling road booked for next Friday. Just need to fit an air filter. Mount the gauges and megajolt. And try and bleed the brakes again. Failed miserably yesterday.


BronkoMini

301 Posts
Member #: 10610
Senior Member

Wiltshire

Sooo rolling road done, there was so much fiddling around with needles etc, but eventually it was sorted, we discovered the temp gauge doesnt work and to get the correct fuel pressure the screww has to be wound fully in so the locking nut cant be put on. Also discovered a little fuel leak.

Anyway, we've set the boost to 6psi to be safe as we want the car to make it to L2B, when it was set at 6.8psi it got 110 bhp, but reducing got us to a safe 98bhp and 112Ibs/ft

Pictures and a video to follow.


BronkoMini

301 Posts
Member #: 10610
Senior Member

Wiltshire

https://www.youtube.com/watch?v=MxeSLJHGsws


BronkoMini

301 Posts
Member #: 10610
Senior Member

Wiltshire

Untitled by Bryn Kinsman, on Flickr


jonny f

User Avatar

2094 Posts
Member #: 9894
Post Whore

Dorking

good work. Nice amount of power.


BronkoMini

301 Posts
Member #: 10610
Senior Member

Wiltshire

Thank you its enough for us currently


On 3rd May, 2019 jonny f said:
good work. Nice amount of power.


BronkoMini

301 Posts
Member #: 10610
Senior Member

Wiltshire

So long time no post:
We managed to bleed the brakes etc.
Took it top Himley hall for a shakedown for London to Brighton. That went horribly wrong, on the way there the oil pressure guage pipe started to leak, spraying oil all over the engine, so we had to buy a new one there:
Untitled by Bryn Kinsman, on Flickr
The engine breathed heavily and smoked alot so we thought the rings must be dodgy as the engine had been sat a while, it then started to smoke more, this time white smoke and it over heated, boiled over, water all came out the turbo water return.
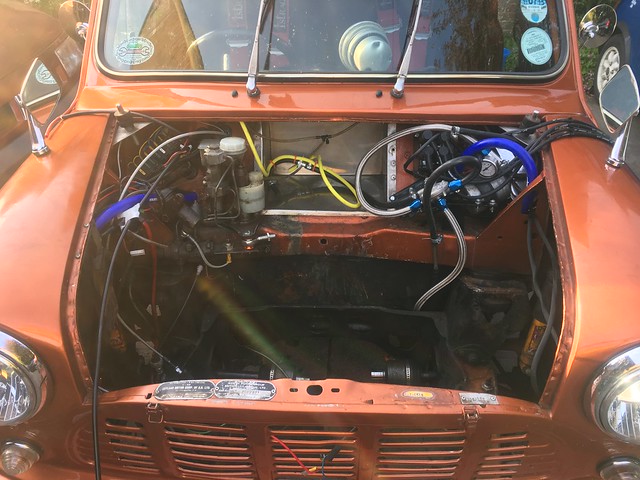
We came to the conclusion the head gasket had gone. Also it was dangerous as the steering rack was awful so was a hand full. So we decided to take the engine out the Monday before L2B, so we had better access:
Untitled by Bryn Kinsman, on Flickr
Took the head off:
Untitled by Bryn Kinsman, on Flickr
Only to discover the cause of the smoking and heavy breathing:
Untitled by Bryn Kinsman, on Flickr
We needed the car back on the road for L2B so put on a new gasket and assembled it all.
We then changed the rack:
Untitled by Bryn Kinsman, on Flickr
Next we decided to change the wheel baring as it wasnt the best, the old race got stuck in the hub so we bought a new one, ended up having to get a new drive shaft, 2 new inner pot joints and a outer cv:
Untitled by Bryn Kinsman, on Flickr
Safety first haha:
Untitled by Bryn Kinsman, on Flickr
We got it all back in on Saturday, took it for a test drive, re torqued the head and washed it ready for L2B:
Untitled by Bryn Kinsman, on Flickr
Made it to Crystal palace, but the water temp guage stopped working, we think this happened as my brother managed to make the oil pressure braided tube live which melted a lot of stuff and damaged the water capillary tube, that meant changing of the oil pipe and some other stuff on the Saturday. Its scary driving without a temp gauge:
Any way we made it to Brighton quite late as we lost the clutch, the lock nut on the adjuster came loose and caused it to wind in, we found out what was wrong thanks to the help of a kind man. We didnt have the right size spanner so we had to call the AA, the AA man had a K series mini which was cool. He also had to bleed the clutch again as it got air in when i was fiddling with it:
Untitled by Bryn Kinsman, on Flickr
We eventually made it to Brighton. And then home now without any other issues other than what i think is the actuator sticking open so no boost was produced occasionally:
Untitled by Bryn Kinsman, on Flickr
Not sure if that made any sense haha


BronkoMini

301 Posts
Member #: 10610
Senior Member

Wiltshire

Little video from the run:
https://youtu.be/HRLzonshJJs


BronkoMini

301 Posts
Member #: 10610
Senior Member

Wiltshire

https://www.youtube.com/watch?v=HRLzonshJJs


BronkoMini

301 Posts
Member #: 10610
Senior Member

Wiltshire

So the vans smoking habits and heavy breathing have got awful, so now we're starting the van MK2, so we've bought a short block off Dave on the Turbo mini page on face book, its a 1293,omega die cast pistons, blanaced internals, arp bolts, turbo oil pump and a phase 2 avr cam, its got an 11 stud head built by Ben Ross, apparently built for 200BHP, were gonna go a bit safer than that and aim for the 160 mark. We need to buy some head studs. Also bought a set of MED race straight cut gears. We'll use the rockers off the old engine, i'm presuming that will be ok? Also using the clutch and flywheel etc.

Not got any pics of the engine as its wrapped up currently.
Also got some shinny bits:
Untitled by Bryn Kinsman, on Flickr
Going to buy a Fusion Plenum as it will make the rolling road set up easier, also going to get a better intercooler and some better piping as the current ones are a bit dull.


BronkoMini

301 Posts
Member #: 10610
Senior Member

Wiltshire

We also need to decide whether we paint the new engine pink as well.
Also we need a new dump valve as the current one is sticking open so we have no boost. Any recommendations would be great thanks.


BronkoMini

301 Posts
Member #: 10610
Senior Member

Wiltshire

More bank balance reduction*frown*
Untitled by Bryn Kinsman, on Flickr


JackZwiebel

113 Posts
Member #: 11786
Advanced Member

Nice Van! *happy*

Do you have a idea what caused the cylinder wall damage?


BronkoMini

301 Posts
Member #: 10610
Senior Member

Wiltshire

Thank you! One of the mechanics in our mini club reckons it was the pin from the piston. It might have worked it’s way out. It was like it when we bought it. I’ll know once we strip the engine down


On 14th Jun, 2019 JackZwiebel said:
Nice Van! *happy*

Do you have a idea what caused the cylinder wall damage?

Home > Show Us Yours! > Meight the mini. Now mini van
Users viewing this thread: none. (+ 3 Guests) <- Prev   Next ->
To post messages you must be logged in!
Username: Password:
Page: