| Page: |
| Home > Show Us Yours! > Massive, uneconomical, rusty project | |||||||
|
4304 Posts Member #: 1321 Post Whore Wiltshire |
20th Sep, 2011 at 04:42:43pm
Well done, the car is getting there! On 7th Oct, 2010 5haneJ said:
yeah I gave it all a good prodding |
||||||
|
288 Posts Member #: 6267 Senior Member Bristol |
12th Jan, 2012 at 04:10:57pm
I thought I'd post just to show I haven't given up completely. There are various reasons why I haven't achieved much in the last few months. The first is I went to Sweden and bought a 1963 Volvo Amazon with a friend and although it isn't mine I have spent a lot of time working on it. The second is I'm getting really pissed off with the prices I am having to pay for original parts either NOS or good used where repro stuff is not available or the quality is poor. It's been months since I've had any money and I've just had enough of it, I have 4 other cars which aren't at all cheap to run and I can't justify spending so much on this one.
Edited by Flame Red on 12th Jul, 2017. |
||||||
 8297 Posts Member #: 408 Turbo Love Palace Fool Aylesbury |
12th Jan, 2012 at 06:38:35pm
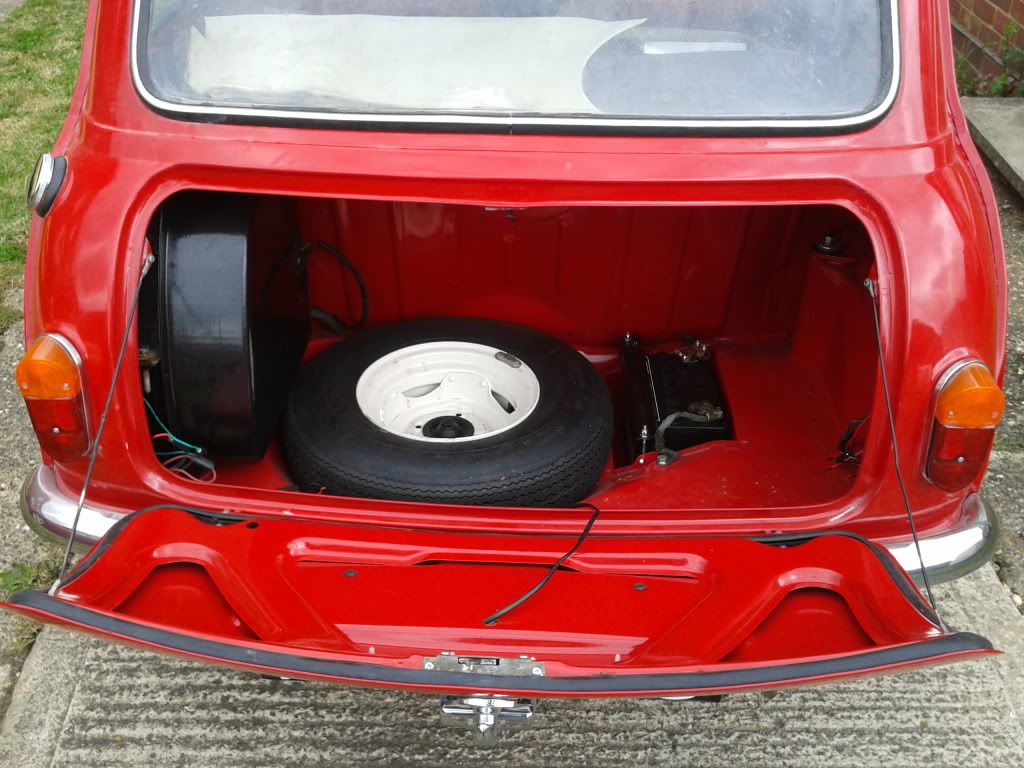
Ive got a post 63 tank if you've got a pre 63? https://www.facebook.com/pages/Fusion-Fabri..._homepage_panel
|
||||||
|
288 Posts Member #: 6267 Senior Member Bristol |
12th Jan, 2012 at 08:36:58pm
On 12th Jan, 2012 matty said:
Ive got a post 63 tank if you've got a pre 63?  I have got a pre 63 tank, it is a screw in sender type with early style drain plug. I also have a NOS Smiths sender with cork gasket and screws. The tank has been powder coated but from what I remember it isn't perfect, it has a couple of light dents which aren't very apparent but are noticeable if you look for them. It also needs to be flushed before it is used. I will get you some pictures if you're interested. |
||||||
 8297 Posts Member #: 408 Turbo Love Palace Fool Aylesbury |
12th Jan, 2012 at 08:44:45pm
Thats the type I need! 0-90 ohm sender?
https://www.facebook.com/pages/Fusion-Fabri..._homepage_panel
|
||||||
|
288 Posts Member #: 6267 Senior Member Bristol |
13th Jan, 2012 at 06:17:43pm
On 12th Jan, 2012 matty said:
Thats the type I need! 0-90 ohm sender? This is my tank, I stripped all of the paint off back to bare metal, etch primed the painted black. The sender doesn't work anymore, as I was trying to get it to work with my gauge. If you're interested in a p/x let me know. I've got some pictures of the tank and sender, as you can see the powder coat isn't excellent, if I was going to use it I would flat it and paint it. It does look very solid considering it is 50 years old. I don't know the resistance range of the sender but I can check if you want, the part number is correct for use with a non voltage stabilised fuel gauge. However, I am aware that people have had issues with matching a sender with a gauge so I can't be sure it will work, you are welcome to test it first if you want. Is your tank the locking ring sender type and does it have a drain plug? I would be interested in a px if you are. Edited by Flame Red on 12th Jul, 2017. |
||||||
 8297 Posts Member #: 408 Turbo Love Palace Fool Aylesbury |
13th Jan, 2012 at 09:06:56pm
Yep ive got a non voltage stabiliser gauge, tank looks spot on what im after too.
https://www.facebook.com/pages/Fusion-Fabri..._homepage_panel
|
||||||
|
288 Posts Member #: 6267 Senior Member Bristol |
14th Jan, 2012 at 05:22:40pm
The drain plug changed to the long type in Feb 63 but I'm not sure there was any end point. My guess would be they were phased out around 66. It's not really important I was just wondering if I would have to put a hole in my boot floor, if you don't have the hole it shouldn't be a problem with the early type anyway. I'll PM you now. |
||||||
|
288 Posts Member #: 6267 Senior Member Bristol |
14th May, 2012 at 06:00:53pm
I've actually done something!
Edited by Flame Red on 12th Jul, 2017. |
||||||
|
288 Posts Member #: 6267 Senior Member Bristol |
15th May, 2012 at 06:20:09pm
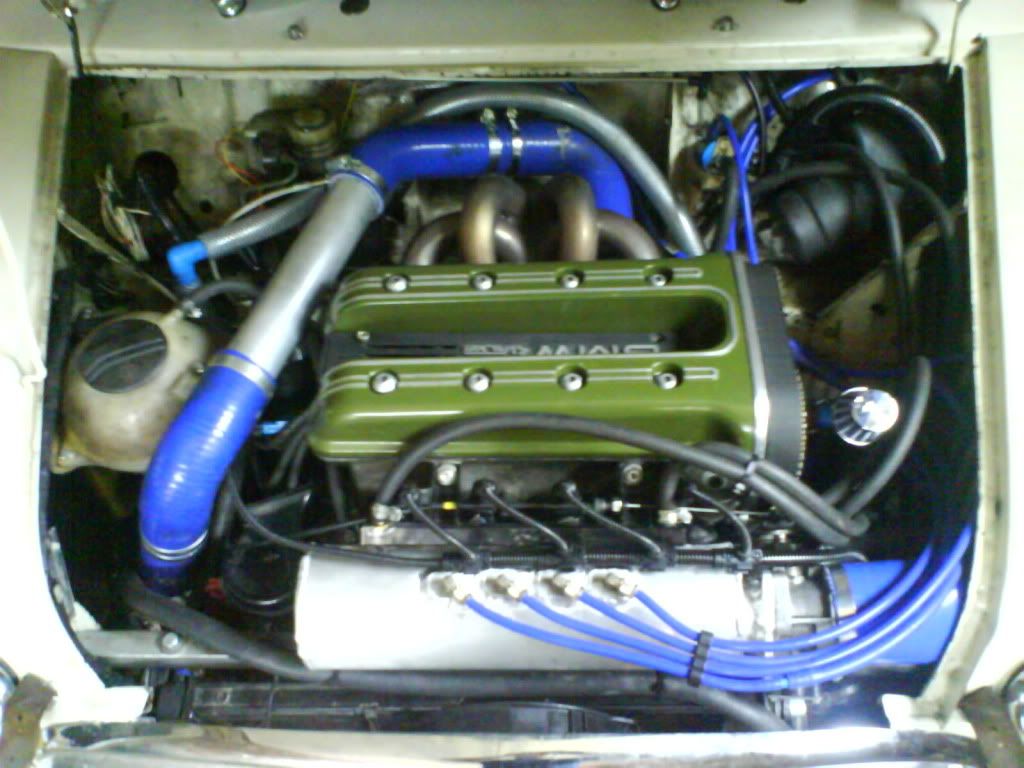
I've spent some time looking at the radiator today. With my current radiator the only option would be to cut the starter motor housing back at least 10mm, I don't want to do that. I could also space the grille out, but unless I can roll the bottom edge of the front panel, which I don't think I can, I would have to cut it and the cut will go lower than the bottom of the grille. Again, something that I'm trying to avoid as I want to keep the outside looking as tidy as possible.
|
||||||
|
Site Admin  15300 Posts Member #: 337 Fearless Tom Fenton, Avon Park 2007 & 2008 class D winner & TM legend. |
15th May, 2012 at 07:39:20pm
If you do decide to go back to side mount, you could do what I have done to my MPI inner wing, cut a neat circle out and fit the SPI type electric fan there. Done neatly with some Rayrim edging it looks factory.
On 29th Nov, 2016 madmk1 said:
On 28th Nov, 2016 Rob Gavin said:
I refuse to pay for anything else Like fuel 😂😂 |
||||||
|
288 Posts Member #: 6267 Senior Member Bristol |
15th May, 2012 at 07:47:23pm
I've considered something like that Tom. I did think about getting a radiator shroud like the early cars had, that way you'd never see the cut out from the inside. Then I'd fit an electric fan under the wheel arch and you'd never know.
|
||||||
 641 Posts Member #: 9937 Post Whore somewhereintheuniverse near selkirk scotland |
15th May, 2012 at 11:10:57pm
top work mate gr8 pics true dedication on this build give em hell |
||||||
|
288 Posts Member #: 6267 Senior Member Bristol |
17th May, 2012 at 07:55:00pm
The Maestro radiator has arrived, I'm really pleased with the fit. I'm going to notch the front panel for the crimp on the end tanks but hopefully that will be it. I think I need an even smaller alternator and the slimmest blow through fan I can find, I know a suck through is more efficient but I just don't think there is space for one.
Edited by Flame Red on 12th Jul, 2017. |
||||||
|
288 Posts Member #: 6267 Senior Member Bristol |
25th Apr, 2013 at 05:21:30pm
No useful update I'm afraid, I'm actually amazed it's almost a year since the last one.
|
||||||
|
288 Posts Member #: 6267 Senior Member Bristol |
20th Apr, 2015 at 09:22:41pm
Ok, so I'm back in the UK after working in Australia, New Zealand and France. I'm only here for a couple of weeks, but as I'm briefly unemployed I thought I'd try and finally get this rad sorted. First of all, I had to give in and pay Brise even more money so I could get the correct pulley which I'm still waiting for. Secondly, I'm concerned that my rad is too small and as I have to heavily modify the front panel to get it to fit, I'm seriously considering other options. Maestro/Montego rads are the perfect height but the supply of NOS ones seems to have dried up so I'm open to options. Space is very tight and going back to side mount is an option I would like to avoid for a number of reasons, especially as it would mean re routing the intercooler pipework. |
||||||
 2094 Posts Member #: 9894 Post Whore Dorking |
20th Apr, 2015 at 09:37:23pm
Fiat cinquecento is a good fit and cheap!
|
||||||
|
288 Posts Member #: 6267 Senior Member Bristol |
20th Apr, 2015 at 10:03:30pm
I'm not a huge fan of the cinq rad as the inlet/outlet point the wrong way and are both on the same side. I'd consider having 2 rads in series as the curve of the front panel is what presents the problem for having one radiator across the whole panel. The maestro 1.3 rad I have is larger than the MPI rad, but I'd still like to get the biggest rad possible in there. |
||||||
|
239 Posts Member #: 7577 Senior Member belgium |
22nd Apr, 2015 at 01:03:18pm
i really like that rear fog lite and the attention to detail you put in this project. no half arse bodging an a real honest restoration, it all looks very nice |
||||||
|
288 Posts Member #: 6267 Senior Member Bristol |
16th Apr, 2017 at 12:20:22pm
I'm here for my biennial thread update. Unfortunately, despite being 2 years in the making, I've just returned to the UK for the first time in almost 2 years, so there's only about 2 hours of progress.
Edited by Flame Red on 12th Jul, 2017. |
||||||
|
288 Posts Member #: 6267 Senior Member Bristol |
15th May, 2017 at 11:55:08pm
I've put quite a few hours into this without a huge amount to show for it, but I think I can finally say that I have a front mounted radiator which clears the front panel, starter, alternator and bonnet. I made the decision that the blow through fan wasn't going to work without spacing the grille out too far, so the biggest compromise I've made is to run with a 7.5" suck through fan. As I wouldn't be mounting anything in front of the radiator I had to make a new slam panel to fill the gap. It looked simple, but with no shrinker I really struggled to get the shape, eventually I had this. I fitted captive nuts for radiator mounts and there are wiring loom tags spot welded underneath.
Edited by Flame Red on 12th Jul, 2017. |
||||||
| Home > Show Us Yours! > Massive, uneconomical, rusty project | |||||||
|
|||||||
| Page: |


