| Page: |
| Home > Show Us Yours! > k1200rs 1380 engine build | |||||||
|
1394 Posts Member #: 1346 Post Whore bromsgrove |
27th Jan, 2013 at 06:23:00am
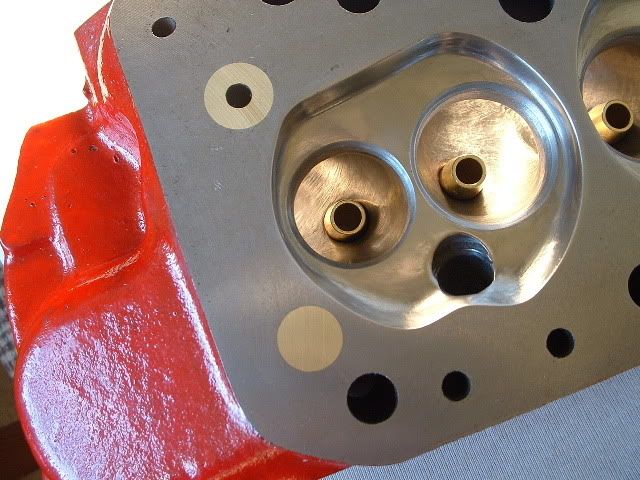
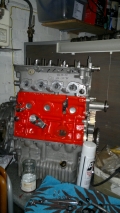
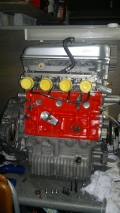
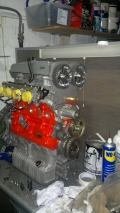
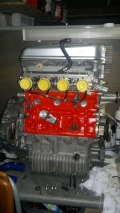
managed to have a day in the machince shop and got the gap between the cam buckets sorted,by taking a little off the top of the valve stem, all the inlet are 0.17and all the exhaust are 0.27. Have to say this was very time consuming. Another job done. |
||||||
|
1394 Posts Member #: 1346 Post Whore bromsgrove |
4th Mar, 2013 at 05:50:02am
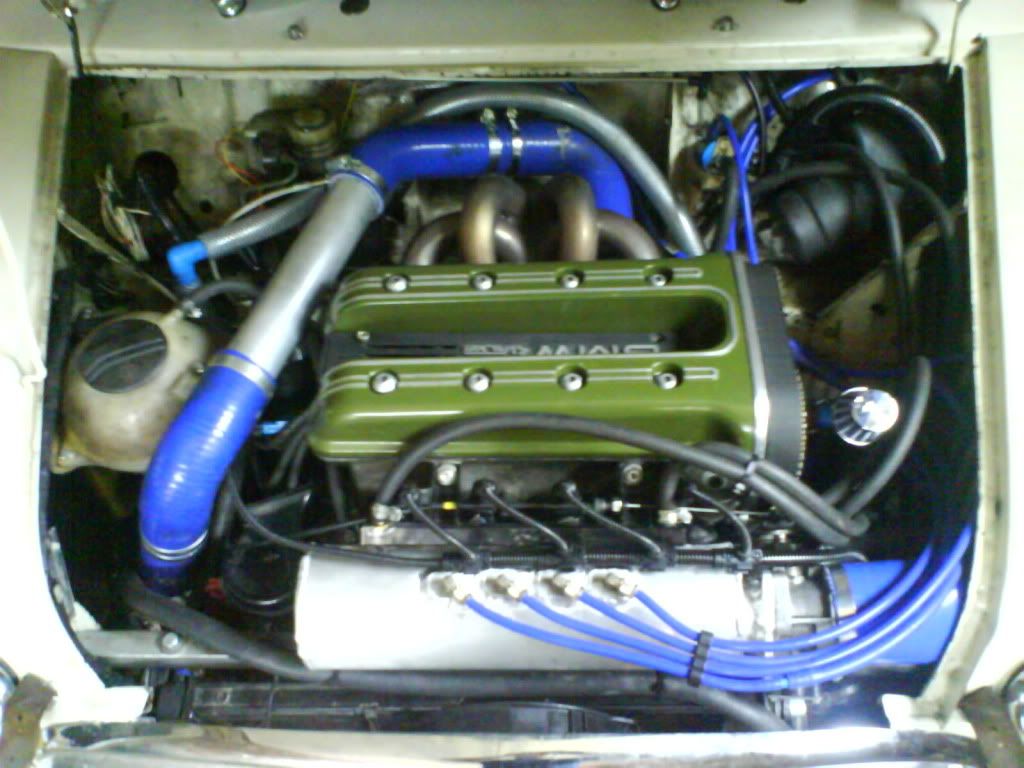
Have been able to do a little on the engine bay. covered up the webber box and put a hole a little higher up than normal, so engine bay ready for painting aswell as the cabin. I was thinking of doing it myself, then price up what I needed and the time needed to prep, better if I get someone to do it.
|
||||||
 6729 Posts Member #: 618 Post Whore Glasgow |
4th Mar, 2013 at 08:10:02am
I know where your coming from; cost of materials to the diy guy can make it extremely tempting to get a pro to do the job. |
||||||
|
1394 Posts Member #: 1346 Post Whore bromsgrove |
1st Apr, 2013 at 06:01:14pm
chiselled and scrapped away at the sound deadening over the weekend, the bulk of it came off easier, it was the scrapping of the residue which was very time consuming but a weight saving gain of around 15kg.
|
||||||
 4625 Posts Member #: 20 My sister is so fit I won't show anyone her picture Lake District |
1st Apr, 2013 at 07:11:23pm
On 1st Apr, 2013 philc said:
chiselled and scrapped away at the sound deadening over the weekend, the bulk of it came off easier, it was the scrapping of the residue which was very time consuming but a weight saving gain of around 15kg. 15kg ! I never realised it weighed so much, nice going. 
|
||||||
|
1394 Posts Member #: 1346 Post Whore bromsgrove |
28th Apr, 2013 at 03:22:43pm
Bought a set of arp head studs, wow!!! I was struggling to get the head on without a good hard tap, but with these arp studs the head slides on with ease, these are well worth the purchase. so I can now put the head on. |
||||||
|
4304 Posts Member #: 1321 Post Whore Wiltshire |
28th Apr, 2013 at 04:36:46pm
Nearly there!
On 7th Oct, 2010 5haneJ said:
yeah I gave it all a good prodding |
||||||
|
1394 Posts Member #: 1346 Post Whore bromsgrove |
6th May, 2013 at 07:06:46pm
little more progress on the engine bay, prepping is hard work, especially when I keep finding bits of surface rust. better to sort it now rather than later |
||||||
|
1394 Posts Member #: 1346 Post Whore bromsgrove |
27th May, 2013 at 06:58:24pm
I was permitted a full day on the car today, so cracked on with finishing and painting the engine bay, cabin and a lick of hammerite on the subframe. Flattening was hard, long and boring, but considering I'm not that good with body work I am happy with the results. I could not get the same colour match but close enough, just need another can to finish cabin off, so all in all a good productive day. |
||||||
|
104 Posts Member #: 10210 Advanced Member Durban, South Africa |
27th May, 2013 at 07:35:05pm
Some progress is better than no progress and it looks to be coming along quite nicely.
Life is always a matter of opinion and quite frankly, no ones opinion really matters. |
||||||
|
1394 Posts Member #: 1346 Post Whore bromsgrove |
4th Jun, 2013 at 05:45:14am
I seem to be getting there slowly but surely |
||||||
 8297 Posts Member #: 408 Turbo Love Palace Fool Aylesbury |
4th Jun, 2013 at 08:52:15pm
Nice one, nearly there now! https://www.facebook.com/pages/Fusion-Fabri..._homepage_panel
|
||||||
|
1394 Posts Member #: 1346 Post Whore bromsgrove |
17th Aug, 2013 at 06:31:33pm
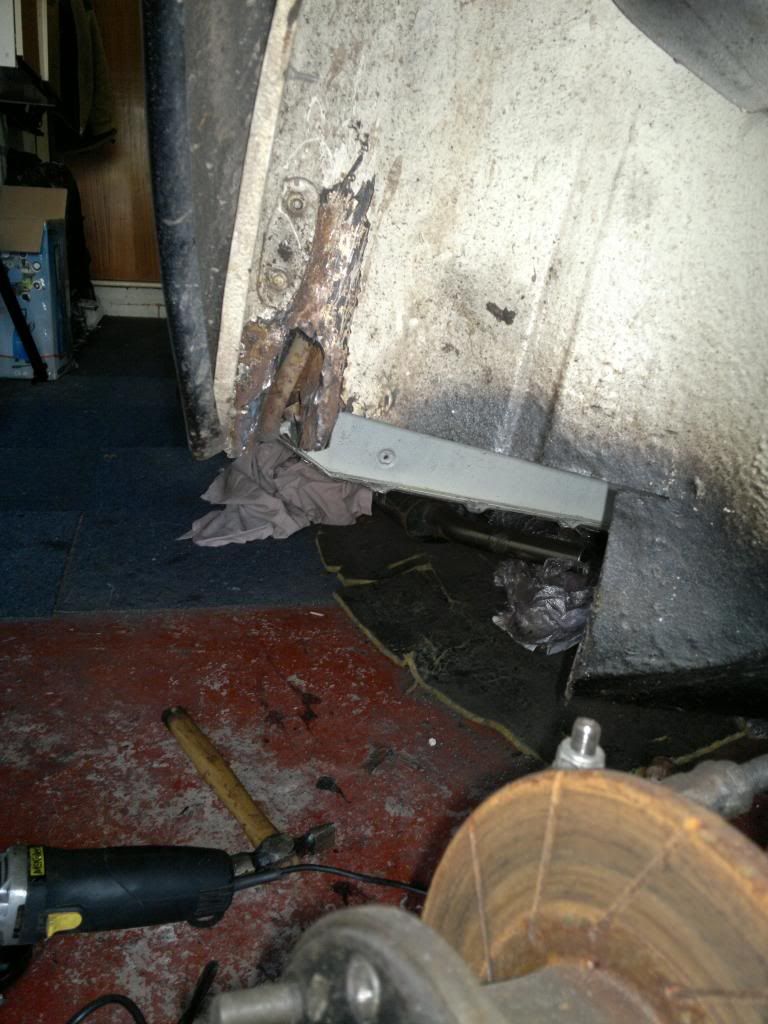
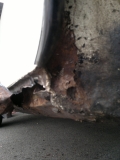
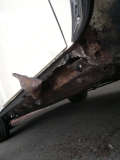
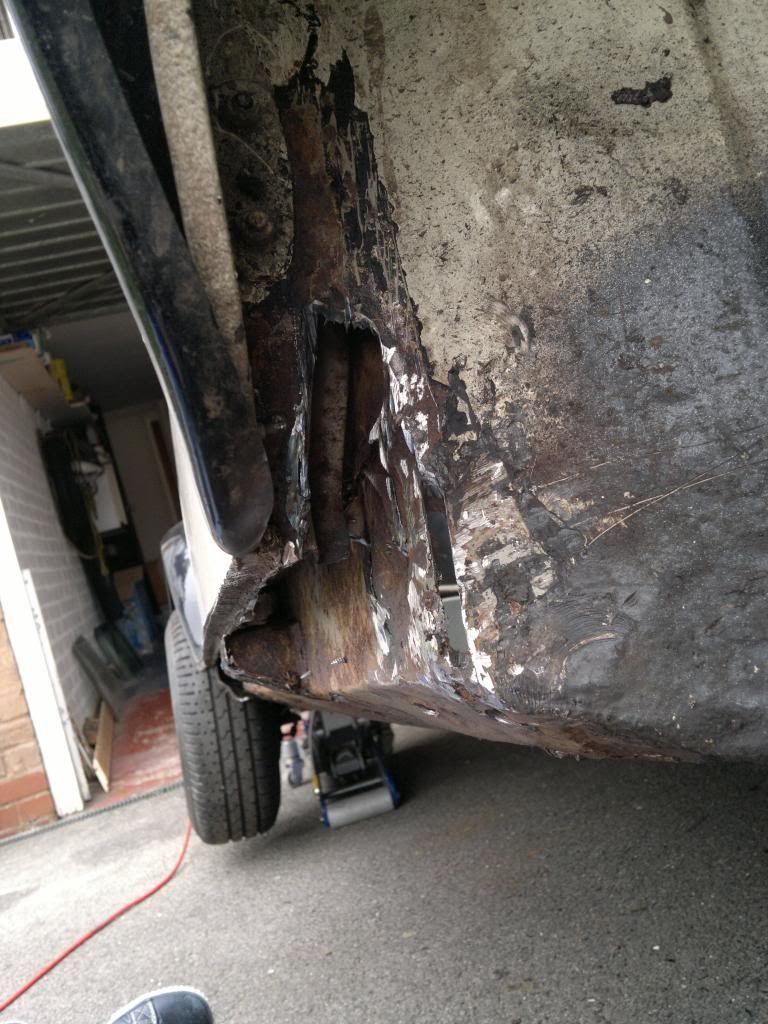
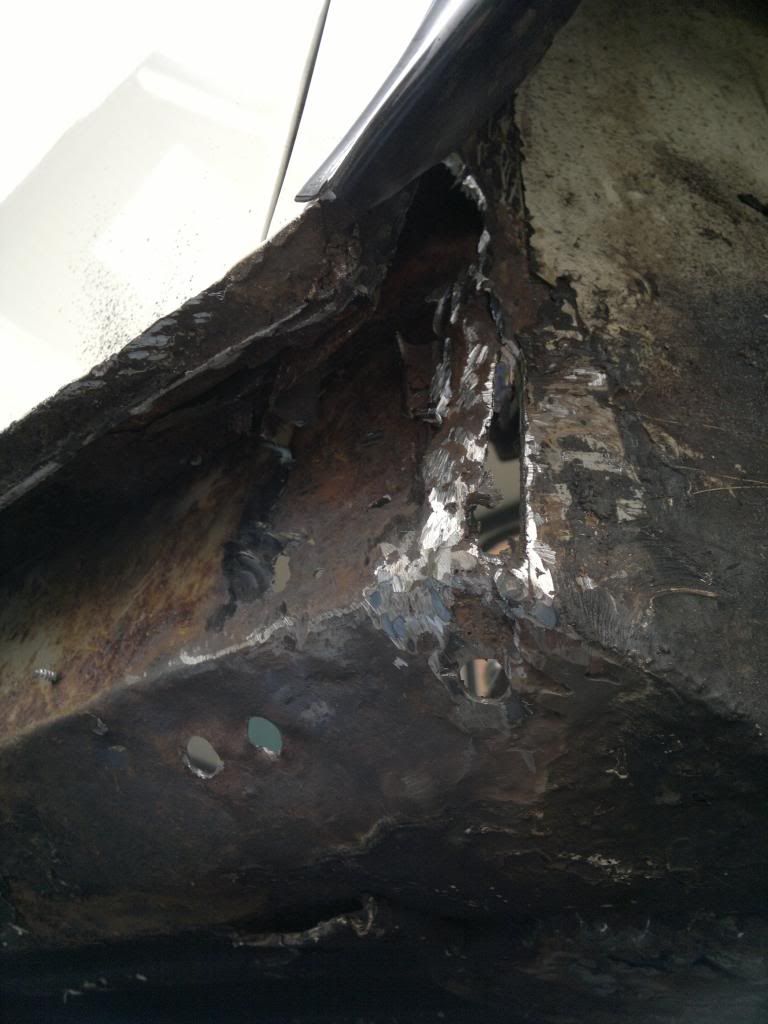
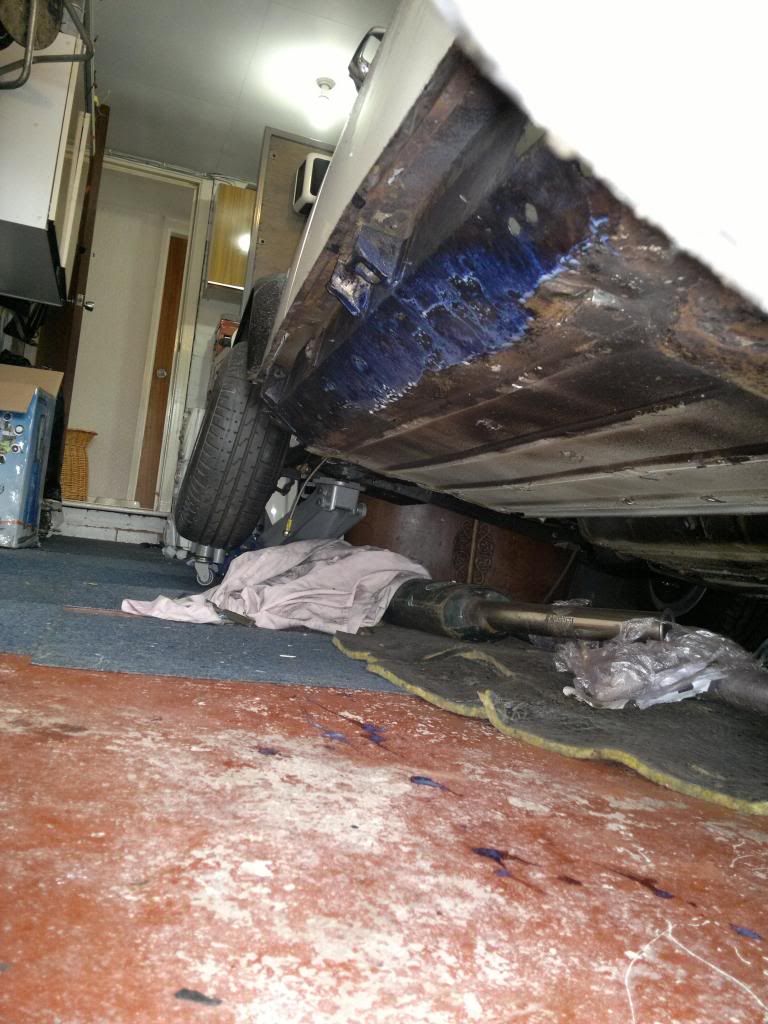
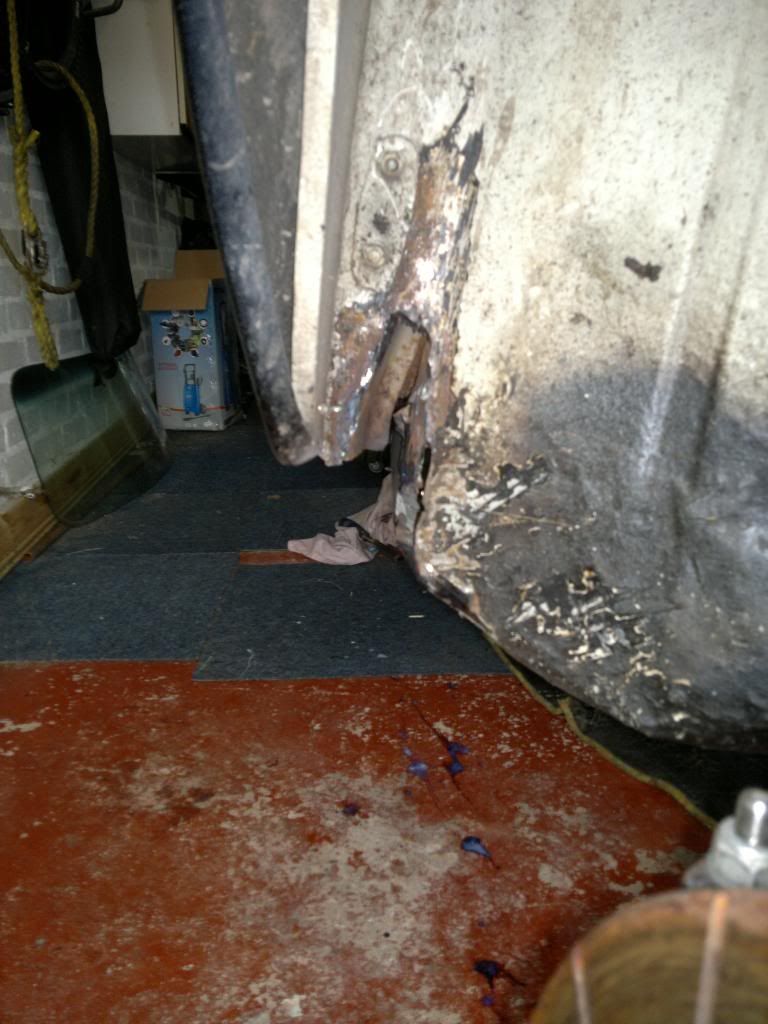
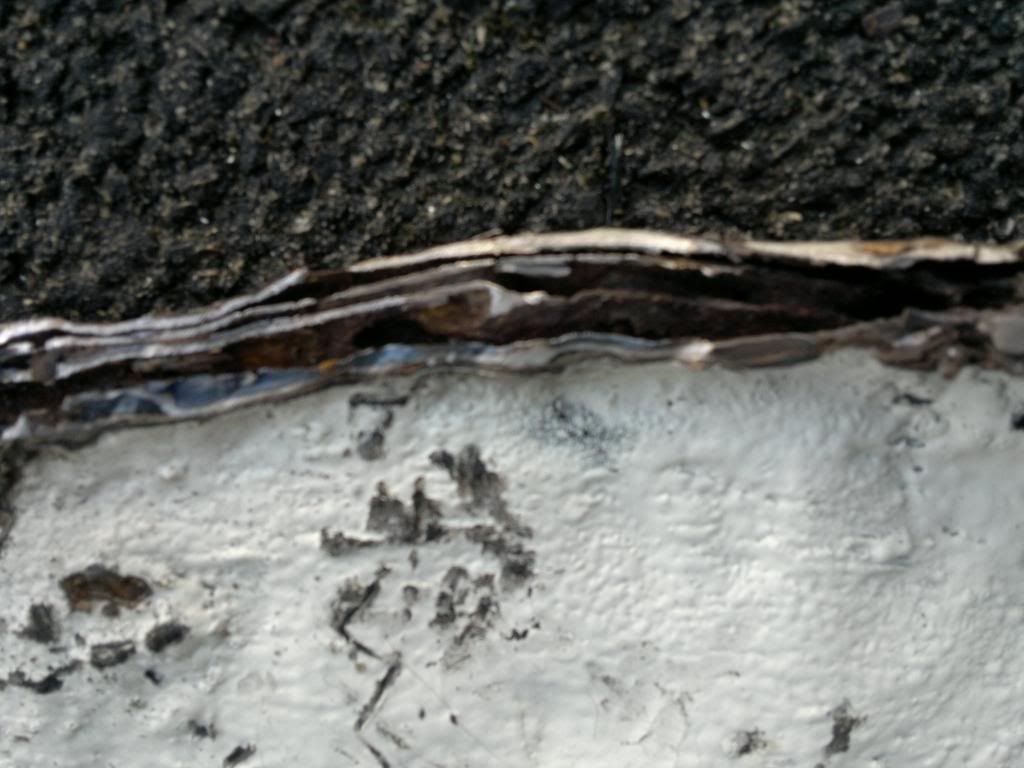
Thought I would have an easy straight forward day bolting in the roll cage, hell no, found that the sill is rotten and right in the corner of the wheel arch. what a bummer.
|
||||||
 16540 Posts Member #: 4241 King Gaycharger, butt plug dealer, Sheldon Cooper and a BAC but generally a niceish fella if you dont mind a northerner Rotherham, South Yorkshire |
17th Aug, 2013 at 07:04:37pm
Could be worse, at least you don't have oversills to deal with. On 11th Feb, 2015 robert said:
i tried putting soap on it , and heating it to brown , then slathered my new lube on it 
|
||||||
|
1394 Posts Member #: 1346 Post Whore bromsgrove |
1st Sep, 2013 at 07:15:56pm
today I have fitted the fuel lines, both subframes had to be dropped, a bigger hole cut in the boot for the pipes and the fuel line clips fixed to the floor. I also had to cut about an inch from the sub frame to get the pipes into the boot.
Edited by philc on 2nd Sep, 2013. |
||||||
 2500 Posts Member #: 648 Post Whore Northern Ireland (ex AUS) |
2nd Sep, 2013 at 06:12:33pm
My MPi tank was a little short after replacing the sponge seal and outer rubber seal. Just make sure its sitting correctly and the strap is done up nice and tight, mine seams OK now after jiggling it about and tightening the strap (please no one sig that). On 7th Nov, 2008 Nic said:
naeJ m !!!!!!sdrawkcab si gnihtyreve ?droabyekym ot deneppah sah tahw ayhwdd |
||||||
 11046 Posts Member #: 965 Post Whore Preston On The Brook |
2nd Sep, 2013 at 08:44:38pm
Ok so if you managed to get those fuel lines to fit and they will work like that, good, but the fuel lines look to be installed the wrong way round. The front is at the back?...
On 26th Oct, 2004 TurboDave16v said:
Is it A-Series only? I think it should be... So when some joey comes on here about how his 16v turbo vauxhall is great compared to ours, he can be given the 'bird'... On 26th Oct, 2004 Tom Fenton said:
Yep I agree with TD........ |
||||||
|
940 Posts Member #: 1424 Post Whore Carnforth, Lancs |
2nd Sep, 2013 at 10:06:19pm
I don't think the tank is in right yet, although the necks stick out les than earlier ones, I'm sure it should protrude more than it is.
|
||||||
 84 Posts Member #: 10547 Advanced Member Northern Ireland |
5th Sep, 2013 at 08:55:31pm
Would you be using a force conversion kit? Instagram: bighill93
|
||||||
|
1394 Posts Member #: 1346 Post Whore bromsgrove |
9th Sep, 2013 at 06:01:19am
On 2nd Sep, 2013 Sprocket said:
Ok so if you managed to get those fuel lines to fit and they will work like that, good, but the fuel lines look to be installed the wrong way round. The front is at the back?... Also, do you really need he breather line going to the front of the car? The MPi tank has a shorter filler neck and originally used a different shorter body seal. It was one of those complience things that Rover had to do. thanks for the advice, I do have the line in the right was as the filter was at the back which I have taken off to fit. Fair point on the breather line, I suppose this could just drop out of the boot floor like the old style. On 5th Sep, 2013 jayme said:
Would you be using a force conversion kit? I bought mine off sprocket, but ultimately they are the same as force, I cannot comment to whether these are better or worse than SC's kits. On 2nd Sep, 2013 graemec said:
I don't think the tank is in right yet, although the necks stick out les than earlier ones, I'm sure it should protrude more than it is. To me it looks like the tank flange is sat against the boot lid cable bracket and that you have possibly mistakenly put the strap bolt through the hole in the tank flange too. If so the tank will move slightly forward and then the top lean over a bit further Thanks, I have next week off and will be having another look at this, I did notice the cable bracket and was fettled with, but still didn't fit as I would like it to, but as you say the neck is not as long as others. I will make it fit 
|
||||||
|
1394 Posts Member #: 1346 Post Whore bromsgrove |
19th Sep, 2013 at 07:03:31pm
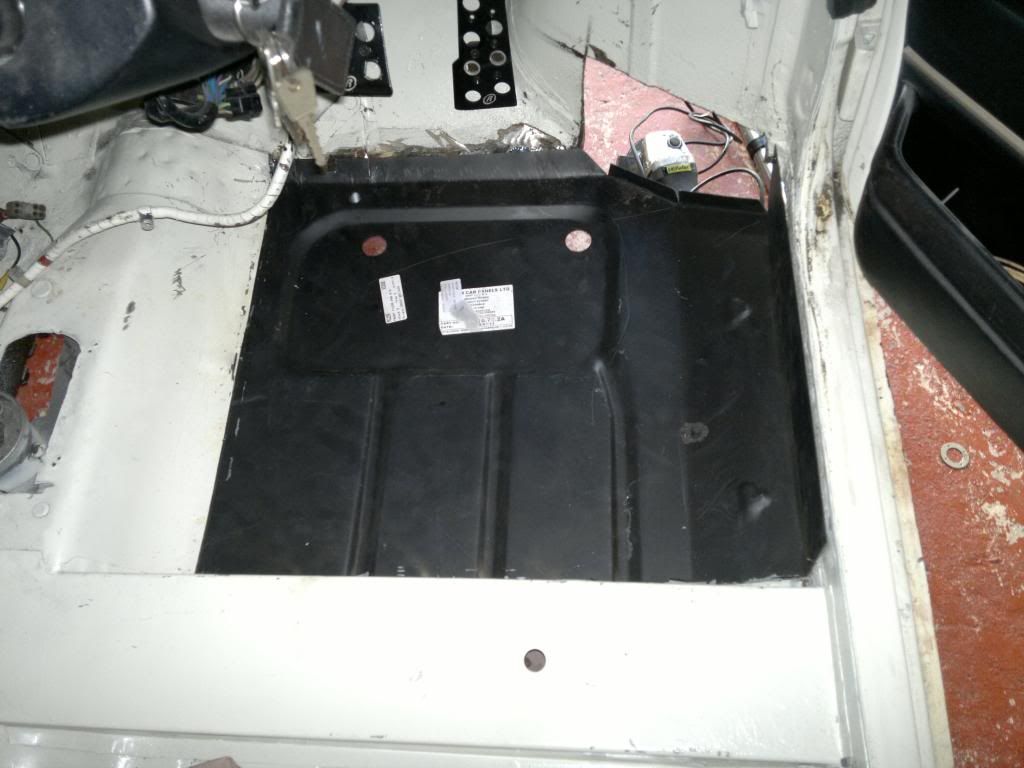
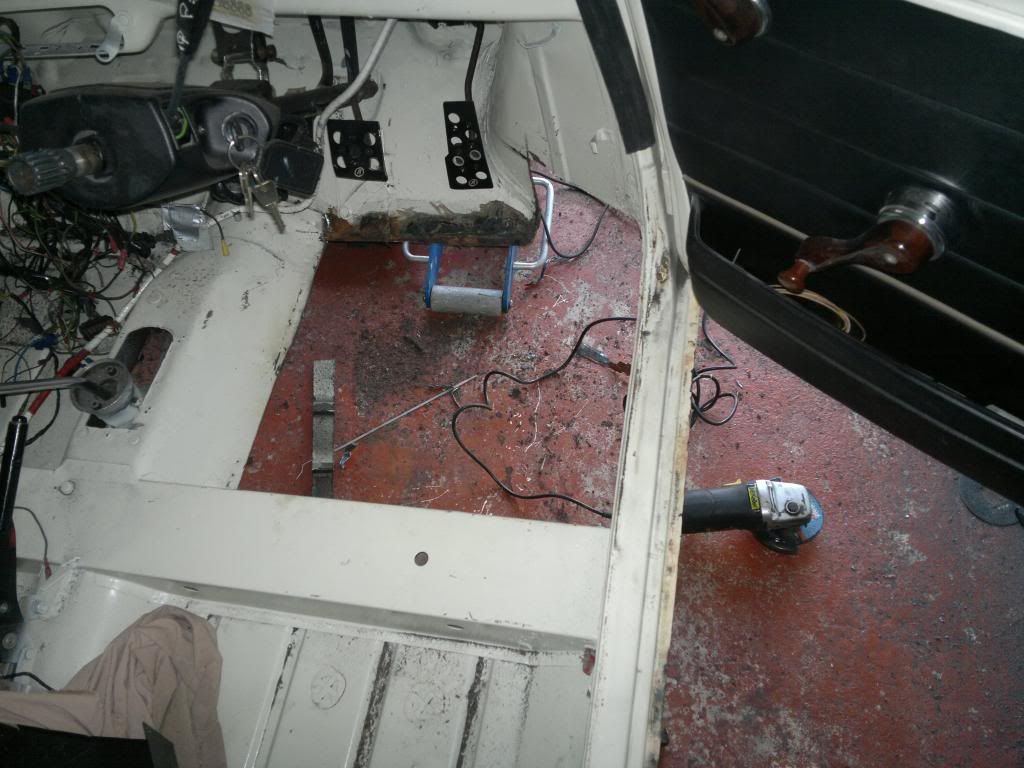
Not sure whether today was a good or bad day, the plan was to put new sill on, after a bit of digging around and finding more rust and looking at the floor and wheel arch welded patches. Rather than patching it further so it looks like one of those family quilts, I decided to cut the patches and floor out. The logic is so that firstly it looks better and mostly so I don't have to do it later.
Edited by philc on 19th Sep, 2013. |
||||||
|
1394 Posts Member #: 1346 Post Whore bromsgrove |
1st Jan, 2014 at 02:37:48pm
progress remains slow, but is better than nothing at all.
|
||||||
 11046 Posts Member #: 965 Post Whore Preston On The Brook |
1st Jan, 2014 at 04:13:54pm
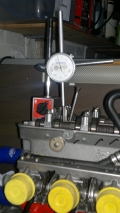
Phil, the cylinder you are using is cylinder 4. This shouldn't affect the setting of the cam timing though.
On 26th Oct, 2004 TurboDave16v said:
Is it A-Series only? I think it should be... So when some joey comes on here about how his 16v turbo vauxhall is great compared to ours, he can be given the 'bird'... On 26th Oct, 2004 Tom Fenton said:
Yep I agree with TD........ |
||||||
|
1394 Posts Member #: 1346 Post Whore bromsgrove |
31st Mar, 2014 at 03:04:27pm
dropped the engine in today.
|
||||||
|
1394 Posts Member #: 1346 Post Whore bromsgrove |
1st Apr, 2014 at 02:16:02pm
todays update- have put fitted the hardy shafts, and fitted the exhaust manifold, this took a little time as it needed fettling at the end as it was not going into the ports. then noted that the where not cut square.After contacting sc they assured me this would be fine as inside is a copper ring which can adjust and now fitted, but until it started up I have no way of knowing if they are sealed. |
||||||
| Home > Show Us Yours! > k1200rs 1380 engine build | |||||||
|
|||||||
| Page: |







 [/URL]09-19-934_zpse19ccd3b.jpg[/IMG][/URL]
