Donations towards server fund so far this month.

 
£0.00 / £100.00 per month
Page:
Home > Show Us Yours! > 1985 city slicker, with added blow

Monstrous

28 Posts
Member #: 9362
Member

Well im halfway through the project, so i will post info from the past, right up to the present day:

Started off as a completely standard 1985 City, with no rust, and had just had a semi restoration by the previous owner replacing all the rusty bits, so the shell was 99% rust free. He had then roller painted it in rustoleum red


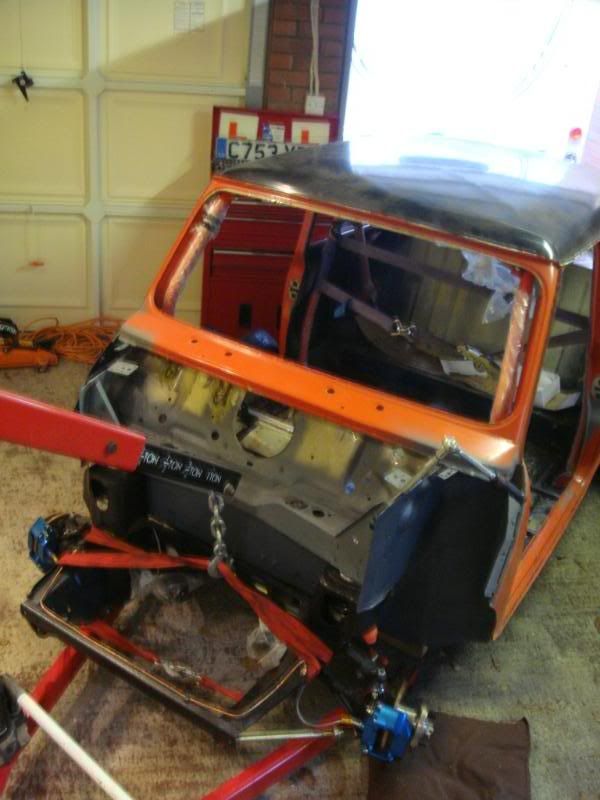
Stripped her down completely bar the subframes, so i could whack off the front end and fit an FG front


welded on brackets and relocated washer bottle


img]http://i22.photobucket.com/albums/b332/monstrous/IMG_0426.jpg[/img]

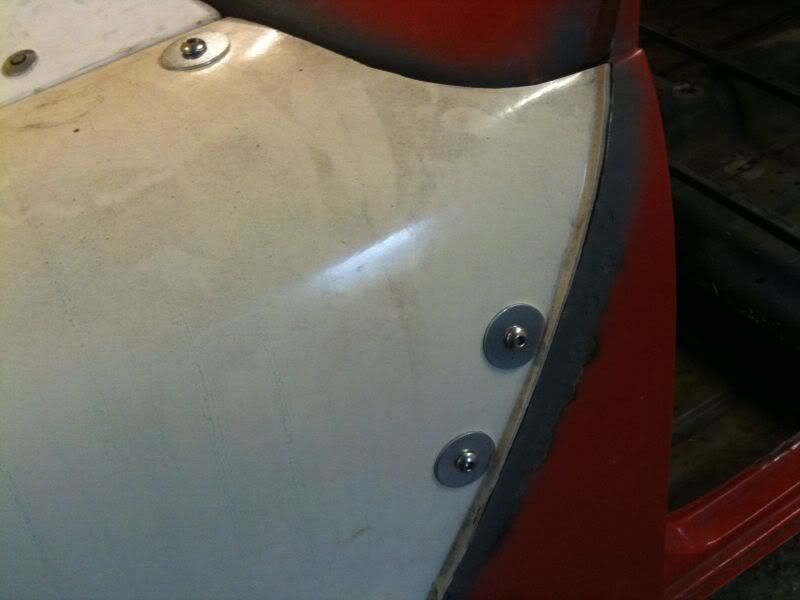
Fit all the fasteners (however i am replacing the dzus fasteners with m8 stainless bolts for a better, more secure fit, and fit the bonnet with locking pins


Fit the FG boot with a locking bonnet pin


Pulled front subby off, cleaned it up and the few remaining bits i was keeping, then put in a big order and reassembled


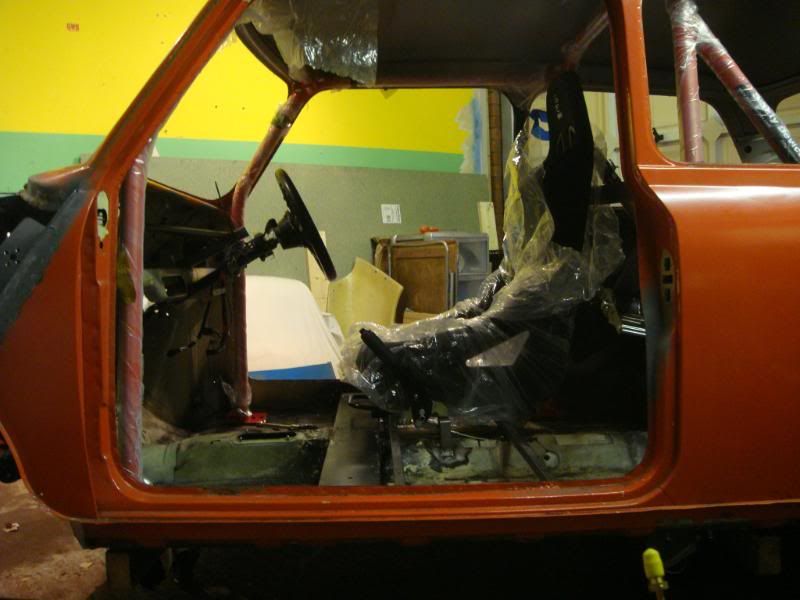
bought a saftey devices rear cage and a harness bar and got the plates for the welded in and fitted


New rear subby and mostly all new bits arrived, so assembled it:


replaced the few tiny remaining rust spots


ordered the front half of the cage and put that in


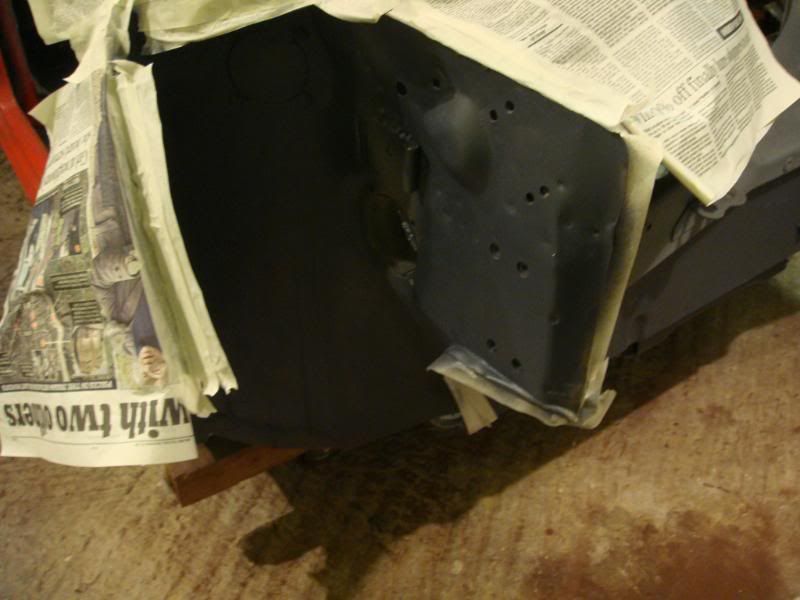
Rolled shell over and wire brushed the entire underside, hammerited and then stonechipped. did the same to inner wings and flitch panel


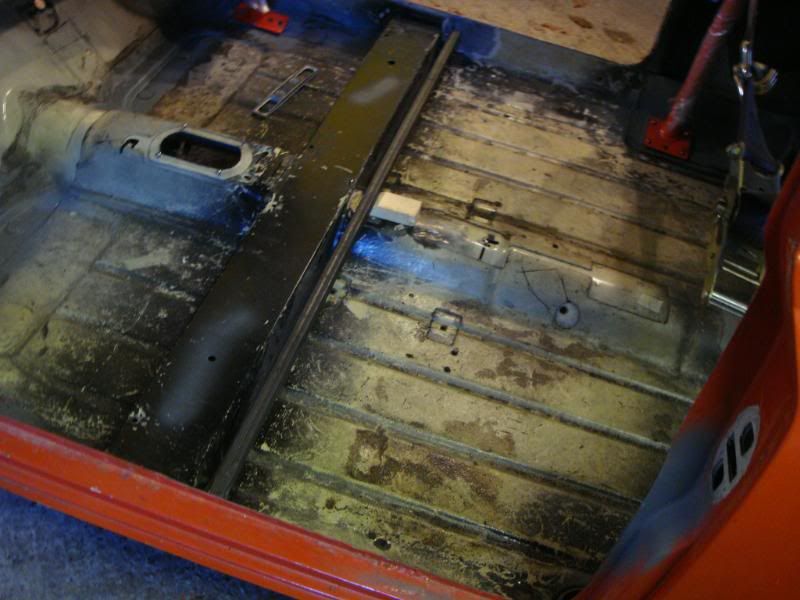
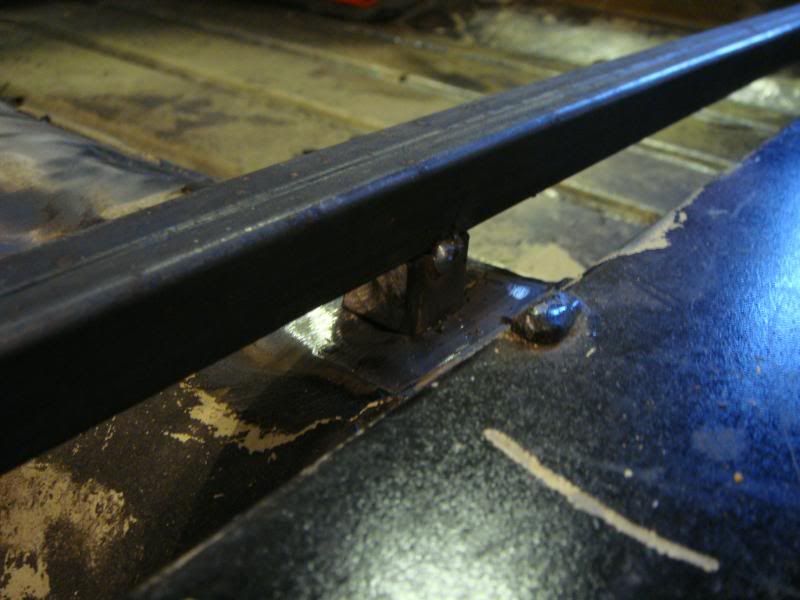
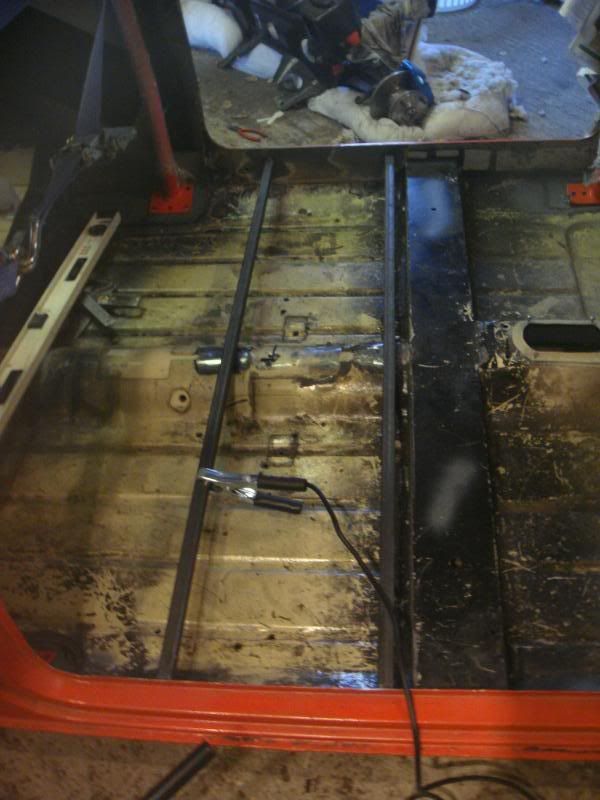
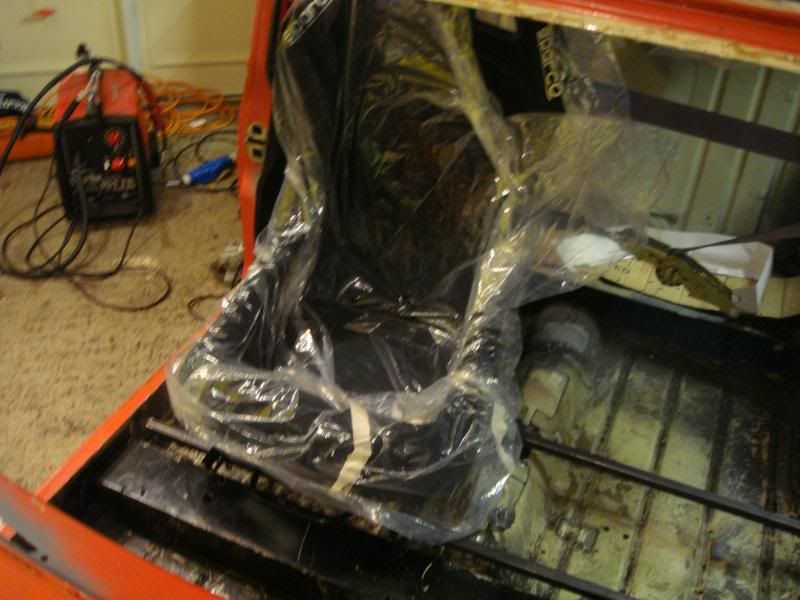
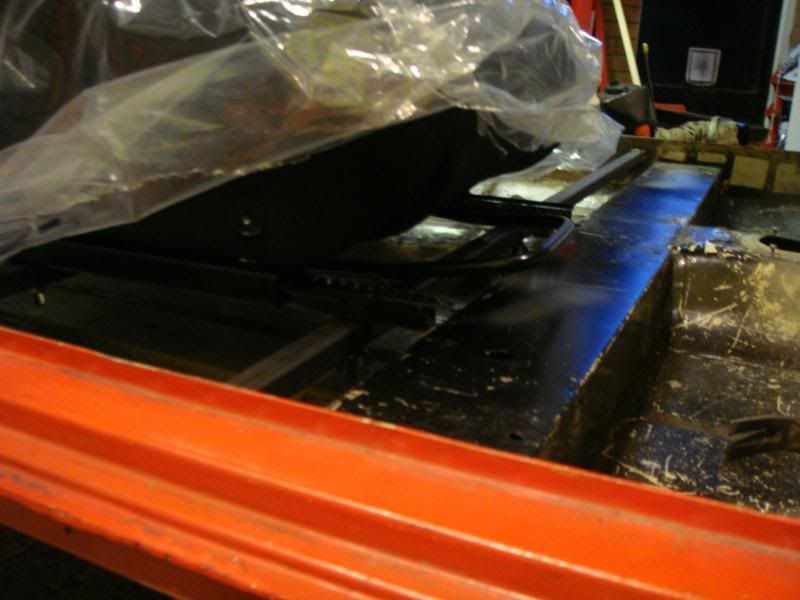
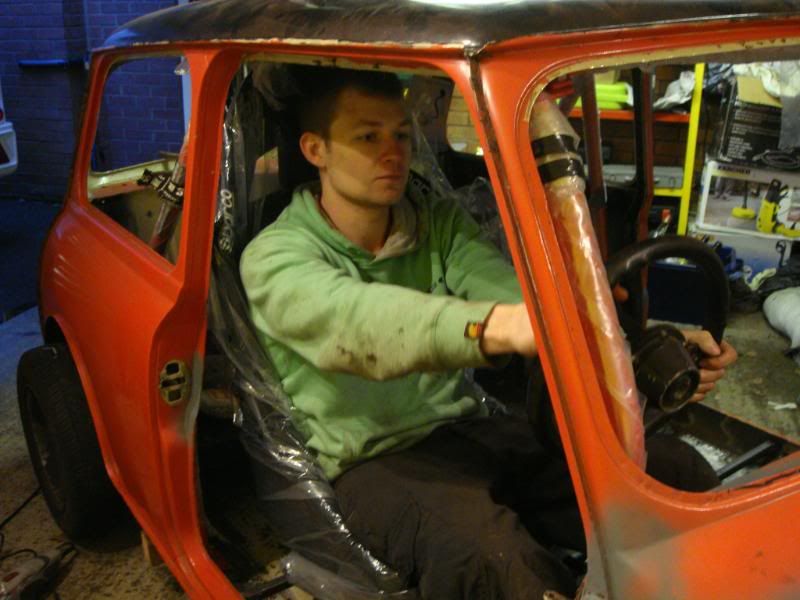
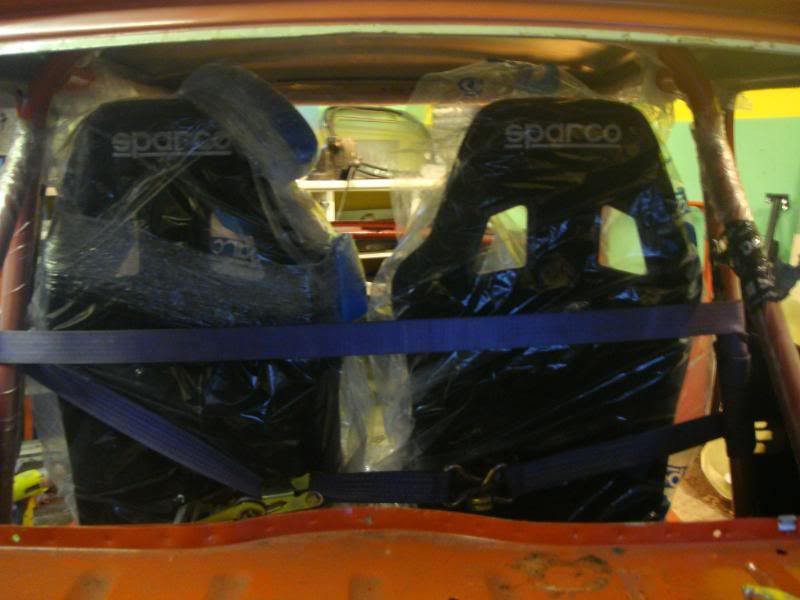
Sparco sprint 5 seats and OMP subframes arrived so welded in my seat crossmembers


Bolted her in and couldn't resist a little test run


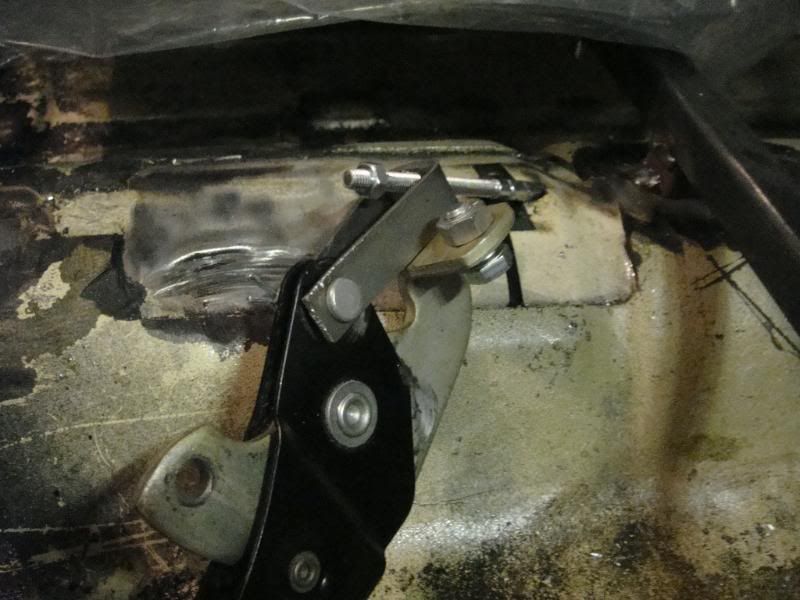
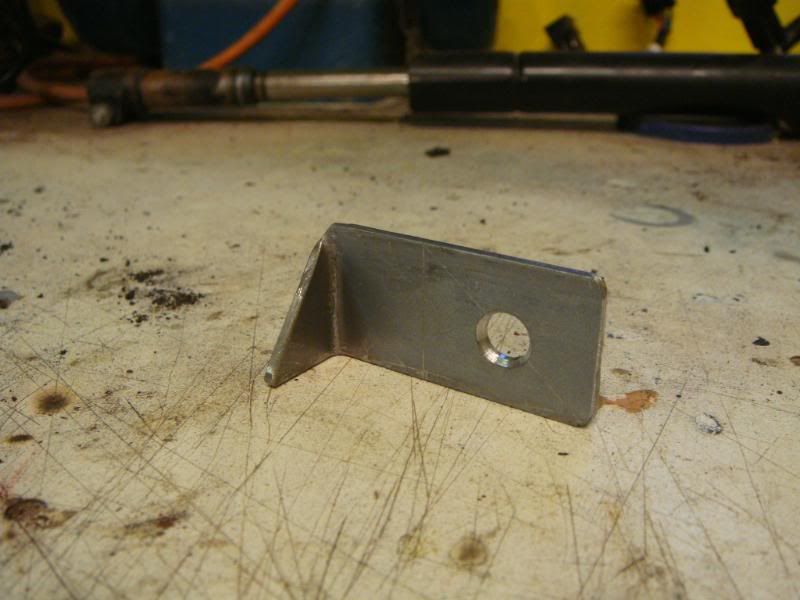
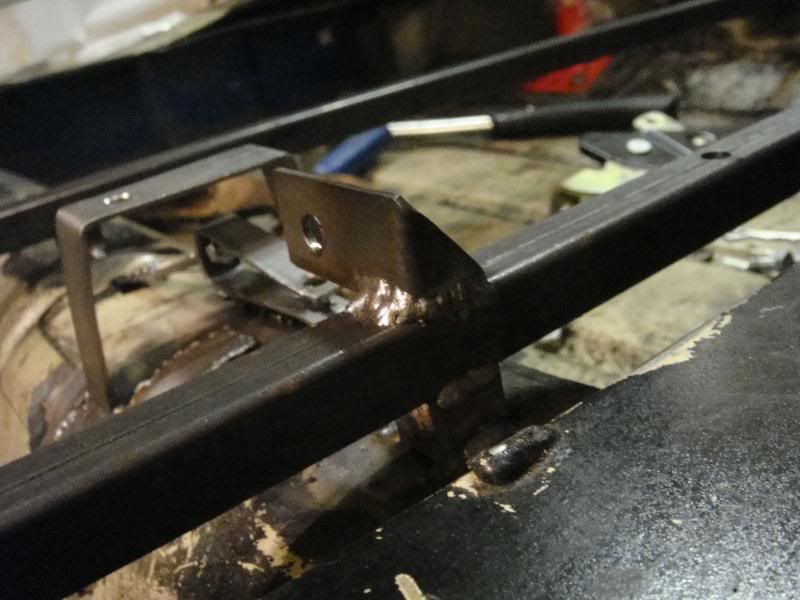
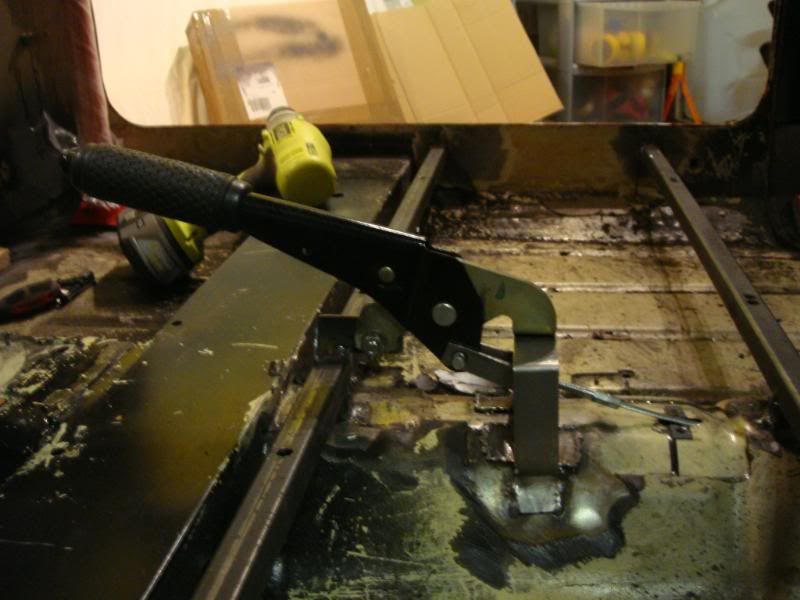
Remade some handbrake brackets


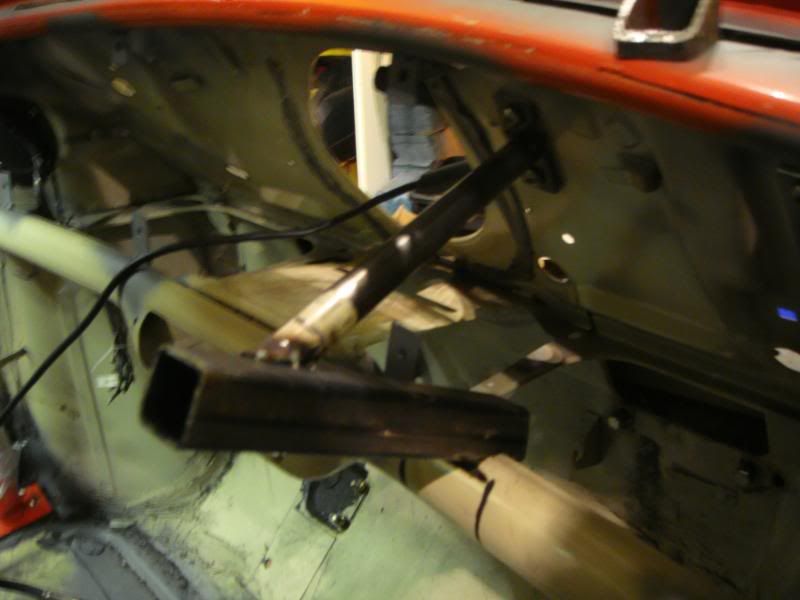
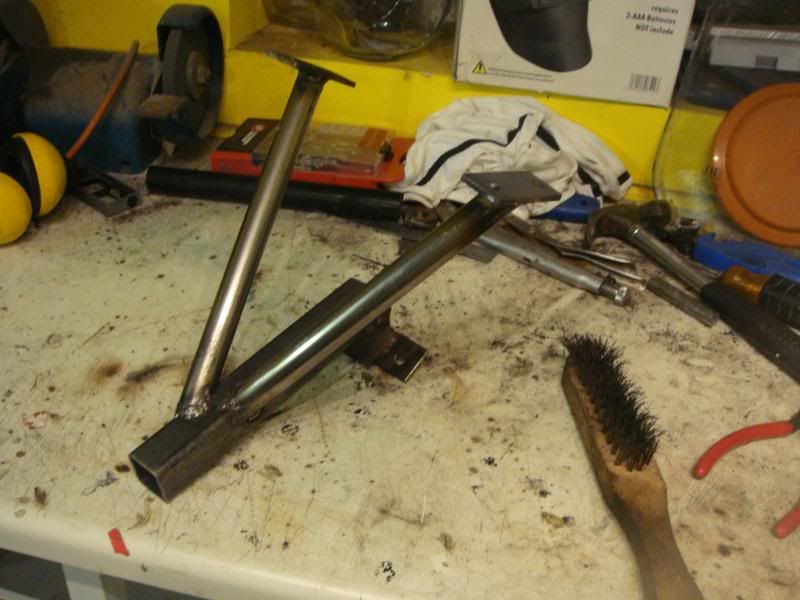
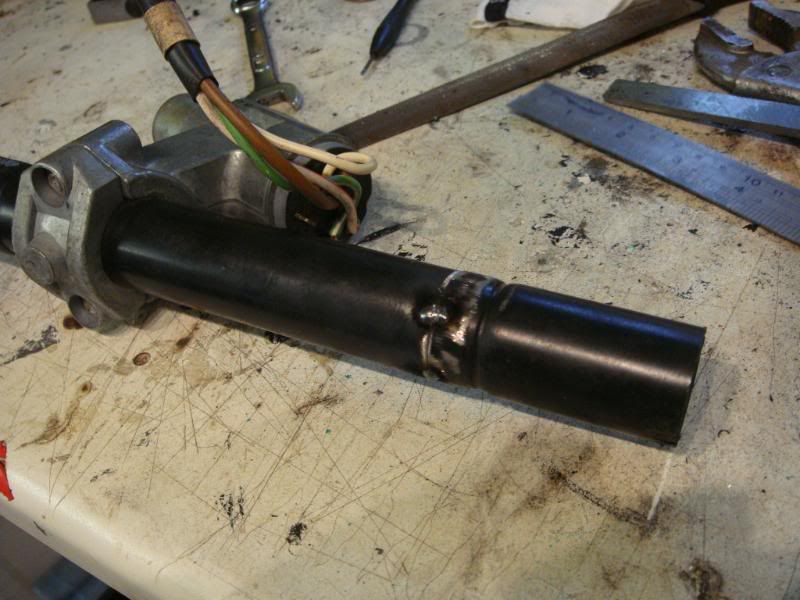
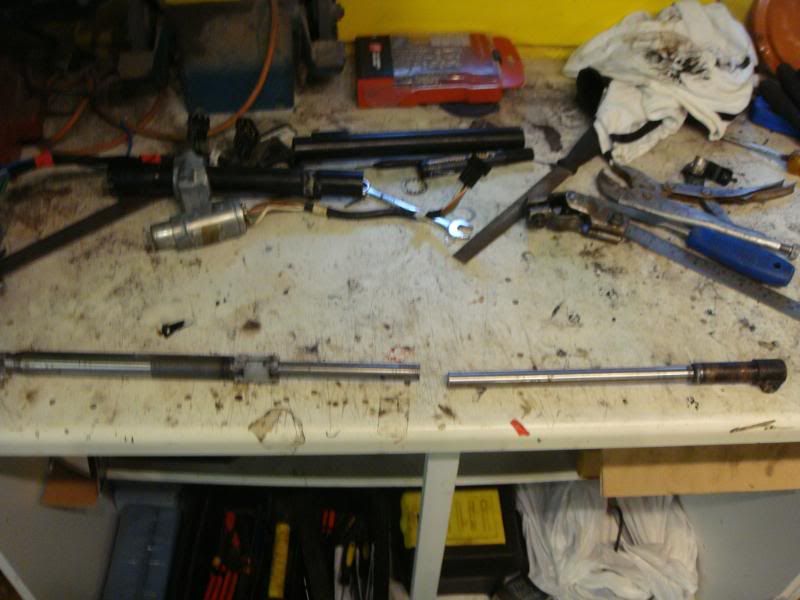
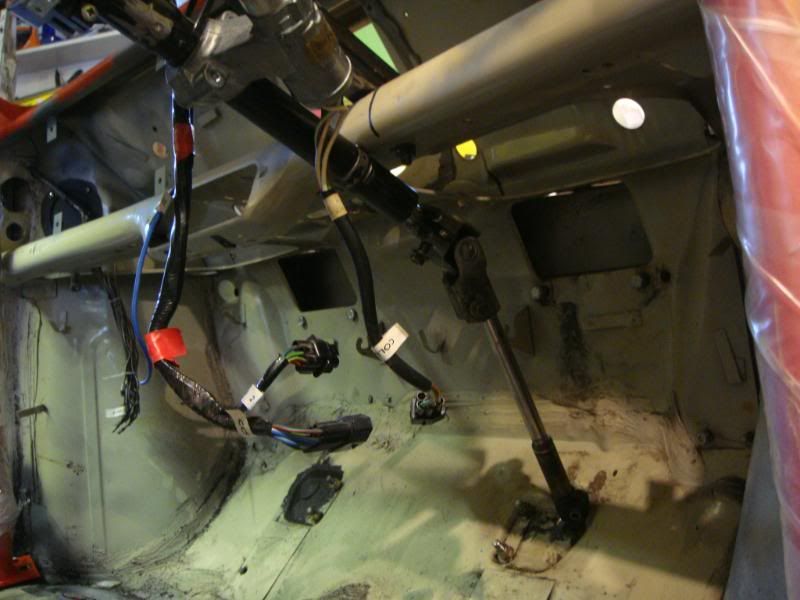
Then made my new column support and modified the exisiting column


Put subframes back on


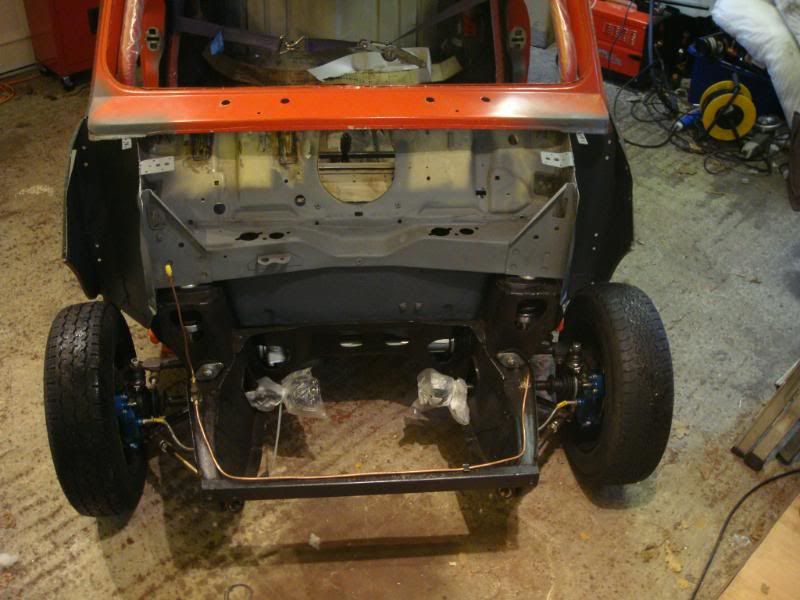
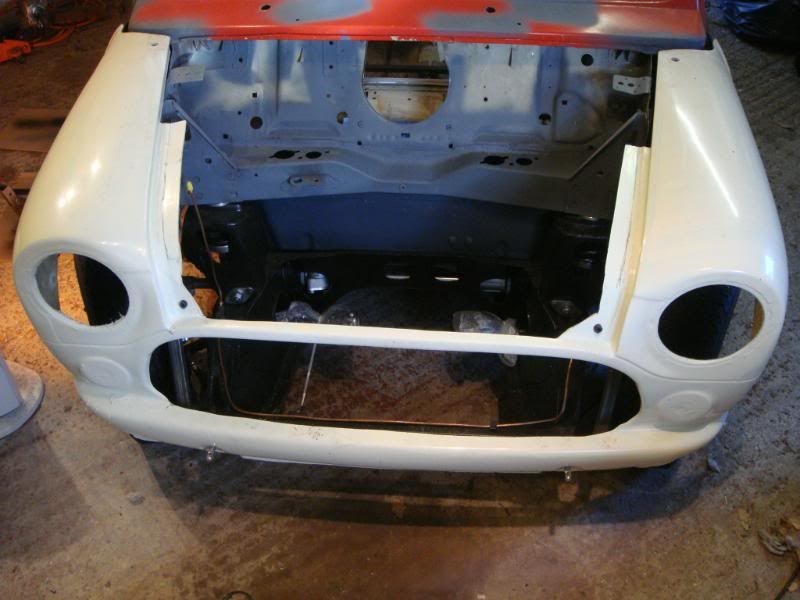
Put the front end back on and made some final adjustments and cut out the headlight holes


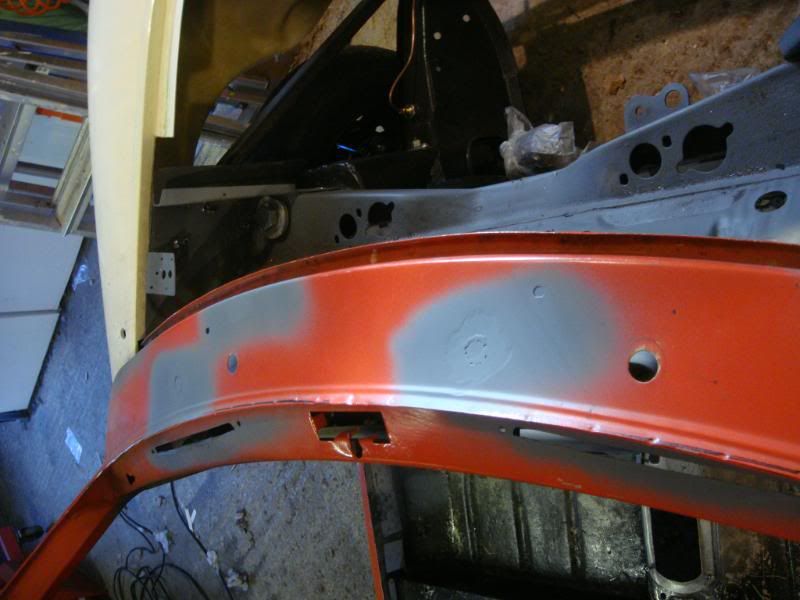
Welded up the unused wiper holes in the scuttle, they'll need filling and smoothing before paint, but luckily our bodyguy is doing all the prep work!


Monstrous

28 Posts
Member #: 9362
Member

So thats the point it is up to now, should be going for body prep and paint some time in march

Meanwhile i'll be sorting out an engine for the beast.

Provisional spec is looking like an M.E.D F.I.S 1293 built engine with a T2 turbo on mirage manifolds

Already got some turbo stuff sorted

Have a HIF44 turbo carb and rebuild kit

Metty plenum chamber with dump valve take off and intercooler mod

Fuel pump blanking plate

In car boost controller

Diaphragm dump valve and fitting kit

Currently in the middle of sourcing a T2 turbo


wng691s clubby

User Avatar

2057 Posts
Member #: 9252
Post Whore

Cleethorpes

looks like your going to have a great little motor

Done now needs redoing lol


george91

1083 Posts
Member #: 8932
Post Whore

looks like a cool project, i like the steering column set up.


miniallsort

230 Posts
Member #: 1131
Senior Member

cool


Brett

User Avatar

9502 Posts
Member #: 1023
Post Whore

Doncaster, South Yorkshire

this is going to be a build to watch !

Yes i moved to the darkside *happy*

Instagram @jdm_brett


wil_h

User Avatar

9258 Posts
Member #: 123
Post Whore

Betwix Harrogate and York

Steering column is interesting

Fastest 998 mini in the world? 13.05 1/4 mile 106mph

www.twin-turbo.co.uk

On 2nd Jan, 2013 fastcarl said:

the design shows a distinct lack of imagination,
talk about starting off with a clean sheet of paper, then not bothering to fucking draw on it,lol

On 20th Apr, 2012 Paul S said:
I'm mainly concerned about swirl in the runners caused by the tangential entry.


Advantage

User Avatar

1137 Posts
Member #: 1450
Post Whore

Near Paris - France

Like everybody I guess, I am now thinking about modding my steering column ...

And I blame YOU for making it look such an easy job !

(cheer for that by the way)

Rusty by nature

On 23rd Jun, 2008 paul wiginton said:

They said "That sounds rough mate." I said "Cheers it cost me a fortune to make it sound like that!"


Monstrous

28 Posts
Member #: 9362
Member

Forgot i had this thread on here, should probably update it!

So have acquired a T2, been rebuilt, and the other bits an pieces


Got my Mirage Manifolds and oil/water feed shizzle


Rebuilt my HIF44 turbo carb


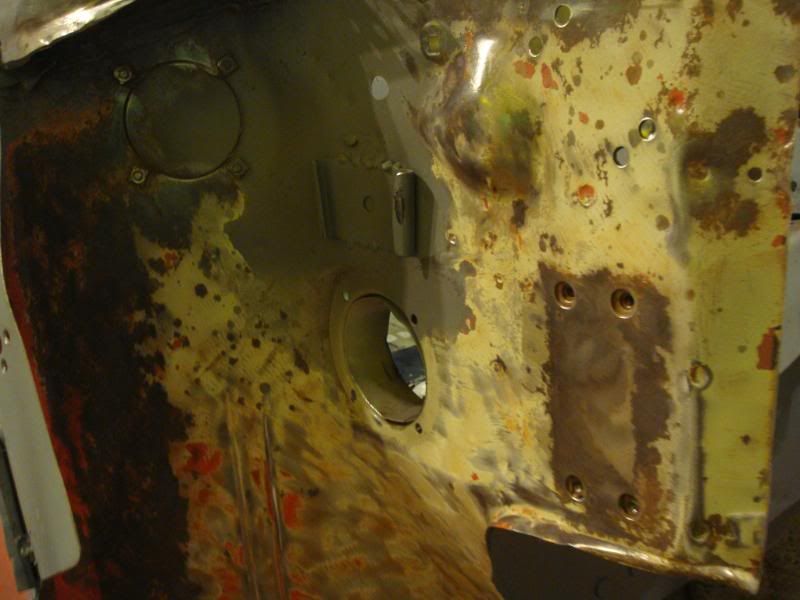
Chipped out the old sound deadening and put a bit of etch primer on the bare spots, after welding up a few tiny holes in the floor


Also finished lining the bonnet up, had to remove material from the edges to get the panel gaps right, and im going to go with leather straps on the front for extra security


Picked up a complete metty turbo unit with 16k on it, in the middle of flogging the T3 setup, to make way for the T2, so am ordering some bits for it, im going to keep it stock for now, and put a 6psi actuator on my T2 so i can run standard C/R, then at a later date i'll increase the C/R and run some more boost.


Got the fuel pressure regulator and turbo fuel pump thrown in


So that's the state it's in now, desperately trying to get it off to paint, but my dad is dragging his feet in terms of talking to his mate who will be painting it, as im back to uni on sunday, so would of liked to of been here to talk to the painter


Monstrous

28 Posts
Member #: 9362
Member

Completely forgot i had this thread on here, 4 months later, and a lot has happened. Sorry if some of it doesn't make sense, as i've copied it over from TMF

Been cracking on, firstly with the turbo. First of all i rotated the turbine housing so the oil drain is in the correct place, which was more hassle than i thought, had to heat up the housing to rotate it.


Then cut the actuator tab in half and re-welded it on the other side as the actuator will be on the other side. (have also ordered a 7psi actuator so that i can run with the standard C/R for now)


Had to drill out the helicoils that were in the turbine flange so the studs from the manifold can fit through, and then finally i mocked it up on the back of the engine, and im very happy. The manifold needs a tiny bit of tweaking so the studs on the head line up with the manifold, however it's all good.

Obviously the compressor housing needs rotating upwards, but i don't have any circlip pliers big enough, so will have to beg/borrow/buy some.


Made an Oil return

started by cutting two 45 degree pieces of tube


welded together


removed the outlet on the standard metro turbo return plate


welded on the new outlet


then bolted to the block, need to get hold of a hose to go between the tubes


Also intercooler turned up, i believe it's from an escort, thinking i'll go with a alloy front mount though


Made meself an actuator mount

obviously it doesn't fit in the standard place so had to turn it around. Ive seen other actuator mounts that come off of the manifold studs on the head, but the space is so tight in there already, that adding a bracket in there would make it impossible to do the nuts up.

So decided to mount it off the exhaust flange bolts instead, fairly agricultural looking, but i had to make it stiff so it doesn't flex

Started by cutting the old mount up


welded a strip to it


put another strip on


all mounted up


Also, finally found a boost signal nipple


Tubbed the rear arches, no pics of the finished article as i forgot to take any


All good and finished now, and seam sealed the welded edges

Have also started stripping the engine but as some of you may have read on TMF, i buggered up my crank, as my flywheel puller broke, and embedded itself in the end of the crank nose, so im stuck for now, waiting to get the flywheel off. I have ordered a new crank, and it's been sent to MRA-minis for a regrind, so looks like it'll be a more involved rebuild than i first thought, hence i have constructed a rough and ready worktop to rebuild it on.


Also, as im now at a standstill, i started cleaning up and priming some of the tinwear, so it's all ready to go once it's needed


Got it all stripped down, left the pistons in the bores as there's no need for them to come out, everything came apart fine with no surprises

Put in a huge order with minispares and a few other places, so hopefully will have all the bits to put it back together this weekend, if i get my crank back from grinding.


One buggered crank nose..


Lovely little shiny bits *tongue* megajolt trigger wheel and sensor mount

Also all my parts turned up minus the exhaust manifold gasket which is on back order.


Off she goes to the paintshop, doesn't she look so sad to leave :(


waiting on the shell to come back, and engine parts to arrive, so been painting some bits so they're ready to go on, when it's back


Finally got the crank back from regrinding, along with the shells, and a dizzy blanking plug, Big thankyou to Martin at MRA!

Also got a bargain on ebay, two TRS 5 point 3" wrap around harnesses for £120! less than the price for just one new!


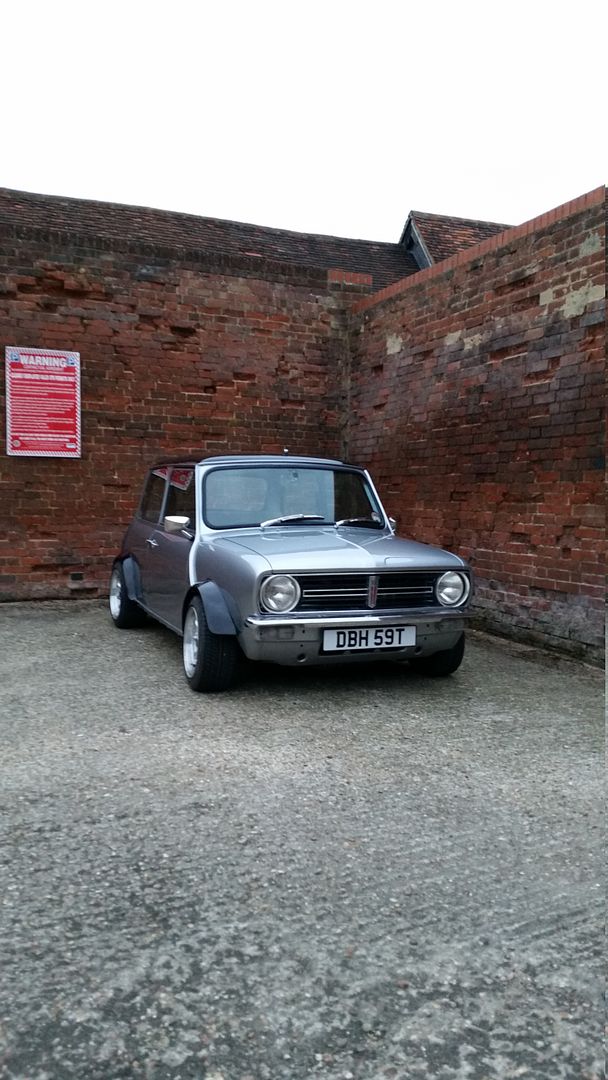
She's back!

Excellent job, am so pleased with it, and was an extremely good price, just need to re-shim the doors as they're a bit tight to the A-panel

i'll let the pictures do the talking


wng691s clubby

User Avatar

2057 Posts
Member #: 9252
Post Whore

Cleethorpes

nice project looks great

Done now needs redoing lol


bennyy

User Avatar

2233 Posts
Member #: 9037
Post Whore

Doncaster, yorkshire

thats looking really nice mate.

Audi s4 b5 - 470bhp & 486ft lbs

On 15th Mar, 2012 wil_h said:

Yes, Carl says he gets requests for rimming all the time

On 30th Apr, 2012 Brett said:
yeah stick the bit in and give it a wobble *wink*


Monstrous

28 Posts
Member #: 9362
Member

Cheers fellas. Engine will be going back together tomorrow hopefully, the good thing about having to wait 3-4 weeks for my crank, is it means i've managed to collect all the bits i'll need to whack it all back together, so shouldn't have any hold ups.

Was hoping to have the nice 3 day weekend to get a lot done, but turns out i have to work monday now, and sunday will probably be written off with a hangover *tongue*


apbellamy

User Avatar

16540 Posts
Member #: 4241
King Gaycharger, butt plug dealer, Sheldon Cooper and a BAC but generally a niceish fella if you dont mind a northerner

Rotherham, South Yorkshire

Car looks good, but...


If your welding is anything like mine, that will leak like a sive....

On 11th Feb, 2015 robert said:
i tried putting soap on it , and heating it to brown , then slathered my new lube on it

*hehe!*


Monstrous

28 Posts
Member #: 9362
Member


On 26th Aug, 2011 apbellamy said:
Car looks good, but...


If your welding is anything like mine, that will leak like a sive....


Hmm that did cross my mind, the welding is pretty good, and fairly substantial, i might try and test it by plugging it and pressurising it.


wez

1226 Posts
Member #: 9271
Post Whore

Stoke on Trent

its looking like it will be a beaut when its built up :)

one day boost will be mine!

On 10th Mar, 2012 Joe C said:
TBH peple stick it everywhere... and theres merits to each...


Kean

User Avatar

2406 Posts
Member #: 341
aka T2clubby

South Staffs

Great stuff, don't suppose you fancy weighing one of those seats for me? *happy*


apbellamy

User Avatar

16540 Posts
Member #: 4241
King Gaycharger, butt plug dealer, Sheldon Cooper and a BAC but generally a niceish fella if you dont mind a northerner

Rotherham, South Yorkshire

I only say because I've made three for our van now and all of them have leaked. Apparently silver soldering is the best way, but then it might just be my welding that is shit!

On 11th Feb, 2015 robert said:
i tried putting soap on it , and heating it to brown , then slathered my new lube on it

*hehe!*


Monstrous

28 Posts
Member #: 9362
Member


On 26th Aug, 2011 Kean said:
Great stuff, don't suppose you fancy weighing one of those seats for me? *happy*


According to Demon-Thieves it's 8.1kg per seat

And apbellamy, i know it's always hard to get a perfectly sealed weld, so i might cut the pipe off the blanking plate, file out the hole in the plate, and put the pipe through the plate so it protrudes ever so slightly through the other side, that way there's less chance of leaking.

if worst comes to worst i'll get my mate to TIG it up nice and neatly, and hopefully that will stop it.


JT

User Avatar

2742 Posts
Member #: 637
Post Whore

Hertfordshire

very nice project mate

makes me want to go and do some work on mine!!! though im still waiting for my roll cage to come!

keep us posted with your progress mate.

My build thread..

http://www.turbominis.co.uk/forums/index.php?p=vt&tid=542985


Monstrous

28 Posts
Member #: 9362
Member

Keep forgetting to update this

Got the short block back together now and the gearbox on, fresh coat of paint and a few of the ancillaries on. Just need to get the clutch and flywheel on and the covers, then the manifolds and turbo can go on and it can be dropped in.


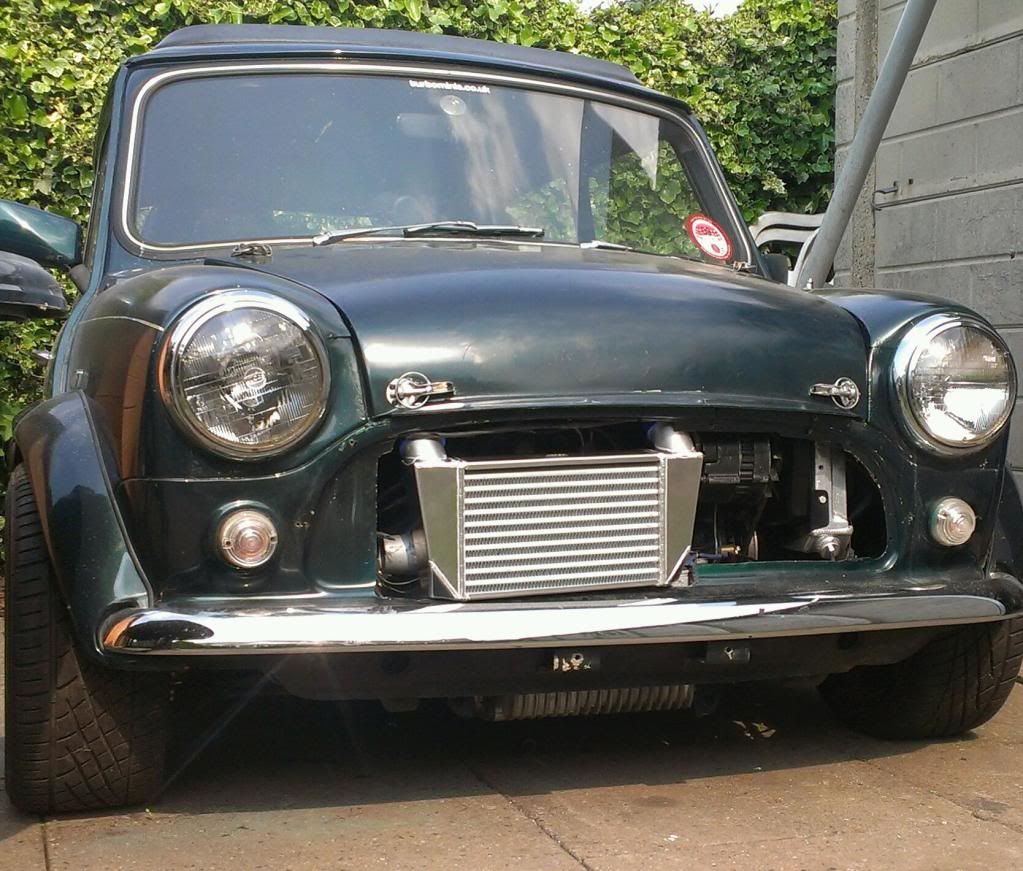
Been hoarding some parts, tiny little alloy FMIC, engine bay fuel pressure gauge, sytec fuel filter and 5 meters of stainless fuel hose.


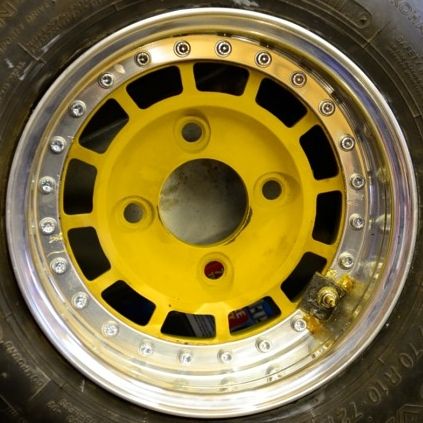
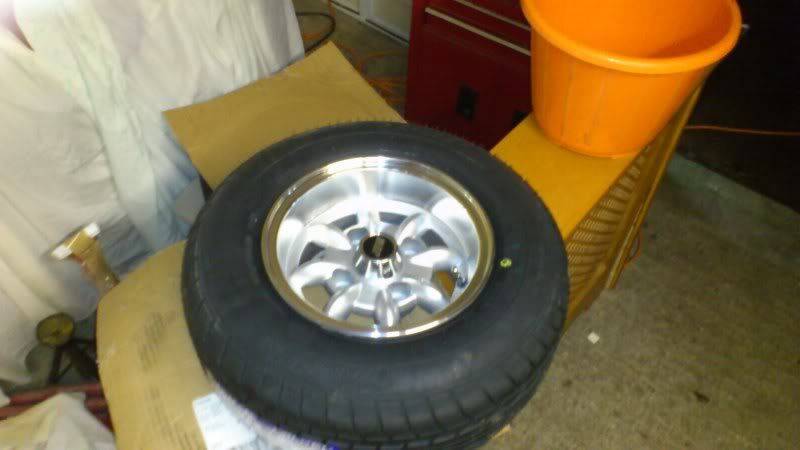
And tried the new shoes on to check how much they protrude (obviously needs lowering but theres no weight in the car, and the hilos are pretty unwound at the moment)


gregh55

User Avatar

395 Posts
Member #: 3636
Senior Member

herefordshire

looks great! love the colour its similar to mine, is it tweed grey?


Monstrous

28 Posts
Member #: 9362
Member

It's early Yukon grey mate. Thanks!


Jay#2

User Avatar

2500 Posts
Member #: 648
Post Whore

Northern Ireland (ex AUS)

I have discovered I have a liking for grey paint jobs on minis thanks to threads like this. I like that intercooler too, may I ask where you got it from?

On 7th Nov, 2008 Nic said:
naeJ
m
!!!!!!sdrawkcab si gnihtyreve ?droabyekym ot deneppah sah tahw ayhwdd


Monstrous

28 Posts
Member #: 9362
Member

Thanks for the kind words bud. Intercooler was from ebay, says he has none available at the moment but i think he knocks them up in batches so just keep an eye out

http://www.ebay.co.uk/itm/220881830789?ssP...9#ht_500wt_1204

Home > Show Us Yours! > 1985 city slicker, with added blow
Users viewing this thread: none. (+ 2 Guests)   Next ->
To post messages you must be logged in!
Username: Password:
Page: