| Page: |
| Home > Show Us Yours! > Miglia project (lots of pics-not much action) | |||||||
 611 Posts Member #: 5222 Post Whore Northumberland |
29th Dec, 2010 at 03:27:03pm
Hi,
Edited by rosco454 on 29th Dec, 2010. On 20th Jan, 2011 apbellamy said:
I have a bit of a fetish for tools |
||||||
 611 Posts Member #: 5222 Post Whore Northumberland |
29th Dec, 2010 at 03:49:38pm
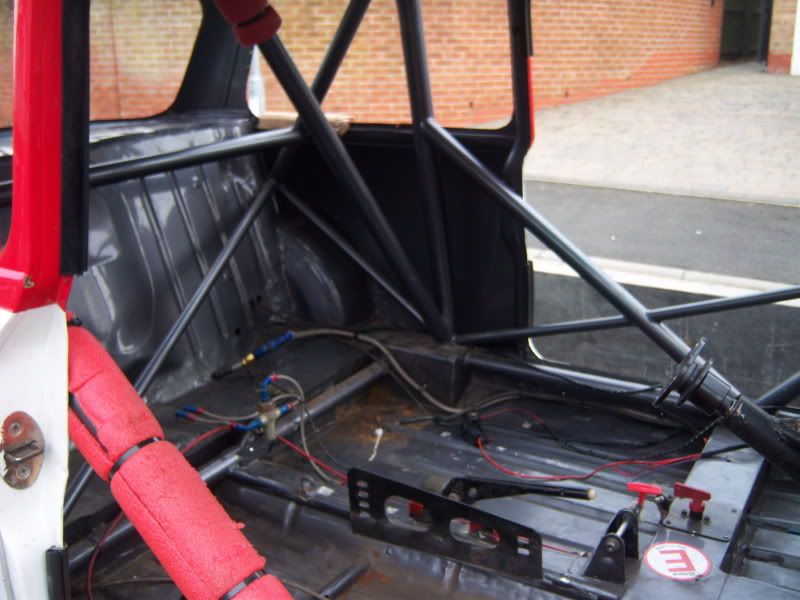
First job was to strip what was left of the loom out as it wasnt of much use and to take the brake lines out.
Edited by rosco454 on 29th Dec, 2010. On 20th Jan, 2011 apbellamy said:
I have a bit of a fetish for tools |
||||||
 611 Posts Member #: 5222 Post Whore Northumberland |
29th Dec, 2010 at 04:07:04pm
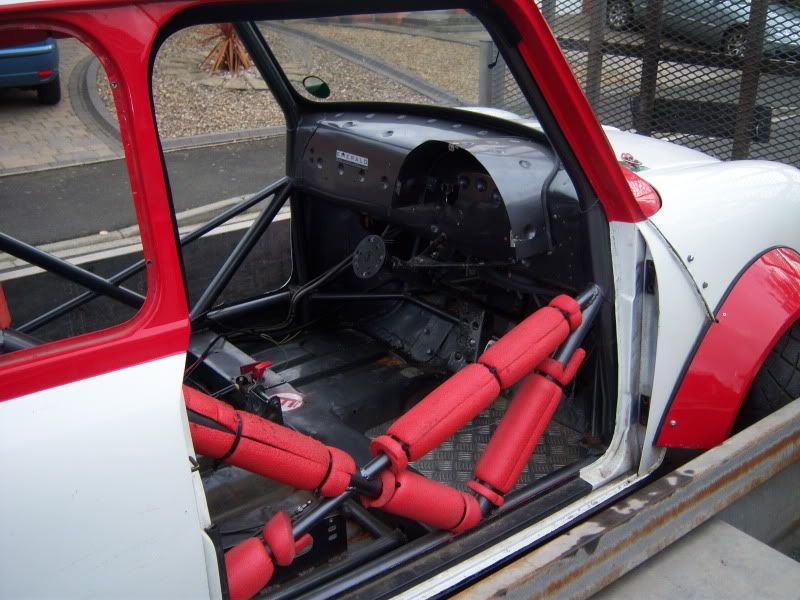
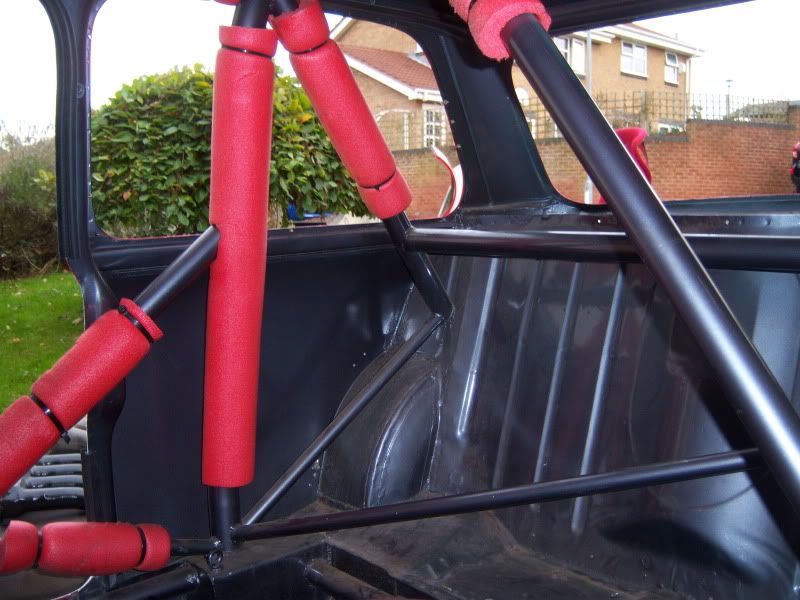
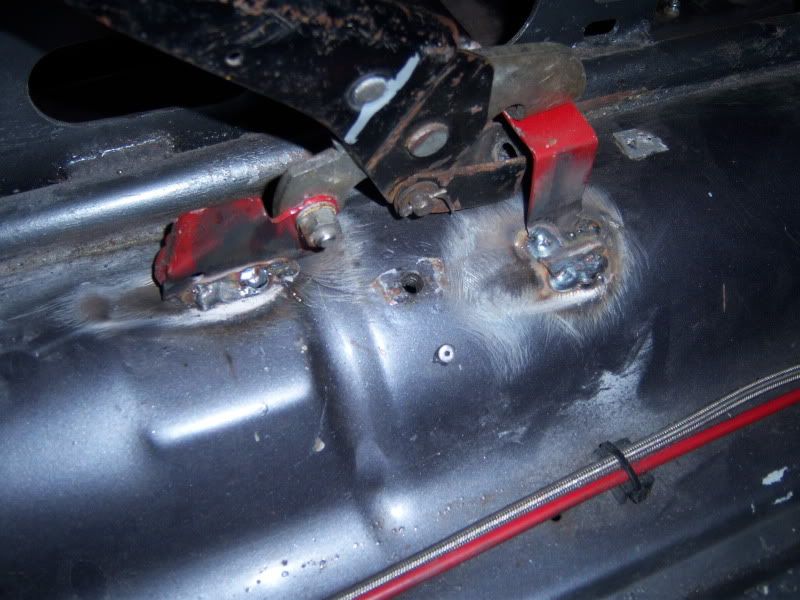
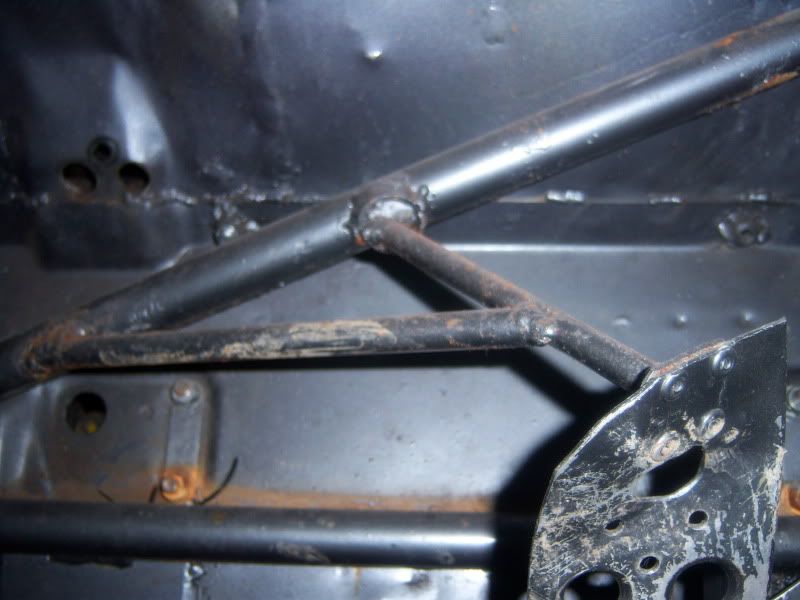
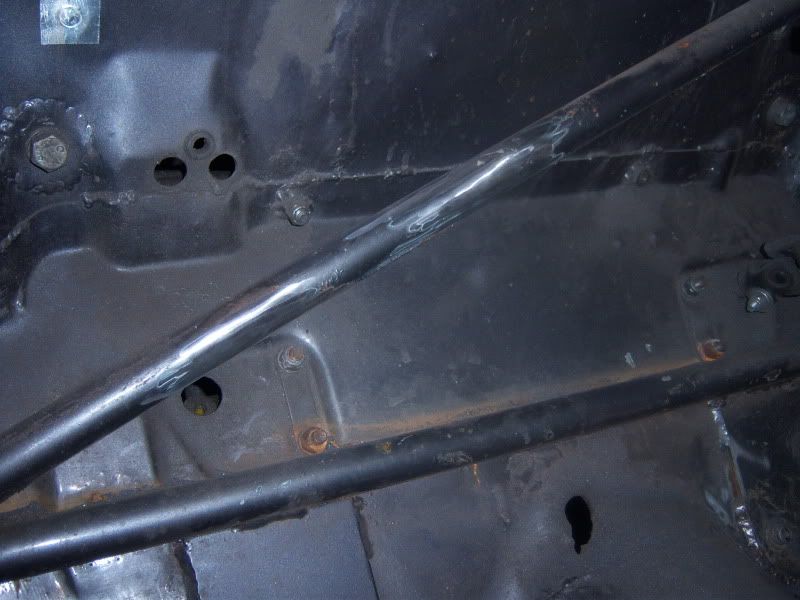
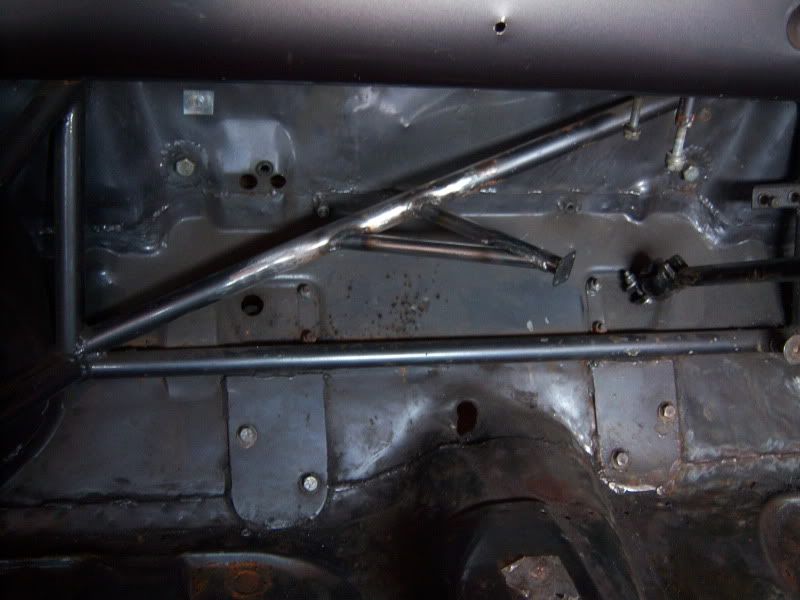
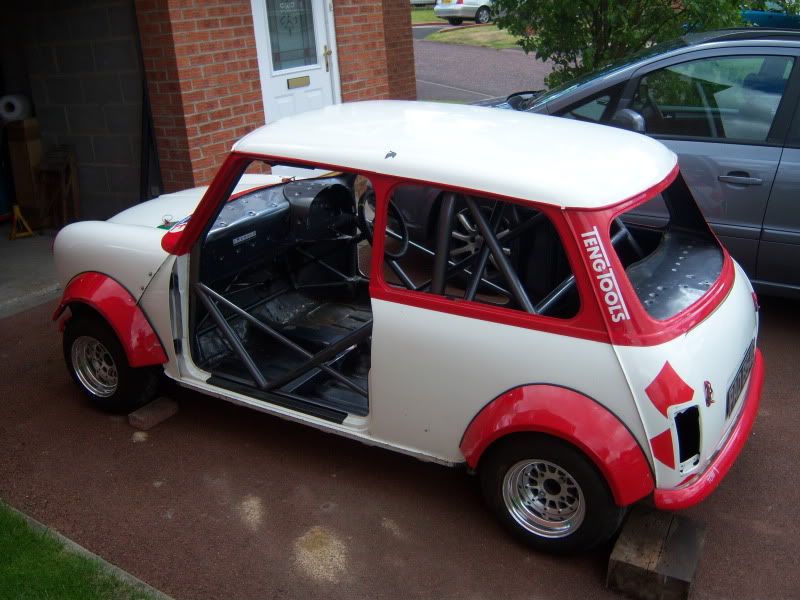
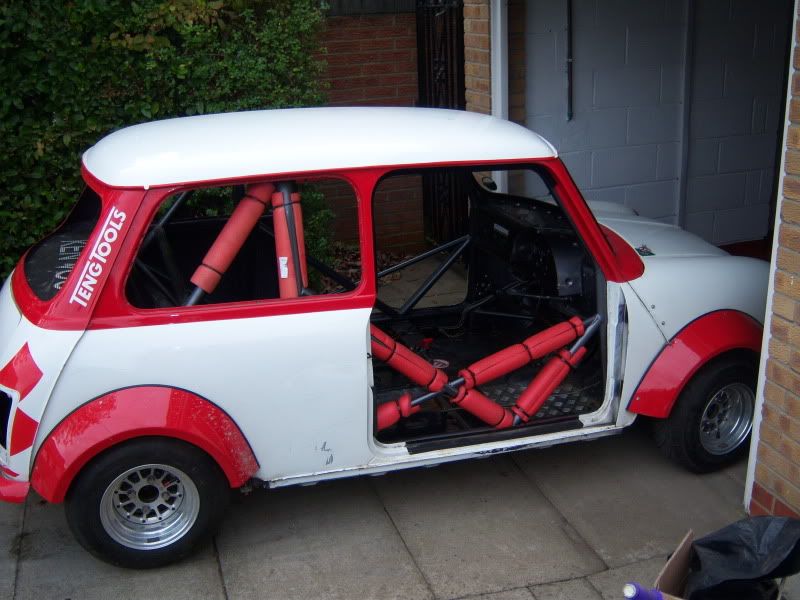
The car looks to have had a little shunt at some point which I suppose is par for the course with something like this.Some of the cage had been moved fractionally rewelded without tidying up the previous mounts and it was a bit messy.
Edited by rosco454 on 29th Dec, 2010. On 20th Jan, 2011 apbellamy said:
I have a bit of a fetish for tools |
||||||
 611 Posts Member #: 5222 Post Whore Northumberland |
29th Dec, 2010 at 04:20:22pm
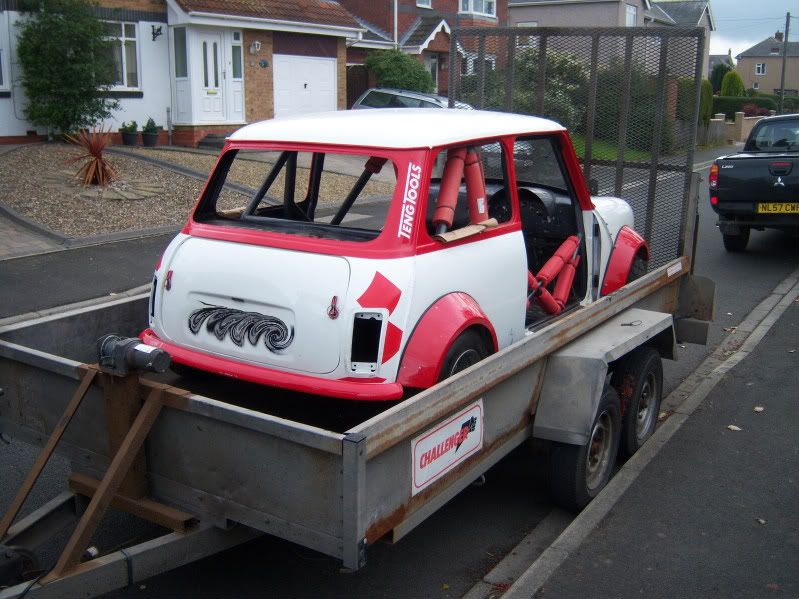
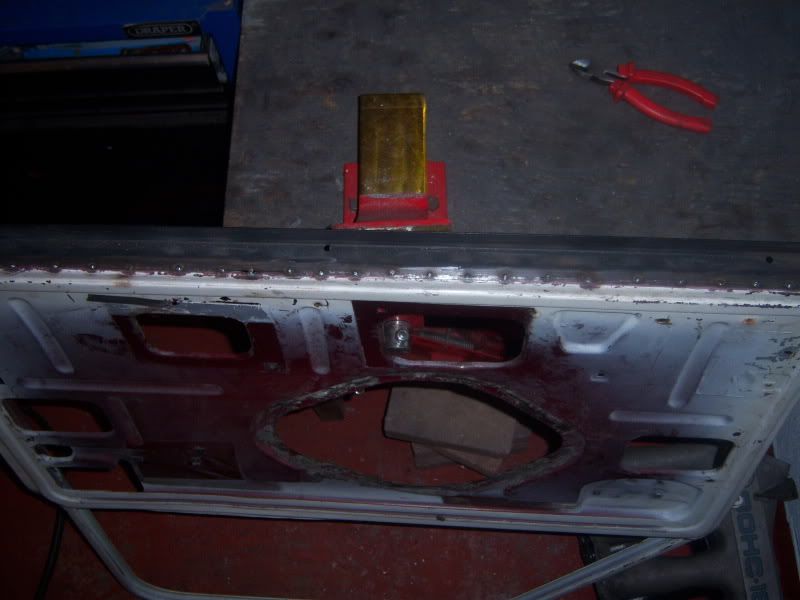
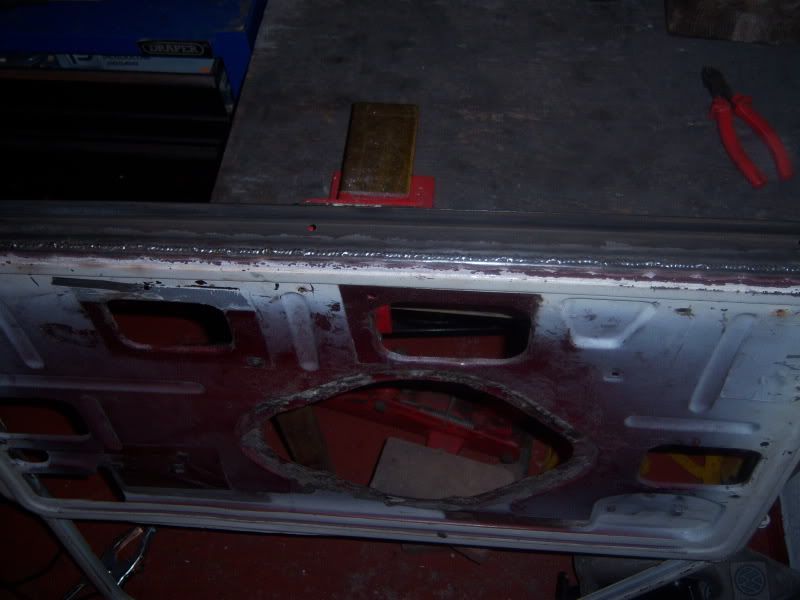
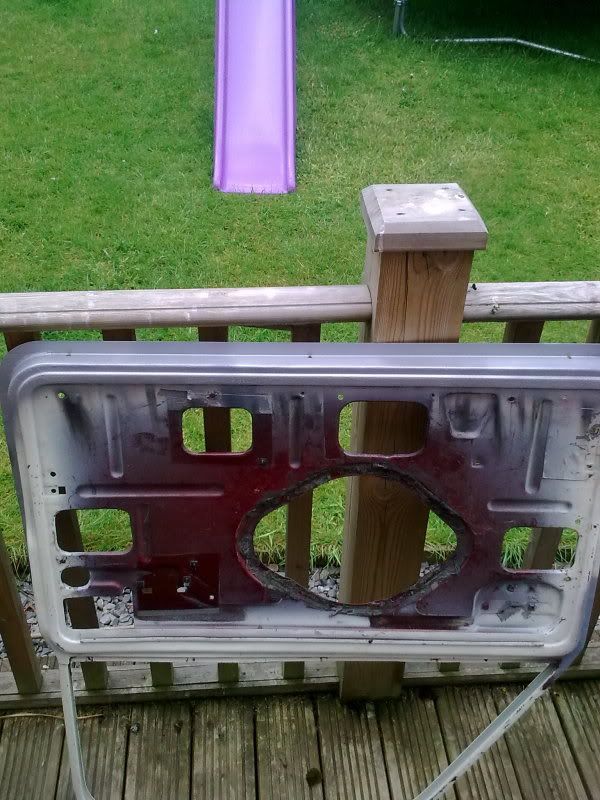
I didnt buy the doors with the shell (dont know why but seemed like a good idea at the time).I had a set of rotten doors from the previous project.The other one was in a similar state to this one.
Edited by rosco454 on 29th Dec, 2010. On 20th Jan, 2011 apbellamy said:
I have a bit of a fetish for tools |
||||||
 2406 Posts Member #: 341 aka T2clubby South Staffs |
29th Dec, 2010 at 04:25:47pm
Good work mate, glad to see someone getting stuck in during this bloody weather! |
||||||
 611 Posts Member #: 5222 Post Whore Northumberland |
29th Dec, 2010 at 04:31:13pm
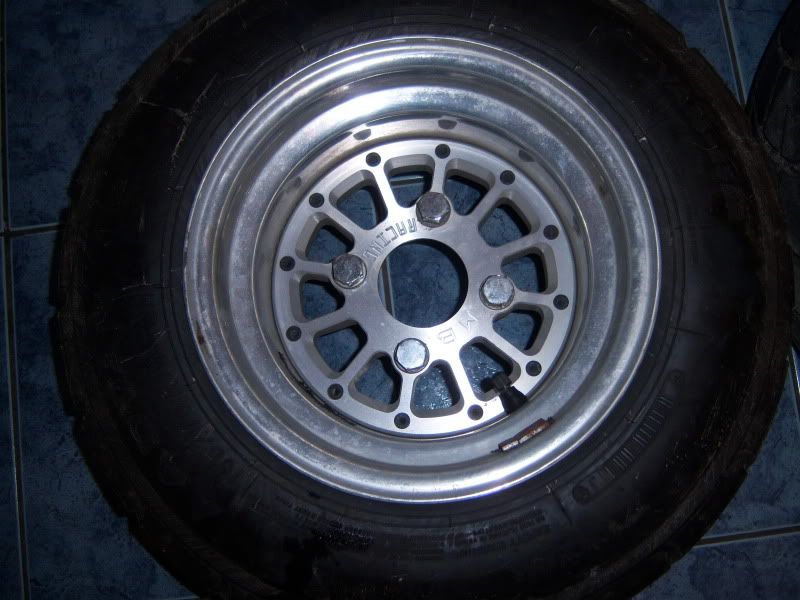
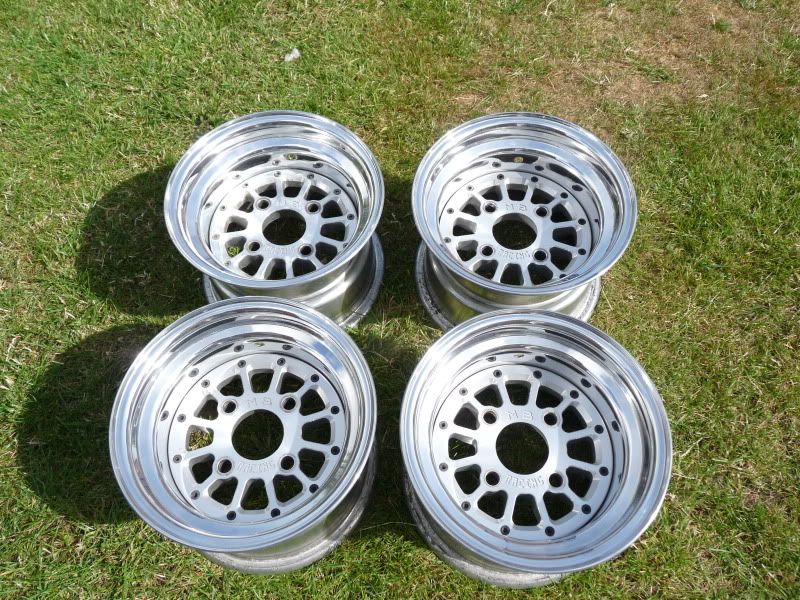
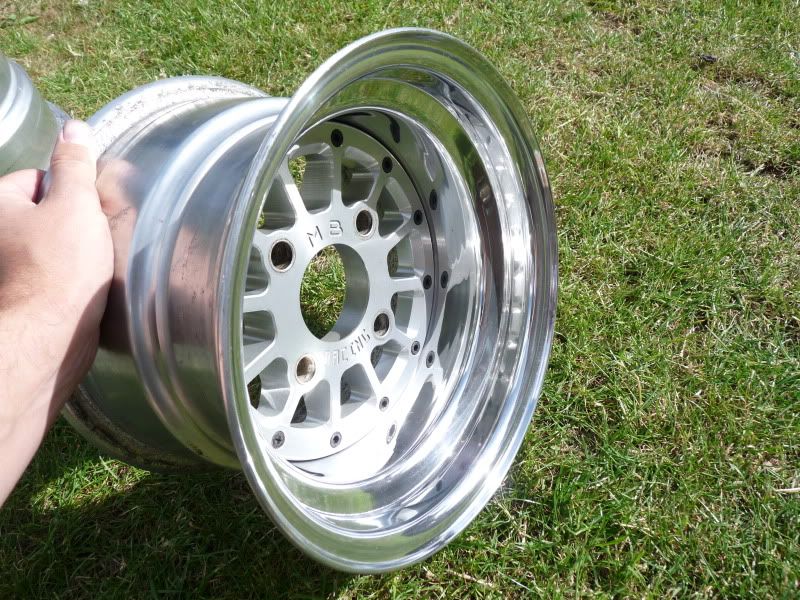
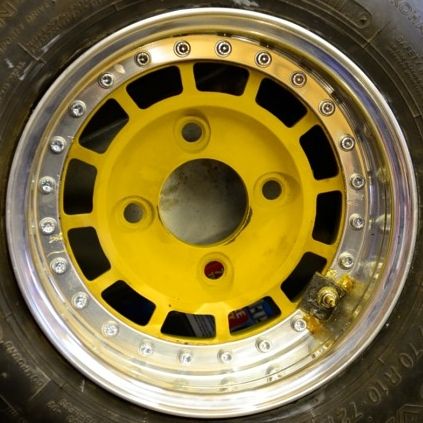
I refurbished the mb wheels but unfortunately had to sell them soon after when things took a nose dive money wise.Bit of a shame really as they are my favourite wheels and had always wanted a set.Had more bad luck with wheels as well,I had sorted out a good deal on a set of spectrums but that didnt happen in the end.I might just have to stop being tight and buy some of Carls wheels when the time comes that I need the shell of its palettes again.
Edited by rosco454 on 29th Dec, 2010. On 20th Jan, 2011 apbellamy said:
I have a bit of a fetish for tools |
||||||
 611 Posts Member #: 5222 Post Whore Northumberland |
29th Dec, 2010 at 04:42:28pm
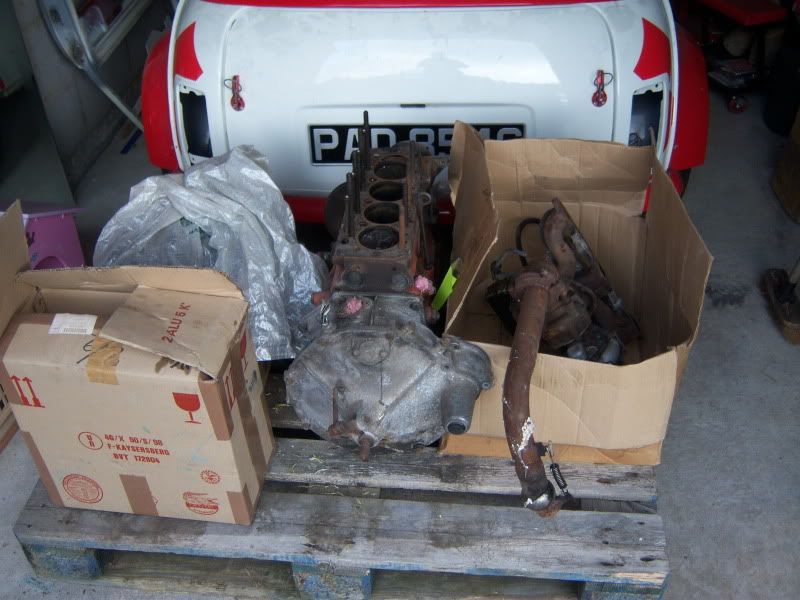
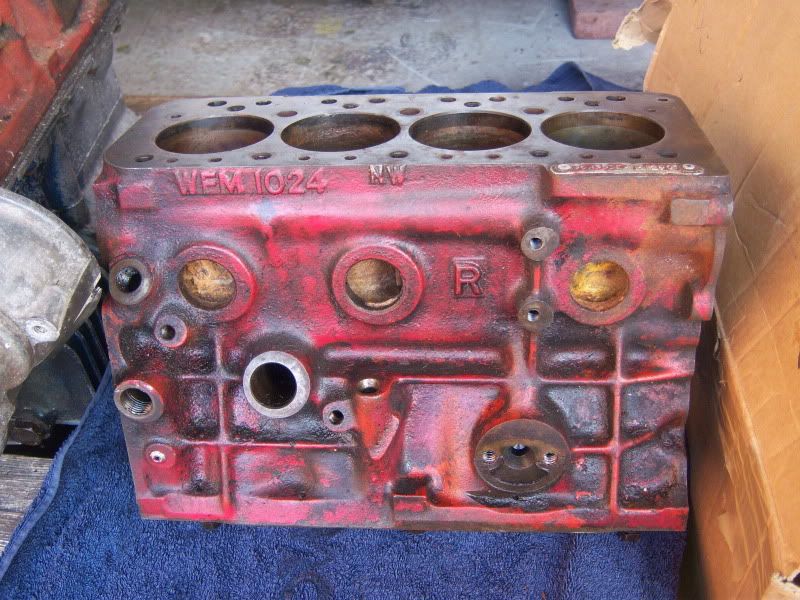
I also bought a metro turbo lump to rebuilt from someone on the forum and bought a spare 1275 block,rods and head locally but unfortunately it went the same way as the mb's when things got tight and was put up for sale.
Edited by rosco454 on 29th Dec, 2010. On 20th Jan, 2011 apbellamy said:
I have a bit of a fetish for tools |
||||||
 611 Posts Member #: 5222 Post Whore Northumberland |
29th Dec, 2010 at 04:48:51pm
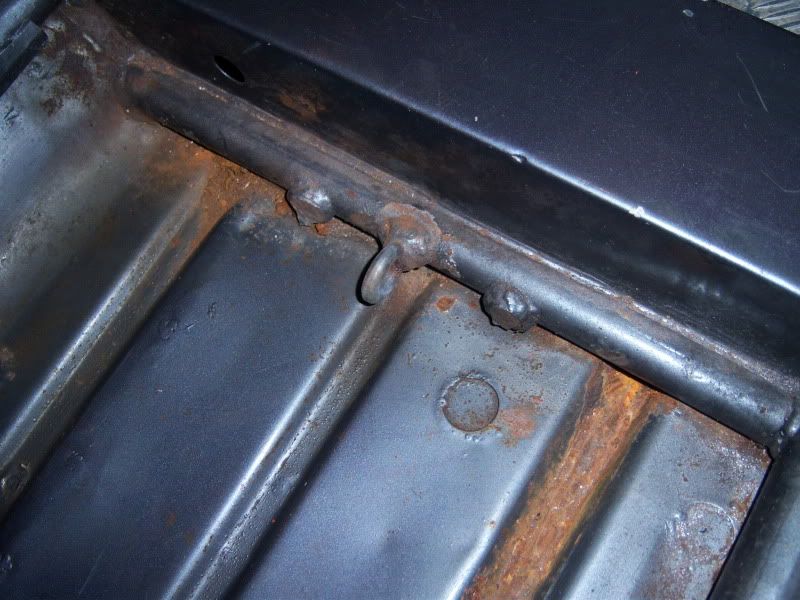
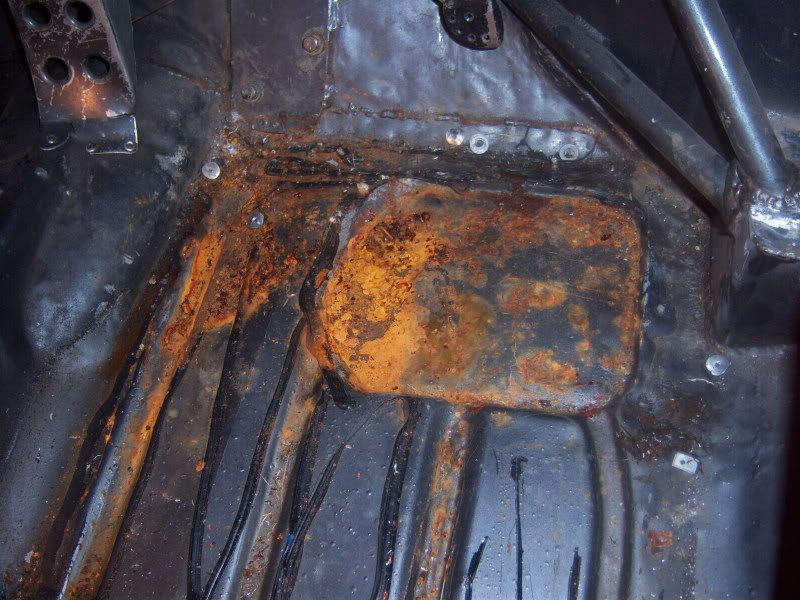
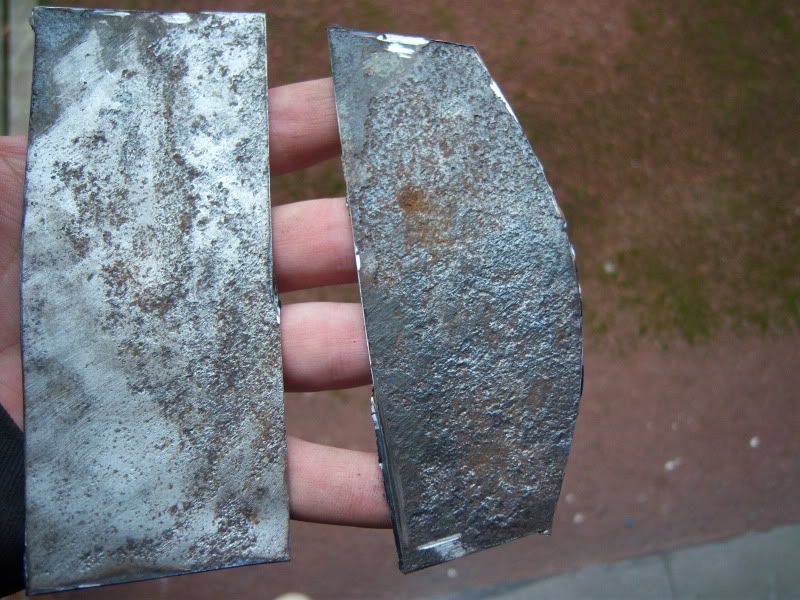
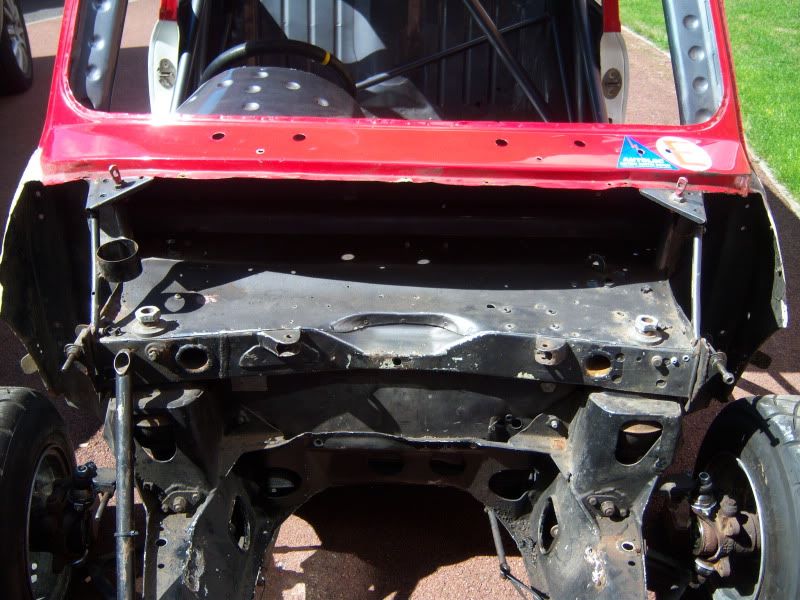
Most worrying part was when I removed the false floor from the drivers side floor to find this.
Edited by rosco454 on 29th Dec, 2010. On 20th Jan, 2011 apbellamy said:
I have a bit of a fetish for tools |
||||||
 611 Posts Member #: 5222 Post Whore Northumberland |
29th Dec, 2010 at 04:58:15pm
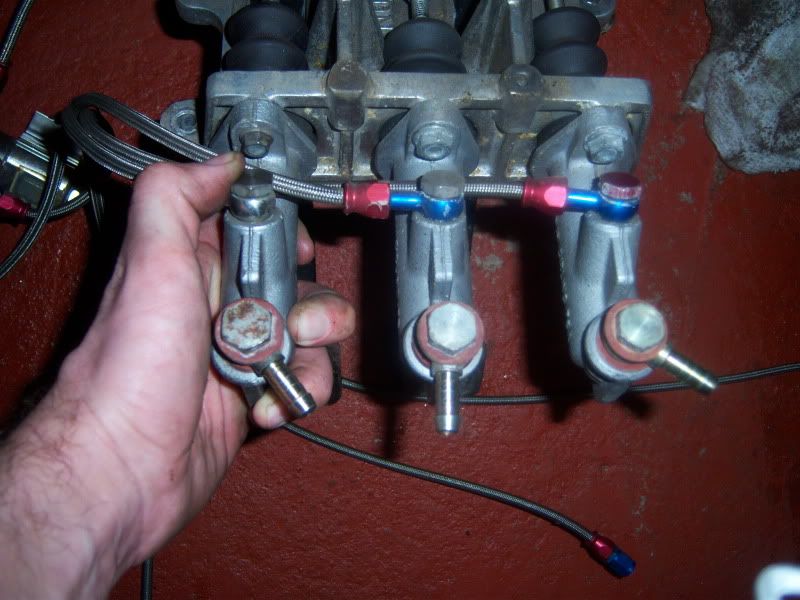
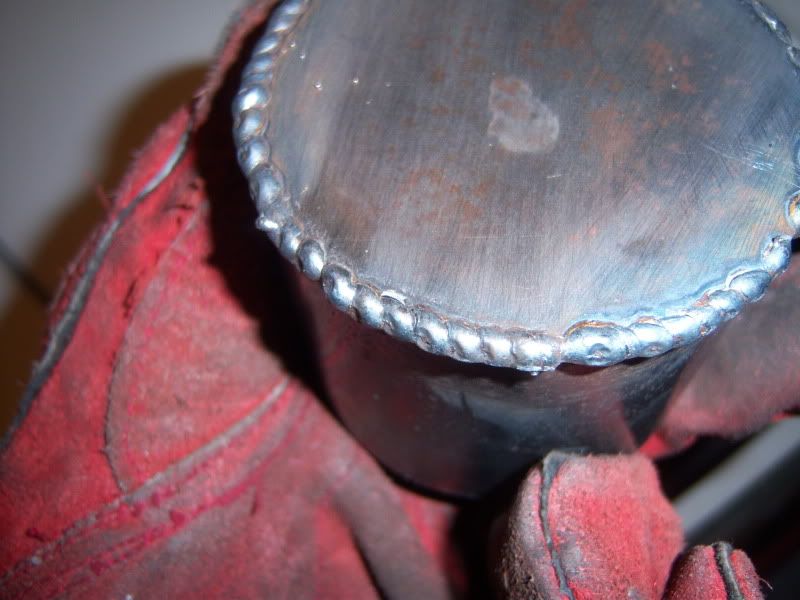
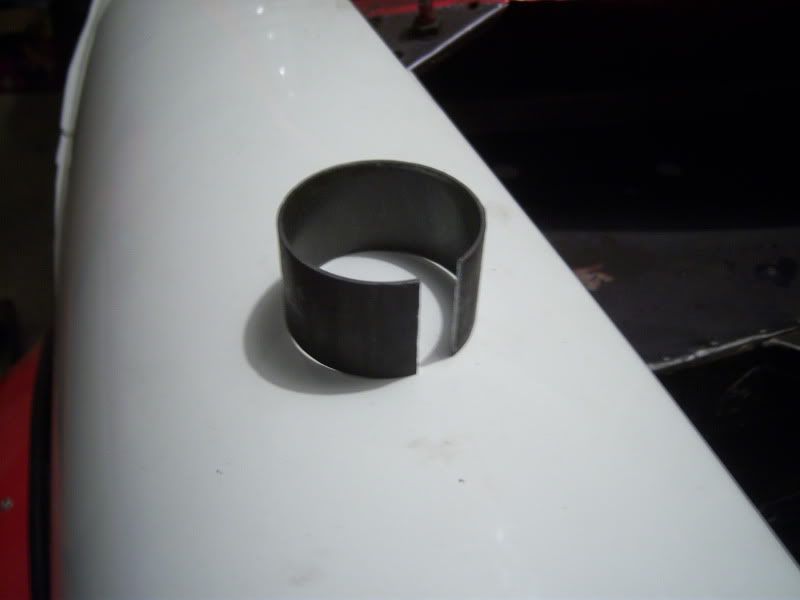
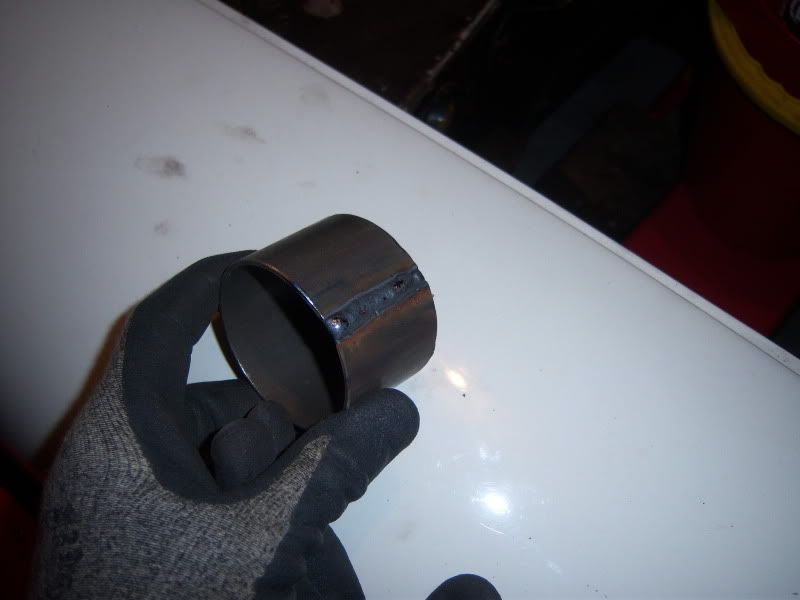
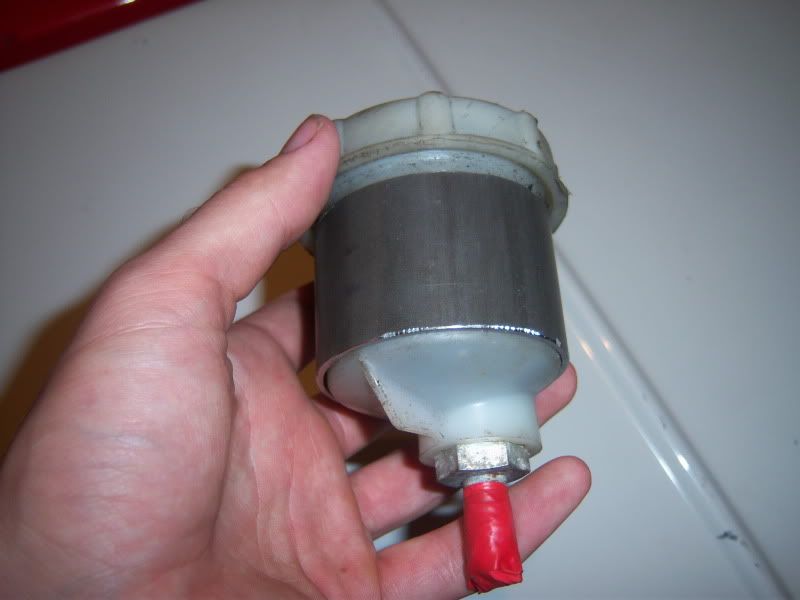
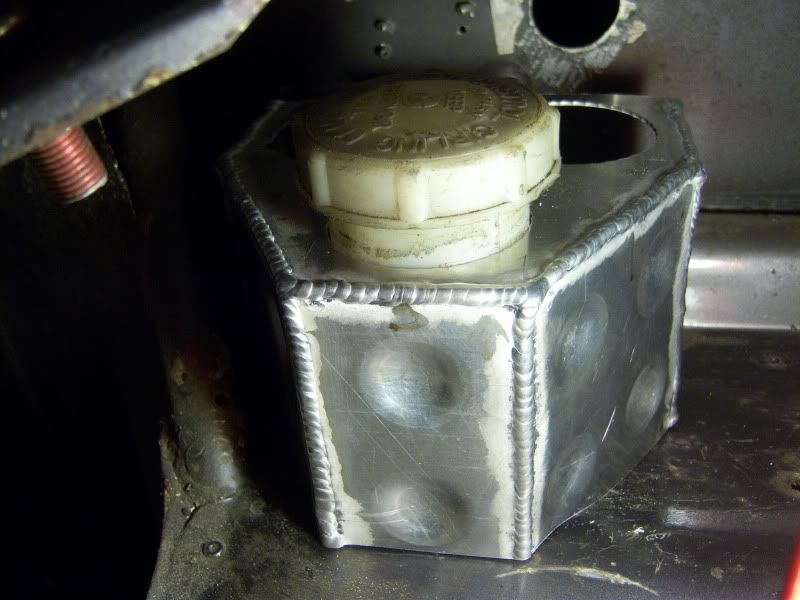
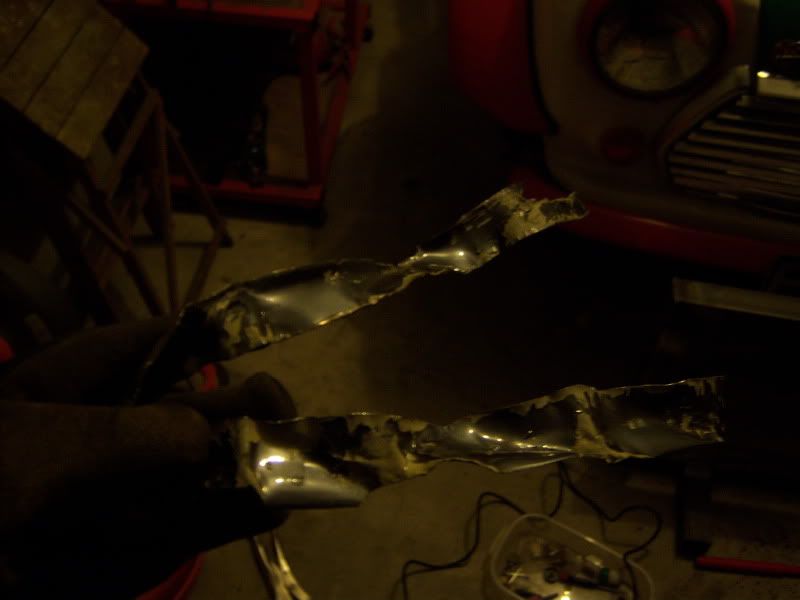
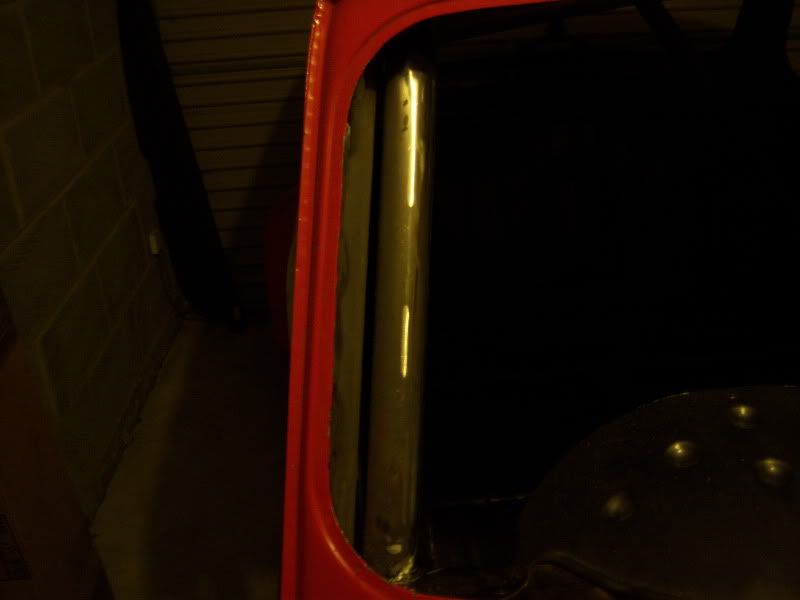
I didnt like the way the brake reservoirs were mounted as the braket was messy but one of them was mounted in a cylinder shown below.
Edited by rosco454 on 29th Dec, 2010. On 20th Jan, 2011 apbellamy said:
I have a bit of a fetish for tools |
||||||
 611 Posts Member #: 5222 Post Whore Northumberland |
29th Dec, 2010 at 05:04:42pm
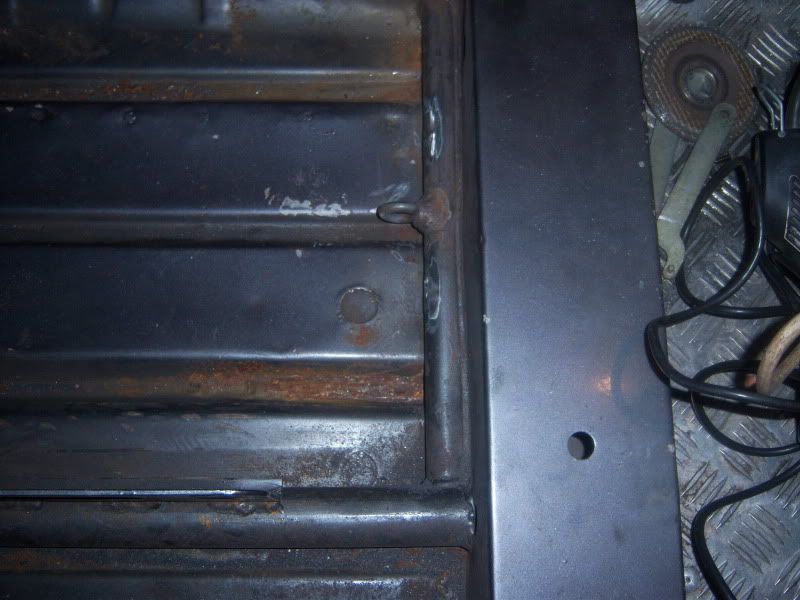
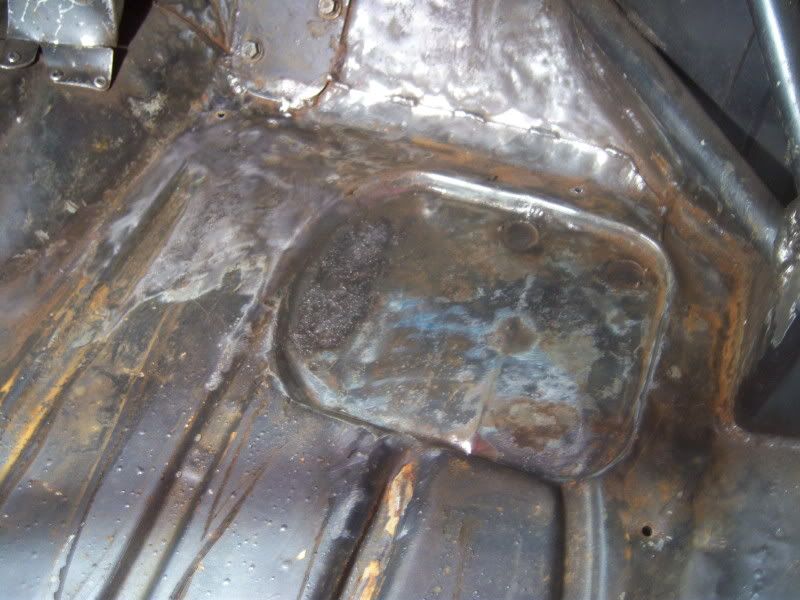
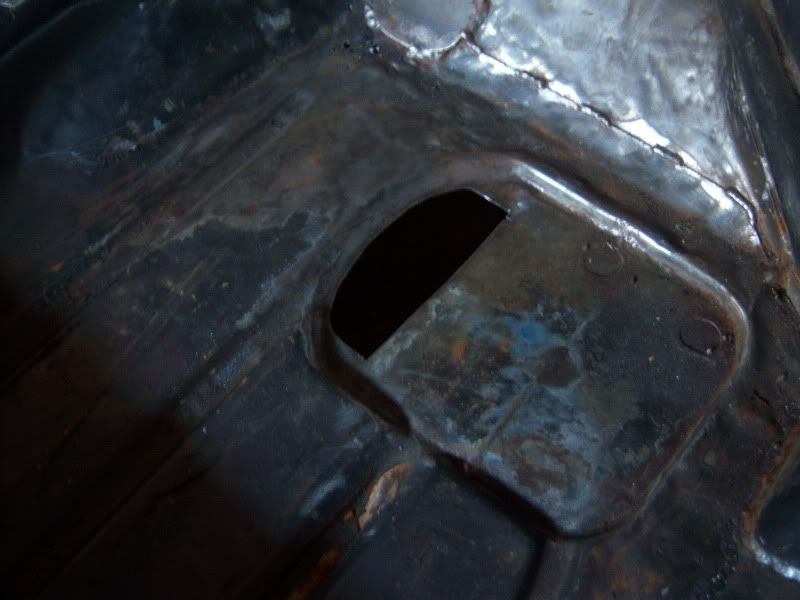
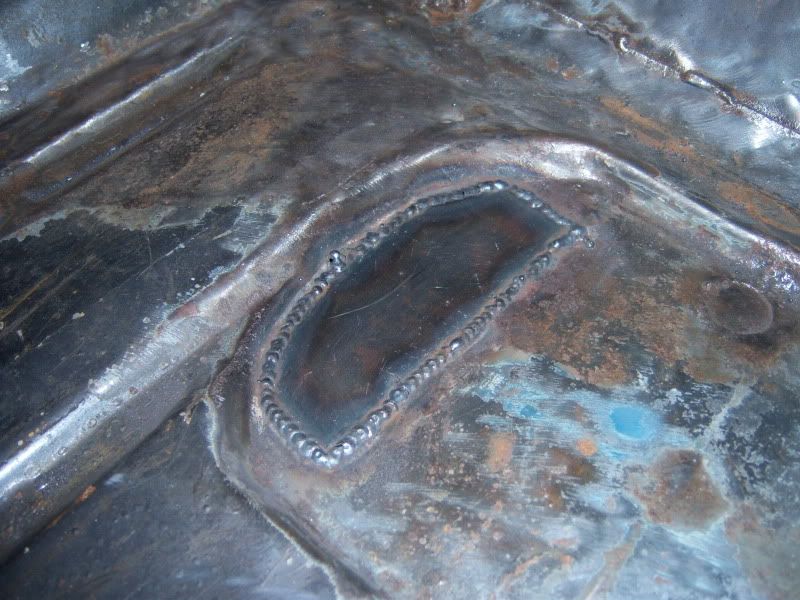
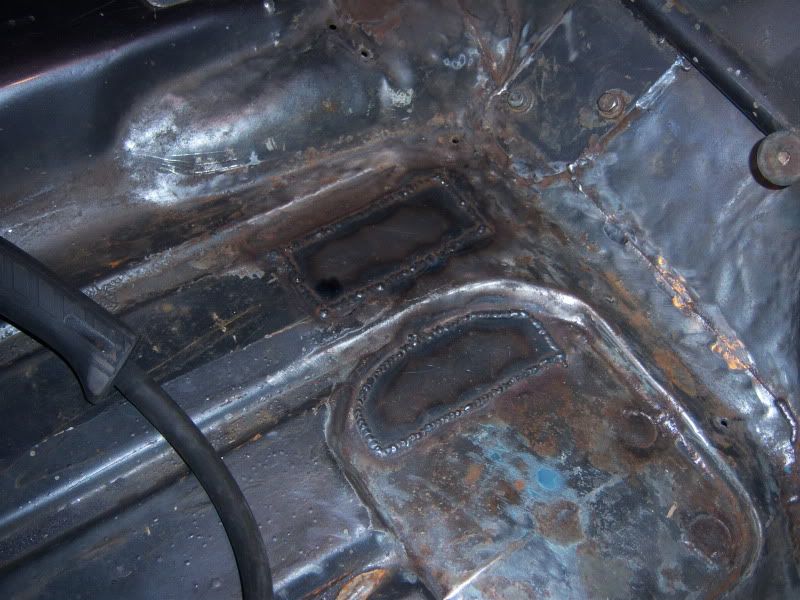
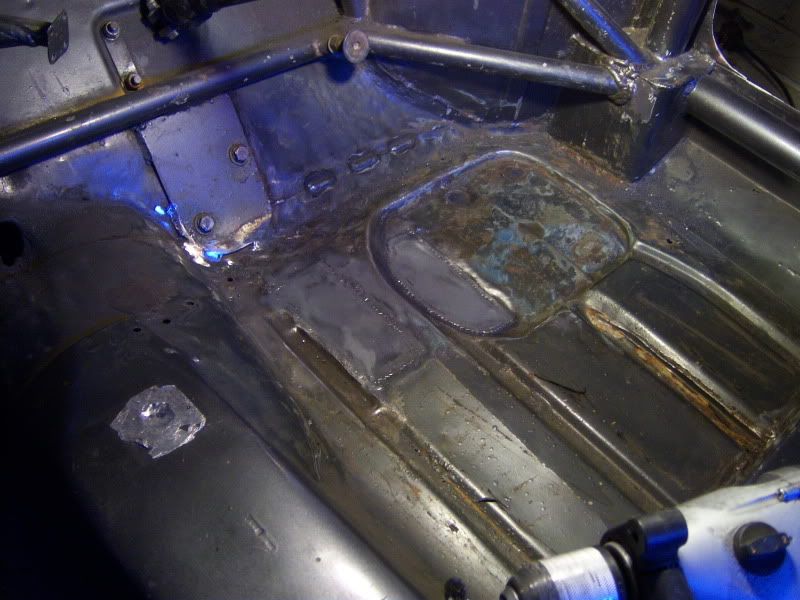
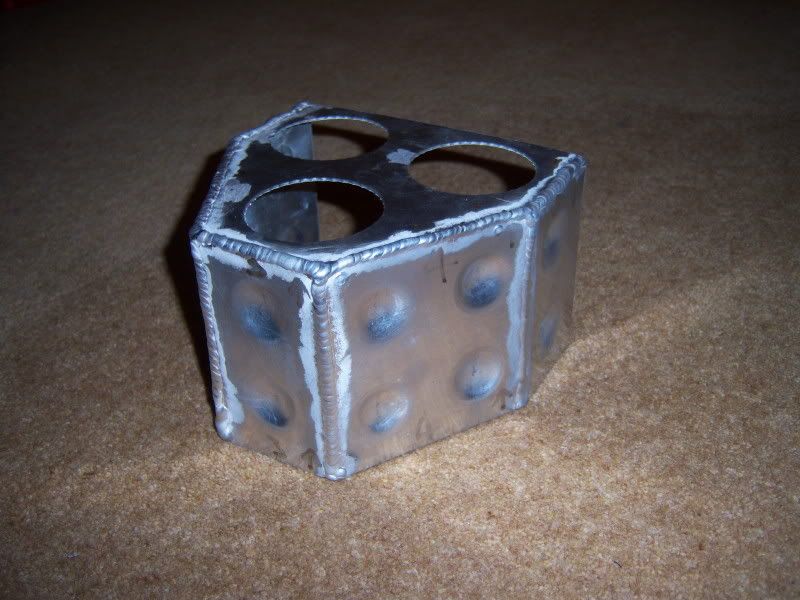
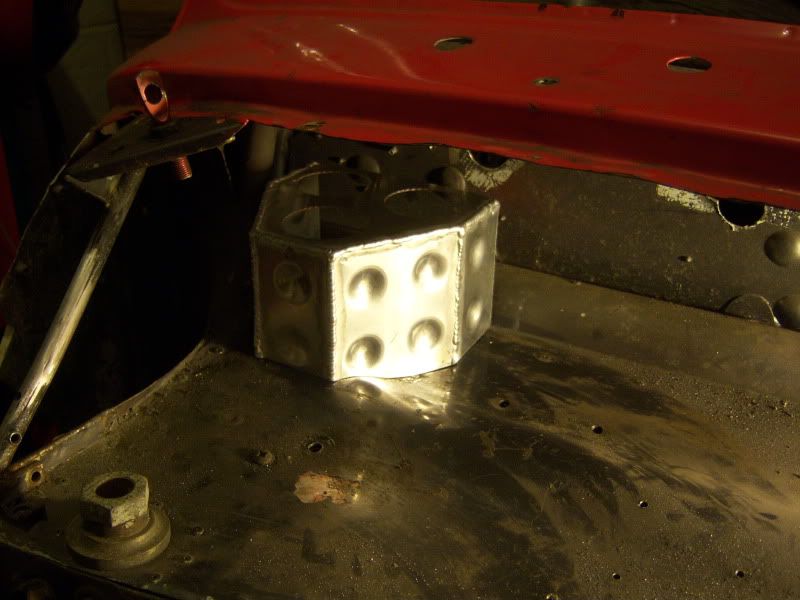
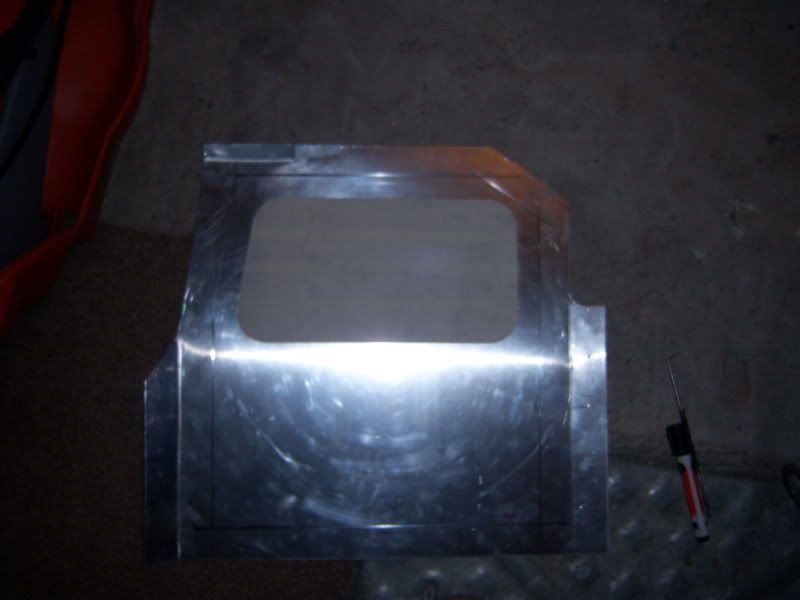
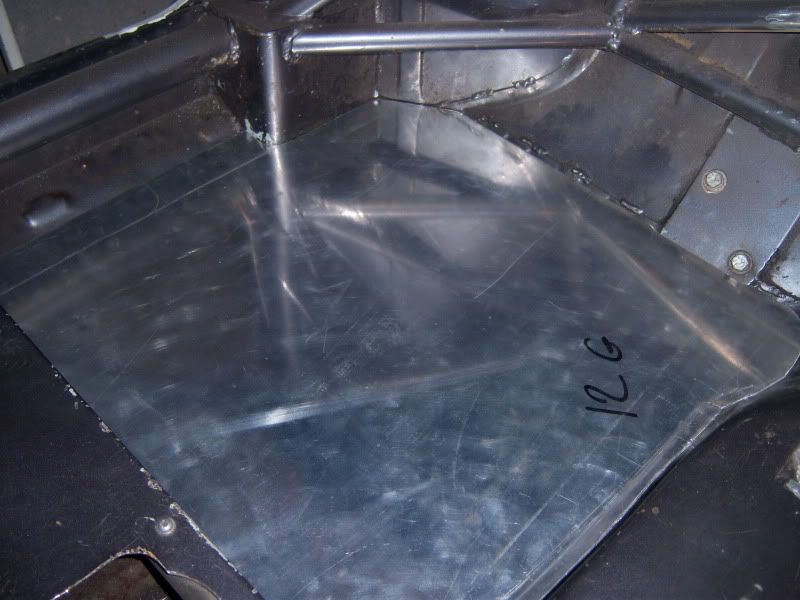
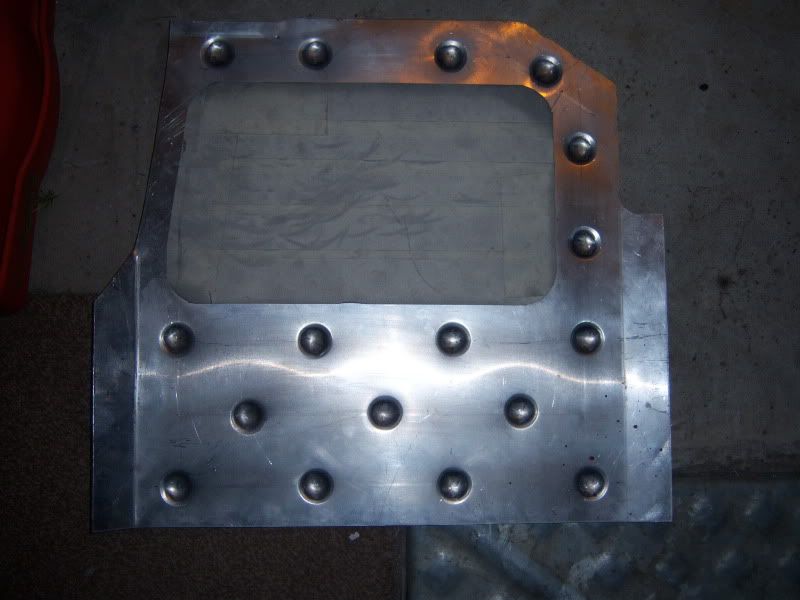
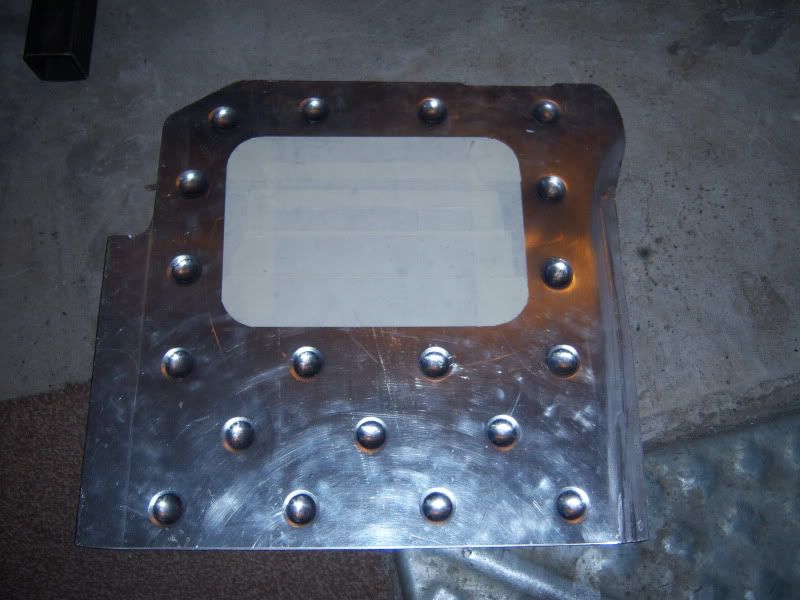
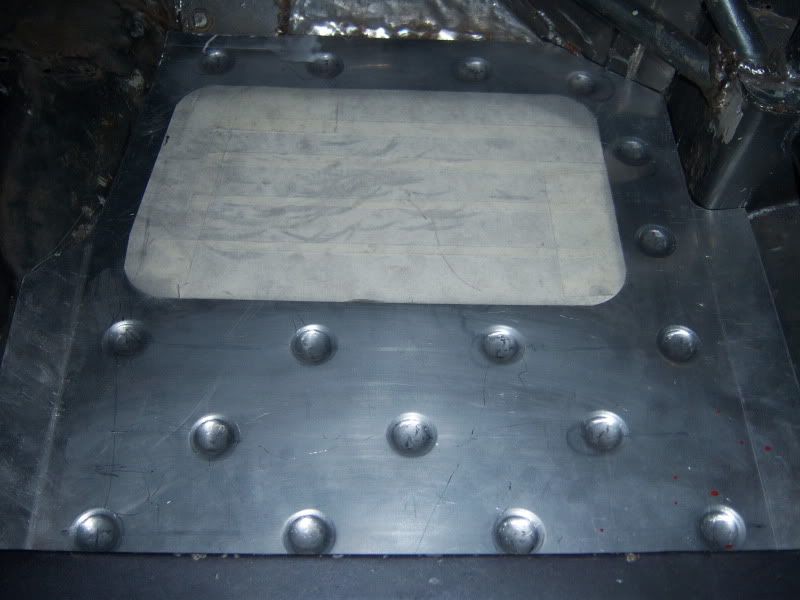
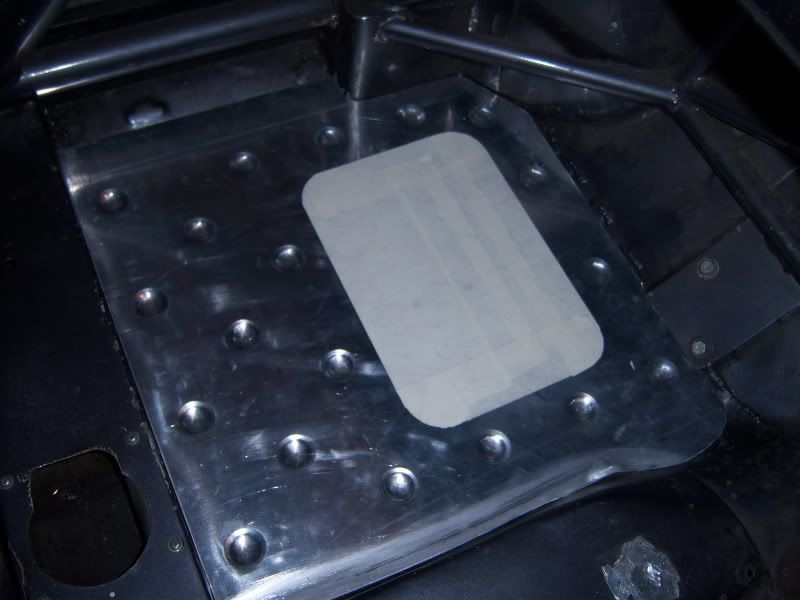
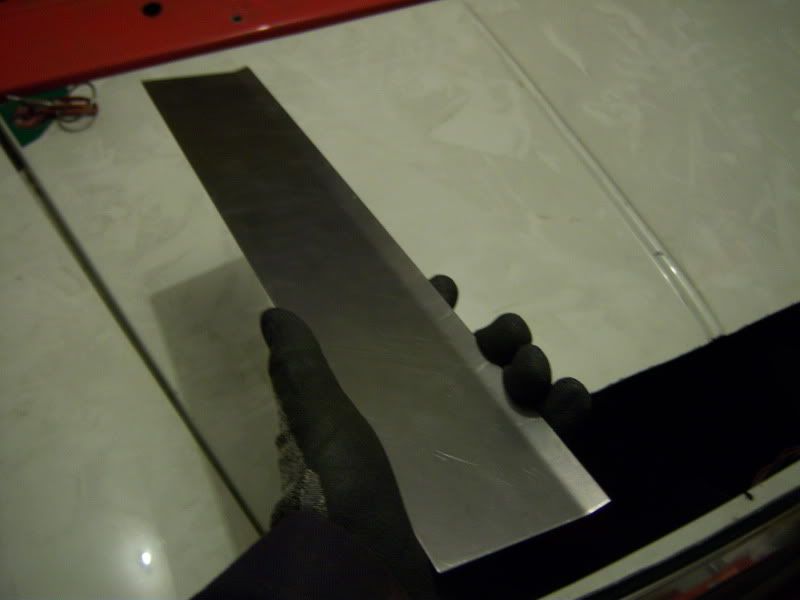
The false floor I removed from the drivers side wasnt to my taste as im not a big fan of chequer plate so made a new one and another to go on the passenger side from 12g ally sheet.
Edited by rosco454 on 29th Dec, 2010. On 20th Jan, 2011 apbellamy said:
I have a bit of a fetish for tools |
||||||
 611 Posts Member #: 5222 Post Whore Northumberland |
29th Dec, 2010 at 05:14:05pm
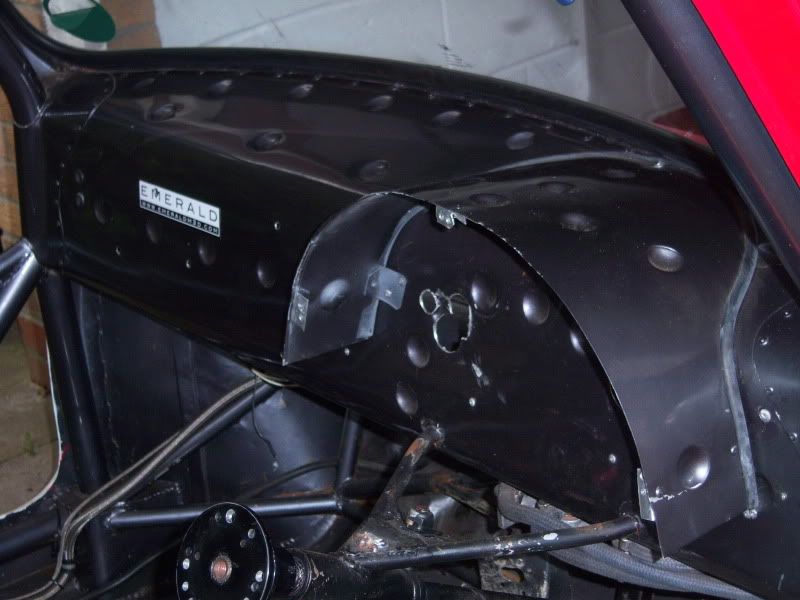
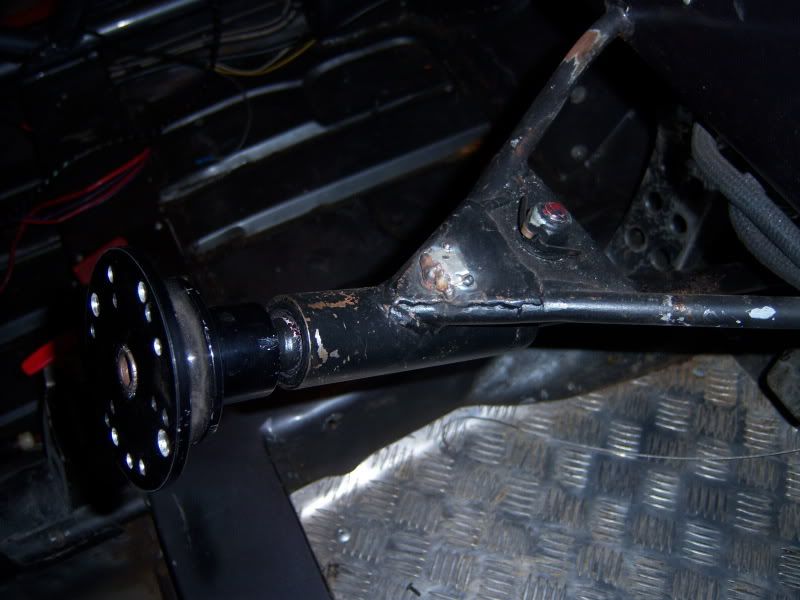
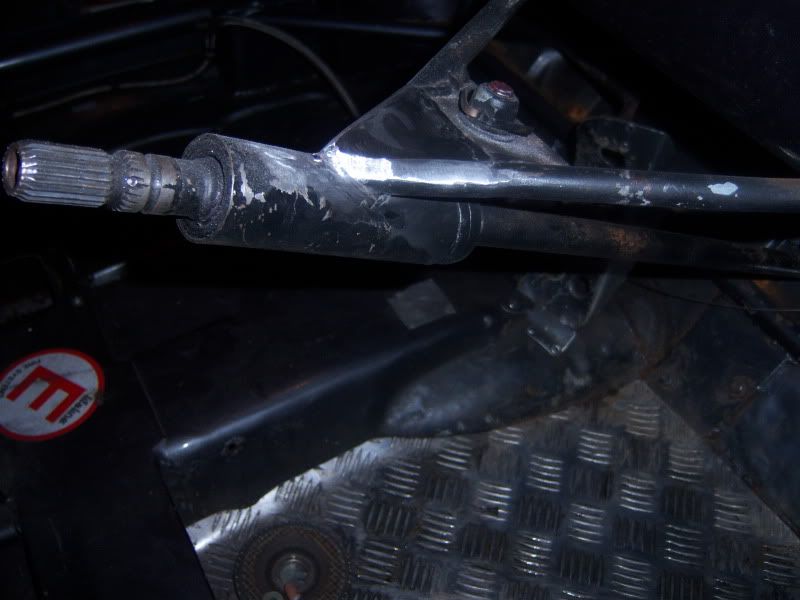
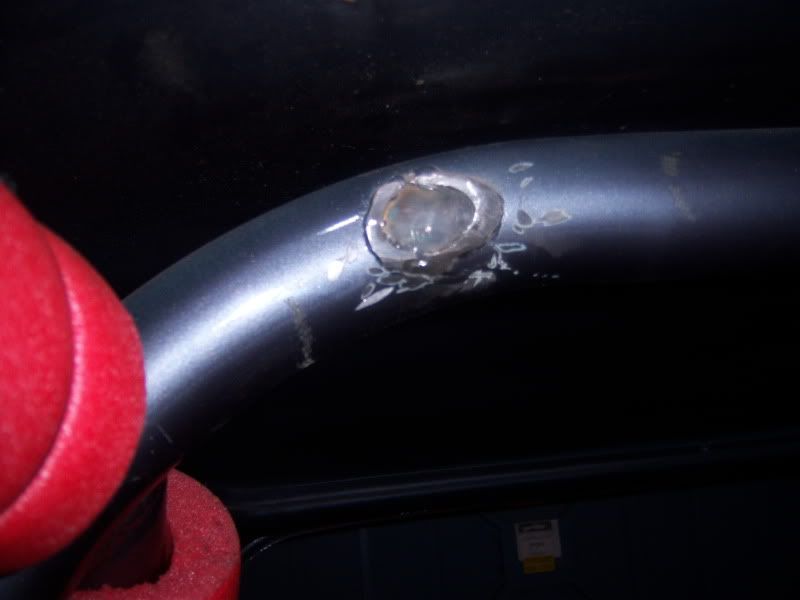
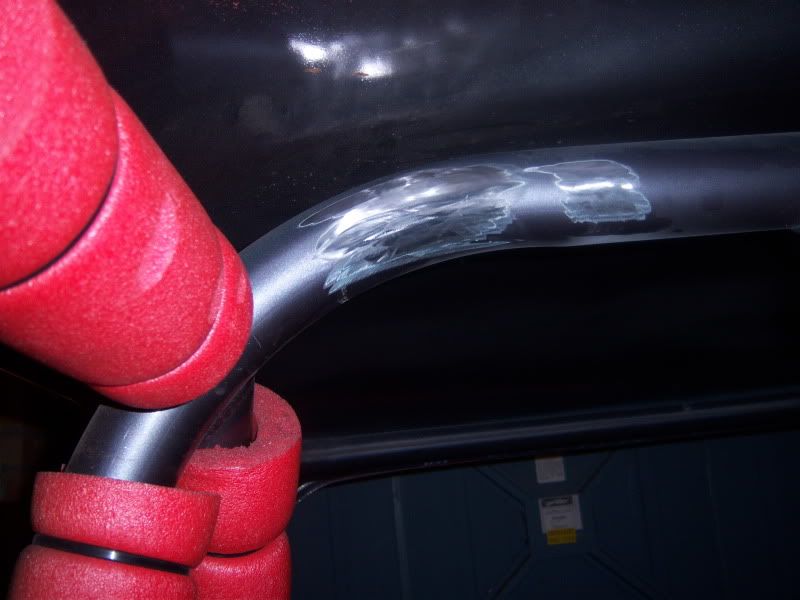
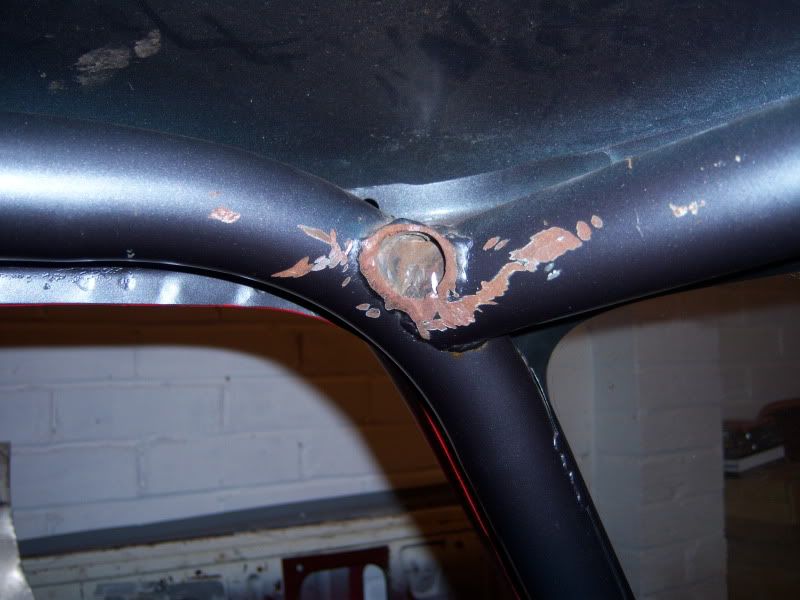
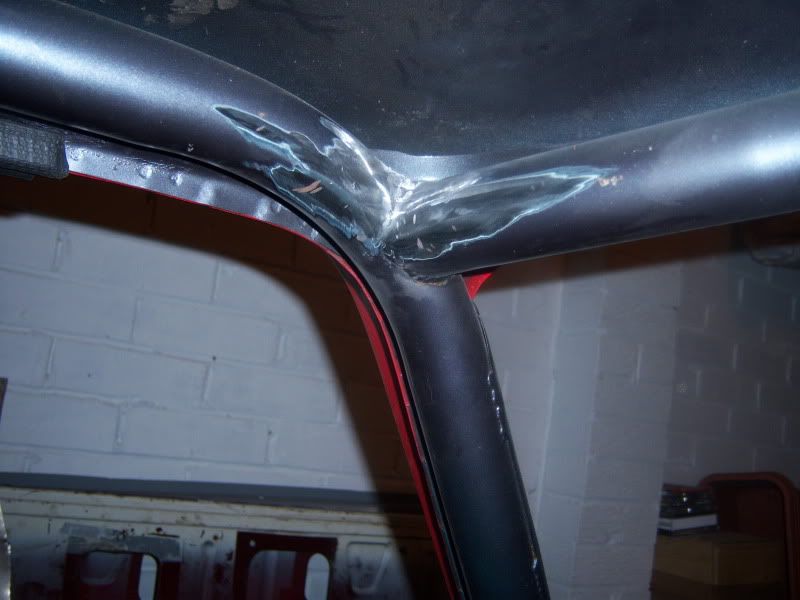
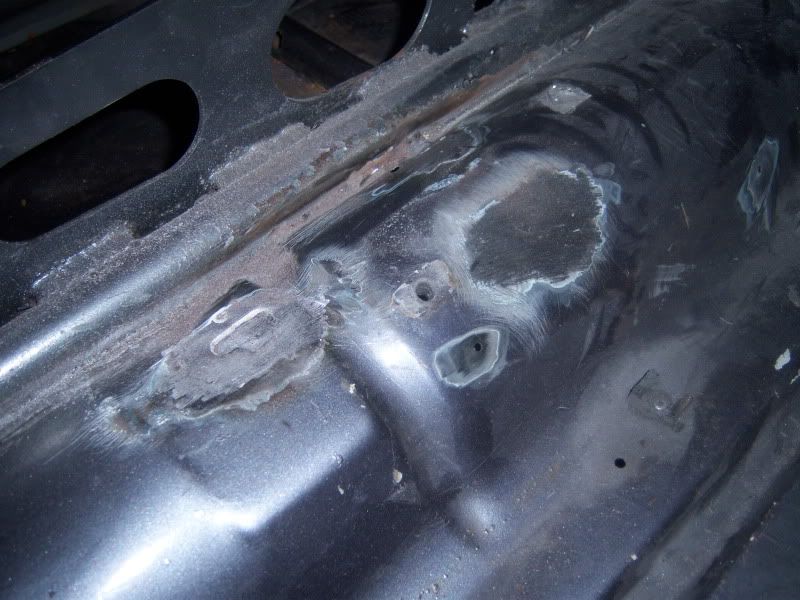
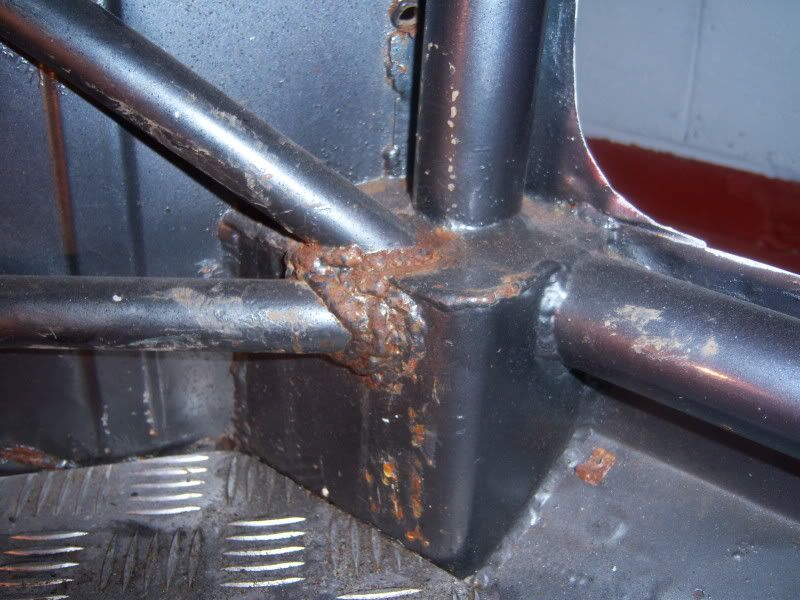
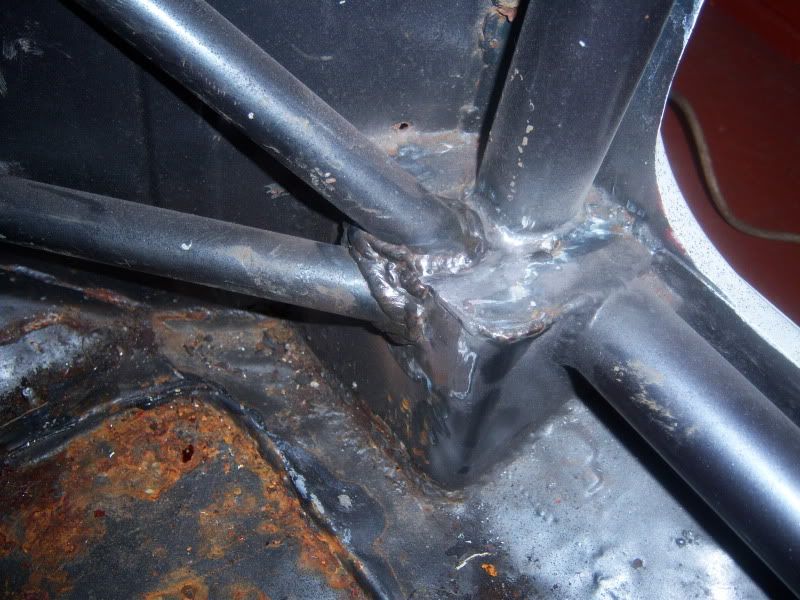
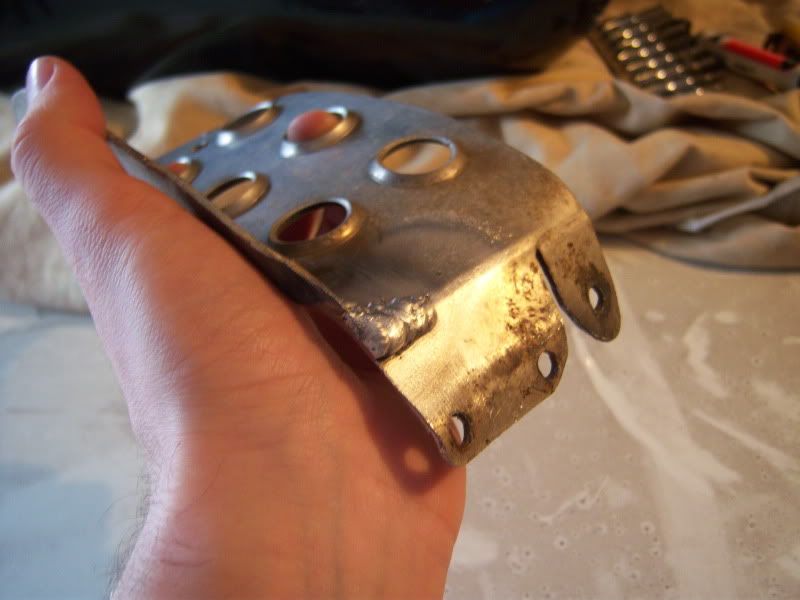
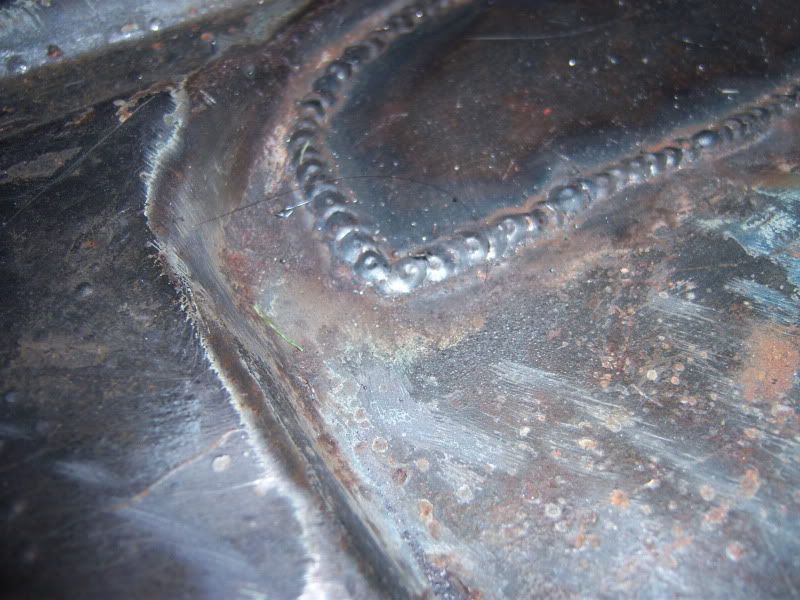
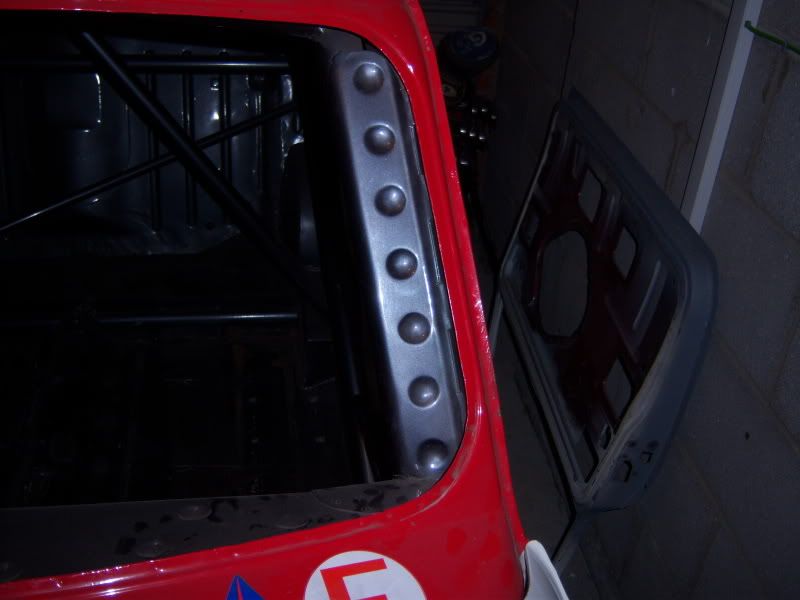
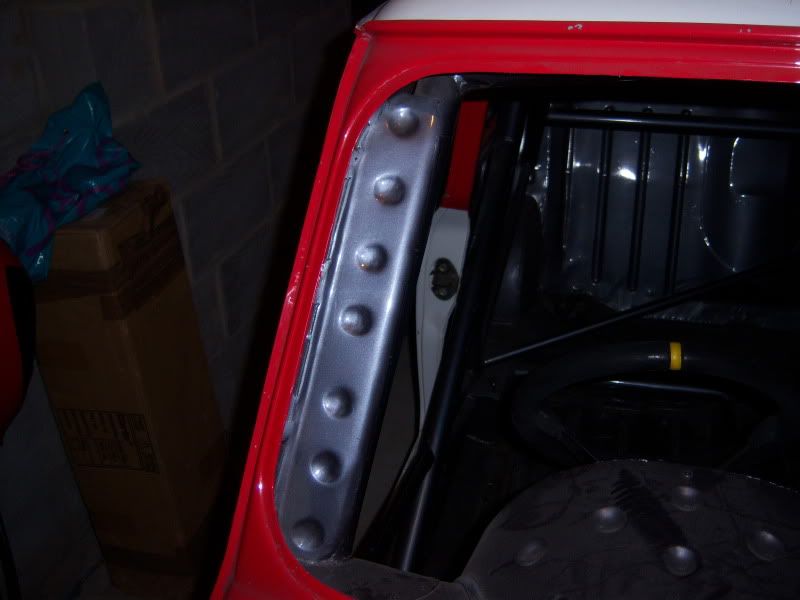
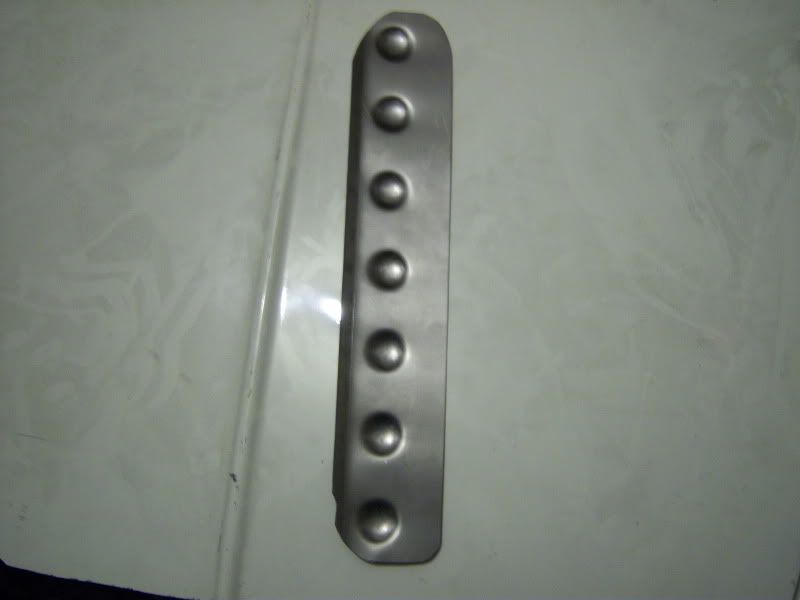
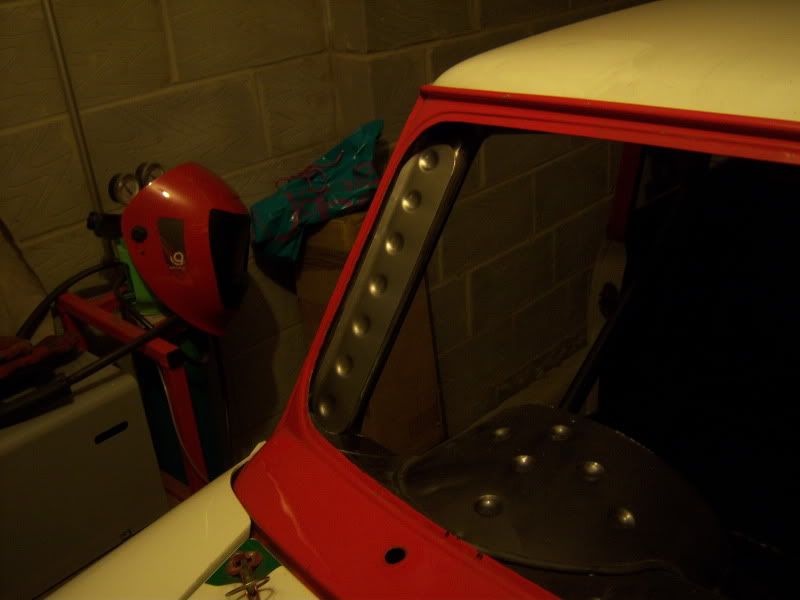
Last bit of work to get up to date was to sort out the drivers side a pillar gusset.It doesnt match the passenger side one at all,the dimples are pressed badly and not in the right place.Probably being a fanny but if I had just left it then it would have bugged me everytime I looked at it.
Edited by rosco454 on 29th Dec, 2010. On 20th Jan, 2011 apbellamy said:
I have a bit of a fetish for tools |
||||||
 484 Posts Member #: 4755 Senior Member warwickshire |
29th Dec, 2010 at 06:48:40pm
Good to see your getting on with it mate and didn't sell the shell. Front floor plates look the nuts!
2012 Avon class c 2nd place 13.8 @98mph |
||||||
 611 Posts Member #: 5222 Post Whore Northumberland |
29th Dec, 2010 at 07:17:05pm
Thanks T2,didnt notice your reply earlier among all the pictures I was posting.Im lucky enough to have a garage to work in although its still pretty cold in there unless your doing a bit of welding or something.
On 20th Jan, 2011 apbellamy said:
I have a bit of a fetish for tools |
||||||
 2233 Posts Member #: 9037 Post Whore Doncaster, yorkshire |
29th Dec, 2010 at 07:21:38pm
looks like your making good progress, keep it up Audi s4 b5 - 470bhp & 486ft lbs
On 15th Mar, 2012 wil_h said:
Yes, Carl says he gets requests for rimming all the time On 30th Apr, 2012 Brett said:
yeah stick the bit in and give it a wobble  |
||||||
 16540 Posts Member #: 4241 King Gaycharger, butt plug dealer, Sheldon Cooper and a BAC but generally a niceish fella if you dont mind a northerner Rotherham, South Yorkshire |
29th Dec, 2010 at 08:10:55pm
All looks good. I find progress comes in fits and starts. On 11th Feb, 2015 robert said:
i tried putting soap on it , and heating it to brown , then slathered my new lube on it 
|
||||||
 1105 Posts Member #: 1504 Post Whore Westbury, Wiltshire |
29th Dec, 2010 at 09:39:06pm
Wow, great job and a good kick start to the project.
Minivanless, but reluctantly happy living with the decision. There'll be another one day.
|
||||||
 611 Posts Member #: 5222 Post Whore Northumberland |
29th Dec, 2010 at 10:05:44pm
Thanks for the comments guys,much appreciated.
On 20th Jan, 2011 apbellamy said:
I have a bit of a fetish for tools |
||||||
 7765 Posts Member #: 74 I pick holes in everything.. Chief ancient post excavator |
29th Dec, 2010 at 10:16:52pm
That is great, but now do yourself a favour, and go Miglia-racing with it. That has got nothing to do on the road! On 13th Jul, 2012 Ben H said:
Mine gets in the way a bit, but only when it is up. If it is down it does not cause a problem. |
||||||
 611 Posts Member #: 5222 Post Whore Northumberland |
29th Dec, 2010 at 10:40:23pm
On 29th Dec, 2010 Vegard said:
That is great, but now do yourself a favour, and go Miglia-racing with it. That has got nothing to do on the road! If it wasnt for the matter of 10k+ to finish the car and between 5-10k per season to race it I would love to sign up for the 2011 season 
To be fair its going to be a track/occasional road car so will be used properly.It will be mig spec pretty much bar the engine,as im not going to be racing it and have no regs to stick to there are more exiting/cost effective alternatives out there to my mind. Cheers Ross. Edited by rosco454 on 29th Dec, 2010. On 20th Jan, 2011 apbellamy said:
I have a bit of a fetish for tools |
||||||
 1342 Posts Member #: 2292 Tool Herne Bay, kent |
30th Dec, 2010 at 10:11:24am
im glad you hav done a build thread. im building a miglia inspired shell. not quite as intense but alot of ideas from one. im gona keep my eye on this :) On 27th Apr, 2010 Rick.SPI said:
cant beat a good blowout. |
||||||
 3249 Posts Member #: 1194 Post Whore Shropshire. |
30th Dec, 2010 at 10:42:13am
Looking very good, if you carry on like this it will be a fantastic car. |
||||||
 4360 Posts Member #: 1459 En-suite user Braintree, Essex |
30th Dec, 2010 at 11:00:49am
Totally agree, got to have pride in your work. On 29th Dec, 2010 turbominivanman said:
Wow, great job and a good kick start to the project. The attention to detail (I think you called yourself 'being a fanny') is a real credit to you. Join the club matey 
Richard. On 19th Jan, 2010 wil_h said:
I would start the furthest place from the finish. On 24th Mar, 2012 apbellamy said:
I feel all special knowing that I've given your mum my wood. Been neglecting Turbo'd 'A' series.............. |
||||||
|
667 Posts Member #: 1376 Post Whore clock tower with a sniper rifle |
30th Dec, 2010 at 11:41:38am
jolly good, looks really nice internationally known as "big" swede |
||||||
|
203 Posts Member #: 479 Senior Member |
30th Dec, 2010 at 04:17:39pm
Nice job on those pillar gussets, i must get one of those dimple tools.
Edited by Timinichelsea on 30th Dec, 2010. |
||||||
|
1083 Posts Member #: 8932 Post Whore |
30th Dec, 2010 at 11:41:53pm
Great to see your back working on it again. nice work too, that reservoir holder thing looks spot on, and the dimple pressing is cool, especially on the floor panels. |
||||||
| Home > Show Us Yours! > Miglia project (lots of pics-not much action) | |||||||
|
|||||||
| Page: |

